Love this? Save it for later!
Share the inspiration with your friends
There used to be this tiny bookshop café on the corner of Elm and 4th that made the most ridiculous hot chocolate. It wasn’t fancy, you know — just a small place with mismatched chairs and a cat named Mabel who napped on the poetry section. But their hot cocoa? That was something else. They served it in these thick ceramic mugs with a single homemade marshmallow floating on top, and I swear that marshmallow was the size of my fist. When they closed two winters ago, I actually stood outside and stared at the “For Lease” sign for way too long. Pathetic, I know.
After about fifteen attempts — and honestly, some of them were straight-up disasters involving burnt sugar and a very sticky stovetop — I finally cracked the code. The marshmallow was the easy part, surprisingly. The real trick was getting that deep, rich cocoa base that didn’t taste like powdered mix from a box. Let me tell you, there were some late nights and a lot of taste-testing involved. My neighbor Dave probably thought I’d lost my mind, knocking on his door at 9 PM with yet another mug of cocoa to try.
But here’s the thing — once I figured it out, I realized this wasn’t just about recreating a drink. It was about bringing that cozy, bookshop feeling home. That warm, slightly chaotic, everything-is-going-to-be-okay vibe that only comes from a really good cup of cocoa with a homemade marshmallow melting on top. And the best part? You can set it all up as a DIY hot cocoa bar, which means everyone gets to customize their own cup. Maybe you’ve been there too — trying to chase a memory through a recipe. Trust me, this one works.
Why You’ll Love This Recipe
This DIY hot cocoa bar with homemade marshmallows isn’t just another holiday trend. It’s the kind of setup that makes people stop and smile. I’ve tested this through three different winters, at parties ranging from kids’ sleepovers to adult dinner gatherings, and it never fails to bring out the kid in everyone.
- Quick & Easy: The marshmallows need some setting time, but active prep is only about 20 minutes. The cocoa base comes together in under 10 minutes on the stovetop.
- Simple Ingredients: No weird stabilizers or gelatin sheets from specialty stores. You probably have most of the marshmallow ingredients in your pantry right now.
- Perfect for Gatherings: Whether it’s a holiday party, movie night, or snow day, this self-serve setup lets people build their perfect cup while you actually get to enjoy the party.
- Crowd-Pleaser: Kids go wild for the toppings bar, and adults appreciate the quality of real cocoa with homemade marshmallows. Everyone wins.
- Unbelievably Delicious: That first sip — rich, creamy, with a hint of vanilla and a marshmallow that actually tastes like something — is pure comfort in a mug.
What makes this different from every other hot cocoa bar you’ve seen? It’s the marshmallows, honestly. Most people buy the store-bought kind, which are fine, but homemade marshmallows are a completely different experience. They’re softer, fluffier, and they melt into the cocoa in this dreamy, slow way. Plus, you can flavor them however you want — peppermint, vanilla bean, even a pinch of cinnamon. This isn’t just another version of hot cocoa. It’s your best version, the one that makes people ask for the recipe before they finish their first cup.
What Ingredients You Will Need
This recipe uses simple, wholesome ingredients to deliver that rich, comforting cocoa experience without any fuss. Most of these are pantry staples, and the marshmallow ingredients are surprisingly basic for something that tastes so special.
For the Homemade Marshmallows
- Granulated sugar — 1 cup (200g) — (provides sweetness and structure)
- Light corn syrup — ½ cup (120ml) — (prevents crystallization; I recommend Karo for consistency)
- Water — ½ cup (120ml), divided
- Unflavored gelatin — 3 tablespoons (about 3 packets) — (look for Knox brand; it’s the most reliable)
- Vanilla extract — 1 tablespoon (15ml) — (use real vanilla, not imitation, for best flavor)
- Powdered sugar — ½ cup (60g) — (for dusting)
- Cornstarch — ¼ cup (30g) — (for dusting, prevents sticking)
- Pinch of salt — (balances the sweetness)
For the Rich Hot Cocoa Base
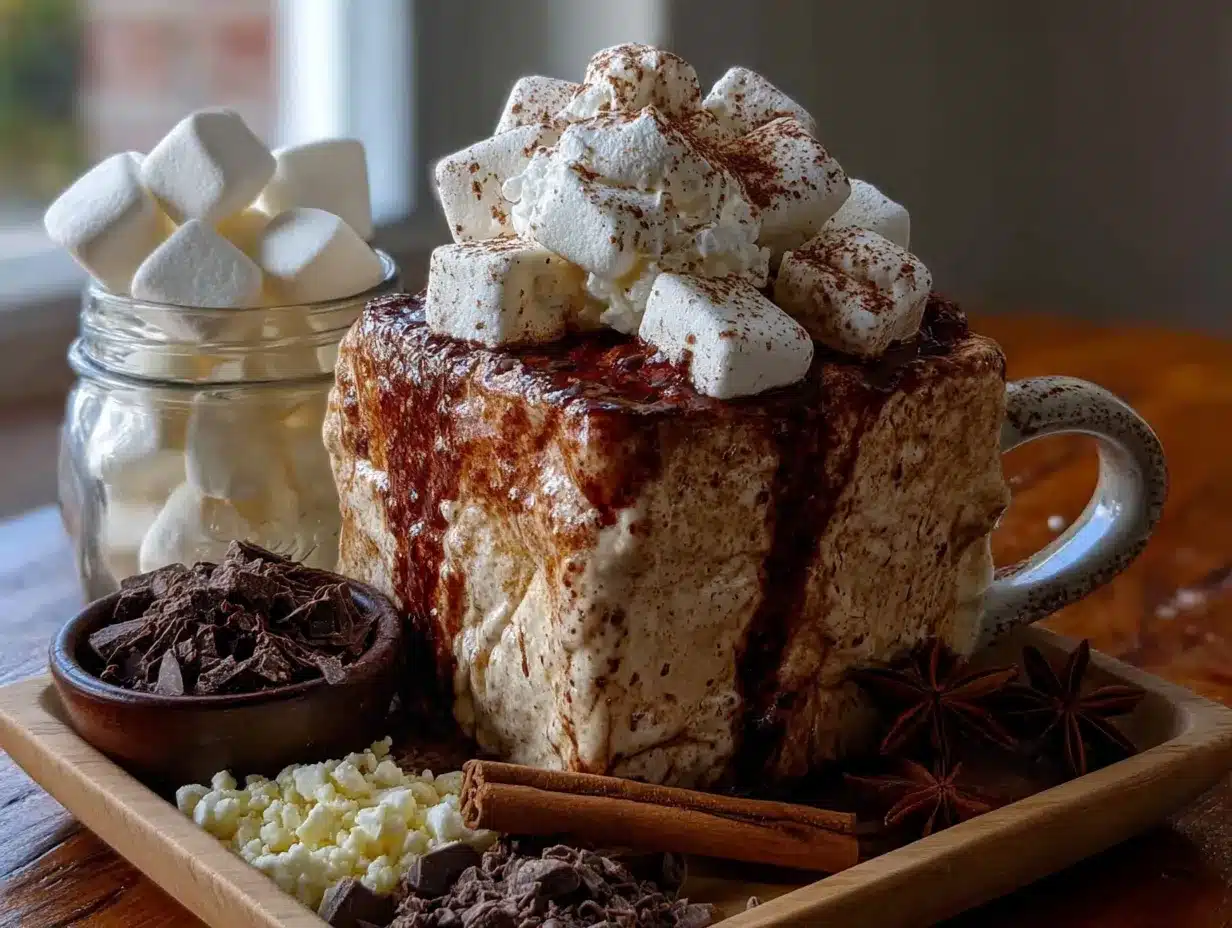
- Whole milk — 4 cups (960ml) — (for creaminess; use 2% if you prefer, but avoid skim)
- Heavy cream — ½ cup (120ml) — (adds richness and body)
- Unsweetened cocoa powder — ½ cup (50g) — (I prefer Ghirardelli or Valrhona for deep flavor)
- Semi-sweet chocolate chips — ½ cup (90g) — (adds that silky, melted chocolate texture)
- Granulated sugar — ¼ cup (50g) — (adjust to taste)
- Vanilla extract — 1 teaspoon (5ml)
- Pinch of salt — (enhances the chocolate flavor)
For the Toppings Bar (Mix and Match)
- Whipped cream — homemade or store-bought
- Chocolate shavings — use a vegetable peeler on a chocolate bar
- Cinnamon sticks — for stirring
- Crushed peppermint candies — (adds festive crunch)
- Mini chocolate chips — (dark, milk, or white)
- Caramel sauce — for drizzling
- Sea salt flakes — (trust me on this one)
- Marshmallow bits — extra homemade marshmallows cut into small cubes
For the marshmallows, make sure your gelatin is fresh — old gelatin won’t set properly. I learned that the hard way after a particularly sad batch that never firmed up. And for the cocoa, don’t skimp on the quality of your cocoa powder. It really does make a difference. If you’re dairy-sensitive, swap the whole milk for oat milk and use coconut cream instead of heavy cream. The texture will be slightly different, but still delicious.
Equipment Needed
- Stand mixer or hand mixer — (a stand mixer makes marshmallow whipping easier, but a hand mixer works fine — just be prepared to hold it for a while)
- Candy thermometer — (essential for getting the sugar syrup to the right temperature; a digital one is more accurate)
- Medium saucepan — (for the sugar syrup)
- 8×8 inch baking pan — (for setting the marshmallows)
- Parchment paper — (for lining the pan)
- Large pot or Dutch oven — (for the hot cocoa base)
- Whisk — (a good balloon whisk helps prevent lumps in the cocoa)
- Mugs or serving cups — (thick ceramic mugs keep cocoa hot longer)
- Small bowls and spoons — (for the toppings bar)
Don’t have a candy thermometer? You can test the sugar syrup by dropping a small amount into cold water — it should form a firm ball that holds its shape. But honestly, a thermometer is worth the investment for consistent results. My first few marshmallow batches were a guessing game, and the results were… inconsistent.
Preparation Method
Make the Homemade Marshmallows (Day Before or Morning Of)
- Prepare the pan. Line your 8×8 inch baking pan with parchment paper, leaving some overhang on two sides. Mix ¼ cup powdered sugar with 2 tablespoons cornstarch and dust the parchment generously. Set aside.
- Bloom the gelatin. In the bowl of your stand mixer, combine ¼ cup cold water with the 3 tablespoons gelatin. Stir gently and let it sit for about 10 minutes. It will look like a thick, jiggly paste — that’s exactly what you want.
- Make the sugar syrup. In a medium saucepan, combine 1 cup granulated sugar, ½ cup light corn syrup, ¼ cup water, and a pinch of salt. Stir gently over medium heat until the sugar dissolves, then stop stirring. Clip your candy thermometer to the side and bring the mixture to 240°F (115°C) — the soft ball stage. This takes about 8-10 minutes. Don’t walk away, I burned a batch here once and the whole kitchen smelled like caramel for days.
- Whip the mixture. With the mixer on low speed, slowly pour the hot sugar syrup into the gelatin mixture. Be careful — that syrup is dangerously hot. Once it’s all in, gradually increase the speed to high and whip for about 10-12 minutes. The mixture will turn white, thick, and glossy. It should look like marshmallow fluff and hold stiff peaks when you lift the whisk.
- Add vanilla. During the last minute of whipping, add the vanilla extract and mix until combined.
- Pour and set. Scrape the marshmallow mixture into your prepared pan. Use an offset spatula (lightly oiled) to spread it evenly. Dust the top with more of the powdered sugar-cornstarch mixture. Let it sit uncovered at room temperature for at least 4 hours, or overnight. Patience here matters — rushing this step leads to sticky, sad marshmallows.
- Cut the marshmallows. Once set, turn the marshmallow block onto a cutting board dusted with the powdered sugar mixture. Use a sharp knife or pizza cutter (lightly oiled) to cut into squares. Toss each piece in the remaining powdered sugar mixture to prevent sticking. Store in an airtight container for up to 2 weeks.
Make the Rich Hot Cocoa Base
- Combine dry ingredients. In a large pot or Dutch oven, whisk together the cocoa powder, granulated sugar, and salt. This prevents lumps from forming later.
- Add the milk and cream. Slowly pour in the whole milk and heavy cream while whisking continuously. Make sure the cocoa powder is fully incorporated — no dry pockets hiding at the bottom.
- Heat gently. Place the pot over medium heat and warm the mixture, whisking occasionally. Do not let it boil! You want it steaming hot but not bubbling. This takes about 5-7 minutes.
- Add the chocolate chips. Once the milk mixture is hot, add the semi-sweet chocolate chips and whisk until completely melted and smooth. This gives the cocoa that luxurious, velvety texture.
- Finish with vanilla. Remove from heat and stir in the vanilla extract. Taste and adjust sweetness — add a tablespoon more sugar if you like it sweeter.
- Keep warm. Transfer the cocoa to a slow cooker set on warm, or a large thermos, for serving. If you’re using a slow cooker, stir occasionally to prevent a skin from forming on top.
Set Up Your DIY Hot Cocoa Bar
- Choose a table or counter. Pick a spot where people can easily walk around and access everything. A kitchen island works perfectly.
- Arrange the cocoa and mugs. Place the slow cooker or thermos of hot cocoa at one end. Stack mugs next to it, along with a ladle if needed.
- Set up toppings. Arrange small bowls with all your toppings: homemade marshmallows, whipped cream, chocolate shavings, crushed peppermint, cinnamon sticks, caramel sauce, and sea salt. Add small spoons for each.
- Add labels. Use small tent cards or chalkboard labels to identify each topping. It looks cute and helps guests know what’s what.
- Include instructions. A small sign that says “Build Your Own Cocoa: Grab a mug, fill with cocoa, then add your favorite toppings!” makes it clear and inviting.
Cooking Tips & Techniques
Making homemade marshmallows can feel a little intimidating the first time, but once you get the hang of it, you’ll wonder why you ever bought the bagged kind. Here are some things I’ve learned through trial and error.
Temperature is everything. If your sugar syrup doesn’t reach 240°F, your marshmallows won’t set properly. If it goes over 245°F, they’ll be too firm. A good candy thermometer is non-negotiable here. I use a digital one because I’m terrible at reading analog gauges while holding a mixer.
Humidity is your enemy. Marshmallows are sensitive to moisture in the air. If you’re making them on a rainy day, they might end up sticky. Try to pick a dry day, or run a dehumidifier in your kitchen if you have one.
Oil your tools. The marshmallow mixture is incredibly sticky. Lightly oil your spatula, scissors, and knife before working with it. It saves so much frustration. I keep a small bowl of vegetable oil nearby when I’m cutting marshmallows.
Don’t overheat the cocoa. Boiling the milk mixture can cause it to separate or develop a scorched taste. Keep the heat at medium and whisk often. If you’re using a slow cooker to keep it warm, set it to low, not high.
Make ahead strategy. The marshmallows can be made up to two weeks in advance. The cocoa base can be made a day ahead and reheated gently. This means your actual party day is just about setting up the toppings bar and enjoying your guests.
Variations & Adaptations
One of the best things about a DIY hot cocoa bar is how customizable it is. Here are some ways to switch things up based on your crowd or occasion.
Peppermint Hot Cocoa: Add ½ teaspoon peppermint extract to the cocoa base along with the vanilla. Top with crushed candy canes and a peppermint marshmallow. This is my go-to for Christmas parties — it smells incredible.
Spiced Mexican Hot Chocolate: Whisk in ½ teaspoon cinnamon, ¼ teaspoon chili powder, and a pinch of cayenne to the cocoa base. Serve with a cinnamon stick for stirring. The warmth from the spices is so comforting on a cold night.
Dairy-Free Version: Use oat milk or full-fat coconut milk instead of whole milk, and coconut cream instead of heavy cream. The texture is still rich and creamy. I’ve tested this with oat milk and honestly, it’s almost indistinguishable from the original.
Boozy Adult Version: Set out small bottles of peppermint schnapps, bourbon, or Irish cream for guests to add to their cocoa. A shot of bourbon with a salted caramel drizzle is absolutely divine.
White Hot Chocolate: Skip the cocoa powder entirely and melt 1½ cups of white chocolate chips into the milk and cream base. Top with white chocolate shavings and fresh raspberries. It’s a completely different experience but just as cozy.
Serving & Storage Suggestions
Serve the hot cocoa steaming hot in thick ceramic mugs that hold the heat well. I like to warm the mugs beforehand by rinsing them with hot water — it keeps the cocoa hot longer, especially if someone is loading up on toppings.
The homemade marshmallows are best served floating on top of the cocoa, where they slowly melt into a creamy, sweet layer. If you’re serving them on the side, place them in a bowl so guests can grab as many as they want. They’re also delicious toasted over a gas stove or with a kitchen torch — that smoky, caramelized flavor takes the whole experience to another level.
Storage: Store leftover marshmallows in an airtight container at room temperature for up to 2 weeks. Layer them with parchment paper to prevent sticking. Do not refrigerate — they’ll get hard and rubbery. The cocoa base can be refrigerated in an airtight container for up to 4 days. Reheat gently on the stovetop or in the microwave, whisking to recombine. You might need to add a splash of milk to thin it out.
The flavors in the cocoa actually deepen after a day in the fridge, so leftovers can taste even better. Just don’t let it sit too long — dairy doesn’t last forever.
Nutritional Information & Benefits
Per serving (8 oz cocoa with one homemade marshmallow, no additional toppings): approximately 320 calories, 12g fat, 48g carbohydrates, 6g protein, 2g fiber, 35g sugar. These values will vary based on your milk choice and toppings.
A few health highlights: Cocoa powder is rich in antioxidants called flavonoids, which can support heart health and reduce inflammation. The milk and cream provide calcium and vitamin D for bone health. And while these marshmallows aren’t exactly health food, making them at home means you control the ingredients — no high-fructose corn syrup or artificial preservatives.
For a lighter version, use 2% milk and reduce the heavy cream to ¼ cup. You’ll lose some richness but still get a satisfying cup. And honestly, the joy of gathering around a cocoa bar with loved ones has its own mental health benefits. Sometimes comfort food is exactly what we need.
Conclusion
This DIY hot cocoa bar with homemade marshmallows is more than just a recipe — it’s an experience. It’s the kind of thing that turns an ordinary winter evening into something special, where people linger over their mugs and try different topping combinations and laugh about who put too much caramel sauce on top. (It’s usually me.)
I keep making this because it reminds me of that little bookshop café and the way a simple cup of cocoa could make everything feel right. But now, I get to share that feeling with the people I love, in my own home, with marshmallows I made myself. That’s pretty special.
I’d love to hear how your cocoa bar turns out. What toppings did you include? Did anyone try the bourbon version? Drop a comment below and let me know — and if you made these marshmallows, tell me how they went. Happy sipping, friends!
Frequently Asked Questions
Can I make the marshmallows without a stand mixer?
Absolutely. A hand mixer works fine, though your arm might get tired from holding it for 10 minutes. Just make sure you use a deep bowl to avoid splatters. I’ve done it both ways and the results are the same.
Why did my marshmallows turn out sticky?
Sticky marshmallows usually mean they weren’t dusted with enough powdered sugar mixture, or the humidity was too high when you made them. Toss them in more powdered sugar and cornstarch, and store them in a dry, cool place.
Can I use store-bought marshmallows instead?
You can, but honestly, homemade marshmallows are a game-changer. They’re softer, fluffier, and melt differently into the cocoa. If you’re short on time, though, go for it — the cocoa bar will still be wonderful.
How do I keep the cocoa warm for a party?
A slow cooker set to warm works perfectly. Stir it every 20-30 minutes to prevent a skin from forming. Alternatively, use a large thermos or an insulated beverage dispenser. Just don’t leave it on high or it will scorch.
Can I freeze the homemade marshmallows?
Yes! Place them in a single layer in a freezer-safe bag or container, with parchment between layers. They’ll keep for up to 3 months. Thaw at room temperature for about 30 minutes before serving. They might be slightly less fluffy, but still delicious.
Pin This Recipe!
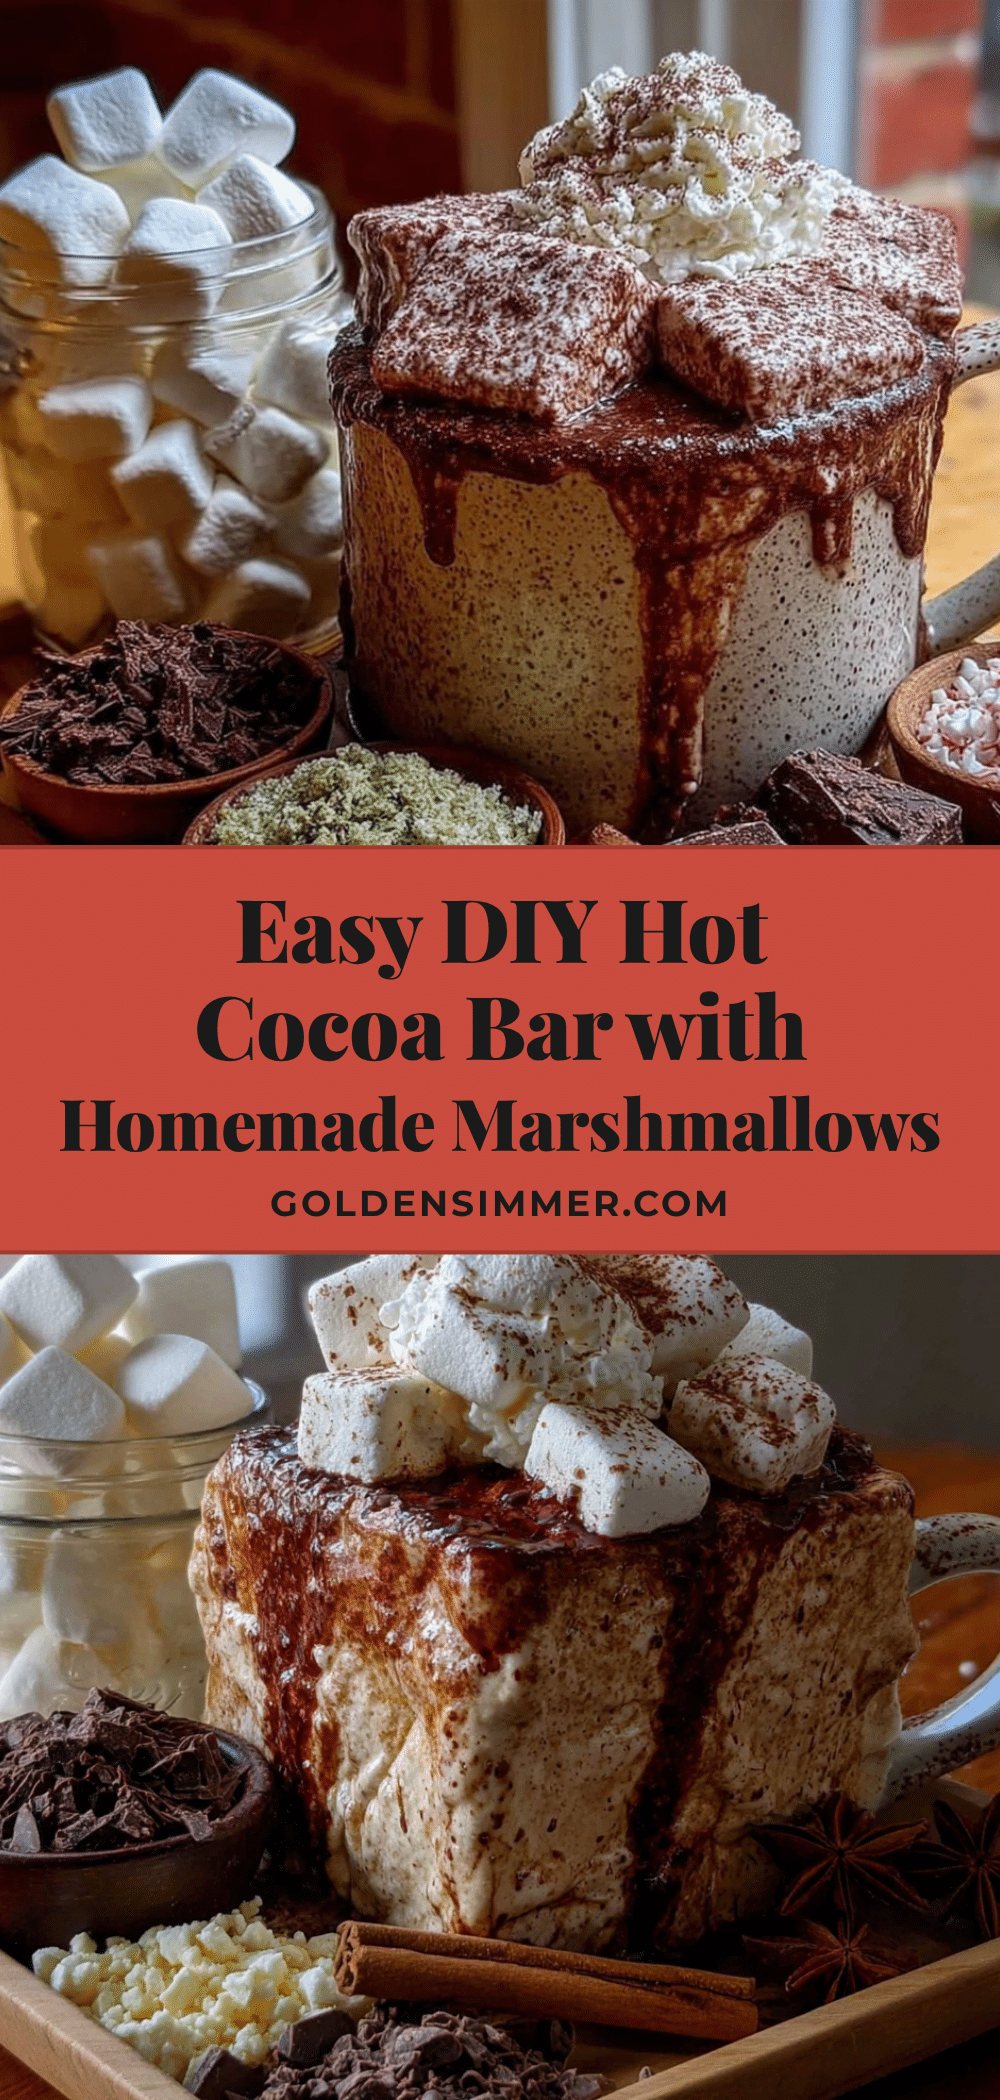
Best DIY Hot Cocoa Bar with Easy Homemade Marshmallows
Create a cozy, customizable hot cocoa bar with rich, homemade cocoa and fluffy, from-scratch marshmallows. Perfect for holiday parties, snow days, or any gathering where comfort and joy are on the menu.
- Prep Time: 20 minutes
- Cook Time: 15 minutes
- Total Time: 4 hours 35 minutes (includes 4 hours setting time for marshmallows)
- Yield: 8 servings 1x
- Category: Beverage
- Cuisine: American
Ingredients
- 1 cup (200g) granulated sugar
- ½ cup (120ml) light corn syrup
- ½ cup (120ml) water, divided
- 3 tablespoons unflavored gelatin (about 3 packets)
- 1 tablespoon (15ml) vanilla extract
- ½ cup (60g) powdered sugar
- ¼ cup (30g) cornstarch
- Pinch of salt
- 4 cups (960ml) whole milk
- ½ cup (120ml) heavy cream
- ½ cup (50g) unsweetened cocoa powder
- ½ cup (90g) semi-sweet chocolate chips
- ¼ cup (50g) granulated sugar
- 1 teaspoon (5ml) vanilla extract
- Pinch of salt
- Whipped cream (homemade or store-bought)
- Chocolate shavings
- Cinnamon sticks
- Crushed peppermint candies
- Mini chocolate chips
- Caramel sauce
- Sea salt flakes
- Marshmallow bits (extra homemade marshmallows cut into small cubes)
Instructions
- Prepare the pan: Line an 8×8 inch baking pan with parchment paper, leaving overhang on two sides. Mix ¼ cup powdered sugar with 2 tablespoons cornstarch and dust the parchment generously. Set aside.
- Bloom the gelatin: In the bowl of a stand mixer, combine ¼ cup cold water with 3 tablespoons gelatin. Stir gently and let sit for about 10 minutes until it forms a thick, jiggly paste.
- Make the sugar syrup: In a medium saucepan, combine 1 cup granulated sugar, ½ cup light corn syrup, ¼ cup water, and a pinch of salt. Stir gently over medium heat until sugar dissolves, then stop stirring. Clip a candy thermometer to the side and bring to 240°F (115°C) — the soft ball stage (about 8-10 minutes).
- Whip the mixture: With the mixer on low speed, slowly pour the hot sugar syrup into the gelatin mixture. Gradually increase speed to high and whip for 10-12 minutes until the mixture turns white, thick, and glossy, holding stiff peaks.
- Add vanilla: During the last minute of whipping, add 1 tablespoon vanilla extract and mix until combined.
- Pour and set: Scrape the marshmallow mixture into the prepared pan. Use a lightly oiled offset spatula to spread evenly. Dust the top with more powdered sugar-cornstarch mixture. Let sit uncovered at room temperature for at least 4 hours or overnight.
- Cut the marshmallows: Turn the set marshmallow block onto a cutting board dusted with powdered sugar mixture. Use a lightly oiled sharp knife or pizza cutter to cut into squares. Toss each piece in remaining powdered sugar mixture. Store in an airtight container for up to 2 weeks.
- Combine dry ingredients for cocoa: In a large pot or Dutch oven, whisk together ½ cup cocoa powder, ¼ cup granulated sugar, and a pinch of salt.
- Add milk and cream: Slowly pour in 4 cups whole milk and ½ cup heavy cream while whisking continuously until fully incorporated.
- Heat gently: Place the pot over medium heat and warm the mixture, whisking occasionally, until steaming hot but not boiling (about 5-7 minutes).
- Add chocolate chips: Add ½ cup semi-sweet chocolate chips and whisk until completely melted and smooth.
- Finish with vanilla: Remove from heat and stir in 1 teaspoon vanilla extract. Taste and adjust sweetness if desired.
- Keep warm: Transfer cocoa to a slow cooker set on warm or a large thermos for serving. Stir occasionally to prevent a skin from forming.
- Set up the hot cocoa bar: Choose a table or counter. Place the slow cooker or thermos of hot cocoa at one end with stacked mugs and a ladle. Arrange small bowls with all toppings: homemade marshmallows, whipped cream, chocolate shavings, crushed peppermint, cinnamon sticks, caramel sauce, and sea salt. Add small spoons for each. Use labels and a small sign with instructions.
Notes
Temperature is crucial for marshmallows: sugar syrup must reach 240°F. Humidity can cause stickiness; make on a dry day. Oil tools to prevent sticking. Do not boil the cocoa. Marshmallows can be made up to 2 weeks ahead; cocoa base can be made 1 day ahead. For dairy-free, use oat milk and coconut cream.
Nutrition
- Serving Size: 8 oz cocoa with one
- Calories: 320
- Sugar: 35
- Sodium: 150
- Fat: 12
- Saturated Fat: 7
- Carbohydrates: 48
- Fiber: 2
- Protein: 6
Keywords: hot cocoa bar, homemade marshmallows, DIY hot chocolate, winter drink, holiday party, cozy drink, marshmallow recipe, hot chocolate bar



