Love this? Save it for later!
Share the inspiration with your friends
The church Christmas potluck was in three hours and I’d completely forgotten. Everyone else would be bringing their showstopper desserts—the kind with seven layers and homemade fondant. I had a carton of store-bought eggnog, a block of cream cheese, and a sinking feeling. My grandmother’s old springform pan was gathering dust in the back of the cabinet, and honestly, I almost grabbed a box of cookies from the gas station instead.
But then I remembered that one year, my aunt had brought a cheesecake that disappeared in ten minutes. I didn’t have her recipe, but I had eggnog—and a stubborn streak. So I started throwing things together: crushed graham crackers, nutmeg, cream cheese, more eggnog than was probably wise. The kitchen looked like a spice bomb went off. I spilled nutmeg all over the counter, forgot to soften the cream cheese all the way, and had to beat it with a fork like a maniac to get it smooth.
When I pulled that cheesecake out of the oven, the whole house smelled like Christmas morning. I let it cool, crossed my fingers, and carried it to the potluck feeling like I was bringing a science experiment. You know that feeling when you’re sure everyone will see right through your last-minute scramble? Yeah, that was me.
Long story short—that cheesecake won the unofficial dessert contest. People were asking for the recipe before I even put my coat back on. I told them it was my grandmother’s, which is sort of true. She taught me that you can make something beautiful out of whatever you have. This best homemade eggnog cheesecake with nutmeg crust has been my go-to ever since. It’s the recipe that taught me that panic and a little bit of holiday spirit can produce something genuinely magical.
Why You’ll Love This Recipe
Let’s be honest—most cheesecake recipes are fussy. Water baths, precise temperatures, worrying about cracks. This one? It’s forgiving. It’s built for real people who don’t have all day but still want something that tastes like you spent all day.
- Quick & Easy: You only need about 20 minutes of active prep time. The oven does the heavy lifting after that.
- Simple Ingredients: No weird extracts or specialty stores. Eggnog, cream cheese, eggs, sugar, and a few pantry staples. That’s it.
- Perfect for the Holidays: Christmas brunch, New Year’s Eve parties, or just a Tuesday in December when you need some extra cheer—this fits everywhere.
- Crowd-Pleaser: I’ve served this to picky kids, dessert snobs, and my uncle who “doesn’t like cheesecake.” It disappeared every time.
- Unbelievably Delicious: The tangy cream cheese meets the spiced sweetness of eggnog, all sitting on a buttery nutmeg crust. It’s comfort food in a slice.
What makes this different from every other eggnog cheesecake out there? The crust. Most recipes use plain graham crackers, but I add a heavy dose of fresh nutmeg and a pinch of clove. It changes everything. That warm, aromatic base makes the eggnog filling sing. Plus, I skip the water bath. You heard me. No water bath, no cracked cheesecake, no stress. I’ll show you the trick that makes it work.
This isn’t just another holiday dessert. It’s the one that makes people close their eyes after the first bite. The one that gets texted around the family group chat. And the best part? You can make it the night before and forget about it until serving time.
What Ingredients You Will Need
This recipe uses simple, wholesome ingredients that you probably already have in your kitchen, especially if you’ve been doing any holiday baking. The magic happens when these everyday things come together with a little eggnog and a lot of nutmeg.
For the Nutmeg Crust
- 1 ½ cups graham cracker crumbs (about 12 full sheets, crushed fine—I use a zip-top bag and a rolling pin, no food processor needed)
- ¼ cup granulated sugar
- ½ teaspoon freshly grated nutmeg (trust me, pre-ground is fine in a pinch, but fresh makes a noticeable difference here)
- ¼ teaspoon ground cloves
- 6 tablespoons unsalted butter, melted (salted butter works too—just skip the pinch of salt I would normally add)
For the Eggnog Cheesecake Filling
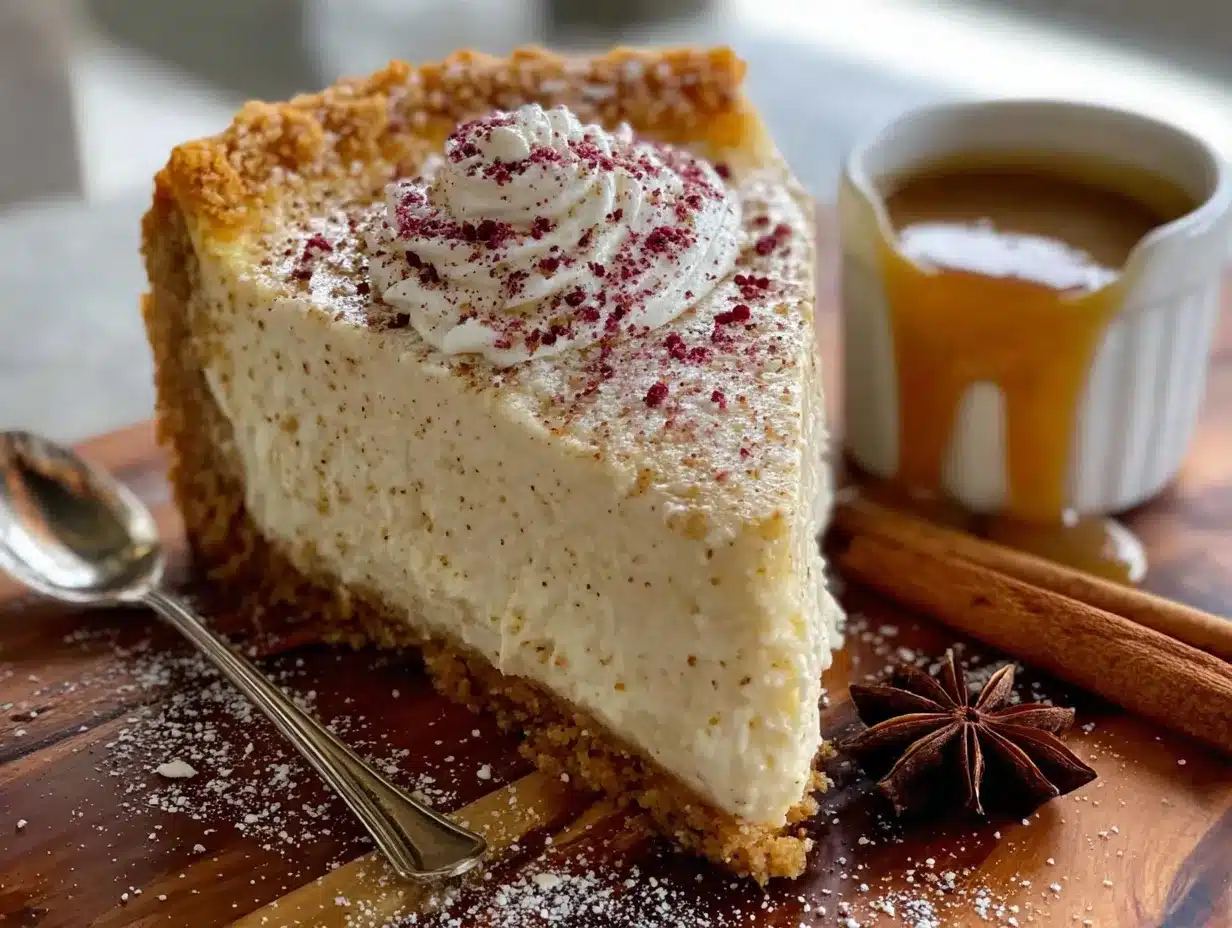
- 32 ounces cream cheese, softened (four 8-ounce blocks—leave them on the counter for at least an hour, seriously)
- 1 cup granulated sugar
- 3 tablespoons all-purpose flour (this helps stabilize the filling and prevents cracking)
- 4 large eggs, room temperature (cold eggs will make your filling lumpy—set them out with the cream cheese)
- 1 ½ cups high-quality eggnog (I prefer a thicker, creamier brand like Hood or a local dairy—avoid the low-fat stuff for best texture)
- 1 teaspoon vanilla extract
- ½ teaspoon freshly grated nutmeg
- ¼ teaspoon ground cinnamon
- Pinch of salt
For the Optional Topping
- 1 cup heavy cream
- 2 tablespoons powdered sugar
- ¼ teaspoon vanilla extract
- Extra freshly grated nutmeg for garnish
A quick note on eggnog: the thicker and richer your eggnog, the better your cheesecake will be. I’ve made this with a budget brand before, and it worked fine, but the texture was slightly looser. If you can splurge on a good one, do it. Also, if you’re dairy-sensitive, you can use a lactose-free eggnog—just know the texture might be a touch softer.
Equipment Needed
You don’t need a professional bakery setup for this one. Here’s what you’ll need:
- 9-inch springform pan (the kind with the latch on the side—nonstick is nice but not required)
- Electric mixer (handheld or stand mixer both work—I’ve used a whisk in a pinch, but your arm will hate you)
- Large mixing bowls (at least two—one for crust, one for filling)
- Measuring cups and spoons
- Rubber spatula (for scraping every last bit of filling—waste not, want not)
- Rolling pin or food processor (for crushing graham crackers—a zip-top bag and a heavy pan work too)
- Baking sheet (to place under the springform pan in case of drips—learn from my mistakes)
- Cooling rack
If you don’t have a springform pan, you can use a deep 9-inch pie dish, but you’ll get shorter slices and a different crust-to-filling ratio. I’d recommend picking up a basic springform pan—they’re usually under $15 and worth every penny for cheesecakes and layered desserts.
Preparation Method
Alright, let’s make some magic. Take your time with these steps—rushing is the only thing that can mess this up.
Step 1: Preheat and Prep the Pan
Preheat your oven to 325°F (160°C). Lightly grease the bottom and sides of your 9-inch springform pan with butter or nonstick spray. Cut a circle of parchment paper to fit the bottom—this guarantees your crust won’t stick. Trust me on this one.
Step 2: Make the Nutmeg Crust
In a medium bowl, combine the graham cracker crumbs, ¼ cup sugar, ½ teaspoon freshly grated nutmeg, and ¼ teaspoon ground cloves. Pour in the melted butter and stir with a fork until every crumb is moistened. It should look like wet sand and clump together when you squeeze it.
Press this mixture firmly into the bottom of your prepared springform pan. Use the bottom of a flat measuring cup or a glass to get it even and compact. Don’t press it up the sides—just the bottom. Bake for 8 minutes, then set aside to cool while you make the filling. Leave the oven on.
Step 3: Beat the Cream Cheese
In a large bowl, beat the softened cream cheese with an electric mixer on medium speed until completely smooth—about 2 minutes. Scrape the bowl and beaters well. This is where most people get lazy, but lumps here mean lumps in your final cheesecake. Be thorough.
Step 4: Add Sugar and Flour
Add the 1 cup of sugar and 3 tablespoons of flour to the cream cheese. Beat on low speed until just combined, then scrape the bowl again. You want to incorporate the dry ingredients without aerating the mixture too much—too much air creates cracks later.
Step 5: Add Eggs One at a Time
Add the eggs one at a time, beating on low speed after each addition just until the yolk disappears. Overmixing at this stage is the number one cause of cracked cheesecakes. Go slow. Be gentle. Your future self will thank you.
Step 6: Add the Eggnog and Spices
With the mixer still on low, slowly pour in the 1 ½ cups of eggnog. Add the vanilla extract, ½ teaspoon nutmeg, ¼ teaspoon cinnamon, and a pinch of salt. Mix until just smooth. The batter will be thinner than a standard cheesecake batter—that’s normal. Don’t panic.
Step 7: Pour and Bake
Pour the filling over the cooled crust. Gently tap the pan on the counter a few times to release any air bubbles. Place the springform pan on a baking sheet (to catch any drips—learned this one the hard way).
Bake at 325°F (160°C) for 55-65 minutes. The edges should be set and slightly puffed, but the center should still jiggle like Jell-O when you gently shake the pan. That jiggle is your friend—it means a creamy, not-dry, cheesecake.
Step 8: Cool Slowly
Turn off the oven, crack the door open (stick a wooden spoon in it), and let the cheesecake sit inside for one hour. This gradual cooling prevents the dreaded crack. After an hour, remove it from the oven and run a thin knife around the edge of the pan to loosen the cheesecake—this helps prevent cracking as it continues to cool.
Let it cool completely on a wire rack, then refrigerate for at least 4 hours, but overnight is best. I know the wait is torture, but this is where the magic happens.
Cooking Tips & Techniques
I’ve made this best homemade eggnog cheesecake with nutmeg crust about a dozen times now, and I’ve messed it up in almost every way possible. Here’s what I’ve learned so you don’t have to repeat my mistakes.
Room temperature ingredients are non-negotiable. I once tried to rush it with cold cream cheese, and my filling looked like cottage cheese with lumps. Not cute. Leave your cream cheese, eggs, and even your eggnog on the counter for at least an hour before starting.
Don’t overbeat the filling. I know it’s tempting to whip it until it’s fluffy, but that incorporates too much air. Those air bubbles expand in the oven, then collapse, leaving you with a cracked surface. Mix on low and stop as soon as everything is combined.
The water bath shortcut. Traditional cheesecakes use a water bath to prevent cracking. I skip it. Instead, I place a shallow pan of hot water on the oven rack below the cheesecake. The steam keeps the oven moist without the risk of water leaking into your pan. Works like a charm.
Fresh nutmeg makes a difference. I know it’s an extra step, but grating a whole nutmeg over your crust and filling adds a warmth that pre-ground stuff just can’t match. It’s like the difference between a handwritten letter and a text message.
Patience with cooling. I’ve ruined two cheesecakes by rushing the cooling process. The slow cool in the oven, then on the counter, then in the fridge—each step matters. Skipping any of them is a gamble.
Variations & Adaptations
This recipe is flexible, and I love playing around with it depending on what I have or who I’m serving.
Gluten-Free Version: Swap the graham cracker crumbs for gluten-free ginger snaps or gluten-free vanilla wafer crumbs. The texture is actually better in my opinion—crunchier and more flavorful.
Boozy Eggnog Cheesecake: Add 2 tablespoons of dark rum or bourbon to the filling along with the eggnog. It adds a grown-up warmth that pairs beautifully with the nutmeg. Just don’t tell the kids.
Pumpkin Eggnog Hybrid: Replace ½ cup of the eggnog with ½ cup of pumpkin puree and add an extra teaspoon of pumpkin pie spice. It’s like Thanksgiving and Christmas had a delicious baby.
Mini Cheesecakes: Use a muffin tin with liners instead of a springform pan. Press the crust into the bottom of each liner, fill, and bake for 18-22 minutes. Perfect for parties or portion control.
Dairy-Free Adaptation: Use dairy-free cream cheese (I like Kite Hill or Tofutti), a dairy-free eggnog, and a plant-based butter for the crust. The texture will be slightly less dense, but the flavor is still fantastic.
My personal favorite variation? I add a layer of caramel sauce on top of the crust before pouring in the filling. The caramel bubbles up through the cheesecake as it bakes, creating little pockets of sweetness. It’s ridiculous in the best way.
Serving & Storage Suggestions
This cheesecake is best served chilled, straight from the fridge. Let it sit at room temperature for about 10 minutes before slicing for cleaner cuts. Use a sharp knife dipped in hot water and wiped dry between slices—this gives you those beautiful, clean edges that make people think you’re a professional.
I love serving it with a dollop of lightly sweetened whipped cream and a generous dusting of freshly grated nutmeg on top. A drizzle of caramel sauce or a few sugared cranberries on the side makes it look extra festive for holiday gatherings.
For drinks, it pairs beautifully with a strong cup of black coffee, a spiced chai latte, or—if you’re feeling festive—a glass of actual eggnog with a splash of bourbon.
Storage: Cover the cheesecake tightly with plastic wrap or store it in an airtight cake carrier. It will keep in the refrigerator for up to 5 days. Honestly, it tastes even better on day two after the flavors have had time to meld.
Freezing: This cheesecake freezes like a dream. Wrap the completely cooled (and fully set) cheesecake in two layers of plastic wrap, then a layer of aluminum foil. Freeze for up to 3 months. To thaw, move it to the refrigerator for 24 hours. Do not thaw at room temperature—it gets weepy.
Reheating: Don’t. This is a cold dessert. If you want a warm dessert, make a different recipe. But if you absolutely must, a 10-second zap in the microwave on low power will take the chill off without ruining the texture.
Nutritional Information & Benefits
Let’s be real—this is a dessert, not a health food. But here’s the breakdown for one slice (based on 12 servings):
- Calories: Approximately 410
- Fat: 28g
- Saturated Fat: 16g
- Carbohydrates: 35g
- Sugar: 26g
- Protein: 8g
- Calcium: 10% of daily value
- Vitamin A: 15% of daily value
The eggnog and cream cheese provide a decent amount of calcium and protein, and the eggs add vitamin D and B12. The nutmeg in the crust contains small amounts of antioxidants and has been used in traditional medicine for digestion. But honestly? The biggest benefit here is the joy it brings to your holiday table. Sometimes food is just about happiness, and that’s okay.
If you’re watching your sugar intake, you can reduce the sugar to ¾ cup without significantly affecting the texture. For a lower-fat option, use Neufchâtel cream cheese (the kind in the silver wrapper) instead of full-fat cream cheese—it saves about 40 calories and 5 grams of fat per slice.
Conclusion
This best homemade eggnog cheesecake with nutmeg crust has become my holiday signature, and I’m not even a little bit sorry about it. It’s the dessert that turns a regular family dinner into a celebration, the one that gets requested year after year by people who claim they “don’t even like cheesecake.”
What I love most is how it brings people together. There’s something about that first bite—the creamy, spiced filling against the crunchy, buttery crust—that makes everyone pause and smile. It’s comfort, tradition, and a little bit of holiday magic all in one slice.
I hope you make this for your family, your friends, or just for yourself on a cozy December evening. Don’t be afraid to tweak it, make it your own, and serve it with pride. And when someone asks for the recipe—and they will—tell them it’s your grandmother’s. She won’t mind.
Have you made this recipe? I’d love to hear how it turned out! Drop a comment below, share a photo, or tell me your favorite variation. And if you’re looking for more holiday inspiration, check out my eggnog quick bread or this pumpkin cheesecake bars recipe for another crowd-pleasing option. Happy baking, friends!
Frequently Asked Questions
Can I use low-fat or light eggnog?
You can, but the texture will be softer and less creamy. Full-fat eggnog gives the best results. If you’re watching calories, I’d recommend using full-fat eggnog but cutting the sugar slightly instead.
Why did my cheesecake crack?
Cracks usually happen from overmixing the filling, baking too long, or cooling too quickly. Make sure you’re mixing on low speed, pulling the cheesecake out while the center still jiggles, and cooling it slowly in the oven with the door cracked open.
Can I make this cheesecake ahead of time?
Absolutely! In fact, I recommend it. Make it a day or two ahead and keep it refrigerated. The flavors meld and the texture sets perfectly. Just add the whipped cream topping right before serving.
How do I know when the cheesecake is done baking?
The edges should be set and slightly puffed, but the center (about a 2-inch circle) should still jiggle when you gently shake the pan. It will continue to set as it cools. Overbaking is the enemy of creamy cheesecake.
Can I use a store-bought graham cracker crust?
You can in a pinch, but the homemade nutmeg crust is really what makes this recipe special. The fresh nutmeg and clove in the crust complement the eggnog filling perfectly. If you’re short on time, at least add some nutmeg to the store-bought crust before filling it.
Pin This Recipe!
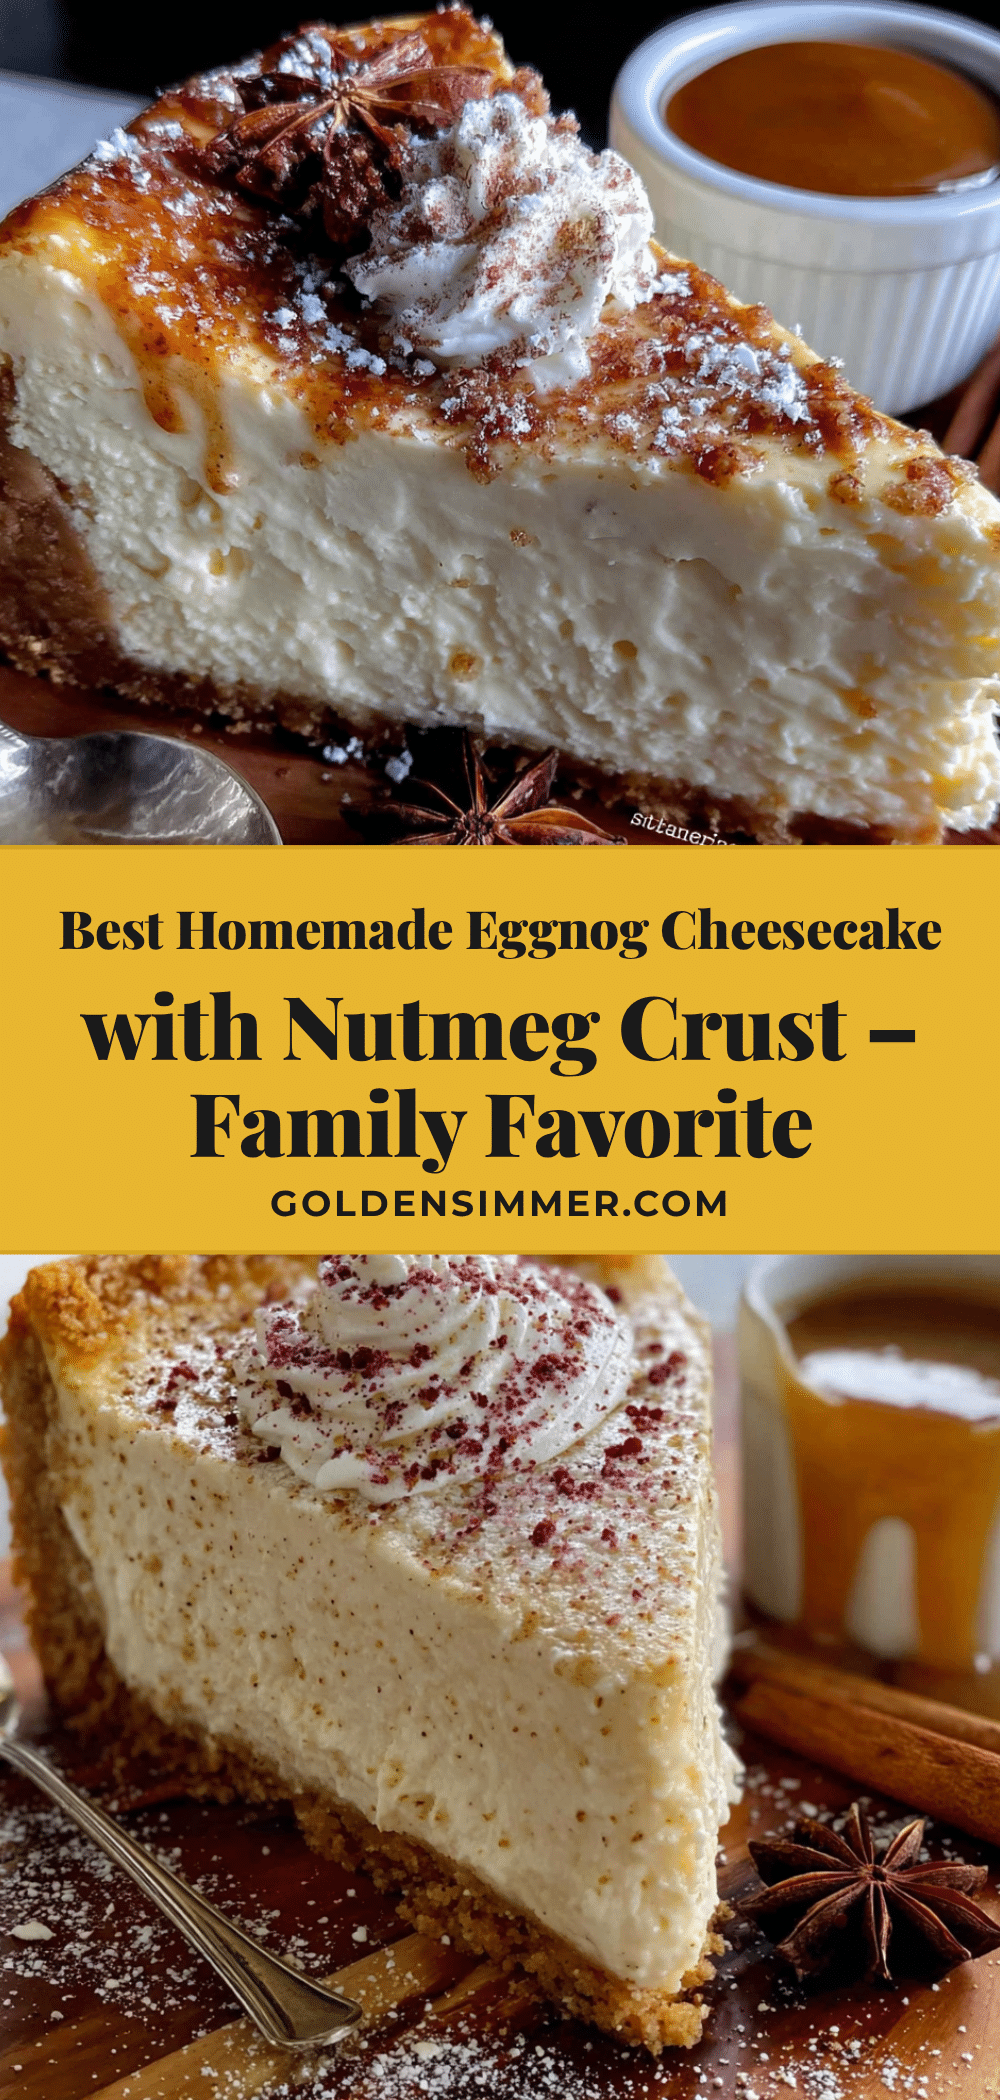
Best Homemade Eggnog Cheesecake with Nutmeg Crust
A creamy, spiced eggnog cheesecake with a buttery nutmeg crust that’s perfect for holiday gatherings. This forgiving recipe skips the water bath and delivers a showstopper dessert with simple ingredients.
- Prep Time: 20 minutes
- Cook Time: 55-65 minutes
- Total Time: 5 hours 20 minutes (including cooling and chilling)
- Yield: 12 servings 1x
- Category: Dessert
- Cuisine: American
Ingredients
- 1 ½ cups graham cracker crumbs (about 12 full sheets)
- ¼ cup granulated sugar
- ½ teaspoon freshly grated nutmeg
- ¼ teaspoon ground cloves
- 6 tablespoons unsalted butter, melted
- 32 ounces cream cheese, softened (four 8-ounce blocks)
- 1 cup granulated sugar
- 3 tablespoons all-purpose flour
- 4 large eggs, room temperature
- 1 ½ cups high-quality eggnog
- 1 teaspoon vanilla extract
- ½ teaspoon freshly grated nutmeg
- ¼ teaspoon ground cinnamon
- Pinch of salt
- 1 cup heavy cream (for optional topping)
- 2 tablespoons powdered sugar (for optional topping)
- ¼ teaspoon vanilla extract (for optional topping)
- Extra freshly grated nutmeg for garnish
Instructions
- Preheat oven to 325°F (160°C). Lightly grease a 9-inch springform pan and line the bottom with parchment paper.
- In a medium bowl, combine graham cracker crumbs, ¼ cup sugar, ½ teaspoon nutmeg, and ¼ teaspoon cloves. Stir in melted butter until mixture resembles wet sand.
- Press crust firmly into the bottom of the prepared pan. Bake for 8 minutes, then set aside to cool. Leave oven on.
- In a large bowl, beat softened cream cheese with an electric mixer on medium speed until smooth, about 2 minutes. Scrape bowl and beaters.
- Add 1 cup sugar and 3 tablespoons flour to cream cheese. Beat on low until just combined. Scrape bowl again.
- Add eggs one at a time, beating on low after each addition just until yolk disappears. Do not overmix.
- With mixer on low, slowly pour in eggnog. Add vanilla, ½ teaspoon nutmeg, ¼ teaspoon cinnamon, and a pinch of salt. Mix until just smooth.
- Pour filling over cooled crust. Tap pan on counter to release air bubbles. Place pan on a baking sheet.
- Bake at 325°F (160°C) for 55-65 minutes, until edges are set but center still jiggles.
- Turn off oven, crack door open, and let cheesecake sit inside for 1 hour. Then run a thin knife around the edge of the pan.
- Cool completely on a wire rack, then refrigerate for at least 4 hours or overnight.
- For optional topping: Beat heavy cream, powdered sugar, and vanilla until soft peaks form. Serve cheesecake with whipped cream and a dusting of nutmeg.
Notes
Room temperature ingredients are essential for a smooth filling. Skip the water bath and place a shallow pan of hot water on the oven rack below the cheesecake to prevent cracking. Freshly grated nutmeg makes a noticeable difference. For best results, refrigerate overnight.
Nutrition
- Serving Size: 1 slice
- Calories: 410
- Sugar: 26
- Sodium: 350
- Fat: 28
- Saturated Fat: 16
- Carbohydrates: 35
- Protein: 8
Keywords: eggnog cheesecake, holiday dessert, Christmas cheesecake, nutmeg crust, no water bath cheesecake



