Love this? Save it for later!
Share the inspiration with your friends
I was standing in the middle of a grocery store parking lot last Tuesday when it hit me—that specific, almost buttery smell of warm cookies mixing with the cool evening air. And suddenly I was seven years old at my Aunt Carla’s tiny apartment, her flour-dusted hands pressing a warm cookie into my palm while she laughed at something on the TV. She’s been gone five years now, and I still can’t walk past a bakery without stopping, hoping to catch that exact scent again.
Here’s the thing about chasing memories through food—you never quite get there on the first try. Or the second. Honestly, I’ve burned through more butter than I care to admit trying to recreate those cookies. My first batch came out flat as pancakes. The second one? Let’s just say my smoke alarm has opinions about my baking skills now. But somewhere between batch number four and my neighbor Steve knocking on my door asking if everything was okay (the smoke, again), I finally cracked the code.
These small batch chocolate chip cookies aren’t just any recipe. They’re the ones that made me close my eyes after that first bite and actually feel like I was back in Aunt Carla’s kitchen for a second. The edges are perfectly golden and crisp, the centers are soft and chewy, and there’s just enough salt to make the chocolate sing. I’ve served them at dinner parties, brought them to potlucks, and yes, eaten more than my fair share straight off the baking sheet. Maybe you’ve been there too—standing over a warm cookie, telling yourself you’ll save some for later, knowing full well that’s not happening.
Why You’ll Love This Recipe
Look, I’m not here to tell you these are the only chocolate chip cookies you’ll ever need. But let me tell you—after testing this recipe on more friends and family than I can count, I’ve never had leftovers. Not once. And that’s saying something coming from someone who’s been developing recipes for over a decade.
- Small Batch Perfection: Makes exactly 8-10 cookies—no more, no less. Perfect for when you want fresh cookies without committing to three dozen.
- No Stand Mixer Required: Everything comes together in one bowl with just a whisk and a spatula. Less cleanup, more cookies.
- Pantry Staples: You probably have everything you need right now. No weird ingredients or specialty store trips required.
- 30 Minutes Start to Finish: From mixing to eating in half an hour. That’s faster than ordering delivery.
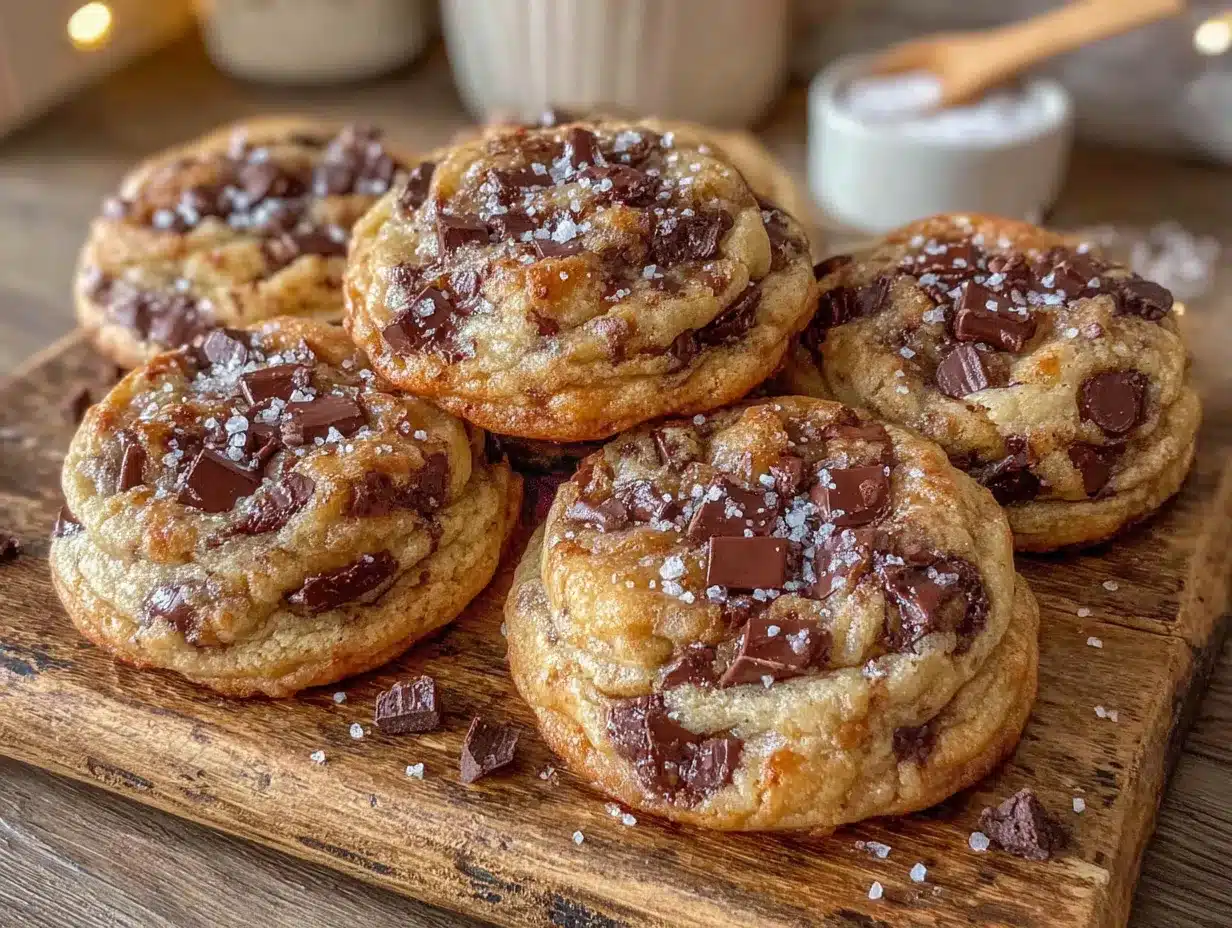
- Guest-Ready Presentation: These cookies look like they came from a bakery—golden edges, domed centers, and perfectly melted chocolate chips.
- Freezer-Friendly: Make the dough ahead and bake fresh when guests show up unexpectedly.
What makes these different from every other chocolate chip cookie recipe out there? It’s the technique. I spent weeks testing the perfect ratio of melted butter to brown sugar, the ideal resting time for the dough, and the exact oven temperature that gives you that crispy edge without burning the bottom. The result is a cookie that’s got that professional bakery look but tastes like something your grandmother would make—if your grandmother was a pastry chef who really knew her way around butter.
These are the cookies you bring to a dinner party when you want to impress but don’t want to stress. They’re the ones your friends will text you about the next morning, asking for the recipe. And honestly? They’re the cookies that made me stop chasing Aunt Carla’s memory and start making my own.
What Ingredients You Will Need
This recipe keeps things simple with ingredients you probably already have in your kitchen. The magic isn’t in fancy additions—it’s in how these everyday staples work together when you treat them right.
- Unsalted butter, melted and slightly cooled (6 tablespoons / 85g): I use Kerrygold for the extra richness, but any good-quality unsalted butter works. Melting the butter gives these cookies their chewy texture and toasty flavor.
- Dark brown sugar, packed (½ cup / 110g): This is non-negotiable for the deep, molasses-like flavor and that soft, chewy center. Light brown sugar won’t give you the same depth.
- Granulated sugar (¼ cup / 50g): Adds just enough sweetness and helps create those crispy edges. Don’t skip it—the combination of both sugars is key.
- One large egg yolk (save the white for breakfast): Using just the yolk gives you a richer, more tender cookie without making the dough too wet. Room temperature works best.
- Vanilla extract (1 teaspoon): I’m partial to Nielsen-Massey Madagascar vanilla, but use whatever you have. Just make sure it’s pure extract, not imitation.
- All-purpose flour (1 cup / 125g): Spoon and level your flour—scooping directly from the bag packs in too much and makes dry cookies. King Arthur Flour is my go-to.
- Baking soda (½ teaspoon): Make sure it’s fresh. If you can’t remember when you bought it, it’s probably time for a new box.
- Fine sea salt (½ teaspoon): I prefer fine sea salt over table salt—it dissolves more evenly and doesn’t leave that harsh salty aftertaste.
- Semi-sweet chocolate chips (¾ cup / 130g): Guittard or Ghirardelli are my favorites. For a more rustic look, chop a chocolate bar into chunks instead—you get those lovely irregular pieces that melt into puddles.
- Flaky sea salt for finishing (optional but highly recommended): A sprinkle of Maldon salt right when the cookies come out of the oven takes them from good to unforgettable.
Substitution Notes: If you’re dairy-free, use a high-quality vegan butter stick (not margarine) and make sure your chocolate chips are dairy-free. For a gluten-free version, swap the all-purpose flour with a 1:1 gluten-free baking blend—I’ve had good results with Bob’s Red Mill. Just know the texture will be slightly different, more delicate and crumbly.
Equipment Needed
You don’t need a fancy kitchen to make these cookies. Here’s what you’ll actually use:
- Large mixing bowl: Any bowl works, but a wide one makes mixing easier. I use my grandmother’s old ceramic bowl—it’s chipped on the edge but holds memories along with cookie dough.
- Whisk: For combining the wet ingredients and sugar. A fork works in a pinch.
- Rubber spatula or wooden spoon: For folding in the flour and chocolate chips. I prefer a silicone spatula—less sticking, easier cleanup.
- Baking sheet: A light-colored, rimmed baking sheet gives the most even browning. Dark sheets can burn the bottoms before the centers are done.
- Parchment paper or silicone baking mat: Parchment paper is cheaper and gives crispier bottoms. Silicone mats work too but can make cookies spread slightly more.
- Cookie scoop (1.5 tablespoon size): Not essential, but it gives you evenly sized cookies that bake at the same rate. A regular tablespoon works too.
- Cooling rack: Lets air circulate around the cookies so they don’t get soggy on the bottom. If you don’t have one, slide the parchment onto the counter.
I’ve made these cookies in a tiny apartment kitchen with a warped baking sheet and a whisk that had seen better days. They still turned out great. Don’t let fancy equipment stop you.
Preparation Method
- Preheat your oven to 350°F (175°C) and position the rack in the center. Line your baking sheet with parchment paper. While the oven heats, melt your butter—I do this in the microwave in 20-second bursts, stirring between each, until just melted. Set it aside to cool slightly while you gather the rest.
- In your large mixing bowl, combine the melted butter with both sugars. Whisk vigorously for about 2 minutes until the mixture looks like wet sand and has lightened slightly in color. This step is important—it’s where you start building that toffee-like flavor. Don’t rush it.
- Add the egg yolk and vanilla extract to the butter-sugar mixture. Whisk until everything is fully combined and the mixture looks smooth and glossy, about 30 seconds. It should smell amazing already—that butter-vanilla combination is pure comfort.
- In a separate small bowl, whisk together the flour, baking soda, and fine sea salt. This ensures the leavening and salt are evenly distributed. If you skip this step, you might end up with a pocket of baking soda in one cookie—trust me, I’ve been there, and it’s not pleasant.
- Add the dry ingredients to the wet ingredients and fold together with your spatula until just combined. You want to see a few streaks of flour remaining—overmixing at this stage develops gluten and makes tough cookies. Fold in the chocolate chips until they’re evenly distributed throughout the dough.
- This is the hard part: let the dough rest for 10 minutes. I know you want to bake them right now. I know. But this rest allows the flour to fully hydrate and the flavors to meld. The cookies will be exponentially better for it. Use this time to wash your mixing bowl or just stare at the dough impatiently—I’ve done both.
- Scoop the dough into 1.5-tablespoon portions (about the size of a golf ball) and place them 3 inches apart on your prepared baking sheet. I usually fit 6 cookies per sheet. Don’t be tempted to crowd them—they need room to spread.
- Bake for 10-12 minutes, rotating the pan halfway through. You’re looking for golden edges with centers that still look slightly underdone and puffy. The cookies will continue baking on the hot pan after you pull them out. At 10 minutes, they’re soft and gooey; at 12, they’re more set but still chewy.
- Remove from the oven and immediately sprinkle with flaky sea salt if you’re using it. Let the cookies cool on the baking sheet for 5 minutes—this is crucial for them to set properly. Then transfer to a cooling rack. Or just eat one warm. I won’t tell anyone.
Cooking Tips & Techniques
After more batches than I care to count, here’s what I’ve learned the hard way so you don’t have to:
The butter temperature matters more than you think. If your melted butter is too hot when you add the egg yolk, you’ll end up with scrambled eggs in your cookie dough. Let it cool for at least 5 minutes after melting. I once got impatient and ended up with lumpy, sad dough that went straight in the trash.
Chill the dough if you have time. While this recipe works without chilling, 30 minutes in the fridge gives you thicker, chewier cookies with more developed flavor. For make-ahead hosting, you can refrigerate the dough for up to 3 days—just let it sit at room temperature for 10 minutes before scooping.
Use a cookie scoop for consistent sizing. I learned this after baking cookies that ranged from “cute little bite” to “monster cookie the size of my face.” Evenly sized cookies bake evenly. Your guests will thank you.
Don’t overbake. Seriously. Pull them when the edges are golden and the centers look slightly underdone. They’ll continue cooking on the hot sheet. Overbaked cookies are the number one complaint I hear from home bakers, and it breaks my heart every time.
For that bakery-style look, press a few extra chocolate chips into the top of each dough ball right before baking. It makes them look gorgeous and ensures every cookie gets enough chocolate. My friend Sarah calls this the “money shot” and she’s not wrong.
If your cookies spread too much, your butter was too warm or you didn’t use enough flour. Next time, chill the dough for 15 minutes before baking. If they’re too thick and didn’t spread, your flour was over-measured or your baking soda is old.
Variations & Adaptations
One of the best things about this recipe is how easily it adapts. Here are some of my favorite variations:
Double Chocolate Chip: Replace 2 tablespoons of flour with unsweetened cocoa powder. Use dark chocolate chips instead of semi-sweet. The result is a rich, fudgy cookie that feels incredibly decadent—perfect for when you want to impress chocolate lovers.
Sea Salt & Toffee: Add ½ cup of chopped toffee bits along with the chocolate chips. The buttery, crunchy toffee pairs beautifully with the flaky sea salt finish. I made these for a holiday party and they disappeared in under 10 minutes.
Gluten-Free Adaptation: Swap the all-purpose flour for a good 1:1 gluten-free baking blend. Add an extra tablespoon of milk or water if the dough seems too dry. The texture will be slightly more delicate, but the flavor is still incredible—my gluten-sensitive friends request these constantly.
Vegan Version: Use melted coconut oil or vegan butter instead of dairy butter, and a flax egg (1 tablespoon ground flaxseed mixed with 3 tablespoons water, rested for 5 minutes) instead of the egg yolk. The cookies will be slightly less rich but still delicious. I’ve served these to vegan and non-vegan guests alike with zero complaints.
Spiced Chai: Add 1 teaspoon of chai spice blend (cinnamon, cardamom, ginger, cloves) to the flour mixture. The warm spices complement the chocolate beautifully and make these feel special for fall gatherings.
My personal favorite variation? I once added a tablespoon of espresso powder to the butter-sugar mixture and used dark chocolate chunks instead of chips. The coffee deepens the chocolate flavor without making the cookies taste like coffee. My Aunt Carla would have loved them—she was never one to follow a recipe exactly anyway.
Serving & Storage Suggestions
These cookies are best served warm, obviously. But here’s how to make them shine for your guests:
For a dinner party: Arrange the warm cookies on a beautiful platter with a small bowl of flaky sea salt alongside. Serve with a glass of cold milk or a scoop of vanilla ice cream. The contrast of warm cookie and cold ice cream is unbeatable.
For a potluck or gathering: Bake them just before you leave, let them cool completely, and stack them in a container with parchment paper between layers. They’ll stay fresh for up to 3 days at room temperature. Pro tip: warm them in a 300°F oven for 5 minutes before serving for that fresh-baked experience.
Storage: Keep baked cookies in an airtight container at room temperature for up to 5 days. Add a slice of bread to the container to keep them soft—the cookies will absorb the moisture. Replace the bread slice every other day.
Freezing: Scoop the dough into balls and freeze on a baking sheet until solid, then transfer to a freezer bag. Bake from frozen, adding 2-3 minutes to the baking time. You can have fresh cookies in 15 minutes whenever the craving hits. I always keep a batch in my freezer for unexpected guests.
Reheating: Microwave a single cookie for 10-15 seconds for that just-baked warmth. For multiple cookies, pop them in a 300°F oven for 5 minutes. The edges crisp back up and the centers get soft again.
The flavors actually improve after a day or two—the brown sugar and vanilla meld together, and the texture becomes perfectly chewy. If you can resist eating them all immediately, you’ll be rewarded.
Nutritional Information & Benefits
Let’s be real—these are cookies, not health food. But here’s what you’re getting in each serving (based on 10 cookies):
| Nutrient | Amount per Cookie |
|---|---|
| Calories | 185 |
| Total Fat | 11g |
| Saturated Fat | 6g |
| Carbohydrates | 22g |
| Sugar | 14g |
| Protein | 2g |
| Sodium | 95mg |
What’s good about them: Dark brown sugar contains molasses, which provides small amounts of minerals like calcium and potassium. Dark chocolate (70% or higher) is rich in antioxidants. And honestly? There’s something to be said for the mental health benefits of a perfectly baked cookie shared with people you love.
Dietary considerations: This recipe contains gluten, dairy, and eggs. For allergen-friendly versions, check the variations section above. These cookies are also relatively low in sodium compared to store-bought options, especially if you skip the flaky salt finish.
I’m not a nutritionist, and I firmly believe that food should be enjoyed without guilt. A cookie now and then isn’t going to derail anyone’s health goals—it’s about balance. And sometimes, balance means eating a warm cookie straight off the baking sheet and not feeling bad about it.
Conclusion
These small batch chocolate chip cookies have become my signature for a reason. They’re the ones I bring to dinner parties, the ones my friends request for their birthdays, the ones that made my neighbor Steve stop asking about the smoke and start asking when the next batch would be ready.
What I love most about this recipe is how forgiving it is. You can mess up the timing, forget to chill the dough, accidentally use salted butter—and they’ll still be delicious. They’re not about perfection; they’re about sharing something warm and sweet with the people around your table.
I’d love to hear how yours turn out. Did you try a variation? Did you eat all of them before your guests arrived? (No judgment here.) Leave a comment below and tell me about it—I read every single one. And if you’re looking for more crowd-pleasing desserts, check out our easy chocolate lava cakes for another guaranteed hit.
Now go preheat that oven. Your cookies are waiting.
Frequently Asked Questions
Can I double this recipe?
Absolutely. Just double all the ingredients and follow the same instructions. You might need to bake in batches depending on your oven size. The dough also freezes beautifully if you want to save half for later.
Why did my cookies turn out flat?
Flat cookies usually mean your butter was too warm, your flour was under-measured, or your baking soda is old. Next time, chill the dough for 15-20 minutes before baking and make sure you’re spooning and leveling your flour.
Can I use margarine instead of butter?
I don’t recommend it. Margarine has a higher water content, which changes the texture and spread of the cookies. Stick with real butter for the best flavor and texture. If you need dairy-free, use a high-quality vegan butter stick.
How do I make these cookies chewier?
Use an extra tablespoon of brown sugar and reduce the granulated sugar by a tablespoon. Also, pull the cookies from the oven when the centers still look slightly underdone. The residual heat will finish baking them while keeping the centers soft and chewy.
Can I use chocolate chunks instead of chips?
Yes, and I actually prefer chunks! They melt into irregular puddles of chocolate that look more rustic and homemade. Just chop a good-quality chocolate bar into ½-inch pieces and use the same amount as the chips.
Pin This Recipe!
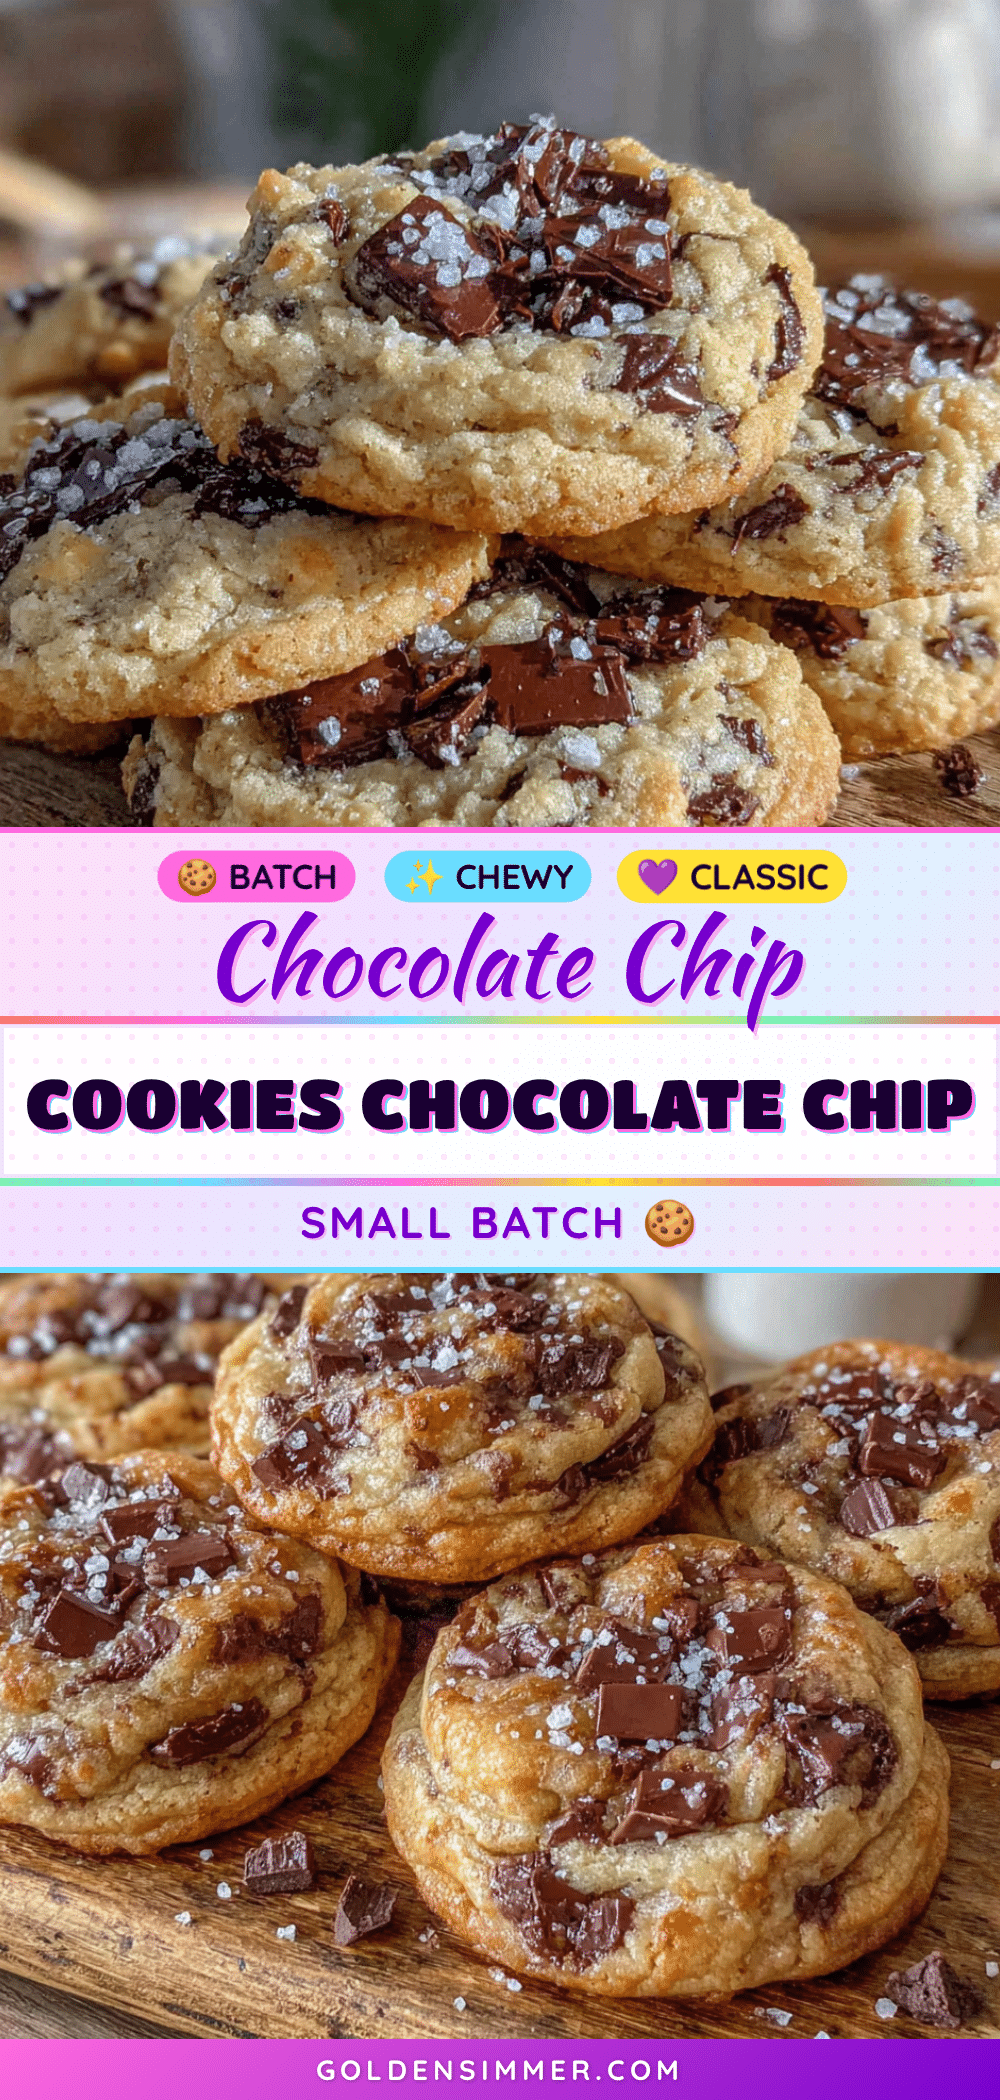
Best Small Batch Chocolate Chip Cookies (Guest Favorite!)

These small batch chocolate chip cookies have perfectly golden and crisp edges, soft and chewy centers, and just enough salt to make the chocolate sing. They come together in one bowl with no stand mixer required and are ready in 30 minutes.
- Prep Time: 15 minutes
- Cook Time: 12 minutes
- Total Time: 27 minutes
- Yield: 8-10 cookies 1x
- Category: Dessert
- Cuisine: American
Ingredients
- 6 tablespoons (85g) unsalted butter, melted and slightly cooled
- ½ cup (110g) dark brown sugar, packed
- ¼ cup (50g) granulated sugar
- 1 large egg yolk
- 1 teaspoon vanilla extract
- 1 cup (125g) all-purpose flour
- ½ teaspoon baking soda
- ½ teaspoon fine sea salt
- ¾ cup (130g) semi-sweet chocolate chips
- Flaky sea salt for finishing (optional)
Instructions
- Preheat your oven to 350°F (175°C) and position the rack in the center. Line your baking sheet with parchment paper. Melt the butter in the microwave in 20-second bursts, stirring between each, until just melted. Set aside to cool slightly.
- In a large mixing bowl, combine the melted butter with both sugars. Whisk vigorously for about 2 minutes until the mixture looks like wet sand and has lightened slightly in color.
- Add the egg yolk and vanilla extract to the butter-sugar mixture. Whisk until fully combined and smooth, about 30 seconds.
- In a separate small bowl, whisk together the flour, baking soda, and fine sea salt.
- Add the dry ingredients to the wet ingredients and fold together with a spatula until just combined, with a few streaks of flour remaining. Fold in the chocolate chips until evenly distributed.
- Let the dough rest for 10 minutes.
- Scoop the dough into 1.5-tablespoon portions (about the size of a golf ball) and place them 3 inches apart on the prepared baking sheet.
- Bake for 10-12 minutes, rotating the pan halfway through, until the edges are golden and the centers still look slightly underdone and puffy.
- Remove from the oven and immediately sprinkle with flaky sea salt if using. Let the cookies cool on the baking sheet for 5 minutes, then transfer to a cooling rack.
Notes
For thicker, chewier cookies, chill the dough for 30 minutes before baking. For a bakery-style look, press a few extra chocolate chips into the top of each dough ball before baking. If your cookies spread too much, the butter was too warm or you didn’t use enough flour. If they’re too thick, your flour was over-measured or your baking soda is old.
Nutrition
- Serving Size: 1 cookie
- Calories: 185
- Sugar: 14
- Sodium: 95
- Fat: 11
- Saturated Fat: 6
- Carbohydrates: 22
- Fiber: 1
- Protein: 2
Keywords: small batch chocolate chip cookies, easy chocolate chip cookies, one bowl cookies, no mixer cookies, 30 minute cookies, chewy chocolate chip cookies



