Love this? Save it for later!
Share the inspiration with your friends
My friend Jenna swore she hated molasses. For years. Every time someone mentioned gingerbread cookies she’d make that face—you know the one—like she’d just bitten into a lemon wrapped in bitterness. I didn’t argue. Some people just don’t get it, I figured. Then last December I was testing holiday recipes on a Tuesday afternoon, apron dusted with flour, the kitchen smelling like a Christmas candle factory exploded. I had a batch of these brown butter gingerbread crinkle cookies cooling on the counter, and I walked back in from answering my phone to find Jenna standing there, mid-bite, eyes wide.
“What is this?” she mumbled, crumbs falling. “This is not gingerbread.”
I just smiled. That’s the thing about these cookies. They don’t taste like the dry, dusty gingerbread men you remember from office parties or the ones your aunt used to make that could double as hockey pucks. These are different. They’re chewy. They’re rich. And that brown butter situation? Honestly, it changes everything. The molasses isn’t bossy here—it’s a team player, adding depth without that heavy, almost medicinal taste some people can’t get past. I mean, I love the stuff, but even I get it.
Let me tell you, there’s a moment when you’re browning the butter and it suddenly smells like toasted hazelnuts and caramel, and you think, okay, this is going to work. And then you mix in the dark brown sugar and the molasses, and the whole kitchen shifts into something warm and cozy and a little bit magical. Maybe you’ve been there—that feeling when a recipe just clicks before it even hits the oven.
These cookies have become my non-negotiable holiday bake. I make them every year now, sometimes twice. They freeze beautifully, they travel well, and they have this uncanny ability to convert even the most stubborn molasses skeptics. I keep making them because they remind me that sometimes the best things happen when you’re not trying to prove anything to anyone. You’re just making cookies. And then someone catches you in the act of being right.
Why You’ll Love This Recipe
Look, I’ve tested a lot of gingerbread cookie recipes. Some were too cakey. Some spread into flat, sad discs. Some tasted great on day one but turned into cardboard by day three. These chewy brown butter gingerbread crinkle cookies are the result of many, many batches—some triumphs, some total flops—and they are absolutely the version worth your time.
- Chewy, Not Cakey: The texture here is everything. These cookies are soft and tender in the center with slightly crisp edges, thanks to the perfect ratio of butter to sugar and a little trick with the egg yolk.
- Brown Butter Magic: This isn’t just a gimmick. Browning the butter adds a nutty, toasty depth that completely transforms the flavor profile. It makes the gingerbread taste more sophisticated without being fussy.
- Simple Ingredients: You probably have most of this in your pantry right now. No weird extracts, no specialty flours. Just good, honest baking staples doing their best work.
- Perfect for the Holidays: These cookies are a showstopper on any cookie platter. The crackled tops dusted with powdered sugar look gorgeous and festive with zero decorating skills required.
- Crowd-Pleaser: I’ve brought these to cookie swaps, work parties, and family gatherings. They disappear fast. Even people who “don’t like gingerbread” (ahem, Jenna) come back for seconds.
- Make-Ahead Friendly: The dough chills for at least an hour, which means you can prep it the night before and bake fresh cookies whenever you want. The baked cookies also freeze like a dream.
What makes this recipe different from every other gingerbread cookie out there is the combination of brown butter and the specific chilling technique. Most recipes skip the brown butter entirely or treat it as an afterthought. Here, it’s the star. And the chilling step isn’t optional—it’s what gives you that perfect crinkle top and thick, chewy center. Trust me on this one.
What Ingredients You Will Need
This recipe uses simple, wholesome ingredients to deliver that signature chewy texture and deep, spiced flavor. Nothing fancy, but every ingredient plays a crucial role. Here’s what you’ll need and why each one matters.
For the Cookies
- 1 cup (2 sticks / 226g) unsalted butter: Don’t even think about using salted butter here. The unsalted kind lets you control the salt level, and it browns more evenly. I use Kerrygold if I’m feeling fancy, but any good-quality unsalted butter works.
- 1 ½ cups (300g) packed dark brown sugar: Dark brown sugar has more molasses content than light brown, which means deeper flavor and extra moisture. This is key for that chewy texture. Light brown sugar will work in a pinch, but the cookies won’t be as rich.
- ¼ cup (80g) molasses: Use unsulphured molasses—not blackstrap. Blackstrap is too bitter and intense for these cookies. Grandma’s or Brer Rabbit brands are my go-to. This is where the gingerbread flavor comes from, so don’t skip it.
- 1 large egg + 1 large egg yolk: The extra yolk adds richness and tenderness. Make sure they’re at room temperature so they incorporate smoothly into the brown butter mixture.
- 2 teaspoons vanilla extract: A good-quality vanilla rounds out the spices and adds warmth. I use Nielsen-Massey, but any pure vanilla extract is fine.
- 2 ¼ cups (280g) all-purpose flour: Spoon and level your flour—don’t scoop directly from the bag. Too much flour makes dry cookies. Too little makes flat ones.
- 2 teaspoons ground ginger: This is the backbone of the spice blend. Freshly ground ginger from a spice shop is amazing, but grocery store ground ginger works perfectly.
- 1 teaspoon ground cinnamon: Warm and sweet, cinnamon balances the sharper ginger and clove.
- ½ teaspoon ground cloves: Just a little. Cloves are potent, and you want them in the background, not shouting.
- ½ teaspoon ground nutmeg: Freshly grated is ideal, but pre-ground is fine. Nutmeg adds that cozy, almost floral note.
- 1 teaspoon baking soda: This helps the cookies spread just enough and gives them that crinkly top.
- ½ teaspoon salt: Salt enhances all the flavors and balances the sweetness. I use fine sea salt.
For the Coating
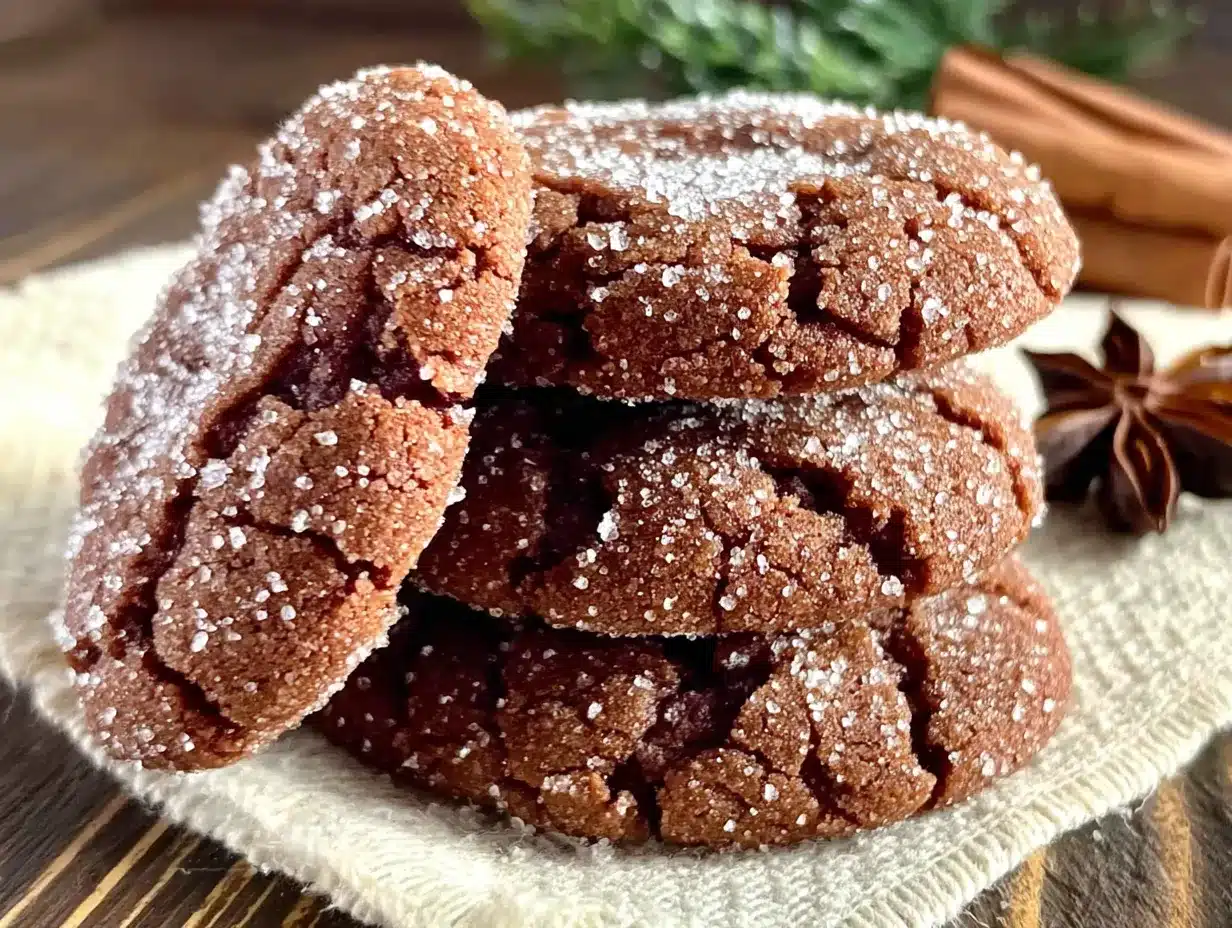
- ½ cup (60g) powdered sugar: This is what creates that beautiful crinkled, snow-dusted look. You’ll roll the dough balls generously in it before baking. Some bakers use granulated sugar underneath the powdered sugar for extra sparkle, but I find powdered sugar alone gives the best contrast.
Equipment Needed
You don’t need a professional bakery setup for these cookies, but a few key tools make the process smoother. Here’s what I use and what you can substitute if needed.
- Light-colored saucepan or skillet: A light-colored pan is crucial for browning butter because you can actually see the milk solids turn golden. A dark pan hides the color change, and you’ll end up with burnt butter. I use a stainless steel saucepan.
- Stand mixer or hand mixer: A stand mixer with the paddle attachment makes creaming the butter and sugar effortless. But a hand mixer works just as well—you’ll just need to hold the bowl steady.
- Baking sheets: I recommend heavy-duty, rimmed baking sheets. Thin, flimsy sheets can warp in the oven and cause uneven baking. I use Nordic Ware half-sheet pans.
- Parchment paper or silicone baking mats: Parchment paper is non-negotiable here. It prevents sticking and makes cleanup a breeze. Silicone mats also work, but they can sometimes inhibit spreading slightly.
- Cooling rack: A wire rack lets air circulate around the cookies so they cool evenly and don’t get soggy on the bottom.
- Cookie scoop (1.5 tablespoon size): A scoop ensures uniform cookie sizes, which means even baking. If you don’t have one, use a tablespoon measure and your hands.
- Small bowl for powdered sugar: You’ll need a shallow bowl to roll the dough balls in the powdered sugar. A soup bowl or small mixing bowl works perfectly.
If you don’t have a stand mixer, don’t worry. I’ve made these cookies with nothing but a wooden spoon and a lot of elbow grease. It’s totally doable—just make sure your butter has cooled slightly after browning so you don’t scramble the eggs.
Preparation Method
Alright, let’s get baking. This recipe has a few steps, but I promise every single one is worth it. Take your time, especially with the brown butter—it’s the soul of this cookie.
- Brown the butter: Cut the butter into tablespoon-sized pieces and place them in your light-colored saucepan. Set the pan over medium heat and let the butter melt, stirring occasionally with a rubber spatula or wooden spoon. After a few minutes, the butter will start to foam and sputter. Keep stirring. You’ll see little brown specks forming at the bottom of the pan—those are the milk solids toasting. When the butter smells nutty and turns a golden-amber color, remove it from the heat immediately. Pour it into a heatproof bowl to stop the cooking process. Let it cool for about 10-15 minutes. Don’t rush this—if the butter is too hot when you add the sugar and egg, you’ll end up with scrambled eggs.
- Mix the wet ingredients: In the bowl of your stand mixer (or a large mixing bowl), combine the cooled brown butter with the dark brown sugar. Beat on medium speed for about 2 minutes until the mixture looks like wet sand and is slightly lighter in color. Add the molasses, the whole egg, the egg yolk, and the vanilla extract. Beat on medium speed for another minute until everything is smooth, glossy, and well combined. Scrape down the sides and bottom of the bowl with a spatula to make sure there are no streaks of unmixed butter.
- Whisk the dry ingredients: In a separate medium bowl, whisk together the all-purpose flour, ground ginger, ground cinnamon, ground cloves, ground nutmeg, baking soda, and salt. Whisking aerates the flour and distributes the spices evenly so you don’t end up with one cookie that tastes like pure clove and another that tastes like nothing.
- Combine wet and dry: With the mixer on low speed, gradually add the dry ingredients to the wet ingredients. Mix just until the flour disappears into the dough. A few streaks of flour are okay—you don’t want to overmix, or the cookies will be tough. The dough will be soft, slightly sticky, and very fragrant. Scrape down the bowl one more time.
- Chill the dough: This step is absolutely critical. Cover the bowl with plastic wrap and refrigerate the dough for at least 1 hour, or up to 3 days. Chilling solidifies the butter, which prevents the cookies from spreading too much in the oven. It also allows the flavors to meld and deepen. I’ve tried baking these without chilling, and they turned into flat, greasy puddles. Don’t skip it.
- Preheat and prepare: When you’re ready to bake, preheat your oven to 350°F (175°C). Line two baking sheets with parchment paper. Place the powdered sugar in a small, shallow bowl.
- Shape and coat: Using your cookie scoop or a tablespoon, scoop out rounded tablespoons of dough (about 1.5 tablespoons each). Roll each portion into a smooth ball between your palms. Drop the dough ball into the bowl of powdered sugar and roll it around until it’s completely coated. The sugar should cling thickly to the surface—this is what creates that gorgeous crinkled crust. Place the coated dough balls on the prepared baking sheets, spacing them about 2 inches apart. They will spread, but not excessively.
- Bake: Bake one sheet at a time for 10-12 minutes. The cookies will look puffed and cracked on top, and the edges will be set but the centers will still look slightly soft and underdone. That’s exactly what you want. If you overbake them, they’ll lose their chewy center. For a softer, chewier cookie, bake for 10 minutes. For a slightly crisper edge, go for 12 minutes.
- Cool: Let the cookies cool on the baking sheet for 5 minutes. This allows them to set up enough to transfer without falling apart. Then, using a spatula, transfer them to a wire rack to cool completely. The crinkles will become more pronounced as they cool.
A quick note: the dough will be sticky after chilling, especially if you only chilled it for an hour. If it’s too sticky to roll, wet your hands slightly with cold water before shaping each ball. It helps tremendously.
Cooking Tips & Techniques
Over the years, I’ve learned a few things the hard way so you don’t have to. Here are my best tips for perfect chewy brown butter gingerbread crinkle cookies every single time.
Watch the butter like a hawk. Brown butter can go from perfect to burnt in about 30 seconds. As soon as you see those brown specks and smell that nutty aroma, pull it off the heat. Don’t walk away from the stove. I’ve done it—trust me, burnt butter smells sad, not cozy.
Use a cookie scoop for uniform sizing. This isn’t just about aesthetics. Cookies that are the same size bake at the same rate. If you have some big and some small, you’ll end up with burnt edges on the little ones and underdone centers on the big ones. A 1.5-tablespoon scoop is my sweet spot.
Chill the dough, then chill it some more. I know I said at least 1 hour, but if you can give it 2-3 hours, even better. Overnight is ideal. The longer the dough rests, the more the flavors develop and the less the cookies spread. I’ve left this dough in the fridge for three days and the cookies were honestly the best batch I’ve ever made.
Don’t overmix the dough. Once you add the flour, mix only until you can’t see any more dry streaks. Overdeveloping the gluten will make your cookies tough and bread-like instead of tender and chewy. A few gentle folds with a spatula at the end are better than extra mixer time.
Roll generously in powdered sugar. The crinkle effect happens because the dough expands in the oven and the powdered sugar coating cracks open. If you skimp on the sugar, you’ll get a dull, flat top. Really roll those dough balls around until they look like little snowballs. I mean it—be generous.
One batch at a time. Bake one sheet of cookies at a time on the center rack. If you crowd the oven with two sheets, the heat circulates unevenly and your cookies will bake at different rates. Your patience will be rewarded with perfectly even cookies.
Let them rest on the sheet. Those 5 minutes of cooling on the hot baking sheet are crucial. The cookies are very fragile right out of the oven, and moving them too soon can cause them to break or lose their crinkled shape. Give them time to firm up.
Variations & Adaptations
One of the best things about this recipe is how adaptable it is. Here are some of my favorite variations—some I’ve tested myself, some are reader-approved.
Gluten-Free Version: Substitute the all-purpose flour with a 1:1 gluten-free baking flour blend that contains xanthan gum. I’ve had great success with Bob’s Red Mill 1-to-1 Baking Flour. The texture is slightly more tender, but the chewy center and crinkly top are still there. Make sure to chill the dough for at least 2 hours—gluten-free doughs are often stickier.
Spice It Up (or Down): Not everyone loves cloves. If you’re feeding a crowd with sensitive palates, reduce the cloves to ¼ teaspoon and increase the cinnamon to 1 ½ teaspoons. Or try adding ¼ teaspoon of cardamom for a more floral, aromatic twist. I made a batch with cardamom last Christmas and my sister-in-law begged for the recipe.
Chocolate Gingerbread Crinkle: This is my personal indulgence. Add ½ cup (85g) of dark chocolate chips or chopped dark chocolate to the dough after mixing in the dry ingredients. The chocolate melts into little pockets of richness that pair beautifully with the gingerbread spices. Use a good-quality chocolate—I like Ghirardelli 60% cacao chips.
Vegan Adaptation: Replace the butter with a high-quality vegan butter stick (like Miyoko’s or Country Crock Plant Butter) and use a flax egg (1 tablespoon ground flaxseed mixed with 3 tablespoons water, let sit for 5 minutes) plus an extra tablespoon of water for the egg yolk. The texture will be slightly less chewy, but the flavor is still fantastic. Chill the dough for at least 2 hours.
Orange Gingerbread Crinkle: Add 1 tablespoon of finely grated orange zest to the wet ingredients along with the vanilla. The bright citrus note cuts through the molasses and spices beautifully. It’s a lovely variation for spring or when you want something a little less heavy than traditional holiday flavors.
Serving & Storage Suggestions
These cookies are wonderful on their own, but here’s how to make them truly shine.
Serving: Serve these cookies at room temperature. The chewy texture is at its absolute best about 30 minutes after they’ve cooled completely. For an extra special treat, sandwich two cookies with a scoop of vanilla bean ice cream—the warm spice and cold cream are a match made in heaven. I also love serving them alongside a mug of hot apple cider or a spiced chai latte.
Presentation: Arrange them on a rustic wooden board or a white platter for maximum visual impact. The snowy powdered sugar tops look stunning against a dark background. If you’re gifting them, layer them in a tin or a clear cellophane bag tied with a ribbon. They make excellent edible gifts.
Storage: Store baked cookies in an airtight container at room temperature for up to 5 days. Place a slice of bread in the container to help keep them soft—the cookies will absorb the moisture from the bread. Replace the bread slice every other day if you’re storing them longer.
Freezing: These cookies freeze beautifully. You can freeze the baked cookies in a single layer on a baking sheet, then transfer them to a freezer-safe bag or container for up to 3 months. Thaw at room temperature for about 20 minutes before serving. Alternatively, freeze the unbaked dough balls (coated in powdered sugar) on a baking sheet, then transfer to a freezer bag. Bake directly from frozen, adding 1-2 minutes to the baking time. This is my favorite method for having fresh cookies on demand.
Flavor Development: Here’s a secret—these cookies actually taste better on day two. The spices mellow and meld together, and the texture becomes even more chewy and tender. If you can resist eating them all on day one, you’re in for a real treat.
Nutritional Information & Benefits
Let’s be real—these are cookies, not health food. But they do have a few redeeming qualities worth mentioning.
Estimated nutritional values per cookie (based on 24 cookies):
| Nutrient | Amount |
|---|---|
| Calories | 185 |
| Total Fat | 9g |
| Saturated Fat | 5g |
| Cholesterol | 35mg |
| Sodium | 115mg |
| Total Carbohydrates | 26g |
| Dietary Fiber | 0.5g |
| Sugars | 17g |
| Protein | 2g |
Health highlights: Molasses is actually a decent source of iron, calcium, and magnesium—much more than refined sugar. The ginger in this recipe is known for its anti-inflammatory properties and can help with digestion. And let’s not forget the psychological benefit of a perfectly chewy cookie shared with people you love. That counts for something, right?
Dietary considerations: This recipe contains gluten, dairy, and eggs. For gluten-free and vegan options, see the variations section above. These cookies are not low-carb or keto-friendly due to the brown sugar and flour content.
Conclusion
These chewy brown butter gingerbread crinkle cookies have earned a permanent spot in my holiday baking rotation, and honestly, I think they deserve one in yours too. They’re the kind of cookie that makes you slow down and actually enjoy the moment—the smell of brown butter and spices filling your kitchen, the satisfying crackle of the powdered sugar top, that first bite that’s somehow both familiar and surprising.
What I love most about this recipe is how it takes something classic and makes it feel new without losing the soul of what makes gingerbread cookies great. The brown butter adds a layer of sophistication that will impress your most food-savvy friends, but the chewy texture and simple ingredients keep it grounded and accessible. It’s a cookie for everyone.
I’d love to hear how these turn out for you. Did you try any of the variations? Did you convert a molasses skeptic of your own? Drop a comment below and let me know—I read every single one. And if you share a photo on Pinterest or Instagram, tag me so I can see your beautiful crinkles. Happy baking, friends.
Frequently Asked Questions
Can I make these cookies without a stand mixer?
Absolutely. A hand mixer works perfectly, and you can even mix the dough by hand with a wooden spoon. Just make sure the brown butter has cooled slightly before you add the egg, and be prepared for a bit of arm work when incorporating the flour.
Why did my cookies turn out flat?
Flat cookies usually mean the dough wasn’t chilled long enough, or the butter was too warm when you mixed it. Make sure you chill the dough for at least 1 hour, and if your kitchen is warm, pop the shaped dough balls in the fridge for 10 minutes before baking.
Can I use light brown sugar instead of dark brown sugar?
You can, but the cookies won’t be as rich or as chewy. Dark brown sugar has more molasses, which adds moisture and depth of flavor. If you only have light brown sugar, consider adding an extra tablespoon of molasses to compensate.
How do I get more crinkles on top?
The key to dramatic crinkles is a generous coating of powdered sugar and properly chilled dough. Roll the dough balls until they’re completely white—no brown spots showing through. And don’t skip the chilling step; cold dough expands more slowly, creating those beautiful cracks.
Can I double this recipe?
Yes, this recipe doubles beautifully. Just make sure you have enough space in your refrigerator to chill all the dough, and bake in batches so you don’t overcrowd the oven. The baking time remains the same.
Pin This Recipe!
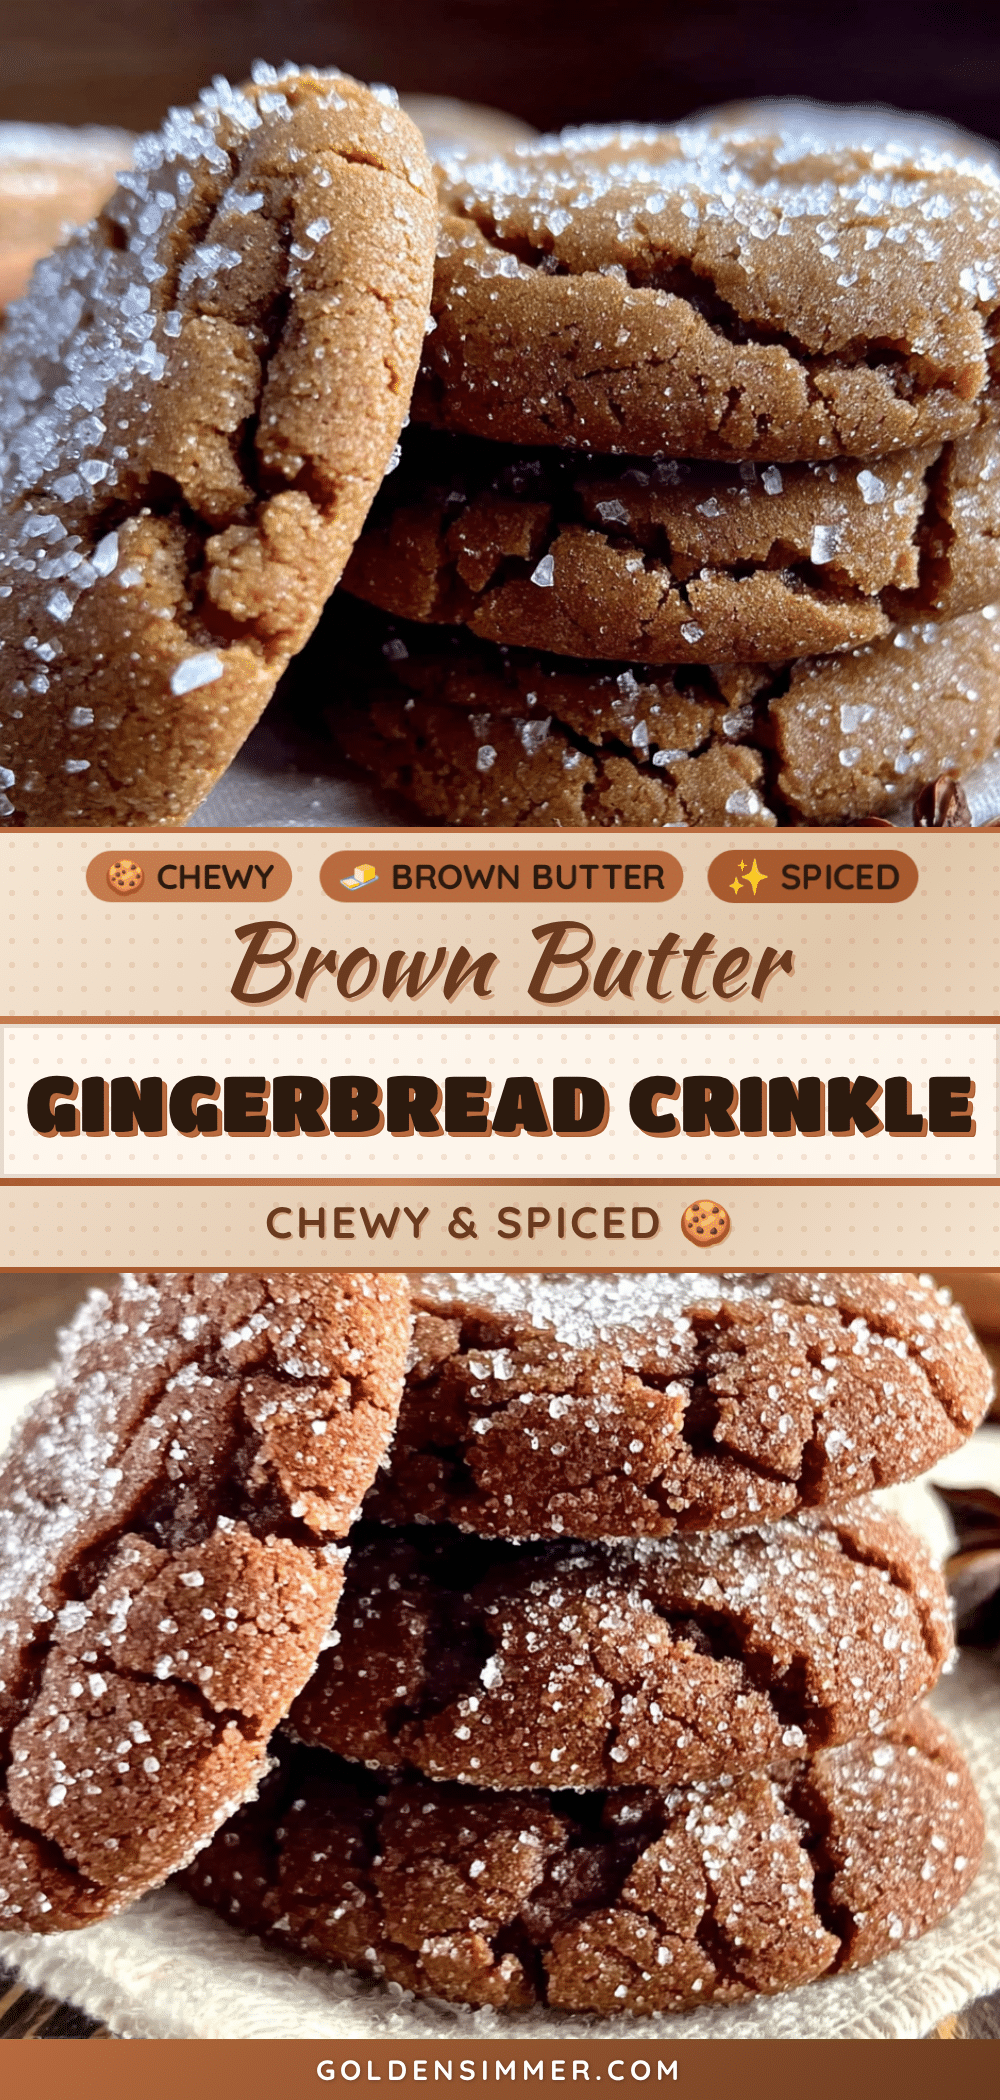
Chewy Brown Butter Gingerbread Crinkle Cookies
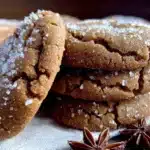
These chewy brown butter gingerbread crinkle cookies are rich, spiced, and perfectly tender with a crackled powdered sugar top. They convert even the most stubborn molasses skeptics and are a must-bake for the holidays.
- Prep Time: 20 minutes
- Cook Time: 10-12 minutes per batch
- Total Time: 1 hour 30 minutes (includes chilling)
- Yield: 24 cookies 1x
- Category: Dessert
- Cuisine: American
Ingredients
- 1 cup (2 sticks / 226g) unsalted butter
- 1 ½ cups (300g) packed dark brown sugar
- ¼ cup (80g) unsulphured molasses
- 1 large egg + 1 large egg yolk, at room temperature
- 2 teaspoons vanilla extract
- 2 ¼ cups (280g) all-purpose flour, spooned and leveled
- 2 teaspoons ground ginger
- 1 teaspoon ground cinnamon
- ½ teaspoon ground cloves
- ½ teaspoon ground nutmeg
- 1 teaspoon baking soda
- ½ teaspoon fine sea salt
- ½ cup (60g) powdered sugar (for coating)
Instructions
- Brown the butter: Cut the butter into tablespoon-sized pieces and place in a light-colored saucepan over medium heat. Stir occasionally until the butter melts, foams, and turns golden-amber with brown specks, about 5-7 minutes. Immediately pour into a heatproof bowl and let cool for 10-15 minutes.
- Mix the wet ingredients: In a stand mixer or large bowl, combine the cooled brown butter with dark brown sugar. Beat on medium speed for 2 minutes until it looks like wet sand. Add molasses, whole egg, egg yolk, and vanilla extract. Beat on medium speed for 1 minute until smooth and glossy. Scrape down the bowl.
- Whisk the dry ingredients: In a separate medium bowl, whisk together flour, ginger, cinnamon, cloves, nutmeg, baking soda, and salt.
- Combine wet and dry: With the mixer on low speed, gradually add the dry ingredients to the wet ingredients. Mix just until the flour disappears. The dough will be soft and slightly sticky. Scrape down the bowl.
- Chill the dough: Cover the bowl with plastic wrap and refrigerate for at least 1 hour, or up to 3 days.
- Preheat and prepare: When ready to bake, preheat oven to 350°F (175°C). Line two baking sheets with parchment paper. Place powdered sugar in a small shallow bowl.
- Shape and coat: Using a 1.5-tablespoon cookie scoop or tablespoon, scoop dough and roll into smooth balls. Roll each ball generously in powdered sugar until completely coated. Place on prepared baking sheets, spacing 2 inches apart.
- Bake: Bake one sheet at a time for 10-12 minutes. Cookies should look puffed and cracked on top with set edges and soft centers. For chewier cookies, bake 10 minutes; for slightly crisper edges, bake 12 minutes.
- Cool: Let cookies cool on the baking sheet for 5 minutes, then transfer to a wire rack to cool completely. The crinkles will become more pronounced as they cool.
Notes
Chilling the dough is critical to prevent spreading and achieve the crinkle top. Brown butter can burn quickly—watch it closely. For best flavor, make the dough a day ahead and refrigerate overnight. Cookies taste even better on day two.
Nutrition
- Serving Size: 1 cookie
- Calories: 185
- Sugar: 17
- Sodium: 115
- Fat: 9
- Saturated Fat: 5
- Carbohydrates: 26
- Fiber: 0.5
- Protein: 2
Keywords: gingerbread cookies, brown butter cookies, crinkle cookies, chewy gingerbread, holiday cookies, molasses cookies