Love this? Save it for later!
Share the inspiration with your friends
I was standing in the hardware aisle of our local farm supply store, of all places, trying to decide between two different types of garden hose nozzles. It was a Tuesday, I was out of my element, and honestly, I just wanted to grab a hose and get back home. That’s when the elderly woman next to me—she was buying chicken feed, I think—glanced at my cart and started talking about corn casserole.
Not just any corn casserole. She told me about the one she’d been making for her church potlucks for over forty years. “Three ingredients,” she said, holding up three fingers like she was making a secret pact. “And a box of Jiffy.” I nodded along, half-listening, still mentally wrestling with hose nozzles. But then she described the texture—the way the top gets golden and slightly firm while the inside stays soft, almost pudding-like—and I found myself putting down the hose. She told me her granddaughter calls it “the corn stuff that disappears first,” and that she once watched a grown man eat half the dish standing up over the kitchen counter.
I scribbled her instructions on a receipt from my pocket. I didn’t even get her name. But I went home, made that Quick Jiffy Corn Casserole with Sharp Cheddar that very night, and let me tell you—I’ve never bought a different hose nozzle, but I’ve made this casserole at least twice a month since. Maybe you’ve been there, standing in some random place when the best recipe of your life just falls into your lap? This is that recipe. And it’s about to become your weeknight hero.
Why You’ll Love This Recipe
Let’s be real for a second. Weeknight cooking is a battlefield. You’re tired, you’re hungry, and the last thing you want is a recipe with seventeen ingredients and a cleanup that takes longer than the meal itself. This Quick Jiffy Corn Casserole with Sharp Cheddar was practically designed for those exact nights. It’s the kind of dish that makes you look like you put in way more effort than you actually did—and honestly, that’s my favorite kind of cooking.
Here’s why this one’s a keeper:
- Quick & Easy: You’re looking at about 5 minutes of prep and 30 minutes in the oven. That’s it. No chopping, no sautéing, no complicated steps. Just mix, pour, and bake.
- Simple Ingredients: If you’ve got a box of Jiffy corn muffin mix, a can of creamed corn, and some sharp cheddar in your fridge, you’re already halfway there. No fancy grocery runs required.
- Perfect for Weeknights: This is the definition of a set-it-and-forget-it side dish. It bakes while you throw together the main course, and it’s ready when you are.
- Crowd-Pleaser: I’ve served this to picky kids, skeptical in-laws, and my neighbor who “doesn’t really like casseroles.” It disappears every single time. Every time.
- Unbelievably Delicious: The magic here is in the texture. The Jiffy mix gives it that slight cornbread structure, the creamed corn keeps it impossibly moist, and the sharp cheddar adds this savory, salty punch that balances the sweetness. It’s comfort food that doesn’t weigh you down.
What makes this version different from the countless other corn casseroles out there? It’s the ratio. I’ve tested this more times than I care to admit, and I’ve found that using a full cup of sharp cheddar—not mild, not medium—is the secret. The sharpness cuts through the sweetness of the corn in a way that makes every bite interesting. Plus, using a high-quality sharp cheddar like Tillamook or Cabot really makes a difference. This isn’t just another corn casserole. It’s the one you’ll keep coming back to on those nights when you need dinner to be easy but still feel special.
What Ingredients You Will Need
This recipe keeps things refreshingly simple. You don’t need a pantry full of obscure spices or specialty items. Just three core ingredients—plus a couple of optional extras that take it from good to great. Here’s what you’ll need:
Core Ingredients
- 1 box (8.5 oz) Jiffy Corn Muffin Mix – This is the backbone of the dish. I know some people like to make their own cornbread mix from scratch, but for this recipe, Jiffy is non-negotiable. It has the perfect balance of sweetness and structure. (Pro tip: Don’t use the “just add water” kind—make sure it’s the regular mix that calls for an egg.)
- 1 can (14.75 oz) creamed corn – This is what gives the casserole its signature soft, almost custard-like texture. Don’t drain it! You want all that creamy liquid. I prefer Del Monte or Green Giant, but any brand works fine.
- 1 cup (4 oz) sharp cheddar cheese, shredded – This is where the flavor lives. Pre-shredded cheese works in a pinch, but honestly, shredding it yourself from a block melts so much better. The anti-caking agents in pre-shredded cheese can make it a little grainy. For the best result, grab a block of sharp cheddar and spend the 90 seconds grating it yourself. I promise it’s worth it.
Optional But Highly Recommended
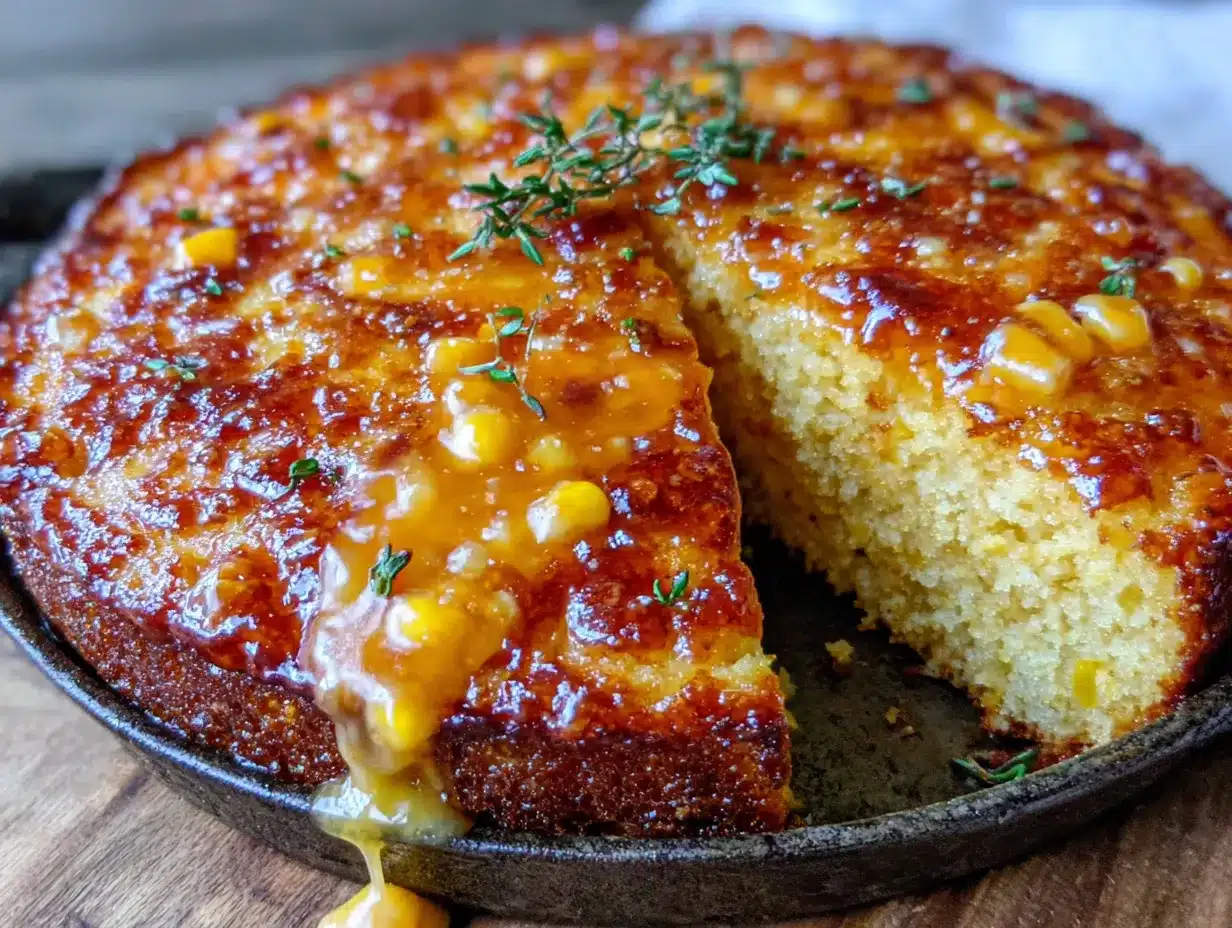
- 1 large egg – This isn’t strictly necessary, but I always add it. It gives the casserole a slightly firmer, more structured texture. Without it, the casserole is softer and more spoonable. Both are delicious, but I prefer the version with the egg for a more substantial side dish.
- 2 tablespoons unsalted butter, melted – A little extra richness on top. I brush this over the casserole before baking for a slightly crisper, golden-brown top.
- ¼ teaspoon black pepper – A small amount of heat and depth that balances the sweetness. Don’t skip this—it makes a difference.
- Pinch of salt – The cheddar and Jiffy mix both have salt, so go easy here. But a tiny pinch helps bring everything into focus.
Ingredient Selection Tips
When I’m picking out creamed corn at the store, I always look for cans that aren’t dented or bulging. It sounds basic, but you’d be surprised how many people grab a damaged can without thinking. For the cheese, I recommend Tillamook or Cabot sharp cheddar—they have that perfect tangy bite that stands up to the sweetness of the corn. And if you’re feeling adventurous, you can swap in a smoked cheddar for a whole different flavor profile. Just don’t use pre-shredded if you can help it. Trust me on this one.
Equipment Needed
The beauty of this recipe is that you probably already own everything you need. No fancy gadgets required. Here’s the short list:
- 8×8-inch baking dish – This is the perfect size for this recipe. A 9×9 works too, but the casserole will be slightly thinner and may bake a few minutes faster. I’ve also used a 9-inch pie plate in a pinch—it works fine, just keep an eye on the baking time.
- Mixing bowl – Any medium-sized bowl will do. I use my grandmother’s old ceramic mixing bowl, but a simple glass or stainless steel bowl works just as well.
- Whisk or fork – You’re just combining ingredients, so a whisk is nice but a fork works perfectly fine. No need to drag out the stand mixer.
- Measuring cups and spoons – For the cheese and any optional add-ins. If you’re using the full cup of pre-shredded cheese, you can skip the measuring cup and just eyeball it.
- Box grater or microplane – Only if you’re shredding your own cheese. I’ve used both, and honestly, a standard box grater is faster and gives you nice, even shreds.
- Rubber spatula – For scraping every last bit of batter into the dish. Waste not, want not.
If you don’t have an 8×8 dish, you can use a 9-inch cast iron skillet. It gives the casserole a slightly crispy edge that’s absolutely delightful. Just make sure to grease it well first. I’ve also made this in a disposable aluminum pan for potlucks—works like a charm and zero cleanup.
Preparation Method
Alright, let’s get cooking. This is about as straightforward as it gets, but I’ll walk you through every step so you get perfect results every time. Total active time: about 5 minutes. Total time from start to table: about 35 minutes.
Step 1: Preheat and Prep
Preheat your oven to 375°F (190°C). While it’s heating up, grease your 8×8 baking dish with a little butter or non-stick spray. I like to use butter because it adds a subtle richness to the edges, but spray works fine too. Don’t skip this step—even though the casserole has plenty of moisture, it can still stick if the dish isn’t greased.
Step 2: Mix the Wet Ingredients
In your mixing bowl, combine the can of creamed corn, the egg (if using), and the melted butter (if using). Whisk them together until they’re well combined. You’ll notice the mixture is thick and slightly lumpy from the corn kernels—that’s exactly what you want. If you’re not using the egg or butter, just pour the creamed corn straight into the bowl.
Step 3: Add the Jiffy Mix
Pour the entire box of Jiffy Corn Muffin Mix into the bowl with the wet ingredients. Stir gently with your whisk or fork until just combined. A few small lumps are fine—overmixing will make the casserole tough. You want a thick, spoonable batter that looks like a loose cornbread batter. It should be slightly thicker than pancake batter but thinner than cookie dough.
Step 4: Fold in the Cheese
Reserve about ¼ cup of your shredded sharp cheddar for the top. Then gently fold the remaining ¾ cup into the batter. Fold, don’t stir—you want the cheese distributed evenly without overworking the batter. The cheese will melt into the casserole as it bakes, creating little pockets of gooey, savory goodness throughout.
Step 5: Transfer to Baking Dish
Pour the batter into your prepared baking dish. Use your rubber spatula to spread it evenly. It won’t be perfectly level—that’s fine. Sprinkle the reserved ¼ cup of cheese over the top, along with a pinch of black pepper if you’re using it. The cheese on top will get golden and slightly crispy, which is honestly the best part.
Step 6: Bake
Place the dish in the preheated oven and bake for 28-32 minutes. At 28 minutes, start checking. You’re looking for a golden-brown top that’s slightly firm to the touch. A toothpick inserted into the center should come out mostly clean—a few moist crumbs are fine, but you don’t want raw batter. The edges should be pulling away from the sides of the dish just slightly.
Step 7: Rest and Serve
Remove the casserole from the oven and let it rest for 5 minutes. This is crucial—it needs that time to set up. If you cut into it too soon, it’ll be too soft and won’t hold its shape. After 5 minutes, it’ll be perfectly scoopable and spoonable. Serve warm, straight from the dish.
Cooking Tips & Techniques
I’ve made this casserole more times than I can count, and I’ve learned a few things along the way. Here are my best tips for getting it right every single time.
The Cheese Matters More Than You Think
I learned this the hard way. The first few times I made this, I used mild cheddar because that’s what I had in the fridge. It was fine—good, even. But when I finally tried sharp cheddar, it was like a whole new dish. The sharpness cuts through the sweetness of the corn in a way that makes every bite more interesting. Don’t compromise on this. If you can only find medium cheddar, add an extra ¼ cup to compensate.
Don’t Overmix
This is the most common mistake I see people make. They want a perfectly smooth batter, so they keep stirring. But overmixing develops the gluten in the Jiffy mix, and that makes the casserole tough and dense. You want a few lumps. Stop stirring as soon as the dry ingredients are incorporated. Your future self will thank you.
The Egg Debate
I mentioned this earlier, but it’s worth repeating. Without the egg, the casserole is softer, almost like a corn pudding. With the egg, it’s firmer and more sliceable. Both are delicious, but if you’re serving this as a side dish alongside something like pulled pork or grilled chicken, I prefer the firmer version with the egg. It holds up better on the plate.
Watch Your Oven
Every oven runs a little differently. My old oven used to take a full 32 minutes. My new one? 28 minutes on the dot. Start checking at 28 minutes, and don’t be afraid to pull it out early if the top is already golden brown. You can always put it back in for a few more minutes, but you can’t un-bake an overcooked casserole.
Make It Ahead
Here’s a lifesaver for busy weeknights: you can assemble the entire casserole the night before. Just mix everything together, pour it into the greased dish, cover it with plastic wrap, and stick it in the fridge. The next day, let it sit on the counter for 15 minutes while the oven preheats, then bake as directed. You might need to add 3-5 minutes to the baking time since it’s starting from cold. This has saved me more times than I can count.
Variations & Adaptations
One of the best things about this recipe is how adaptable it is. Here are a few variations I’ve tried and loved:
Spicy Jalapeño Cheddar
Add 2-3 tablespoons of pickled jalapeños (drained and chopped) to the batter along with the cheese. The acidity and heat cut through the sweetness beautifully. Top with a few fresh jalapeño slices before baking for a little extra visual appeal. This version is my husband’s absolute favorite.
Bacon and Chive
Cook 4 strips of bacon until crispy, then crumble them. Fold half the bacon into the batter and sprinkle the rest on top along with the reserved cheese. Add 2 tablespoons of chopped fresh chives to the batter as well. The smoky, salty bacon is a perfect counterpoint to the sweet corn. I served this at a barbecue last summer and got three requests for the recipe.
Gluten-Free Option
I know Jiffy mix contains wheat flour, so if you need a gluten-free version, you can substitute with a gluten-free corn muffin mix. I’ve had good luck with the Krusteaz gluten-free cornbread mix. The texture will be slightly different—a little more crumbly—but it’s still delicious. Just make sure your creamed corn is also gluten-free (most brands are, but always check the label).
Dairy-Free Adaptation
Use a dairy-free shredded cheddar alternative (Violife and Daiya both work well) and substitute the butter with a plant-based butter or olive oil. The texture will be slightly less rich, but the flavor is still spot-on. I’ve made this for a friend with a dairy allergy and she couldn’t tell the difference.
Southwest Style
Add ½ cup of drained and rinsed black beans, ½ cup of frozen corn kernels (thawed), and 1 teaspoon of cumin to the batter. Top with a sprinkle of smoked paprika before baking. This turns it into a heartier side dish that pairs perfectly with tacos or enchiladas.
Serving & Storage Suggestions
This casserole is incredibly versatile when it comes to serving. Here’s how to get the most out of it:
Serving
Serve this casserole warm, straight from the oven. It’s perfect alongside grilled or roasted meats—think roasted chicken, grilled pork chops, or even a simple pan-seared steak. It also works beautifully as part of a holiday spread; I’ve brought it to Thanksgiving and Christmas dinners, and it always gets eaten before the green bean casserole. For a lighter meal, serve it with a simple green salad dressed with a tangy vinaigrette to cut through the richness.
Storage
Leftovers keep well in the refrigerator for up to 4 days. Store them in an airtight container. The texture will soften slightly as it sits, but the flavor actually gets better—the ingredients have time to meld together. I actually prefer this casserole on day two, when the flavors have had a chance to settle.
Reheating
The best way to reheat this is in the oven or toaster oven at 350°F for about 10 minutes. This helps restore some of the crispy top. The microwave works in a pinch (about 45 seconds per serving), but the top will be soft. If you’re reheating a large portion, cover it with foil and warm it in a 325°F oven for 15-20 minutes.
Freezing
This casserole freezes surprisingly well. Let it cool completely, then wrap it tightly in plastic wrap and then a layer of aluminum foil. It will keep in the freezer for up to 3 months. To reheat, thaw it in the refrigerator overnight, then warm it in a 350°F oven for 15-20 minutes. I’ve also frozen individual portions in small containers for quick lunches—just microwave and go.
Nutritional Information & Benefits
Here’s the thing about this casserole: it’s comfort food, pure and simple. But that doesn’t mean it can’t have some redeeming qualities. Let’s break it down.
Estimated nutritional values per serving (based on 6 servings):
- Calories: 290
- Total Fat: 14g
- Saturated Fat: 7g
- Cholesterol: 55mg
- Sodium: 580mg
- Total Carbohydrates: 34g
- Dietary Fiber: 2g
- Sugars: 12g
- Protein: 9g
Now, let’s talk about what’s actually in it. Corn is a good source of fiber and contains antioxidants like lutein and zeaxanthin, which are great for eye health. The sharp cheddar adds calcium and protein—about 15% of your daily calcium needs per serving. And if you use the egg, you’re getting a nice dose of vitamin B12 and choline, which supports brain health.
Is this a health food? No. But it’s a far sight better than most boxed side dishes or takeout options. And honestly, there’s something to be said for a meal that brings you comfort and joy. I’d rather eat a reasonable portion of real, homemade food than a sad, processed alternative. Balance, right?
Conclusion
I still think about that woman in the farm supply store sometimes. I never got her name, but her recipe has become a staple in my kitchen. It’s the kind of dish that proves you don’t need a long ingredient list or complicated techniques to make something truly memorable. Sometimes the best recipes are the simplest ones—the ones that come together in minutes and leave you wondering why you ever thought cooking had to be hard.
This Quick Jiffy Corn Casserole with Sharp Cheddar is exactly that. It’s forgiving, adaptable, and always, always delicious. Whether you’re feeding a hungry family on a Tuesday night or bringing a dish to a potluck, this is the recipe you’ll reach for again and again. I’ve made it for holidays, weeknight dinners, and everything in between, and it never lets me down.
Now I want to hear from you. Have you tried this recipe? Did you add your own twist? Drop a comment below and let me know how it turned out. And if you loved it as much as I do, share it with a friend who needs a little comfort in their life. Happy cooking!
Frequently Asked Questions
Can I use regular corn instead of creamed corn?
Technically, yes, but the texture will be completely different. Creamed corn provides the moisture and creamy consistency that makes this casserole so special. If you use regular corn, you’ll need to add about ½ cup of milk or heavy cream to compensate. The result will be more like a traditional cornbread, not the soft, spoonable casserole this recipe is known for.
Can I double this recipe?
Absolutely. Double all the ingredients and bake it in a 9×13-inch dish. You’ll need to increase the baking time to about 35-40 minutes. Start checking at 35 minutes—the center should be set and the top golden brown. This is my go-to for large gatherings and potlucks.
Why is my casserole too wet?
This usually happens for one of two reasons: either you didn’t bake it long enough, or you added too much liquid. If you used the egg and butter, make sure you’re measuring accurately. Also, check your oven temperature—it might be running cooler than it says. Next time, try baking it 2-3 minutes longer and see if that helps.
Can I make this in a slow cooker?
I’ve tested this, and honestly, it doesn’t work as well. The slow cooker creates too much steam, so the casserole ends up more like a corn pudding—soft and wet, without any of that lovely golden-brown top. If you’re determined to try it, cook it on low for 2-3 hours, but remove the lid for the last 30 minutes to let some moisture escape. The texture still won’t be the same as oven-baked, though.
What can I serve with this casserole?
This casserole is incredibly versatile. It pairs beautifully with roasted or grilled chicken, pork chops, steak, or even a simple baked fish. It’s also a fantastic side dish for holiday meals—think Thanksgiving, Christmas, or Easter. For a vegetarian meal, serve it alongside a hearty salad or some roasted vegetables. I’ve even eaten it for breakfast with a fried egg on top, and I have zero regrets.
Pin This Recipe!
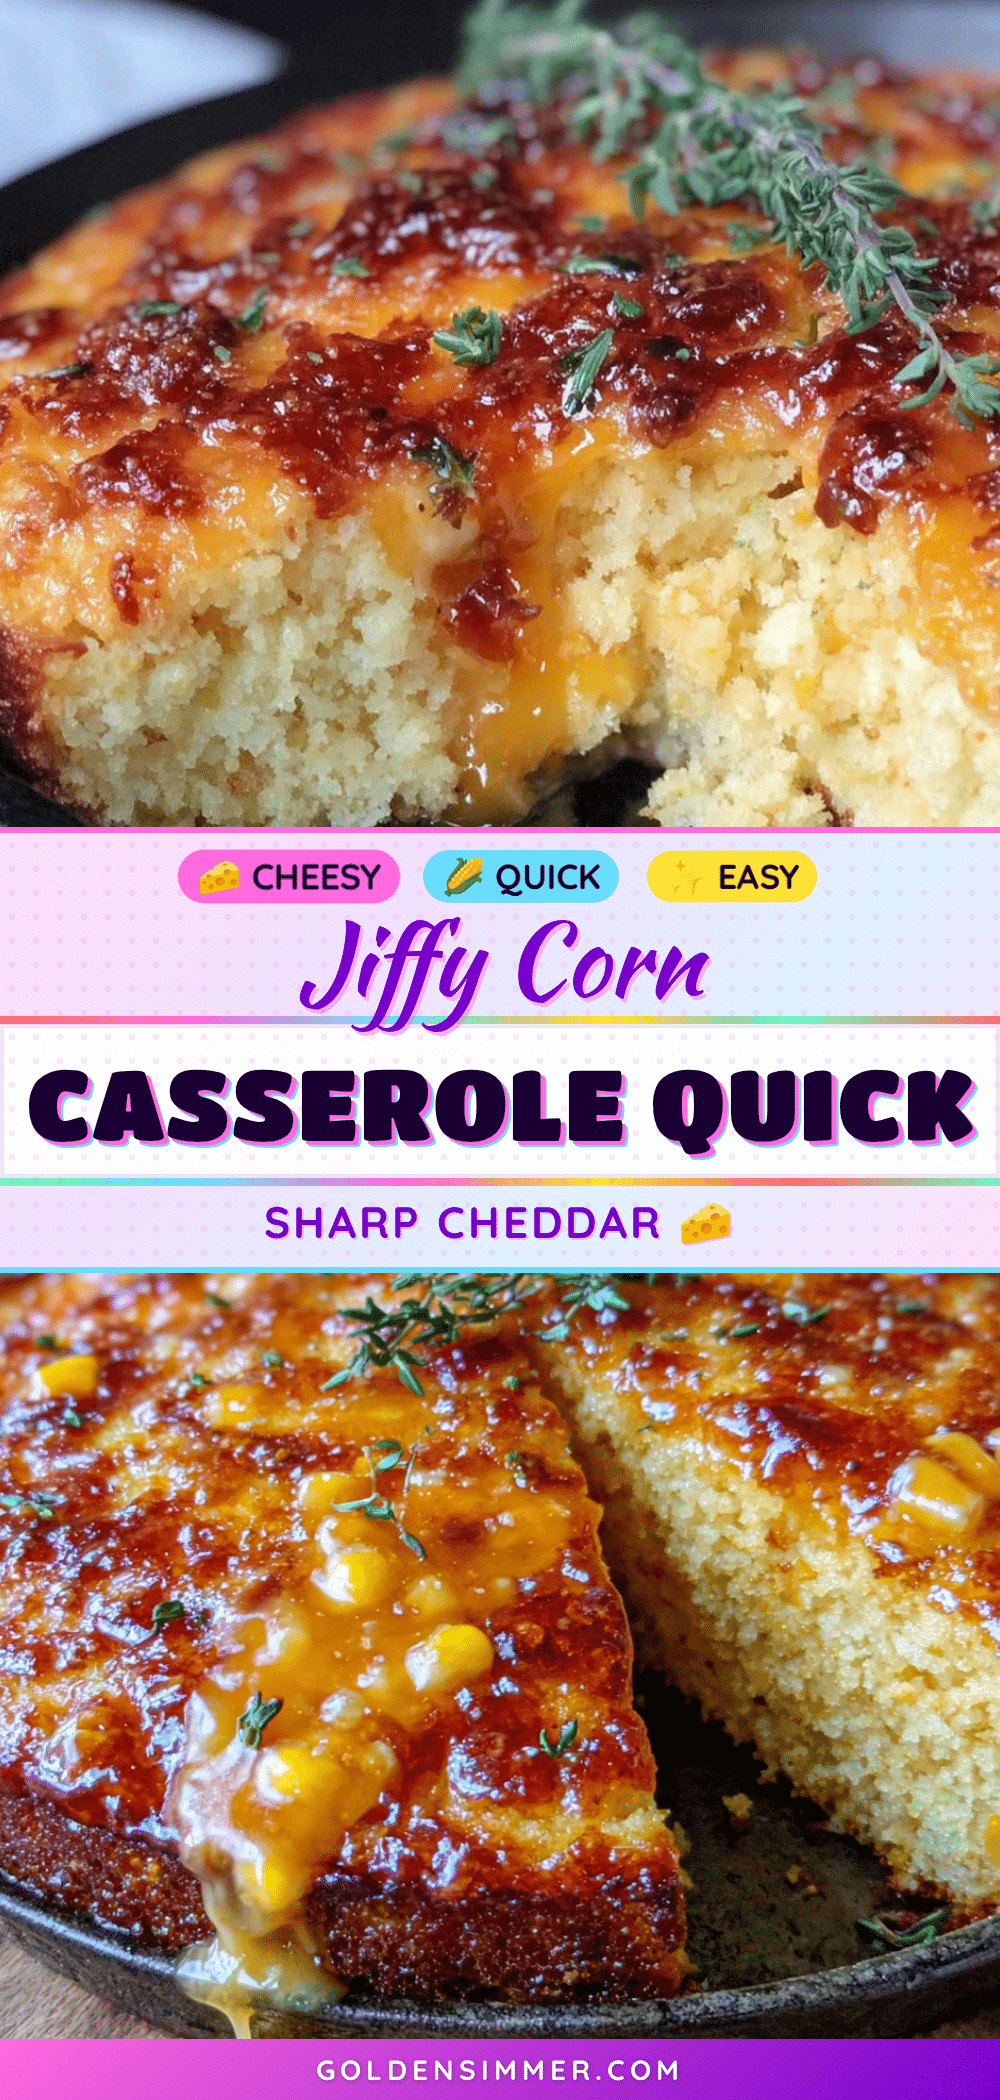
Easy 3-Ingredient Jiffy Corn Casserole with Sharp Cheddar
This Quick Jiffy Corn Casserole with Sharp Cheddar is a simple, comforting side dish that comes together in minutes. With just a box of Jiffy corn muffin mix, creamed corn, and sharp cheddar, it’s perfect for weeknights and potlucks alike.
- Prep Time: 5 minutes
- Cook Time: 30 minutes
- Total Time: 35 minutes
- Yield: 6 servings 1x
- Category: Side Dish
- Cuisine: American
Ingredients
- 1 box (8.5 oz) Jiffy Corn Muffin Mix
- 1 can (14.75 oz) creamed corn
- 1 cup (4 oz) sharp cheddar cheese, shredded
- 1 large egg (optional)
- 2 tablespoons unsalted butter, melted (optional)
- ¼ teaspoon black pepper (optional)
- Pinch of salt (optional)
Instructions
- Preheat your oven to 375°F (190°C). Grease an 8×8-inch baking dish with butter or non-stick spray.
- In a mixing bowl, combine the creamed corn, egg (if using), and melted butter (if using). Whisk until well combined.
- Pour the entire box of Jiffy Corn Muffin Mix into the bowl with the wet ingredients. Stir gently until just combined; a few small lumps are fine.
- Reserve about ¼ cup of shredded sharp cheddar for the top. Gently fold the remaining ¾ cup into the batter.
- Pour the batter into the prepared baking dish and spread evenly. Sprinkle the reserved cheese and black pepper (if using) on top.
- Bake for 28-32 minutes, until the top is golden brown and a toothpick inserted into the center comes out mostly clean.
- Remove from the oven and let rest for 5 minutes before serving. Serve warm.
Notes
For best results, use sharp cheddar and shred it yourself. The egg is optional but gives a firmer texture. You can assemble the casserole the night before and refrigerate; add 3-5 minutes to baking time if starting from cold.
Nutrition
- Serving Size: 1 serving
- Calories: 290
- Sugar: 12
- Sodium: 580
- Fat: 14
- Saturated Fat: 7
- Carbohydrates: 34
- Fiber: 2
- Protein: 9
Keywords: Jiffy corn casserole, corn casserole, easy corn casserole, 3-ingredient corn casserole, sharp cheddar corn casserole, quick corn casserole