Love this? Save it for later!
Share the inspiration with your friends
“It was the sweltering heat of one July afternoon when my blender gave out, right as I was about to make my usual sweet treat,” I remember telling my friend Lisa, who chuckled over our iced coffees. No blender meant no sugary smoothies to freeze into popsicles, but I wasn’t about to let the heat win. So, I grabbed what was left in the fridge—fresh herbs, a few citrus fruits, and some sparkling water—and improvised. Honestly, it wasn’t supposed to be that good; it was just a desperate attempt to cool down. But that first bite was a revelation—a crisp, refreshing, and naturally sweet popsicle that didn’t rely on sugar to bring the joy.
Maybe you’ve been there, too—looking for something sweet and cold without the guilt or the sugar crash. These healthy homemade popsicles have become my go-to summer fix, especially since I’m always wary of added sugars sneaking into snacks. What makes these recipes stand out is how simple and adaptable they are. I mean, who knew that just a few fresh ingredients could create such a delightful treat? Plus, these five no-sugar recipes each have their own little story, like the mint-lime one that reminds me of that impromptu herb garden find, or the creamy avocado lime version that surprised my skeptical partner.
Sure, I may have made a bit of a mess that day (sticky countertops and a rogue lemon rolling off the table), but these popsicles stuck around as a favorite. Whether you’re teaming up with kids, hosting a backyard BBQ, or just craving something fresh after a long day, these recipes are easy, satisfying, and honestly, a little addictive. Let me tell you why you’re going to want to keep these in your freezer all summer long.
Why You’ll Love These Healthy Homemade Popsicles
After testing dozens of variations, tweaking flavors, and asking friends for feedback, I’ve nailed these no-sugar popsicles that everyone can enjoy. Here’s why they quickly became a staple in my kitchen:
- Quick & Easy: Each recipe comes together in under 10 minutes—perfect for busy summer afternoons or last-minute get-togethers.
- Simple Ingredients: No fancy or hard-to-find items here. Most ingredients are pantry or fridge staples, so you’re ready to go anytime.
- Perfect for Summer: These popsicles are ideal for pool parties, picnics, or cooling down after a jog.
- Crowd-Pleaser: Kids and adults alike love the fresh, natural flavors, and nobody suspects they’re sugar-free.
- Unbelievably Delicious: The texture is just right—not icy, not mushy—with flavor combos that surprise and delight.
What really sets these healthy homemade popsicles apart is the balance of bold natural flavors without relying on sweeteners. For example, blending ripe mango with a splash of lime juice creates a tangy-sweet bite that’s just irresistible. And the secret technique of freezing in layers—like with the berry-mint pops—adds a fun swirl effect and texture play. Honestly, these recipes aren’t just a healthier alternative; they’re the kind of treat that makes you close your eyes and savor every lick.
Plus, making them yourself means you control what goes in. No preservatives, no mystery ingredients, just pure, fresh goodness. I’ve seen these popsicles become the highlight of summer afternoons with friends, and I’m confident they’ll bring a little magic to your warm days, too.
What Ingredients You Will Need
These five healthy homemade popsicles rely on fresh, wholesome ingredients that deliver vibrant flavor and a satisfying chill without any added sugar. Most are pantry staples or easy to find at any market, so no stress about sourcing.
- Fresh Fruit: Choose ripe, naturally sweet fruits like mango, berries (strawberries, blueberries, raspberries), kiwi, and watermelon. These provide natural sugars and bright flavors.
- Citrus: Lemons, limes, and oranges add a zesty tang and help balance sweetness. Freshly squeezed juice is best for flavor and brightness.
- Herbs: Fresh mint or basil leaves bring a refreshing twist. I love using mint from my little balcony garden—it makes the popsicles smell amazing.
- Liquid Bases: Coconut water, sparkling water, or unsweetened almond milk create different textures and subtle flavor notes. For creamy popsicles, avocado or Greek yogurt (plain, unsweetened) works beautifully.
- Natural Flavor Boosters: Vanilla extract, a pinch of sea salt, or a dash of cinnamon can add depth without any sweetness.
Here’s a quick breakdown by recipe function:
- For the Fruity Pops: Mango chunks, mixed berries, fresh lime juice, coconut water
- For the Creamy Pops: Ripe avocado, plain Greek yogurt, lemon zest, almond milk
- For the Herbal Pops: Fresh mint leaves, lemon juice, sparkling water
- For the Citrus Pops: Fresh orange juice, lemon juice, a touch of vanilla
- For the Layered Pops: Pureed watermelon, chopped kiwi, a splash of lime
When selecting fruit, look for vibrant colors and firm textures (especially for berries). For best results, use organic or locally sourced produce when possible—flavor just pops more. If you want to swap dairy, try coconut or oat yogurt for creamy versions. Pro tip: freeze the fruit beforehand for smoother blending.
Equipment Needed
Making these healthy homemade popsicles requires minimal kitchen tools, which is part of the charm. Here’s what you’ll need:
- Blender or Food Processor: Essential for pureeing fruits and blending creamy ingredients. I’ve used both a high-speed blender and a basic food processor with great results.
- Popsicle Molds: Silicone molds work best for easy removal. If you don’t have molds, small paper cups with wooden sticks work just fine.
- Citrus Juicer: Handy but optional. Freshly squeezed juice tastes better, but you can squeeze by hand if needed.
- Measuring Cups and Spoons: To keep ingredient proportions spot-on.
- Freezer: Obviously, the most important part! Make sure you have enough space and time for freezing (usually 4-6 hours).
For budget-friendly options, you can find popsicle molds on Amazon or in kitchen stores for under $15. Silicone ones last longer and clean up easily. I’ve learned to rinse molds with warm water before popping the frozen treats out—it saves a lot of frustration. If you’re making layered popsicles, a small spoon or piping bag helps with precision.
Preparation Method
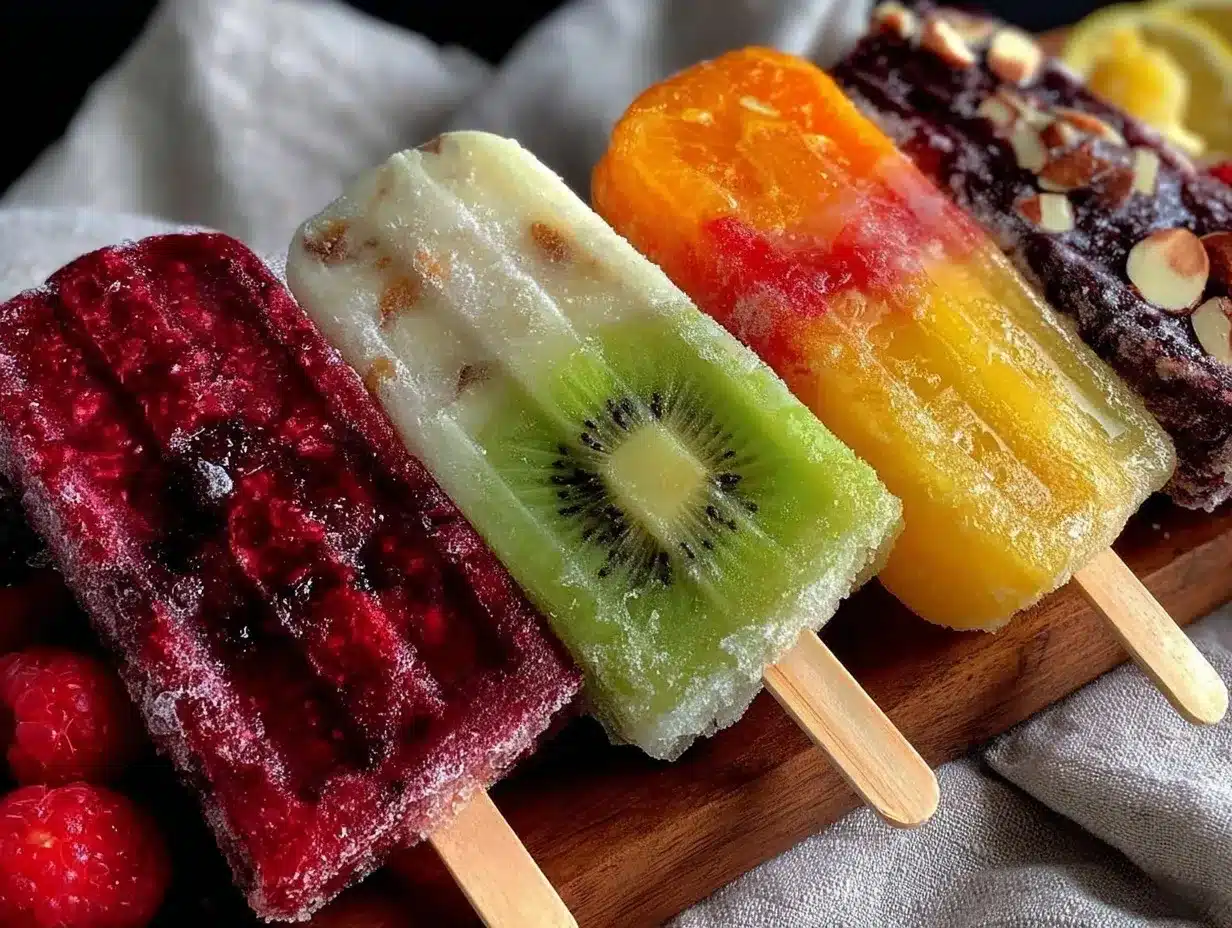
- Prepare Your Ingredients (10 minutes): Wash and chop fruits as needed. For creamy pops, scoop avocado or measure yogurt. Squeeze fresh citrus juices. Rinse herbs and pat dry.
- Blend the Base (5-7 minutes): Add fruit, citrus juice, herbs, and liquid base to your blender. Blend until smooth. For a chunkier texture, pulse a few times instead of blending fully.
- Flavor Check (2 minutes): Taste your mixture. If it tastes too tart, add a splash more coconut water or almond milk. Remember, natural sweetness is subtle but satisfying.
- Layering (Optional, 5 minutes): For layered popsicles, pour one flavor a bit at a time into molds, freezing briefly between layers to avoid mixing.
- Fill the Molds (3 minutes): Pour your mixture into popsicle molds, leaving a tiny gap at the top to allow for expansion.
- Insert Sticks and Freeze (4-6 hours): Place sticks in molds. Freeze until solid (overnight is best). Avoid jostling the molds during freezing to keep layers neat.
- Removing the Popsicles (5 minutes): To unmold, run warm water briefly on the outside of the mold to loosen. Gently pull on sticks—don’t force it or you’ll break the pops.
Quick tip: For creamier popsicles, add a teaspoon of lemon juice to prevent browning in avocado or banana-based recipes. Also, be mindful of the freezer temperature—too cold can make popsicles rock hard, too warm can cause melting. If you’re in a rush, smaller molds freeze faster.
Cooking Tips & Techniques
Making healthy homemade popsicles is straightforward, but a few tricks make all the difference:
- Use Frozen Fruit: If fresh fruit isn’t in season, frozen works perfectly and helps with texture.
- Balance Flavors: Acidity from citrus is key to brightening natural sweetness and preventing bland pops.
- Layering Technique: Freeze each layer for about 30 minutes before adding the next to get distinct stripes without blending.
- Don’t Overfill: Leave a small gap at the top of your molds to avoid overflow when freezing.
- Texture Tips: For smoother pops, strain purees to remove seeds or pulp if desired—especially for berries and kiwi.
- Avoid Ice Crystals: Adding a bit of coconut water or yogurt helps reduce iciness, giving you that creamy mouthfeel.
- Trial and Error: I once forgot to add liquid to a mango batch—ended up with a popsicle brick! Lesson learned: always check consistency before freezing.
Timing is everything. If you’re making multiple flavors or layers, prep all your purees beforehand so you can work quickly. Multitasking by prepping fruit while the blender cleans itself (yes, I do that!) saves time. And don’t be afraid to experiment—these popsicles are forgiving.
Variations & Adaptations
One of the joys of healthy homemade popsicles is how flexible they can be. Here are some ways to switch things up:
- Dietary: For dairy-free creamy popsicles, swap Greek yogurt for coconut yogurt or blended silken tofu.
- Seasonal: Use seasonal fruits like peaches and nectarines in summer, or pomegranate and pear in fall for a twist.
- Flavor Boosts: Add a pinch of ginger or turmeric for a subtle spicy note and antioxidant benefits.
- Cooking Methods: Instead of freezing in molds, pour mixtures into ice cube trays and blend for a quick smoothie ice base.
- Personal Favorite: I love adding chopped fresh basil to watermelon popsicles for a refreshing herbal kick—surprisingly addictive!
These adjustments make it easy to tailor recipes to allergies, preferences, or whatever’s in your fridge. And since the base is so simple, the sky’s the limit for creativity.
Serving & Storage Suggestions
Serve these popsicles straight from the freezer for the best chill and texture. They’re perfect as a cool-down treat after outdoor play or alongside a light lunch. Try pairing the citrus pops with a fresh garden salad or the creamy avocado pops with grilled chicken for a balanced meal.
To store, keep popsicles in their molds or transfer to an airtight freezer bag to prevent freezer burn. They last well for up to two weeks without losing flavor or texture. When reheating (or rather, softening), let them sit at room temperature for 3-5 minutes before enjoying.
Flavors actually develop a bit more depth after a day or two in the freezer, so feel free to make a batch ahead for a summer gathering. Just keep them away from strong-smelling foods to avoid flavor transfer.
Nutritional Information & Benefits
These healthy homemade popsicles are naturally low in calories, fat, and sugar, making them a guilt-free summer pleasure. Depending on the recipe, each popsicle typically contains:
- About 40-60 calories
- Minimal fat, mostly healthy fats when avocado is used
- Natural sugars from fruit (no added sugars!)
- A good dose of vitamin C and antioxidants
The fresh fruits provide fiber and hydration, while herbs like mint and basil add antioxidants and a refreshing flavor without calories. Using Greek yogurt adds protein and probiotics, supporting digestion. These popsicles suit gluten-free, low-carb, and vegan diets with simple swaps, making them accessible to many.
Conclusion
If you’re looking for a summer treat that’s easy, refreshing, and genuinely good for you, these healthy homemade popsicles are a no-brainer. Each recipe offers something a little different, whether it’s a creamy texture, a herbaceous note, or a vibrant fruit punch. I love how they make me feel refreshed without that sugar crash or heaviness. Honestly, they’ve changed how I think about frozen treats.
Try mixing and matching the recipes or adding your own favorite flavors. I’d love to hear how you make them your own! Drop a comment below if you’ve tried these or have a unique popsicle twist to share. Let’s keep summer cool, tasty, and healthy—one popsicle at a time.
Frequently Asked Questions about Healthy Homemade Popsicles
Can I use frozen fruit instead of fresh?
Absolutely! Frozen fruit works great and often makes blending easier. Just adjust liquid amounts slightly if the mixture feels too thick.
How long do homemade popsicles last in the freezer?
They typically last about two weeks before flavor and texture start to decline. Store in airtight containers to keep them fresh.
Can I make these popsicles without popsicle molds?
Yes, small paper cups or silicone muffin liners work well. Just insert wooden sticks once the mixture is partially frozen.
Are these popsicles suitable for kids?
Definitely! They’re naturally sweet, free from added sugars, and full of wholesome ingredients. Just watch out for any allergies to specific fruits or dairy.
How do I prevent ice crystals from forming?
Adding a bit of coconut water, yogurt, or blending thoroughly helps reduce ice crystals. Also, don’t leave popsicles in the freezer too long before eating.
Pin This Recipe!
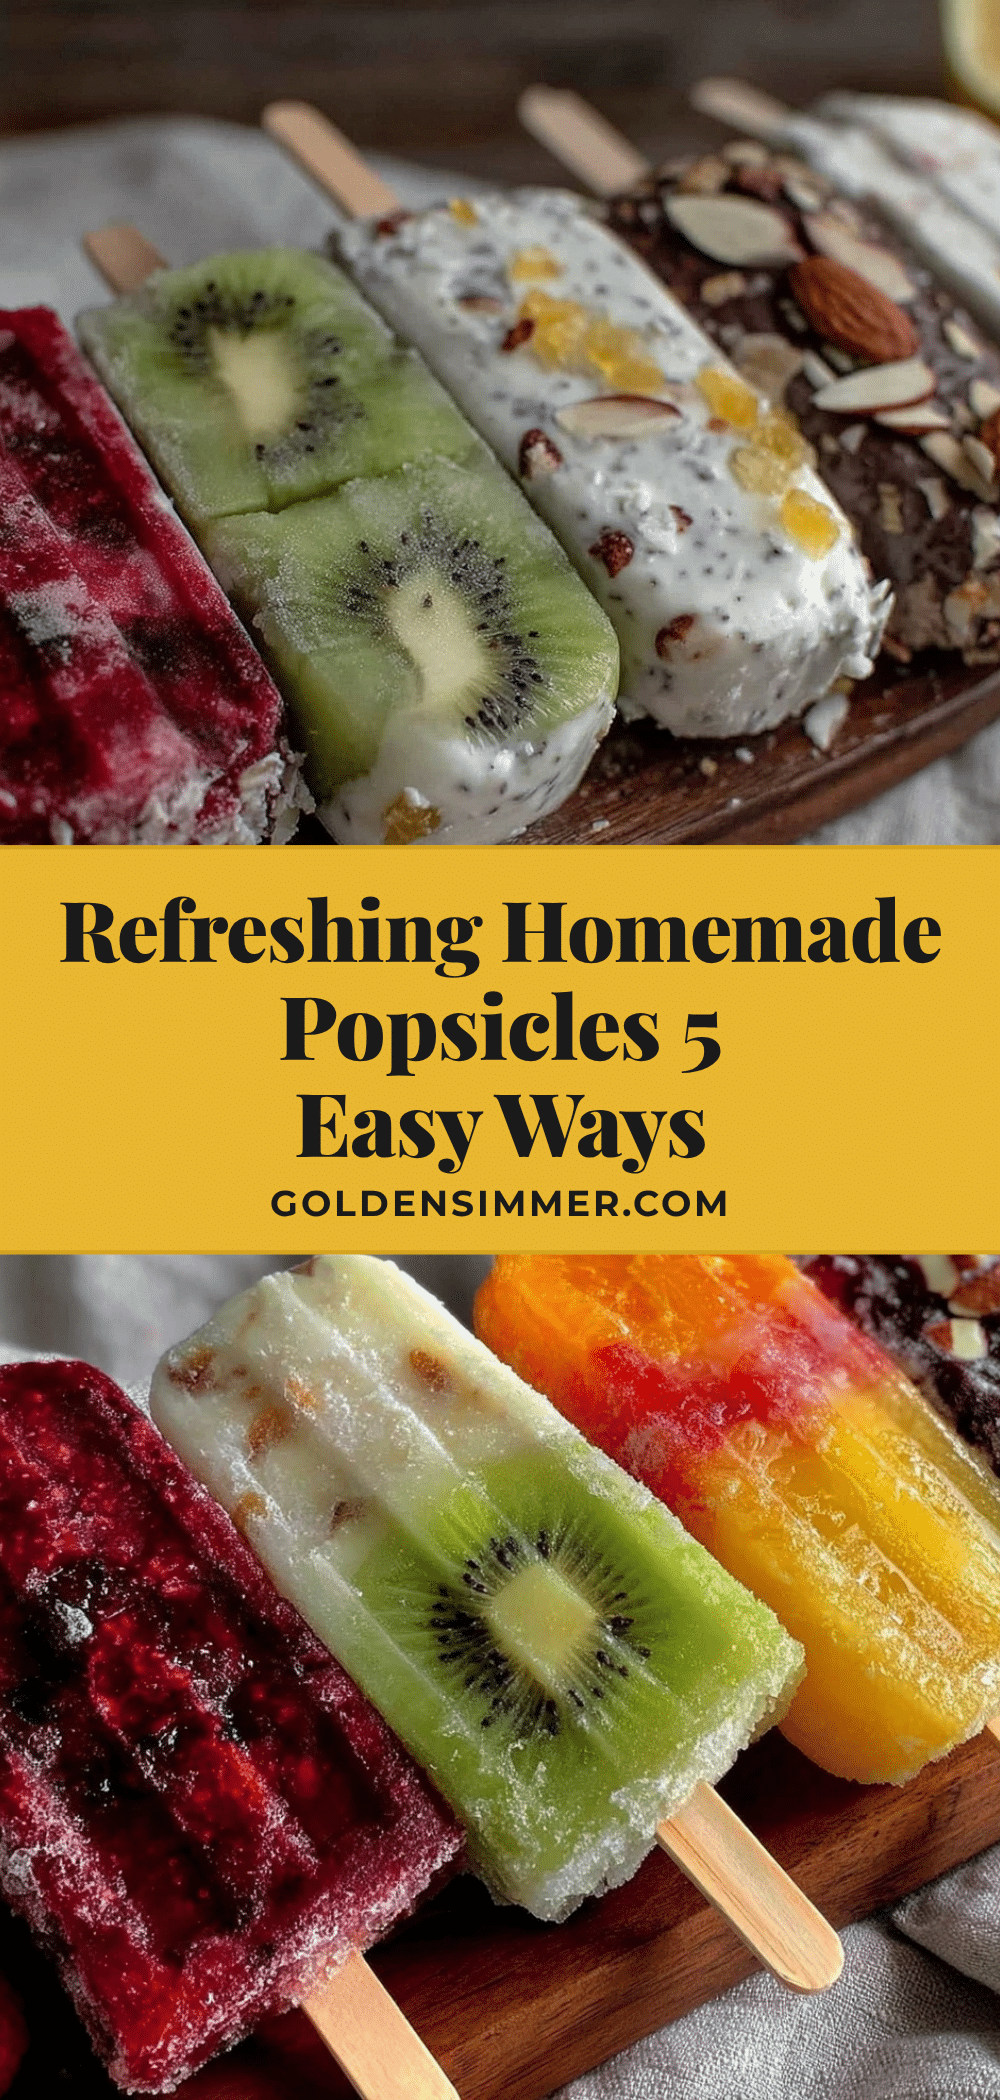
Healthy Homemade Popsicles
Refreshing and naturally sweet no-sugar popsicles made with fresh fruits, herbs, and wholesome ingredients. Perfect for a guilt-free summer treat that everyone can enjoy.
- Prep Time: 10 minutes
- Cook Time: 4-6 hours (freezing time)
- Total Time: 4 hours 10 minutes to 6 hours 10 minutes
- Yield: 6 servings
- Category: Dessert
- Cuisine: American
Ingredients
- Ripe mango chunks
- Mixed berries (strawberries, blueberries, raspberries)
- Kiwi
- Watermelon
- Fresh lime juice
- Fresh lemon juice
- Fresh orange juice
- Fresh mint leaves
- Fresh basil leaves
- Coconut water
- Sparkling water
- Unsweetened almond milk
- Ripe avocado
- Plain Greek yogurt (unsweetened)
- Vanilla extract
- Sea salt
- Cinnamon
Instructions
- Prepare your ingredients by washing and chopping fruits as needed. Scoop avocado or measure yogurt for creamy pops. Squeeze fresh citrus juices and rinse herbs, then pat dry.
- Add fruit, citrus juice, herbs, and liquid base to your blender or food processor. Blend until smooth or pulse for chunkier texture.
- Taste the mixture and adjust flavor by adding more coconut water or almond milk if too tart.
- For layered popsicles, pour one flavor at a time into molds, freezing briefly between layers to avoid mixing.
- Pour the mixture into popsicle molds, leaving a small gap at the top for expansion.
- Insert sticks into molds and freeze for 4-6 hours or overnight until solid.
- To remove popsicles, run warm water briefly on the outside of the mold and gently pull on sticks.
Notes
Use frozen fruit if fresh is not available for better texture. Freeze each layer for about 30 minutes when making layered popsicles. Add a teaspoon of lemon juice to creamy popsicles to prevent browning. Rinse molds with warm water before removing popsicles to avoid breakage. Smaller molds freeze faster. Avoid overfilling molds to prevent overflow during freezing.
Nutrition
- Serving Size: 1 popsicle
- Calories: 4060
- Sodium: 1030
- Fat: 13
- Saturated Fat: 0.2
- Carbohydrates: 1015
- Fiber: 13
- Protein: 13
Keywords: healthy popsicles, no sugar popsicles, homemade popsicles, summer treats, sugar-free desserts, fruit popsicles, creamy popsicles, herbal popsicles



