Love this? Save it for later!
Share the inspiration with your friends
Introduction
“You won’t believe this is gluten-free,” my friend Jenna whispered as she handed me one of these jiggly, colorful cups at our weekend potluck. Honestly, I was skeptical at first—layered jello often spells sticky, overly sweet disappointment. But these Fresh Gluten-Free Rainbow Layered Jello Cups with Coconut Whipped Cream were a whole different story. The layers were perfectly set, vibrant like a summer garden party, and the coconut whipped cream on top? Pure magic. This recipe actually came to me late one Friday night when I was rummaging through my pantry, craving something fresh but without the usual gluten-laden treats.
That night, I grabbed a mishmash of fruit juices and gelatin packets, figuring I’d just throw something together. Spoiler alert: the first attempt was a bit of a mess (I forgot to let the layers set properly and ended up with a colorful swirl rather than neat bands). But hey, sometimes kitchen flops lead to the best recipes, right? After a few tries, I nailed the balance of texture and flavor, and the coconut whipped cream was my secret weapon for that creamy, tropical twist.
If you’ve ever been stuck wondering how to make a dessert that’s both fun and allergy-friendly—or you just want to impress guests with a rainbow on a plate—this recipe is your go-to. I mean, maybe you’ve been there: wanting something light, fresh, and easy, but also a little show-stopping. That’s exactly why these jello cups have stuck around in my rotation. They’re bright, tasty, and honestly, a total crowd-pleaser.
Why You’ll Love This Recipe
This recipe isn’t just a pretty face; it’s been put through the wringer in my kitchen and loved by everyone from picky eaters to gluten-sensitive friends. Here’s why these Fresh Gluten-Free Rainbow Layered Jello Cups with Coconut Whipped Cream deserve a spot in your dessert lineup:
- Quick & Easy: Comes together in under 30 minutes of active prep, with hands-off layering time perfect for busy evenings or spontaneous gatherings.
- Simple Ingredients: No need for exotic or hard-to-find items—just fruit juices, gelatin, and a few pantry staples (plus coconut cream for that luscious topping).
- Perfect for Celebrations: Great for birthday parties, summer barbecues, or anytime you want a festive, colorful dessert that stands out.
- Crowd-Pleaser: Kids adore the rainbow layers, and adults appreciate the fresh, not-too-sweet finish.
- Unbelievably Delicious: The balance of fruity flavors with creamy coconut whipped cream creates a texture and taste combo that’s seriously addictive.
What makes this recipe different? Well, I’ve learned that layering jello isn’t just about patience—it’s about the right gelatin ratio and chilling times to get those perfect, clean bands. Plus, swapping traditional dairy whipped cream for coconut whipped cream gives it a fresh, tropical vibe while keeping it dairy-free and vegan-friendly. Honestly, this isn’t just another jello cup recipe—it’s the best fresh, gluten-free layered dessert I’ve found that’s both visually stunning and genuinely delicious.
What Ingredients You Will Need
This recipe uses simple, wholesome ingredients to deliver bold flavor and satisfying texture without the fuss. Most are pantry or fridge staples, and you can easily swap out some items based on your preferences or what you have on hand.
- Gelatin Layers:
- Fruit juices (such as orange, grape, lemon, pineapple, cranberry, and lime) – I like to buy 100% pure juices without added sugar for the best flavor
- Unflavored gelatin powder (or agar-agar for a vegan option) – I recommend Knox gelatin for consistent results
- Sugar or honey, optional (to taste, depending on how sweet your juices are)
- Coconut Whipped Cream:
- Full-fat coconut cream, chilled overnight (this is key for whipping)
- Powdered sugar or maple syrup (for a touch of sweetness)
- Vanilla extract (just a splash to round out the flavor)
Ingredient Tips: For the fruit juices, fresh-pressed or cold-pressed will give you the most vibrant color and flavor, but store-bought is totally fine too. If you want to change up the colors, you can swap in natural juices or even herbal teas. When choosing coconut cream, brands like Aroy-D or Native Forest tend to whip up beautifully. And if you need a gluten-free guarantee, double-check your gelatin brand as some may process with gluten-containing products.
Equipment Needed
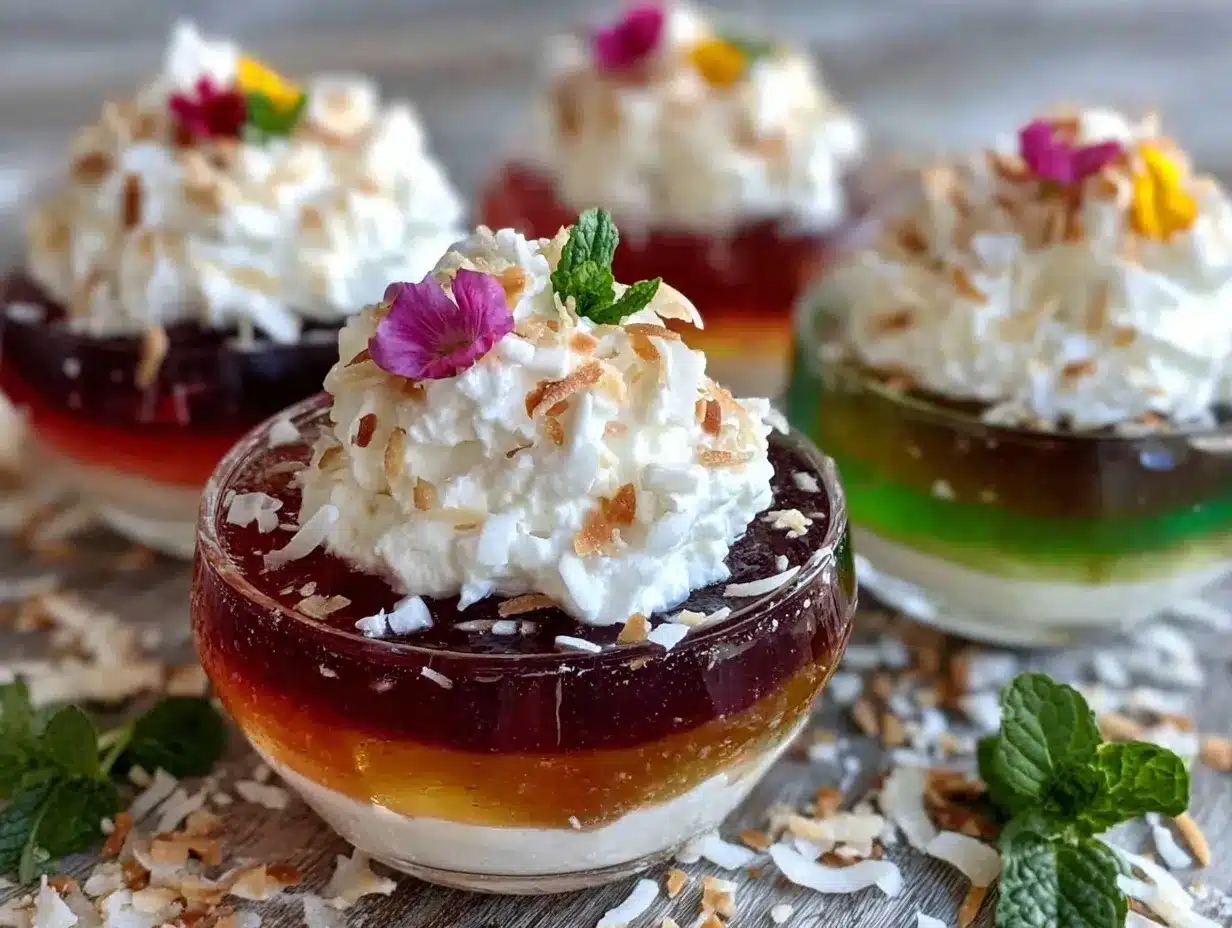
- Clear plastic or glass cups (small dessert cups or even mason jars work great for layering)
- Measuring cups and spoons for accuracy
- Mixing bowls and a whisk (or a fork if you’re in a pinch)
- Small saucepan for heating fruit juices and dissolving gelatin
- Electric mixer or handheld mixer for whipping the coconut cream (a chilled bowl helps too)
- Refrigerator space for setting layers (make sure you have enough room to keep cups level!)
Don’t have a mixer? No worries! You can whip coconut cream by hand if you’re patient, or even shake it vigorously in a jar, though it takes more elbow grease. For budget-friendly options, simple plastic cups work just as well as glass, especially if you’re making these for a crowd or kids’ party. Just keep in mind that clear cups really show off those gorgeous layers.
Preparation Method
- Prepare the gelatin base: Pour 1 cup (240 ml) of your chosen fruit juice into a small saucepan. Sprinkle 1 tablespoon (9 g) of unflavored gelatin evenly over the surface and let it sit for 2 minutes to bloom.
- Heat the gelatin mixture: Warm the juice and gelatin over low heat, stirring gently until completely dissolved—about 3 to 5 minutes. Do not boil, or gelatin will lose its setting power. Taste and add sugar or honey as desired, stirring until dissolved.
- Cool slightly: Let the mixture cool to room temperature but not set. This usually takes about 10 to 15 minutes. This step is crucial; if the mixture is too hot, it will melt the previous layer.
- Pour the first layer: Carefully pour about 1/4 cup (60 ml) of the gelatin mixture into each cup. Place the cups in the fridge for 20 to 30 minutes until the layer is firm but still slightly tacky to the touch.
- Repeat layering: Repeat steps 1-4 with different juices and colors, allowing each layer to firm up before adding the next. Patience is key here—you want neat, distinct layers rather than mixing colors.
- Make the coconut whipped cream: Scoop the chilled coconut cream into a mixing bowl. Add 2 tablespoons (15 g) powdered sugar and 1 teaspoon (5 ml) vanilla extract. Whip with an electric mixer on high speed for 3 to 5 minutes until light and fluffy.
- Top and chill: Once all layers are set, spoon or pipe the coconut whipped cream on top of each cup. Chill the completed cups for at least another 30 minutes before serving to let flavors meld.
Pro tips: If you notice any condensation inside the cups after chilling, dab gently with a paper towel before adding the next layer. Also, you can speed up layer setting by placing cups in the freezer for 15 minutes, but watch closely to avoid freezing.
Cooking Tips & Techniques
Layered jello desserts are fun but tricky if you’re new to gelatin. One mistake I made early on was rushing the layers—trust me, patience pays off. Each layer needs to be firm enough to support the next without blending. I recommend chilling each layer for at least 20 minutes.
Another tip: blooming gelatin properly is non-negotiable. Sprinkling gelatin powder over the cold juice allows it to absorb moisture first, leading to smooth, lump-free jello. Heating too fast or boiling gelatin will ruin its setting ability, so keep the heat low and stir gently.
For the coconut whipped cream, chill both the cream and mixing bowl well. This makes whipping easier and results in a better texture. If your cream doesn’t thicken, it might be from using a low-fat coconut milk or cream, so always check the label for full-fat content.
Timing-wise, prepping your juices and gelatin mixtures before starting layering helps keep the process flowing. You can prepare all your gelatin bases in advance and keep them at room temperature, then pour layers quickly one after another with fridge breaks in between.
Variations & Adaptations
- Dietary Adaptation: Use agar-agar powder instead of gelatin for a vegan and vegetarian-friendly version. Note agar sets faster and firmer, so adjust chilling times accordingly.
- Seasonal Twist: Swap fruit juices with fresh purees like strawberry or mango for a more natural and vibrant flavor, especially during summer months.
- Flavor Boost: Add a splash of lemon or lime juice to each gelatin layer to brighten the taste and balance sweetness.
- Cooking Method: Instead of cups, pour layers into a large glass dish and slice into squares for a colorful sheet jello dessert.
- Personal Favorite: I once tried layering with a mix of herbal teas (like hibiscus and chamomile) for a floral, less sweet version topped with whipped coconut and fresh edible flowers. It was a showstopper at brunch!
Serving & Storage Suggestions
Serve these jello cups chilled for the freshest taste and best texture. They’re perfect as a light dessert after a heavy meal or as a fun snack at parties. Presentation-wise, clear cups really show off the rainbow layers, and a sprinkle of toasted coconut or fresh berries on the coconut whipped cream adds a nice touch.
Store leftovers in the refrigerator, covered with plastic wrap or in an airtight container, for up to 3 days. Avoid freezing as the texture will change and the layers may separate. When reheating (if you want a softer texture), let sit at room temperature for 15 minutes before serving.
Flavors tend to mellow and blend over time, so if you make these ahead, expect a slightly more unified taste but still plenty of visual appeal. Just be sure to add the coconut whipped cream fresh before serving for that creamy contrast.
Nutritional Information & Benefits
Each serving of these rainbow jello cups is naturally low in calories and gluten-free, making it a great dessert option for many dietary needs. The fruit juices provide natural vitamins and antioxidants, while the coconut cream adds healthy fats and a creamy texture without dairy.
Because this recipe uses unflavored gelatin, it also offers a small protein boost and may support joint and skin health. For those avoiding sugar, you can easily adjust the sweetness by choosing unsweetened juices and using natural sweeteners like stevia or monk fruit.
Note that gelatin is not suitable for vegans unless substituted with agar-agar, and coconut cream contains saturated fat, so moderation is key for specific dietary goals.
Conclusion
If you’re on the lookout for a fresh, gluten-free dessert that’s as fun to eat as it is to make, these Fresh Gluten-Free Rainbow Layered Jello Cups with Coconut Whipped Cream are a no-brainer. They bring a burst of color, a pop of flavor, and a creamy finish that’ll have everyone asking for seconds. The layering process might take a bit of patience, but trust me—it’s so worth it when you see those perfect, vibrant bands coming together.
Feel free to tweak the flavors and colors to suit your mood or occasion. I love this recipe because it’s both nostalgic and surprising—a simple dessert that still manages to wow. When you try it, don’t forget to share how your layers turned out or any fun twists you added. I’m always excited to hear your stories!
Now, grab your favorite juices and get layering. Your next favorite dessert is waiting.
FAQs
Can I make these jello cups ahead of time?
Yes! You can prepare all the layers a day in advance and keep them refrigerated. Just add the coconut whipped cream topping right before serving for the best texture.
What if I don’t have coconut cream for the whipped topping?
You can use dairy whipped cream or any other non-dairy whipped topping. However, coconut cream adds a unique flavor and dairy-free richness that pairs perfectly with the fruity layers.
How do I prevent the layers from mixing?
Make sure each layer is fully set and slightly tacky before adding the next. Pour your gelatin mixture slowly over the back of a spoon to avoid splashing and mixing.
Is this recipe suitable for vegans?
To make it vegan, substitute gelatin with agar-agar powder and use coconut whipped cream. Agar-agar sets differently, so watch your chilling times closely.
Can I use fresh fruit juice instead of store-bought?
Absolutely! Freshly squeezed juices work beautifully and bring vibrant natural flavors. Just be sure to strain out pulp for smooth layers.
Pin This Recipe!
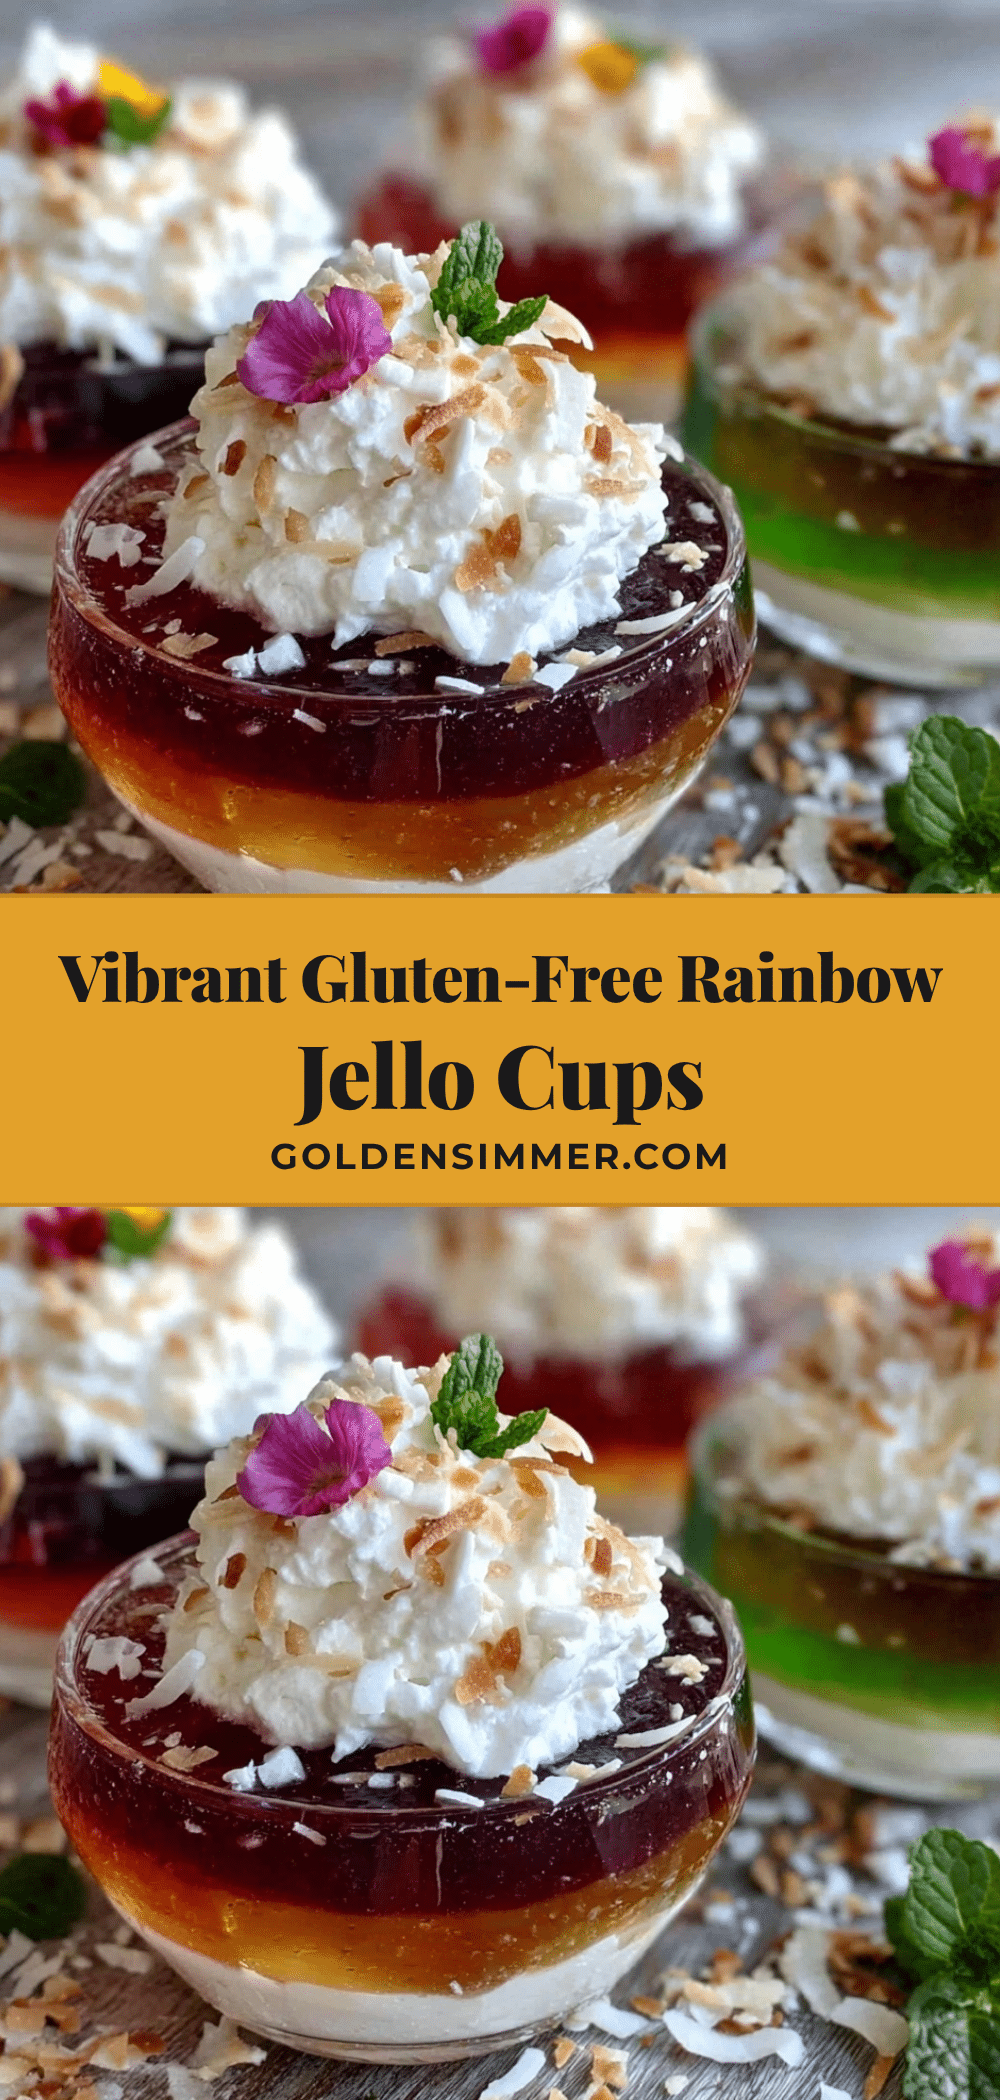
Fresh Gluten-Free Rainbow Layered Jello Cups Recipe Easy Homemade Dessert
A vibrant, gluten-free layered jello dessert topped with creamy coconut whipped cream, perfect for celebrations and allergy-friendly diets.
- Prep Time: 20 minutes
- Cook Time: 10 minutes
- Total Time: 1 hour 30 minutes
- Yield: 8 servings
- Category: Dessert
- Cuisine: American
Ingredients
- Fruit juices (such as orange, grape, lemon, pineapple, cranberry, and lime) – 100% pure, no added sugar
- Unflavored gelatin powder (or agar-agar for vegan option) – 1 tablespoon (9 g) per 1 cup juice
- Sugar or honey, optional (to taste)
- Full-fat coconut cream, chilled overnight
- Powdered sugar or maple syrup (for sweetness) – 2 tablespoons (15 g)
- Vanilla extract – 1 teaspoon (5 ml)
Instructions
- Pour 1 cup (240 ml) of chosen fruit juice into a small saucepan. Sprinkle 1 tablespoon (9 g) of unflavored gelatin evenly over the surface and let it sit for 2 minutes to bloom.
- Warm the juice and gelatin over low heat, stirring gently until completely dissolved (3 to 5 minutes). Do not boil. Add sugar or honey to taste and stir until dissolved.
- Let the mixture cool to room temperature but not set (about 10 to 15 minutes).
- Carefully pour about 1/4 cup (60 ml) of the gelatin mixture into each cup. Refrigerate for 20 to 30 minutes until the layer is firm but slightly tacky.
- Repeat the gelatin preparation and layering steps with different juices and colors, allowing each layer to set before adding the next.
- Scoop chilled coconut cream into a mixing bowl. Add powdered sugar and vanilla extract. Whip with an electric mixer on high speed for 3 to 5 minutes until light and fluffy.
- Top each cup with the whipped coconut cream. Chill the completed cups for at least 30 minutes before serving.
Notes
Ensure each gelatin layer is fully set and slightly tacky before adding the next to prevent mixing. Bloom gelatin properly by sprinkling over cold juice and avoid boiling. Chill coconut cream and mixing bowl for best whipping results. Use agar-agar for vegan version but adjust chilling times as it sets faster and firmer. To speed up setting, place cups in freezer for 15 minutes but watch closely to avoid freezing.
Nutrition
- Serving Size: 1 cup dessert cup
- Calories: 110
- Sugar: 10
- Sodium: 15
- Fat: 7
- Saturated Fat: 6
- Carbohydrates: 12
- Protein: 2
Keywords: gluten-free, layered jello, rainbow dessert, coconut whipped cream, dairy-free, vegan option, easy dessert, party dessert



