Love this? Save it for later!
Share the inspiration with your friends
I was standing in my kitchen last Tuesday, staring at a half-loaf of bread that was going stale, when the smell of peanut butter hit me — and suddenly I was seven years old at my neighbor Mrs. Kowalski’s house, watching her make what she called “pocket sandwiches” for her grandkids. She’d press the edges with a fork, freeze them on a cookie sheet, and stack them like precious coins in a freezer bag. I remember thinking it was magic, the way she could pack love into something so small and practical. Honestly, I’d forgotten all about that memory until the moment the bread bag crinkled in my hand.
That afternoon, I made my first batch of homemade freezer uncrustables. Let me tell you — they were not pretty. The first one leaked jam all over my counter, and I may or may not have used too much peanut butter on the second one (is there such a thing?). But by the third attempt, I had it down. And now? I make these every single Sunday like clockwork.
These easy freezer lunchbox uncrustables have become my secret weapon for busy mornings, after-school snacks, and even those “I forgot to pack a lunch” moments we all pretend don’t happen. They’re the kind of thing you make once and wonder why you didn’t start sooner. Maybe you’ve been there — standing in the grocery aisle, looking at the price of those store-bought frozen sandwiches, and thinking there has to be a better way. Well, there is. And it starts with some bread, your favorite fillings, and about twenty minutes of your time.
Why You’ll Love This Recipe
I’ve tested this recipe more times than I care to admit — through soggy bread disasters, frozen sandwiches that stuck together, and fillings that refused to cooperate. What I landed on is a method that actually works, every single time. Here’s why these homemade freezer uncrustables deserve a spot in your weekly rotation:
- Quick & Easy: From start to finish, you’re looking at about 20 minutes of active prep time. That’s faster than a trip to the store.
- Simple Ingredients: No weird preservatives, no artificial flavors. Just bread, spread, and whatever fillings make your people happy.
- Perfect for Busy Mornings: Grab one from the freezer, toss it in a lunchbox, and by lunchtime it’s perfectly thawed. No ice packs needed.
- Crowd-Pleaser: Kids love them, adults sneak them, and they’re customizable enough for even the pickiest eaters.
- Cost-Effective: Store-bought versions cost about $1 each. Homemade? More like 25 cents. Do the math on that over a school year.
What makes these different from every other recipe out there is the technique — I learned the hard way that you can’t just slap some peanut butter on bread and freeze it. The bread gets sad. The filling leaks. But with a simple trick (sealing the edges properly and using the right bread), these come out of the freezer tasting fresh-made. It’s the kind of recipe that makes you feel like you’ve hacked the system, honestly.
These aren’t just sandwiches — they’re little pockets of sanity on chaotic mornings. The kind of thing that makes you close the freezer door and think, “I’ve got this.”
What Ingredients You Will Need
This recipe uses simple, pantry-friendly ingredients to deliver a lunchbox staple that’s actually worth eating. The beauty is in the flexibility — you can stick with classic combinations or mix things up based on what you have on hand.
For the Base
- 8 slices soft white bread (or whole wheat, brioche, or your favorite sandwich bread — just avoid super dense or crusty breads that crack when pressed)
- ½ cup creamy peanut butter (I prefer Skippy or Jif for consistent texture; natural peanut butter can separate and make the sandwiches greasy)
- ¼ cup strawberry jam or jelly (seedless works best to avoid grittiness, but use whatever you love — grape, raspberry, or even apple butter)
Optional Fillings and Variations
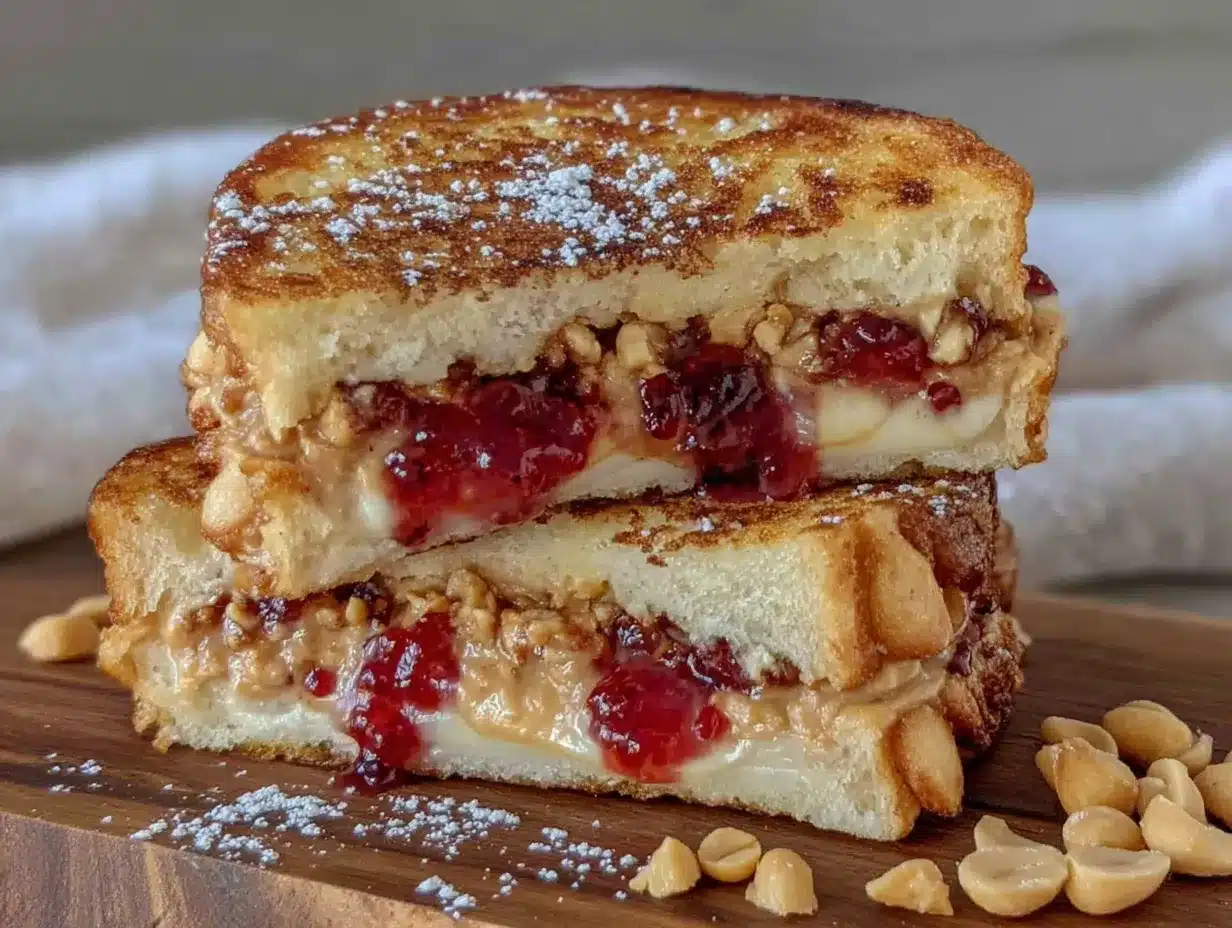
- Nutella — for when you want dessert disguised as lunch
- Fluff — the classic Fluffernutter combo never gets old
- Honey — adds natural sweetness without the sugar crash
- Sliced bananas — fresh only; freeze them separately and add before serving
- Sunflower seed butter — perfect for nut-free schools (look for no-stir varieties)
A quick note on bread selection: I’ve tried this with everything from artisan sourdough to gluten-free bread, and the winner is always standard sandwich bread. It’s soft enough to press and seal properly, and it thaws without getting weird. If you’re using homemade bread, make sure it’s at least a day old — super fresh bread can get gummy when frozen.
For the peanut butter, I recommend using a processed brand for this specific recipe. I know, I know — natural peanut butter feels healthier. But it tends to separate during freezing, leaving you with oily bread and dry peanut butter chunks. Save the natural stuff for toast and use the good old-fashioned kind here. Your future self will thank you.
And the jam? Any flavor works, but I’ve found that thicker jams (not jelly) hold up better in the freezer. If your jam is runny, give it a quick stir before spreading to distribute the fruit evenly.
Equipment Needed
You don’t need any fancy gadgets for this recipe, which is part of why I love it so much. Here’s what you’ll need:
- A rolling pin — to flatten the bread slightly so it seals better. No rolling pin? A clean wine bottle or even your hands work in a pinch.
- A 3-inch round cookie cutter — this gives you the classic uncrustable shape. If you don’t have one, use a wide-mouth mason jar ring or even a sharp knife to cut circles.
- A fork — for crimping the edges. This is non-negotiable for keeping the filling inside.
- A baking sheet — to freeze the sandwiches individually before bagging them. Line it with parchment paper for easy removal.
- Freezer-safe zip-top bags — quart or gallon size depending on how many you’re making.
- Parchment paper or wax paper — to separate layers in the freezer bag so they don’t stick together.
I picked up my cookie cutter at a dollar store, and it’s still going strong three years later. You really don’t need to spend much — the tools for this recipe are about as basic as it gets. The one thing I’d splurge on is good freezer bags; the cheap ones can crack in the freezer and let in freezer burn.
Preparation Method
Let me walk you through this step by step. I’ve included all the little details I wish someone had told me the first time around.
- Lay out your bread slices on a clean work surface. You’ll want to work with 4 slices at a time to make 4 sandwiches. Using a rolling pin, gently flatten each slice until it’s about ¼ inch thick. Don’t press too hard — you’re just making the bread more pliable, not turning it into cardboard. (I learned this after crushing my first slice into a sad, flat disc.)
- Spread about 1 tablespoon of peanut butter onto 4 of the flattened bread slices. Leave a ½-inch border around the edges — this is crucial for sealing. If you spread all the way to the edge, the filling will squeeze out when you press the sandwiches together. Trust me on this one.
- Spread about 1½ teaspoons of jam on top of the peanut butter. Again, keep it away from the edges. The jam should be centered like a little island of sweetness. If you’re using Nutella or another spread, use the same amount.
- Top each peanut butter and jam slice with one of the remaining flattened bread slices. Press down gently around the filling to push out any air pockets. Air pockets = sad, deflated sandwiches after freezing.
- Using your 3-inch cookie cutter, press down firmly in the center of each sandwich. Cut all the way through both layers of bread. Wiggle the cutter slightly if needed to get a clean cut. Remove the excess bread scraps — save these for breadcrumbs or just snack on them while you work (no judgment here).
- Here’s the important part: Take a fork and press down around the edges of each round sandwich. Press firmly enough to seal the two bread layers together. Go around the entire edge, creating a decorative crimped pattern. This is what keeps the filling from leaking during freezing and thawing. I usually go around twice to make sure the seal is solid.
- Place the sealed sandwiches on a parchment-lined baking sheet in a single layer. Make sure they’re not touching each other. Pop the baking sheet in the freezer for at least 2 hours, or until the sandwiches are completely frozen solid. Overnight works great too.
- Once frozen, transfer the sandwiches to a freezer-safe zip-top bag. Layer them between sheets of parchment paper so they don’t stick together. Squeeze out as much air as possible before sealing the bag. Label the bag with the date and what’s inside — you’ll thank yourself later when you find a mystery bag in the freezer.
- To serve: Simply grab a frozen sandwich and place it in a lunchbox in the morning. By lunchtime (about 4 hours later), it will be perfectly thawed and ready to eat. No need for an ice pack — the sandwich acts as its own ice pack for other lunch items!
A few extra notes: If you’re making a big batch, work in rounds of 4 sandwiches to keep the bread from drying out. Cover unused bread slices with a damp paper towel while you work. And if your kitchen is warm, pop the assembled sandwiches in the fridge for 10 minutes before freezing — this helps them hold their shape better.
Cooking Tips & Techniques
After dozens of batches (and some truly spectacular failures), here’s what I’ve learned about making the best freezer uncrustables:
The bread matters more than you think. I tried this with homemade artisan bread once, and it cracked like a desert floor when I pressed the edges. Stick with soft, squishy sandwich bread — the kind that comes in a plastic bag. It’s engineered for exactly this purpose, honestly.
Don’t skip the rolling step. I know it seems fussy, but flattening the bread prevents it from puffing up in the center during freezing. A puffy sandwich means the filling shifts to one side, and nobody wants a bite of just bread. Roll gently and evenly.
The fork crimp is your best friend. The first time I made these, I thought I could just press the edges with my fingers. Spoiler: I could not. The filling leaked everywhere, and I ended up with sticky, sad sandwiches. A proper fork crimp creates a real seal that holds up to freezing and thawing.
Freeze them flat. If your sandwiches are slightly tilted when they freeze, they’ll thaw that way too. Make sure your baking sheet is level, and don’t stack anything on top of the sandwiches while they’re freezing. Flat sandwiches pack better in lunchboxes anyway.
Double up for busy weeks. I usually make 16 sandwiches at a time — that’s two loaves of bread worth. It takes about 30 minutes total, and we’re set for two weeks of lunches. The sandwiches stay good in the freezer for up to 3 months, though they rarely last that long around here.
Variations & Adaptations
The beauty of this recipe is how easily it adapts to different tastes, diets, and occasions. Here are some variations I’ve tried and loved:
Nut-Free Version
Swap the peanut butter for sunflower seed butter or WowButter. Just be aware that sunflower seed butter can turn green when baked or frozen (it’s a natural reaction, totally safe). For best results, use a no-stir variety and add a pinch of salt to balance the flavor.
Fluffernutter Style
Replace the jam with marshmallow fluff. This is my son’s absolute favorite — he calls them “cloud sandwiches.” The fluff freezes beautifully and thaws to a soft, gooey consistency. Use a little less fluff than you think you need; it expands slightly during freezing.
Honey and Banana
Spread peanut butter on both bread slices, drizzle with honey, and add thin banana slices. Important: add the banana fresh when serving, not before freezing. Frozen banana gets mushy and weird. I keep a bag of these peanut butter-honey sandwiches in the freezer and add banana slices on school mornings.
Chocolate Hazelnut
Use Nutella instead of peanut butter and skip the jam. These taste like dessert and are perfect for after-school snacks. My daughter calls them “chocolate coins” because of their round shape.
Savory Version
Yes, you can make savory uncrustables! Use cream cheese and cucumber, or hummus and shredded carrots. Just avoid watery vegetables (like tomatoes) that will make the bread soggy. These are great for adults who want a quick, grab-and-go lunch option.
The key to any variation is keeping the filling thick and not too wet. If your filling has high water content, it will make the bread soggy during thawing. Stick with spreads, nut butters, and thick jams for best results.
Serving & Storage Suggestions
These sandwiches are designed to be eaten cold or at room temperature — that’s the whole point. Here’s how to serve and store them like a pro:
Serving Temperature: Pull a sandwich from the freezer and pack it directly in a lunchbox. By lunchtime (about 4 hours), it will be perfectly thawed. If you’re eating at home, let it sit on the counter for 30 minutes before serving. Don’t microwave these — the bread gets tough and the filling becomes dangerously hot.
Storage: Keep uncrustables in a sealed freezer bag for up to 3 months. I write the date and filling on the bag with a permanent marker. Layer them between sheets of parchment or wax paper so they don’t fuse together. Pro tip: freeze them in bags of 4 — that way you’re not opening the big bag and letting in air every time you need one.
How Flavors Develop: Honestly, these taste best after they’ve been frozen for at least 24 hours. Something about the freezing process lets the flavors meld together. The peanut butter and jam sort of marry in the freezer, creating a more cohesive taste. I don’t fully understand the science, but I’ve noticed it every time.
Serving Ideas: Pack these alongside apple slices, carrot sticks, or a yogurt tube for a complete lunch. They’re also great for picnics, road trips, or as a quick breakfast when you’re running late. My kids eat them as after-school snacks straight from the lunchbox — still frozen in the middle, which they apparently love.
Nutritional Information & Benefits
While I’m not a nutritionist, I can share what I’ve learned about the nutritional profile of these homemade uncrustables. The exact values depend on your ingredients, but here’s a rough estimate per sandwich (using white bread, peanut butter, and strawberry jam):
| Nutrient | Amount per Sandwich |
|---|---|
| Calories | 280-320 |
| Protein | 9-11g |
| Carbohydrates | 32-36g |
| Fat | 14-16g |
| Fiber | 2-3g |
| Sugar | 10-14g |
| Sodium | 250-300mg |
The protein from peanut butter helps keep kids (and adults) full until the next meal. The carbs provide quick energy, which is perfect for active school days. If you use whole wheat bread, you’ll add an extra gram or two of fiber per sandwich.
One of the biggest benefits of making these at home is controlling the sugar content. Store-bought versions often have added sugars and preservatives. By making your own, you can choose low-sugar jams or skip the jam entirely for a less sweet option.
Potential allergens to note: peanuts, tree nuts (if using Nutella), and gluten (from the bread). For nut-free alternatives, use sunflower seed butter. For gluten-free, use your favorite gluten-free sandwich bread — just note that some gluten-free breads are more fragile and may crack during pressing.
Conclusion
These easy freezer lunchbox uncrustables have genuinely changed how I handle weekday mornings. No more scrambling to make sandwiches while someone is looking for their shoes. No more spending money on overpriced frozen versions that don’t even taste that good. Just open the freezer, grab one, and go.
What I love most about this recipe is how forgiving it is. You don’t need to be a perfect cook or have fancy equipment. You just need bread, something to spread on it, and about twenty minutes. The first batch might not look Instagram-worthy, but I promise — the person eating it won’t care. They’ll just taste the love you packed into that little round sandwich.
I’d love to hear how yours turn out! What fillings did you use? Did your kids have a favorite? Drop a comment below and share your uncrustable creations — I’m always looking for new combinations to try. And if you made a double batch, you’re my kind of people.
Happy freezing, friends!
Frequently Asked Questions
Can I use any type of bread for freezer uncrustables?
Soft sandwich bread works best. Avoid dense, crusty, or artisan breads — they crack when pressed and don’t seal properly. Gluten-free bread can work but may be more fragile, so handle gently.
How long do homemade uncrustables last in the freezer?
They stay fresh for up to 3 months when stored in a sealed freezer bag. For best quality, use them within 2 months. Always label your bag with the date so you know how long they’ve been in there.
Do I need to thaw them before eating?
No! Pack them frozen in a lunchbox, and they’ll thaw naturally by lunchtime (about 4 hours). If eating at home, let them sit at room temperature for 30 minutes. Do not microwave — it ruins the texture.
Can I make these with natural peanut butter?
You can, but processed peanut butter works better. Natural peanut butter can separate during freezing, leaving oily spots on the bread. If you use natural, stir it very well before spreading and expect slightly different results.
What’s the best way to prevent the filling from leaking?
Two things: leave a ½-inch border around the edges when spreading the filling, and use a fork to crimp the edges firmly. Pressing the fork all the way through both layers of bread creates a proper seal that keeps everything inside.
Pin This Recipe!
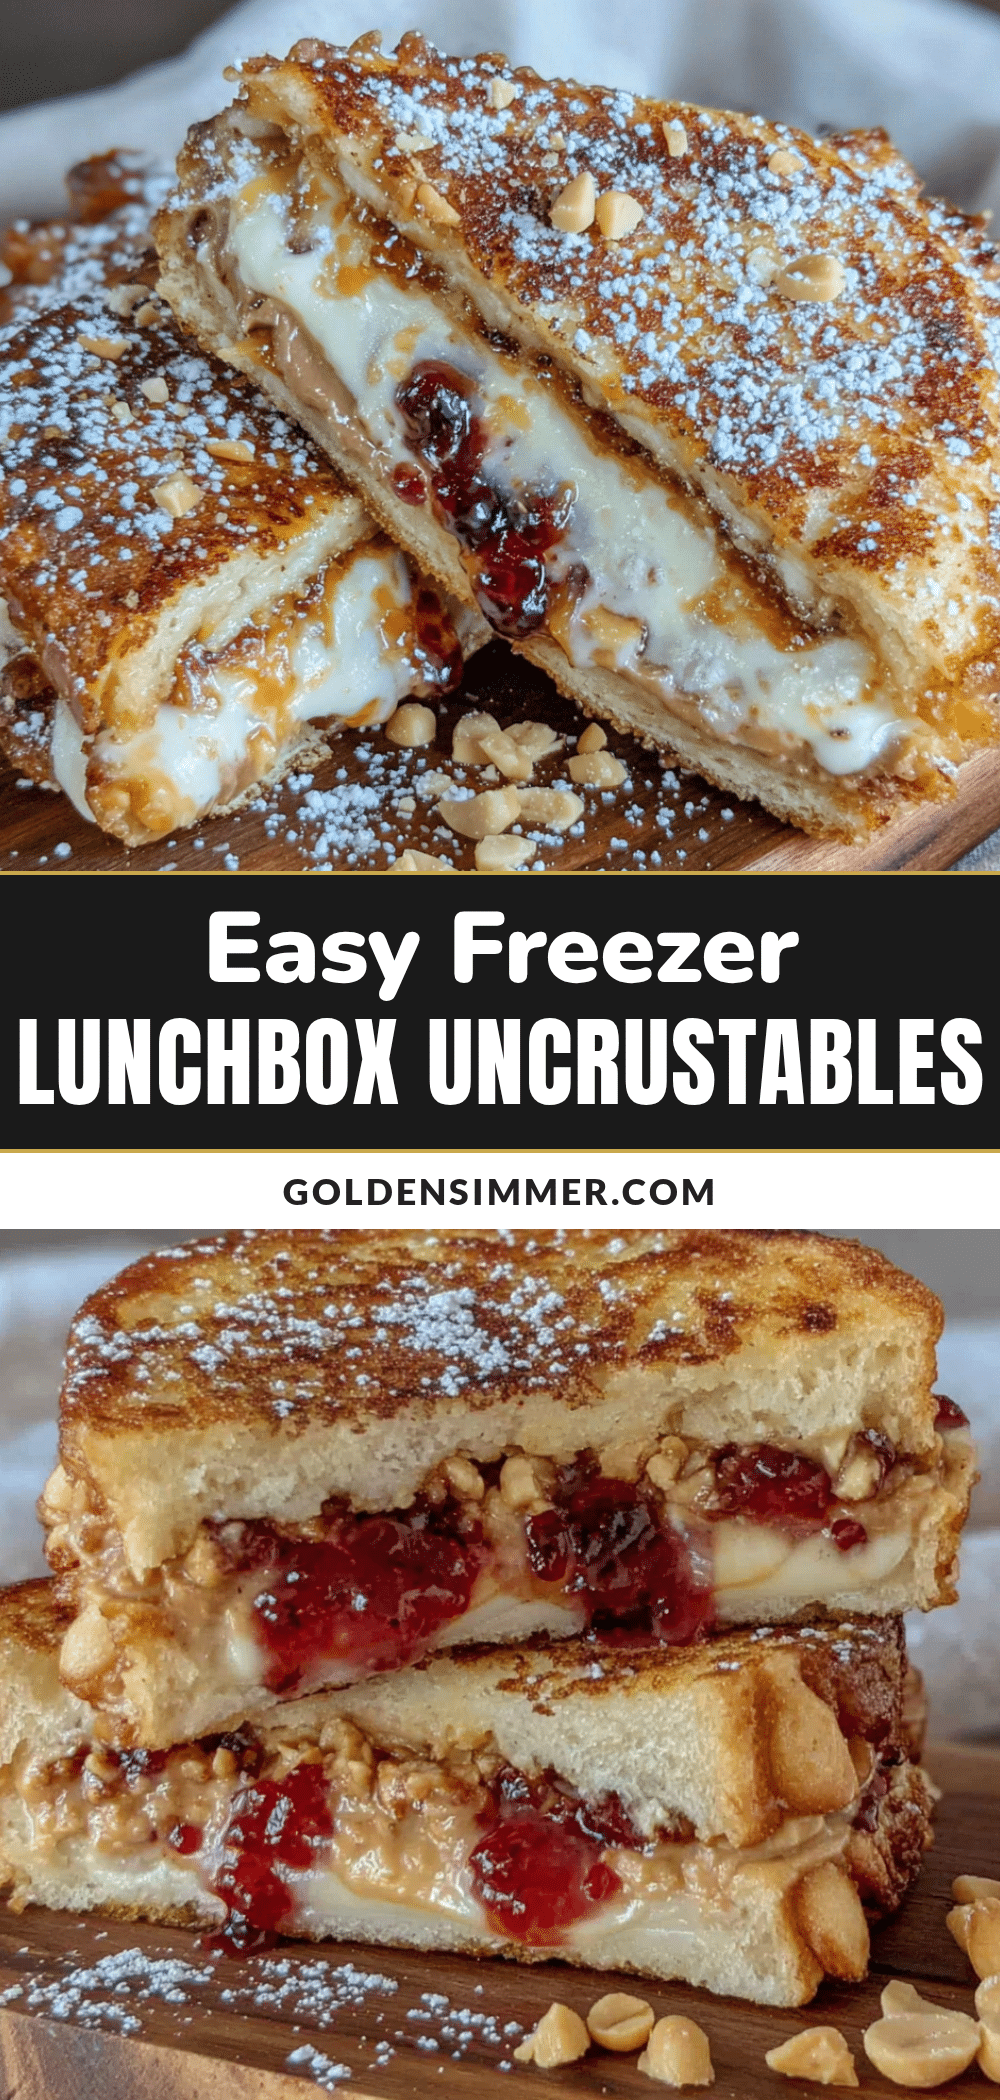
Easy Freezer Lunchbox Uncrustables: Best Homemade Recipe

These easy freezer lunchbox uncrustables are a homemade version of the classic frozen sandwich, perfect for busy mornings and after-school snacks. Made with simple ingredients and a foolproof technique, they’re cost-effective, customizable, and taste fresh even after freezing.
- Prep Time: 20 minutes
- Cook Time: 0 minutes
- Total Time: 2 hours 20 minutes (includes freezing time)
- Yield: 4 servings 1x
- Category: Lunch
- Cuisine: American
Ingredients
- 8 slices soft white bread (or whole wheat, brioche, or your favorite sandwich bread)
- ½ cup creamy peanut butter (Skippy or Jif recommended)
- ¼ cup strawberry jam or jelly (seedless works best)
- Optional: Nutella, marshmallow fluff, honey, sliced bananas, sunflower seed butter
Instructions
- Lay out 4 slices of bread on a clean work surface. Using a rolling pin, gently flatten each slice until it’s about ¼ inch thick.
- Spread about 1 tablespoon of peanut butter onto each of the 4 flattened bread slices, leaving a ½-inch border around the edges.
- Spread about 1½ teaspoons of jam on top of the peanut butter, keeping it away from the edges.
- Top each peanut butter and jam slice with one of the remaining 4 flattened bread slices. Press down gently around the filling to push out any air pockets.
- Using a 3-inch round cookie cutter, press down firmly in the center of each sandwich to cut through both layers. Remove excess bread scraps.
- Take a fork and press down around the edges of each round sandwich to seal the two bread layers together, creating a decorative crimped pattern. Go around twice for a solid seal.
- Place the sealed sandwiches on a parchment-lined baking sheet in a single layer, not touching. Freeze for at least 2 hours or until completely frozen solid.
- Once frozen, transfer sandwiches to a freezer-safe zip-top bag, layering them between sheets of parchment paper. Squeeze out excess air, seal, and label with date and filling.
- To serve: Grab a frozen sandwich and place it in a lunchbox in the morning. It will be perfectly thawed by lunchtime (about 4 hours). No ice pack needed.
Notes
Use soft sandwich bread for best results; avoid dense or crusty breads. Processed peanut butter works better than natural for freezing. Leave a ½-inch border when spreading fillings to prevent leakage. Freeze sandwiches flat for even thawing. Sandwiches stay good in the freezer for up to 3 months. Do not microwave to thaw.
Nutrition
- Serving Size: 1 sandwich
- Calories: 300
- Sugar: 12
- Sodium: 275
- Fat: 15
- Saturated Fat: 3
- Carbohydrates: 34
- Fiber: 2.5
- Protein: 10
Keywords: freezer uncrustables, homemade uncrustables, lunchbox sandwiches, freezer sandwiches, peanut butter and jelly, school lunch, easy lunch ideas



