Love this? Save it for later!
Share the inspiration with your friends
My neighbor, an older woman named Clara who keeps a garden that could rival a small botanical garden, saw me wrestling with a particularly stubborn sourdough starter on my porch last October. I was muttering under my breath, convinced I had killed it. She didn’t say a word at first. She just watched me for a minute, then disappeared into her house and came back with a mason jar holding a swirl of deep orange and a folded piece of paper. “Try this,” she said, handing it over. “It’s the only bread I bake when the leaves turn.” That jar held the beginnings of this maple pumpkin sourdough, and honestly, I haven’t baked a plain loaf since. It was like she handed me a secret for the season itself.
The first time I made it, I forgot to add the salt. The loaf came out flat and tasted, well, a bit sad. But Clara’s method—that combination of tangy starter, sweet maple, and earthy pumpkin—was too good to give up on. Maybe you’ve been there, staring at a failed loaf and wondering if it’s worth the flour. Trust me, it is. This bread has this way of making your whole kitchen smell like a hug, and the crumb is so soft and slightly sweet, you’ll find yourself slicing it for breakfast, lunch, and a late-night snack. It’s the kind of recipe that stays with you because it turns simple ingredients into something that feels special.
Why You’ll Love This Recipe
This isn’t just another pumpkin bread recipe. I’ve tested this one at least a dozen times, tweaking the hydration and the fermentation time until it was just right. It’s a recipe that combines the complex tang of sourdough with the cozy sweetness of fall, and it works every single time. Here’s why it’s become a staple in my kitchen:
- Quick & Easy: The active prep time is only about 20 minutes. The sourdough does the hard work for you while you go about your day.
- Simple Ingredients: You likely have everything already—flour, pumpkin puree, maple syrup, butter, and your sourdough starter. No fancy grocery store runs.
- Perfect for Fall Mornings: Great for a cozy brunch, a Thanksgiving side, or just a slice with your afternoon coffee when you need a little comfort.
- Crowd-Pleaser: Even people who say they don’t like sourdough love this. The pumpkin and maple mellow out the tang, making it a hit with kids and adults.
- Unbelievably Delicious: The texture is what gets me every time—a tender, almost velvety crumb with a crisp, golden crust. It’s next-level comfort food, honestly.
What makes this recipe different is the balance. It’s not too sweet, not too tangy, and the pumpkin adds this incredible moisture that keeps the bread fresh for days. It’s the kind of bread that makes you close your eyes after the first bite. It’s comfort food reimagined—healthier, faster, but with the same soul-soothing satisfaction. Perfect for impressing guests without stress, or turning a simple Tuesday morning into something memorable.
What Ingredients You Will Need
This recipe uses simple, wholesome ingredients to deliver bold flavor and satisfying texture without the fuss. Most of these are pantry staples, especially during the fall season.
- For the Dough:
- 100g (about ½ cup) active sourdough starter (fed and bubbly)
- 250g (about 1 cup + 2 tbsp) pumpkin puree (not pumpkin pie filling; I prefer Libby’s for consistent texture)
- 80g (about ¼ cup) pure maple syrup (use the real stuff, not pancake syrup)
- 50g (about ¼ cup) unsalted butter, melted and slightly cooled
- 300g (about 2 ½ cups) all-purpose flour (King Arthur Flour works great)
- 100g (about ¾ cup) whole wheat flour (adds a lovely nutty flavor)
- 6g (about 1 tsp) fine sea salt
- 1 tsp pumpkin pie spice (or a mix of cinnamon, nutmeg, ginger, and cloves)
- 60g (about ¼ cup) warm water (if needed, to adjust hydration)
A quick note on the pumpkin puree: make sure it’s not too watery. If it looks loose, pat it dry with a paper towel before mixing. It makes a huge difference in the final texture. For the maple syrup, I’ve used both Grade A and Grade B, and they both work beautifully. Grade B has a stronger maple flavor, which I personally love. If you are out of pumpkin pie spice, just mix ½ tsp cinnamon, ¼ tsp nutmeg, ¼ tsp ginger, and a pinch of cloves. It’s that easy.
For a gluten-free option, swap the all-purpose and whole wheat flours for a good gluten-free bread flour blend. The texture will be slightly denser, but still delicious. You can also use coconut oil instead of butter for a dairy-free version.
Equipment Needed
You don’t need a fancy kitchen to make this bread. Here’s what you’ll need:
- Large mixing bowl (I use a glass one, but stainless steel works fine)
- Wooden spoon or a dough whisk
- Digital kitchen scale (honestly, it’s worth it for baking; cups can be inconsistent)
- 9×5 inch loaf pan (metal or glass both work; I prefer metal for a crispier crust)
- Plastic wrap or a clean kitchen towel
- Cooling rack
- Parchment paper (optional, but makes cleanup a breeze)
If you don’t have a loaf pan, you can shape this into a free-form boule on a parchment-lined baking sheet. Just adjust the baking time by about 10 minutes. I’ve also used a cast iron skillet in a pinch, and the crust came out incredible. For the kitchen scale, you can find a decent one for under $15. It’s a small investment that saves you from washing measuring cups.
Preparation Method
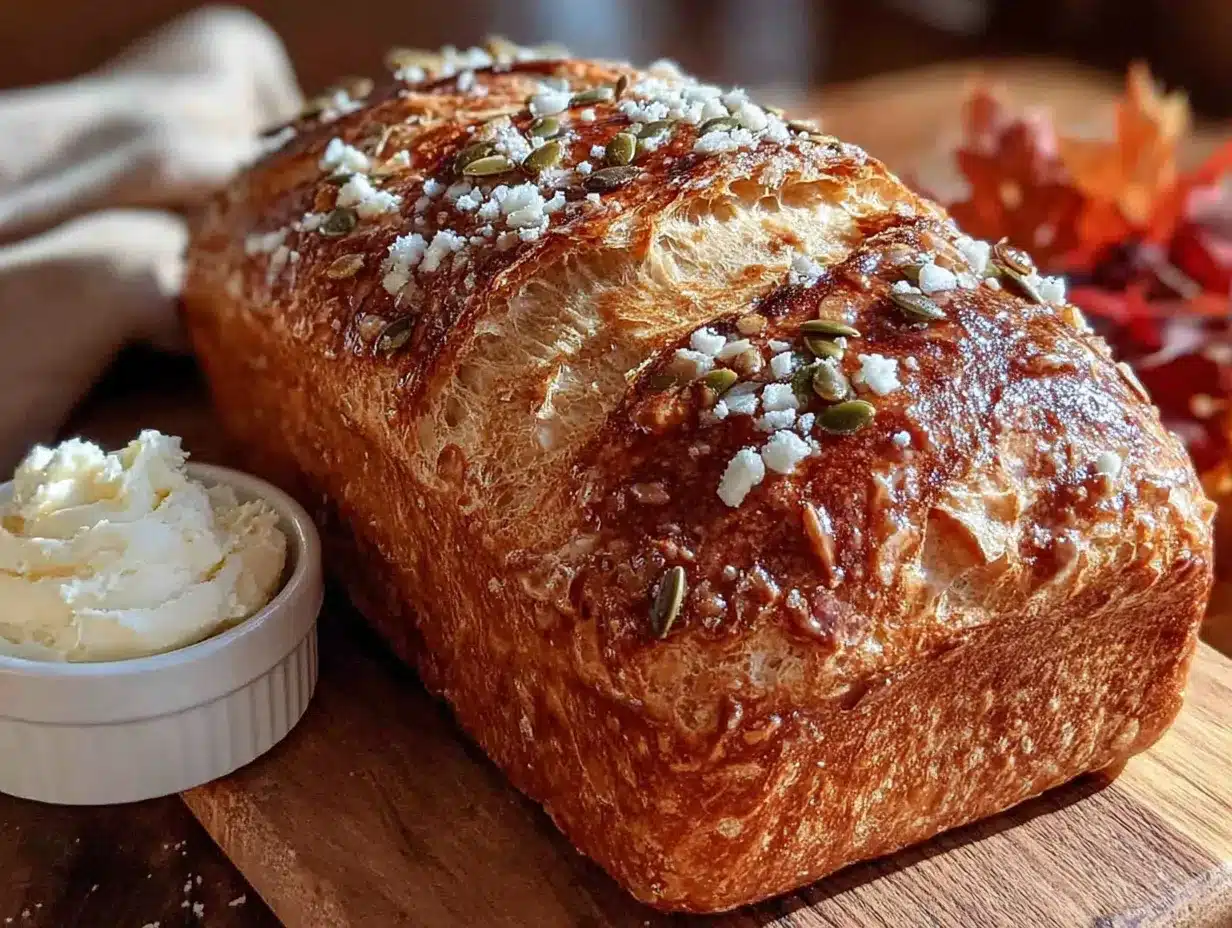
This recipe uses a same-day method, which means you start in the morning and have bread by evening. It’s a bit of a slow process, but the active work is minimal. Let’s get started.
- Mix the Wet Ingredients (8:00 AM): In your large mixing bowl, combine the active sourdough starter, pumpkin puree, maple syrup, and melted butter. Stir until it’s a uniform, smooth orange color. It should smell tangy and sweet already.
- Add the Dry Ingredients (8:05 AM): Add the all-purpose flour, whole wheat flour, salt, and pumpkin pie spice to the bowl. Mix with your wooden spoon until a shaggy dough forms. It will look dry and lumpy at first—don’t panic. That’s normal.
- Rest and Hydrate (8:10 AM): Cover the bowl with plastic wrap or a damp towel and let it rest for 30 minutes. This is called the autolyse, and it gives the flour time to absorb the liquid. When you come back, the dough will be much smoother and easier to handle.
- First Set of Stretch and Folds (8:40 AM): Wet your hands slightly to prevent sticking. Grab one side of the dough, stretch it up, and fold it over the top. Rotate the bowl 90 degrees and repeat. Do this 4 times total (one for each side of the dough). Cover and rest for 30 minutes.
- Second Set of Stretch and Folds (9:10 AM): Repeat the stretch and fold process exactly as before. The dough should feel a bit more elastic now. Cover and rest for another 30 minutes.
- Third Set of Stretch and Folds (9:40 AM): Do one more round of stretch and folds. By now, the dough should be smooth and slightly puffy. Cover and let it bulk ferment at room temperature for 4-6 hours, or until it has nearly doubled in size. The time depends on your starter’s strength and your kitchen temperature. In my cool kitchen, it takes about 5 hours.
- Shape the Loaf (Around 2:00 PM): Lightly flour your work surface. Turn the dough out gently. Pat it into a rectangle, then fold the short ends into the center like a letter. Roll it up from one long side, tucking the seam underneath. Place it seam-side down in your greased loaf pan.
- Final Proof (2:10 PM): Cover the pan with plastic wrap and let it proof for 2-3 hours, or until the dough has risen about 1 inch above the rim of the pan. It should look puffy and jiggle slightly when you shake the pan.
- Preheat and Score (Around 4:30 PM): About 30 minutes before baking, preheat your oven to 375°F (190°C). Just before baking, use a sharp knife or a bread lame to score the top of the loaf with a shallow slash. This helps it expand in the oven.
- Bake (5:00 PM): Bake for 45-55 minutes, or until the loaf is deep golden brown and sounds hollow when tapped on the bottom. If the top is browning too quickly, tent it with foil after 30 minutes. The internal temperature should read 200°F (93°C) on an instant-read thermometer.
- Cool (5:00 PM): Let the bread cool in the pan for 10 minutes, then transfer it to a wire rack to cool completely. I know it’s hard to wait, but slicing it warm will make it gummy. Patience pays off here.
Cooking Tips & Techniques
I’ve made this bread more times than I can count, and I’ve learned a few things the hard way. Here are my best tips to save you from the same mistakes.
Don’t skip the autolyse. That 30-minute rest after mixing the flour and wet ingredients is crucial. It gives the gluten time to develop without you having to knead forever. I once skipped it because I was in a hurry, and the dough was a sticky, unmanageable mess. Never again.
Watch your hydration. Pumpkin puree varies in water content. If your dough feels too stiff and dry after the first stretch and fold, add a tablespoon of warm water at a time until it feels soft but not sticky. If it feels too wet, add a sprinkle of flour. The dough should be tacky but not sticking to your hands.
Temperature matters. Sourdough is a living thing, and it responds to its environment. On a cold day, my bulk fermentation takes 6 hours. On a warm day, it might only take 4. Don’t watch the clock; watch the dough. It should look puffy and have visible bubbles on the surface.
My biggest failure? I once forgot to grease the pan. The loaf stuck so badly I had to eat it with a spoon straight from the pan. It was still delicious, but not very pretty. Always line your pan with parchment paper for easy removal.
For a consistent result, use a kitchen scale. Flour can be packed differently in a measuring cup, and that small difference can throw off the whole recipe. Weighing your ingredients takes the guesswork out.
Variations & Adaptations
This recipe is a great base for experimentation. Here are a few ways I’ve changed it up over the years.
Maple Pecan Pumpkin Sourdough: Add 100g (about 1 cup) of chopped pecans to the dough during the first set of stretch and folds. The nuts add a wonderful crunch and pair beautifully with the maple. I did this for a Thanksgiving potluck, and it was gone in minutes.
Vegan Version: Swap the butter for 50g (about ¼ cup) of coconut oil, melted. The bread will be slightly less rich, but still moist and flavorful. Make sure your sourdough starter is also vegan (some are fed with honey, but I use plain flour and water).
Spiced Chocolate Chip: Add 100g (about ½ cup) of dark chocolate chips to the dough along with the dry ingredients. The bitterness of the chocolate balances the sweetness of the maple and pumpkin. It’s like a dessert bread, and it’s amazing toasted with a pat of butter.
Savory Twist: Omit the maple syrup and pumpkin pie spice. Add 1 tsp of dried rosemary, ½ tsp of black pepper, and 100g (about 1 cup) of shredded sharp cheddar cheese. This version is incredible served with soup or stew. I made it last winter, and it was the perfect companion for a bowl of tomato soup.
If you have a nut allergy, simply skip the pecans. The bread is still fantastic on its own. You can also swap the whole wheat flour for more all-purpose flour if you prefer a lighter crumb.
Serving & Storage Suggestions
This bread is best served at room temperature, but a warm slice with a pat of butter is pure heaven. I love it for breakfast with a smear of cream cheese and a drizzle of extra maple syrup. It also makes fantastic French toast—just dip thick slices in an egg mixture and fry until golden.
For a cozy fall meal, serve it alongside a hearty lentil soup or a roasted butternut squash soup. The sweet, tangy bread balances the savory flavors perfectly. It’s also wonderful on a cheese board with sharp cheddar, brie, and some apple slices.
Storage: Keep the bread wrapped in a clean kitchen towel or a bread bag at room temperature for up to 3 days. Do not refrigerate it—the cold air will dry it out. If it starts to get stale, toast it. It brings it back to life.
Freezing: This bread freezes beautifully. Let it cool completely, then wrap it tightly in plastic wrap and a layer of foil. Freeze for up to 3 months. To thaw, leave it on the counter overnight. You can also freeze individual slices for quick breakfasts. Just pop them in the toaster straight from the freezer.
The flavors actually deepen after a day or two. The maple and pumpkin meld together, and the sourdough tang becomes more pronounced. It’s one of those rare breads that tastes even better on day two.
Nutritional Information & Benefits
This bread is a healthier take on traditional pumpkin bread. Each slice (based on 12 slices) contains approximately:
- Calories: 220
- Fat: 6g
- Carbohydrates: 38g
- Fiber: 3g
- Sugar: 8g
- Protein: 5g
The pumpkin puree is packed with vitamin A and fiber, which is great for your immune system and digestion. The whole wheat flour adds extra fiber and nutrients compared to white flour. The sourdough fermentation process also makes the bread easier to digest for some people. Plus, the maple syrup is a natural sweetener with a lower glycemic index than refined sugar.
This recipe is vegetarian and can be made vegan and dairy-free with simple swaps. It contains gluten, so it’s not suitable for celiacs without the gluten-free flour substitution. If you are watching your sugar intake, you can reduce the maple syrup to 60g (about 3 tablespoons) without affecting the texture too much.
I love that this bread feels indulgent but is made with real, wholesome ingredients. It’s a treat you can feel good about eating for breakfast.
Conclusion
This cozy maple pumpkin sourdough bread is more than just a recipe—it’s a little piece of fall you can hold in your hands. It’s the bread that made me stop being afraid of sourdough and start enjoying the process. The tangy starter, the sweet maple, the earthy pumpkin—they all come together in a way that feels both familiar and new.
I hope you give it a try and make it your own. Maybe you’ll add extra spice, or swap in chocolate chips, or find a new favorite way to serve it. That’s the beauty of bread baking—it’s forgiving, it’s creative, and it always rewards you with something delicious. Let me know in the comments how yours turns out! Did you try a variation? Did you forget the salt like I did on my first attempt? I’d love to hear your stories. Happy baking, friends.
Frequently Asked Questions
Can I use canned pumpkin pie filling instead of puree?
No, I wouldn’t recommend it. Pumpkin pie filling has added sugar and spices, which will throw off the balance of the recipe. Stick with 100% pure pumpkin puree for the best results.
My dough is very sticky. What did I do wrong?
Don’t worry, it’s likely fine. Pumpkin puree can vary in moisture content. If it’s too sticky to handle, add a tablespoon of flour at a time during the stretch and folds until it becomes manageable. A wet dough is normal for sourdough.
Can I use a stand mixer instead of hand mixing?
Absolutely. You can use the dough hook on a low speed for about 4-5 minutes after the autolyse. Just be careful not to over-knead. Sourdough is more forgiving than yeasted bread, but it still benefits from a gentle touch.
How do I know when the bread is fully baked?
The best way is to use an instant-read thermometer. The internal temperature should be 200°F (93°C). You can also tap the bottom of the loaf—it should sound hollow. The crust should be a deep golden brown.
Can I double this recipe to make two loaves?
Yes, you can double all the ingredients. Just make sure your mixing bowl is large enough. The bulk fermentation time might be slightly longer since there is more dough to rise. Keep an eye on it rather than the clock.
Pin This Recipe!
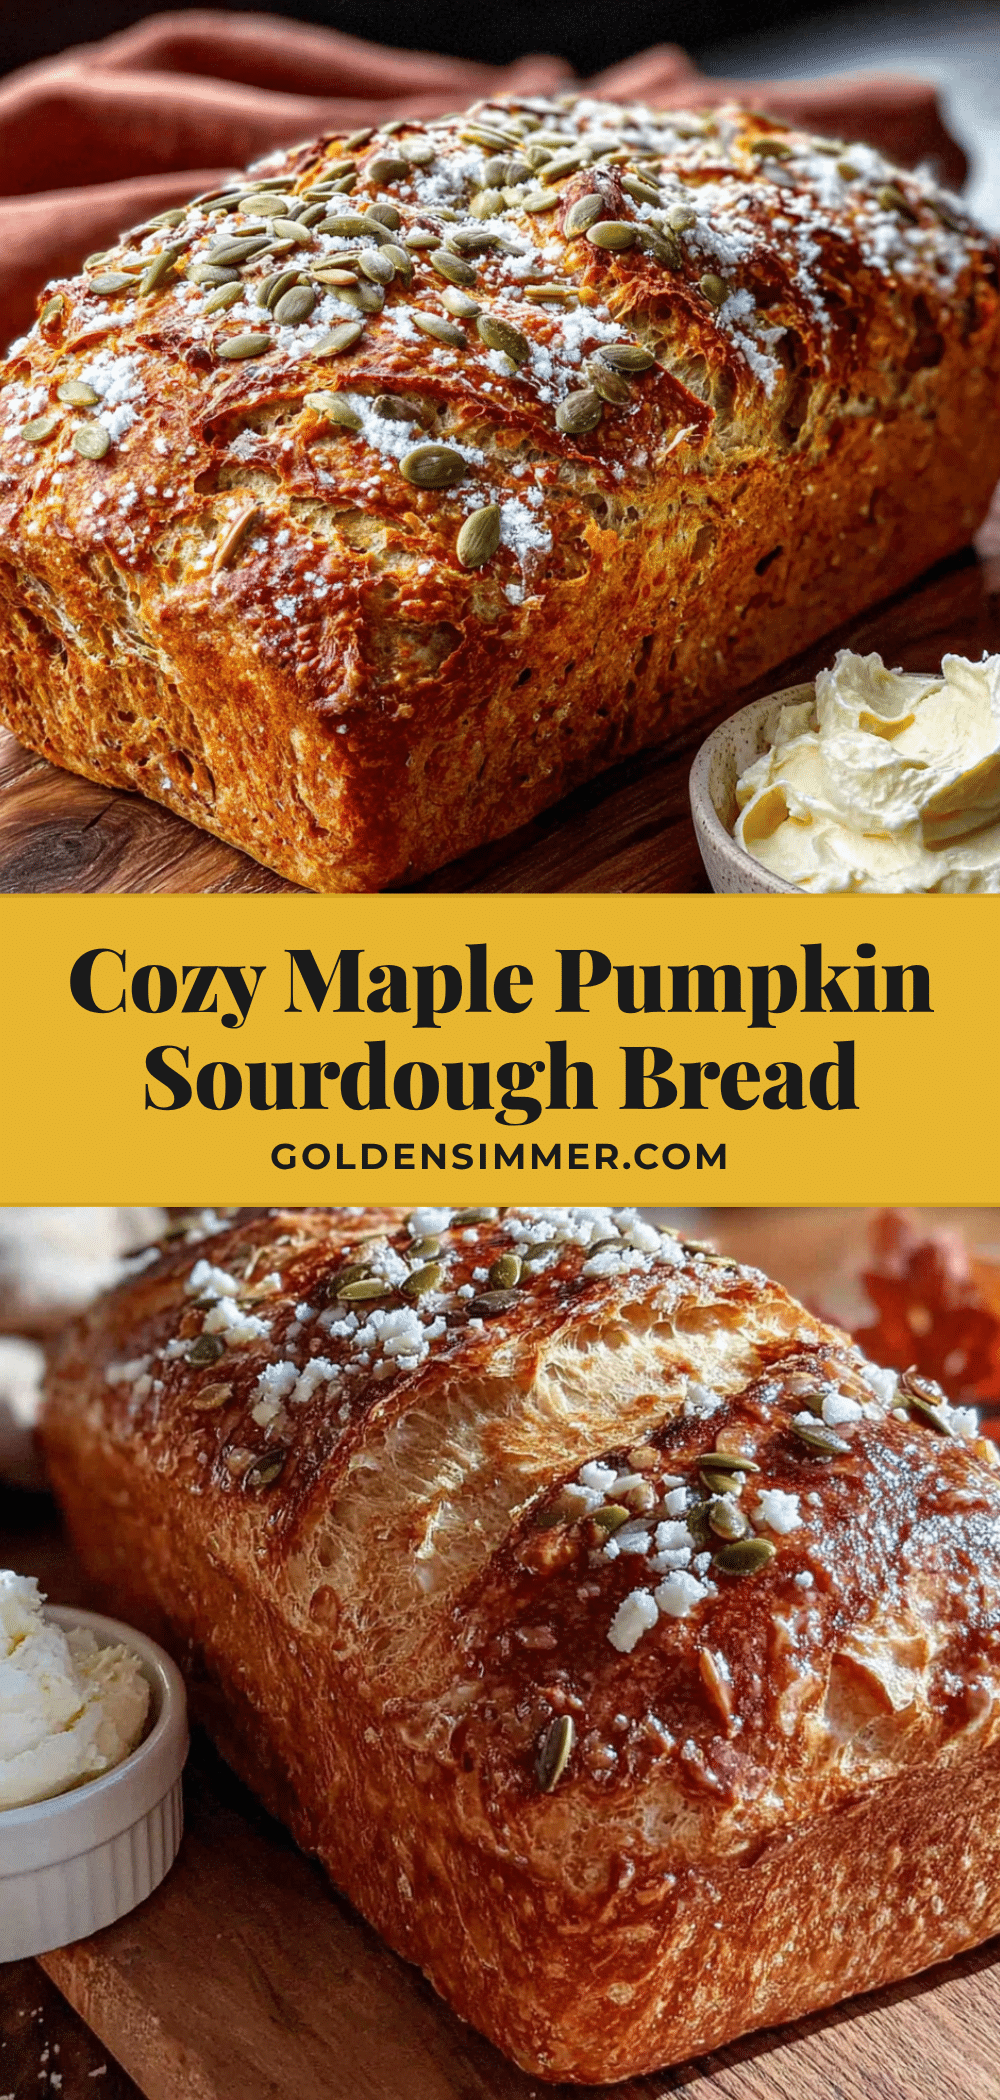
Cozy Maple Pumpkin Sourdough Bread: Easy Homemade Recipe
This easy homemade maple pumpkin sourdough bread combines the tangy complexity of sourdough with the cozy sweetness of fall. With a tender, velvety crumb and crisp golden crust, it’s perfect for breakfast, brunch, or a comforting snack.
- Prep Time: 20 minutes
- Cook Time: 45-55 minutes
- Total Time: Approximately 9 hours (including fermentation and proofing)
- Yield: 12 servings 1x
- Category: Bread
- Cuisine: American
Ingredients
- 100g (about 1/2 cup) active sourdough starter (fed and bubbly)
- 250g (about 1 cup + 2 tbsp) pumpkin puree (not pumpkin pie filling)
- 80g (about 1/4 cup) pure maple syrup
- 50g (about 1/4 cup) unsalted butter, melted and slightly cooled
- 300g (about 2 1/2 cups) all-purpose flour
- 100g (about 3/4 cup) whole wheat flour
- 6g (about 1 tsp) fine sea salt
- 1 tsp pumpkin pie spice (or mix of cinnamon, nutmeg, ginger, and cloves)
- 60g (about 1/4 cup) warm water (if needed, to adjust hydration)
Instructions
- Mix the Wet Ingredients (8:00 AM): In your large mixing bowl, combine the active sourdough starter, pumpkin puree, maple syrup, and melted butter. Stir until it’s a uniform, smooth orange color.
- Add the Dry Ingredients (8:05 AM): Add the all-purpose flour, whole wheat flour, salt, and pumpkin pie spice to the bowl. Mix with your wooden spoon until a shaggy dough forms.
- Rest and Hydrate (8:10 AM): Cover the bowl with plastic wrap or a damp towel and let it rest for 30 minutes (autolyse).
- First Set of Stretch and Folds (8:40 AM): Wet your hands slightly. Grab one side of the dough, stretch it up, and fold it over the top. Rotate the bowl 90 degrees and repeat. Do this 4 times total. Cover and rest for 30 minutes.
- Second Set of Stretch and Folds (9:10 AM): Repeat the stretch and fold process exactly as before. Cover and rest for another 30 minutes.
- Third Set of Stretch and Folds (9:40 AM): Do one more round of stretch and folds. Cover and let it bulk ferment at room temperature for 4-6 hours, or until nearly doubled in size.
- Shape the Loaf (Around 2:00 PM): Lightly flour your work surface. Turn the dough out gently. Pat it into a rectangle, then fold the short ends into the center like a letter. Roll it up from one long side, tucking the seam underneath. Place it seam-side down in your greased loaf pan.
- Final Proof (2:10 PM): Cover the pan with plastic wrap and let it proof for 2-3 hours, or until the dough has risen about 1 inch above the rim of the pan.
- Preheat and Score (Around 4:30 PM): About 30 minutes before baking, preheat your oven to 375°F (190°C). Just before baking, use a sharp knife or a bread lame to score the top of the loaf with a shallow slash.
- Bake (5:00 PM): Bake for 45-55 minutes, or until the loaf is deep golden brown and sounds hollow when tapped on the bottom. If the top is browning too quickly, tent it with foil after 30 minutes. The internal temperature should read 200°F (93°C).
- Cool (5:00 PM): Let the bread cool in the pan for 10 minutes, then transfer it to a wire rack to cool completely.
Notes
Don’t skip the autolyse (30-minute rest). Watch your hydration: if dough is too stiff, add warm water a tablespoon at a time; if too wet, add a sprinkle of flour. Temperature affects fermentation time; watch the dough, not the clock. Always grease the pan or use parchment paper. Use a kitchen scale for consistent results. For a vegan version, swap butter for coconut oil. For a gluten-free version, use a gluten-free bread flour blend.
Nutrition
- Serving Size: 1 slice
- Calories: 220
- Sugar: 8
- Sodium: 200
- Fat: 6
- Saturated Fat: 3
- Carbohydrates: 38
- Fiber: 3
- Protein: 5
Keywords: sourdough bread, pumpkin bread, maple pumpkin, fall baking, homemade bread, sourdough recipe, pumpkin sourdough, easy bread recipe



