Love this? Save it for later!
Share the inspiration with your friends
The church bake sale was in six hours and I’d completely forgotten. I was supposed to bring a loaf of artisan bread for the silent auction table, and knowing my luck, Mrs. Henderson would be there with her legendary rosemary focaccia that she’d been perfecting since the Carter administration. I had a jar of pumpkin puree in the fridge, some maple syrup I’d bought on a whim, and a sourdough starter that looked at me with judgment from its jar on the counter. No time for kneading. No time for elaborate shaping. Honestly, no time for anything except a desperate prayer and a whisk.
I threw the ingredients together in a bowl, gave it a shaggy stir, and let it sit on the counter while I frantically cleaned the kitchen. The dough looked pathetic—lumpy, wet, and completely unworthy of a bake sale table. But I was out of options. I scraped it into a Dutch oven, scored a quick slash across the top, and slid it into the oven hoping for a miracle.
When I pulled it out forty minutes later, I almost dropped the pot. The crust was deep amber, crackled in all the right places, and the smell—warm maple, earthy pumpkin, and that signature sourdough tang—filled the entire house. It looked like something from a bakery window. I wrapped it in a tea towel, drove to the church, and dropped it off without much hope.
Three hours later, my phone buzzed with a text from the bake sale coordinator. The loaf had sold for forty-two dollars to a woman who said it was the best bread she’d had since her grandmother’s. I sat there in my car, staring at the message, half-laughing at the absurdity of it. I mean, I’d basically thrown flour at a bowl and hoped for the best. But maybe that’s the thing about this no-knead maple pumpkin sourdough bread—it doesn’t need your stress. It just needs your trust.
Maybe you’ve been there, staring at a hungry starter and a clock that’s working against you. This is the recipe that saves the day when you have nothing to prove and everything to bake.
Why You’ll Love This Recipe
Let’s be honest—sourdough can be intimidating. The folding, the stretching, the precise hydration ratios that make you feel like you need a chemistry degree. But this no-knead maple pumpkin sourdough bread throws all that anxiety out the window. It’s the kind of recipe that makes you feel like a bread genius without actually having to work like one.
- Truly No-Knead — You mix, you wait, you bake. No sore arms, no sticky countertops, no complicated folds. The dough does the work for you.
- Perfect for Fall Baking — Pumpkin and maple are the flavors of the season, but they work year-round. This bread tastes like a crisp October morning no matter when you bake it.
- Great for Sourdough Beginners — If you’ve been scared to try sourdough bread, start here. The high hydration and pumpkin puree make the dough forgiving and practically foolproof.
- Uses Pantry Staples — You probably already have pumpkin puree, maple syrup, and flour in your kitchen. No special trips to the store required.
- Incredible Texture — The pumpkin adds a soft, almost pillowy crumb while the maple gives a subtle sweetness that pairs beautifully with the tangy sourdough.
What makes this recipe different from the dozens of pumpkin breads out there? It’s the fermentation. The sourdough starter brings a depth of flavor that baking soda or yeast just can’t replicate. You get that complex, slightly tangy backbone that makes every bite interesting. Plus, the no-knead method means you get an open, airy crumb with minimal effort. It’s not just another pumpkin bread—it’s the one that makes you close your eyes after the first bite and wonder why you haven’t been making it all along.
What Ingredients You Will Need
This recipe uses simple, wholesome ingredients that come together to create something truly special. No weird additives, no hard-to-find specialty items—just real food that works together beautifully.
- Active Sourdough Starter — 100g (about ½ cup), bubbly and fed within the last 4-6 hours. A mature starter gives the best flavor and rise. If your starter is sluggish, feed it twice before using.
- Bread Flour — 400g (about 3 cups). I prefer King Arthur Bread Flour for its high protein content, which gives the bread structure and a chewy crust. All-purpose flour works too, but the crumb will be slightly less open.
- Whole Wheat Flour — 100g (about ¾ cup). Adds nuttiness and helps the pumpkin flavor shine. You can use all bread flour if you prefer a lighter loaf.
- Pumpkin Puree — 150g (about ⅔ cup). Make sure it’s 100% pumpkin, not pumpkin pie filling. Libby’s is my go-to for consistent moisture content. If using homemade, drain it on paper towels for 10 minutes to remove excess water.
- Maple Syrup — 80g (about ¼ cup). Use real maple syrup, not pancake syrup. The flavor difference is massive. Grade A dark amber gives the most robust maple taste.
- Water — 200g (about ¾ cup), lukewarm. The temperature helps the fermentation process. Too hot and you’ll kill the bacteria; too cold and the rise will take forever.
- Salt — 9g (about 1½ teaspoons). Use fine sea salt. Kosher salt can be used but you may need to increase to 12g.
- Pumpkin Pie Spice — 1 teaspoon (optional but recommended). Adds warmth and depth. You can substitute with ½ teaspoon cinnamon, ¼ teaspoon ginger, ¼ teaspoon nutmeg, and a pinch of cloves.
Ingredient Tips: If your kitchen is cold, warm the water slightly (around 80°F) to help fermentation. For a dairy-free version, this recipe is already dairy-free. If you want a gluten-free option, I haven’t tested it with gluten-free flour blends, but a 1:1 baking blend might work—just expect a denser crumb. When choosing pumpkin puree, look for cans that are BPA-free if that matters to you. I’ve noticed that organic pumpkin puree tends to be slightly thicker, which actually works better for this dough.
Equipment Needed
You don’t need a professional bakery setup for this bread. Most of these items are probably already in your kitchen.
- Large Mixing Bowl — Glass or ceramic works best. Avoid metal if you can, as it can react with the acidic starter over long fermentation.
- Dutch Oven — A 5-6 quart enameled cast iron pot is ideal. It traps steam and gives you that crackling crust. If you don’t have one, a heavy oven-safe pot with a lid works too.
- Kitchen Scale — I know, I know, but honestly, weighing ingredients is the difference between good bread and great bread. A $15 digital scale will change your baking life.
- Bench Scraper — Makes handling the sticky dough so much easier. A flexible plastic scraper is my favorite.
- Parchment Paper — For easy transfer to the Dutch oven. No sticking, no mess.
- Plastic Wrap or a Shower Cap — To cover the bowl during bulk fermentation. A reusable shower cap is actually perfect for this—it’s stretchy and fits right over the bowl.
- Cooling Rack — Essential for letting the crust stay crispy. If you cool bread on a solid surface, the bottom gets soggy.
If you don’t have a Dutch oven, you can bake this on a preheated baking sheet with a metal bowl inverted over the top to trap steam. It’s not quite the same, but it works in a pinch. I’ve also used a cast iron skillet with a stainless steel mixing bowl as a lid—ghetto fabulous, but effective.
Preparation Method
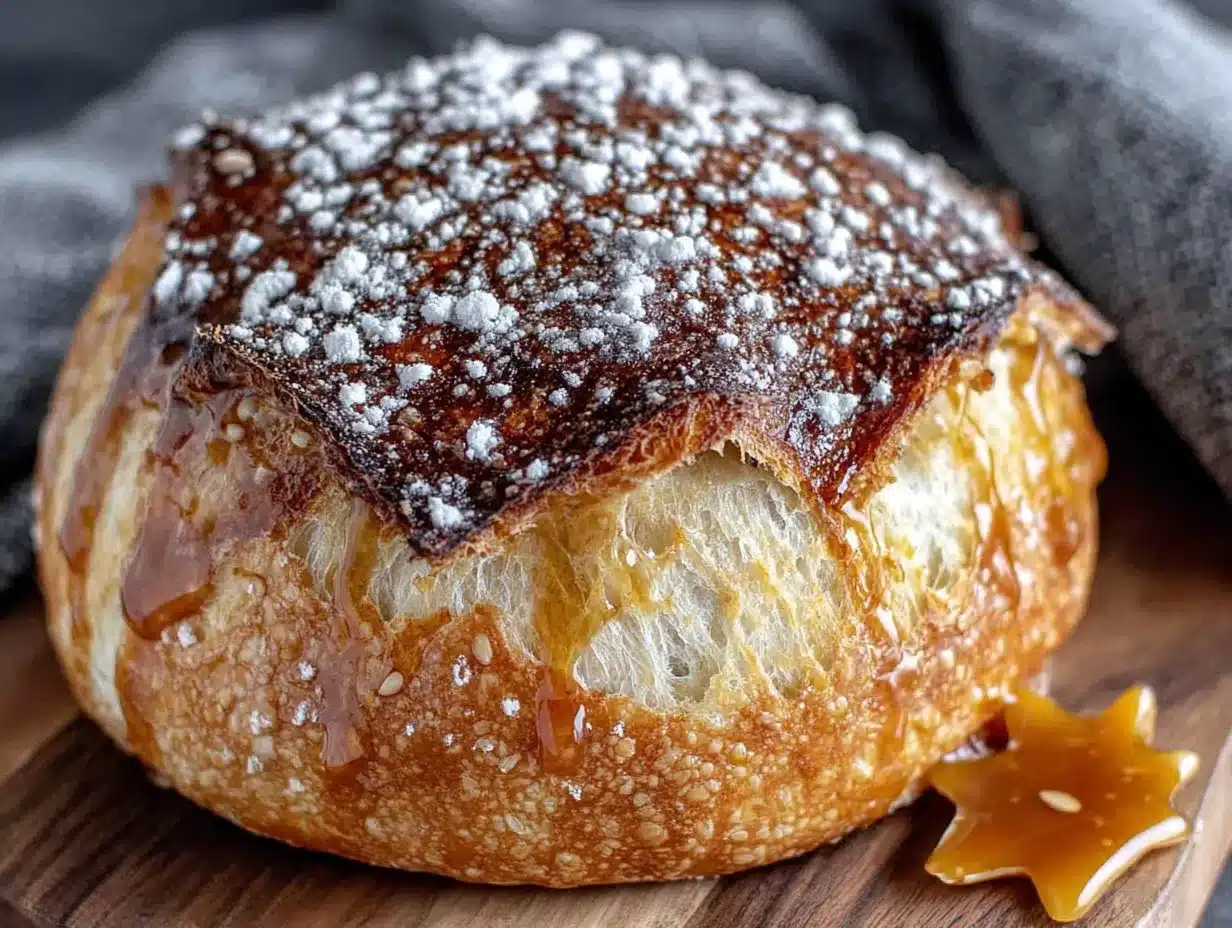
This is where the magic happens. Follow these steps, and you’ll have a loaf that looks like it came from a $12 bakery.
- Mix the Dough (8:00 AM) — In your large mixing bowl, combine 100g active sourdough starter, 200g lukewarm water, 80g maple syrup, and 150g pumpkin puree. Whisk until the starter is mostly dissolved and the mixture looks like a thick, orange-tinted slurry. Add 400g bread flour, 100g whole wheat flour, 9g salt, and 1 teaspoon pumpkin pie spice. Mix with a wooden spoon or your hands until no dry flour remains. The dough will be shaggy, sticky, and frankly, ugly. That’s perfect. Cover the bowl with plastic wrap and let it rest for 30 minutes. This is called autolyse, and it lets the flour absorb the liquid, making the dough easier to handle later.
- Bulk Fermentation (8:30 AM to 1:30 PM) — After the rest, perform a series of stretch and folds every 30 minutes for the first 2 hours. To do a stretch and fold, wet your hand, grab the dough from one side, stretch it up as high as it will go without tearing, and fold it over the top. Rotate the bowl a quarter turn and repeat three more times. You’ll do this 4 times total. The dough will start smooth and strengthen noticeably. After the final fold, cover the bowl and let it sit at room temperature (around 70-72°F) for the remaining 3 hours. The dough should increase by about 50% in volume, feel airy, and have small bubbles on the surface. If your kitchen is colder, give it an extra hour. If it’s warmer, check it earlier.
- Shape the Dough (1:30 PM) — Lightly flour your work surface. Gently turn the dough out. It will be sticky, so don’t fight it. Use a bench scraper to fold the edges toward the center, creating a round boule shape. Flip it seam-side down and use your hands to gently cup the dough and pull it toward you in a circular motion to create surface tension. Don’t overwork it—you want to keep the gas bubbles intact. Place the shaped dough seam-side up into a floured banneton or a bowl lined with a floured tea towel.
- Cold Retard (1:45 PM to Next Morning) — Cover the shaped dough with plastic wrap and place it in the refrigerator overnight (8-12 hours). This cold fermentation deepens the flavor, makes the dough easier to score, and gives you a more open crumb. If you’re in a rush, you can skip this and proof at room temperature for 2-3 hours, but the flavor won’t be as complex.
- Preheat and Prepare (Next Morning, 7:30 AM) — Place your Dutch oven in the oven and preheat to 475°F for at least 30 minutes. While the oven heats, take the dough out of the fridge. It should feel firm and slightly puffy. Don’t let it warm up—cold dough is easier to score and holds its shape better.
- Score and Bake (8:00 AM) — Carefully remove the hot Dutch oven from the oven. Place a piece of parchment paper over the dough, invert the banneton, and gently turn the dough out onto the parchment. Using a sharp lame or a razor blade, score the top with a single deep slash (about ½ inch deep) at a 45-degree angle. This is the bread’s “ear” and it’s where the oven spring will push through. Slide the parchment with the dough into the hot Dutch oven. Cover and bake for 30 minutes.
- Finish Baking (8:30 AM) — Remove the lid and continue baking for 15-20 minutes, until the crust is deep amber and the internal temperature reaches 200-205°F. The bread should sound hollow when tapped on the bottom. Let it cool on a wire rack for at least 2 hours before slicing. I know it’s torture, but cutting into hot bread ruins the texture. Trust the process.
Cooking Tips & Techniques
I’ve made this bread at least a dozen times, and I’ve learned a few things the hard way. Here’s what I wish someone had told me.
Don’t Skip the Autolyse. That 30-minute rest after mixing isn’t optional. It gives the flour time to hydrate fully, which makes the dough easier to handle and gives you a more open crumb. I once skipped it because I was in a hurry, and the dough was a sticky, uncooperative mess that never rose properly.
Watch Your Water Temperature. If your kitchen is cold (under 68°F), use water that’s slightly warm to the touch, around 80°F. If your kitchen is warm (over 75°F), use cool tap water. The dough temperature directly affects fermentation speed. Too cold, and you’ll be waiting all day. Too warm, and the dough might over-ferment and turn into a puddle.
Trust the Sticky Dough. Pumpkin puree makes this dough wetter than a standard sourdough. Don’t be tempted to add more flour. The high hydration is what gives the bread its soft, tender crumb. Use wet hands and a bench scraper to handle it, and accept that it’s going to be messy. That’s normal.
The Cold Retard is Your Friend. I cannot stress this enough. The overnight cold proof doesn’t just improve flavor—it makes the dough exponentially easier to score. Room-temperature pumpkin dough is like trying to cut a marshmallow. Cold dough holds its shape beautifully and gives you those gorgeous bakery-style slashes.
Steam is Everything. The Dutch oven creates a steamy environment that keeps the crust soft during the first part of baking, allowing the bread to expand fully. Without steam, the crust sets too early and you get a dense, squat loaf. If you’re not using a Dutch oven, place a metal pan on the bottom rack and pour a cup of hot water into it when you put the bread in.
Variations & Adaptations
This recipe is a fantastic base for experimentation. Here are some variations I’ve tried and loved.
- Maple Pecan Pumpkin Bread — Add 100g (about ¾ cup) of toasted pecans to the dough during the first stretch and fold. The nuttiness pairs beautifully with the maple and pumpkin. Toast the pecans first for maximum flavor.
- Dark Chocolate Pumpkin Sourdough — Fold in 80g (about ½ cup) of dark chocolate chips or chopped dark chocolate during the final stretch and fold. The bitterness of the chocolate balances the sweetness of the maple. I did this on a whim one rainy Sunday and it was dangerously good.
- Savory Pumpkin Herb Bread — Skip the maple syrup and pumpkin pie spice. Instead, add 1 tablespoon of fresh rosemary (chopped), 1 teaspoon of fresh thyme leaves, and ½ teaspoon of black pepper. The pumpkin keeps the bread moist while the herbs make it perfect for sandwich bread or dipping in olive oil.
- Gluten-Free Adaptation — While I haven’t fully tested this, a reader tried it with a 1:1 gluten-free baking blend and reported good results. She added an extra 30g of water because gluten-free flours absorb more liquid. The crumb was denser but the flavor was still fantastic.
- Spiced Pumpkin Swirl Bread — After shaping, flatten the dough into a rectangle, spread a mixture of 2 tablespoons softened butter, 2 tablespoons brown sugar, and 1 teaspoon cinnamon, then roll it up and shape into a boule. The swirl creates a beautiful ribbon of spiced sweetness throughout the loaf.
Serving & Storage Suggestions
This bread is incredibly versatile. Here’s how to enjoy it at its best.
Serving Temperature: Serve at room temperature or lightly toasted. Toasting brings out the maple sweetness and crisps the crust. A slice of this bread with a pat of salted butter is honestly one of life’s simple pleasures.
Perfect Pairings: This bread is amazing with soups and stews—try it alongside a bowl of creamy Tuscan soup for a cozy meal. It also makes incredible French toast. Dip thick slices in an egg mixture with a splash of milk and a pinch of cinnamon, then fry in butter until golden. For breakfast, spread with cream cheese and a drizzle of honey. For a savory option, use it for grilled cheese with sharp cheddar and caramelized onions.
Storage: Store the bread cut-side down on a cutting board at room temperature for up to 3 days. Do not refrigerate—it will dry out the bread. For longer storage, slice the entire loaf, place parchment paper between slices, and freeze in a zip-top bag for up to 3 months. Toast directly from frozen.
Flavor Development: The flavor actually improves on day two. The maple and pumpkin notes mellow and blend with the sourdough tang. If you can resist eating it all on day one, you’re in for a treat on day two.
Nutritional Information & Benefits
This bread is made with wholesome ingredients that offer more than just empty calories. Here’s the estimated nutrition per slice (based on 12 slices per loaf).
- Calories: 180
- Carbohydrates: 36g
- Protein: 6g
- Fat: 1g
- Fiber: 3g
- Sugar: 6g (from maple syrup and pumpkin)
Health Benefits: Pumpkin is packed with vitamin A (from beta-carotene), which supports eye health and immune function. The whole wheat flour adds fiber and B vitamins. The fermentation process in sourdough breaks down some of the gluten and phytic acid, making the nutrients more bioavailable. Plus, the natural sugars from maple syrup are less processed than refined sugar, giving you a more stable energy release.
Dietary Notes: This recipe is dairy-free and contains no eggs. It is not gluten-free due to the wheat flour, but the fermentation may make it more digestible for some people with mild sensitivities. The maple syrup content is relatively low, so the bread isn’t overly sweet—it’s more of a subtle background flavor.
Conclusion
This no-knead maple pumpkin sourdough bread is the recipe I keep coming back to, season after season. It’s forgiving enough for a busy Tuesday and impressive enough for a holiday table. The combination of tangy sourdough, sweet maple, and earthy pumpkin is something special—the kind of flavor that makes you slow down and actually taste what you’re eating.
I love that this recipe doesn’t demand perfection. It doesn’t care if your starter is a little young or if you forgot to feed it this morning. It just wants you to mix, wait, and trust the process. And honestly, isn’t that a nice thing to be reminded of?
If you make this bread, I’d love to hear about it. Did you add pecans? Did you try the chocolate version? Did your family fight over the last slice? Drop a comment below or tag me in your photos. Happy baking, friend—you’ve got this.
Frequently Asked Questions
Can I use active dry yeast instead of sourdough starter?
Yes, you can substitute the starter with 1 teaspoon of active dry yeast dissolved in the warm water. Skip the fermentation steps and let the dough rise at room temperature for about 2 hours before shaping. The flavor won’t be as complex, but you’ll still get a delicious pumpkin bread.
Why is my dough so sticky?
Pumpkin puree adds extra moisture, making this dough stickier than standard sourdough. Don’t add more flour—use wet hands and a bench scraper to handle it. The stickiness is normal and actually contributes to the soft crumb. If it’s truly unmanageable, refrigerate the dough for 20 minutes to firm it up.
Can I bake this without a Dutch oven?
Absolutely. Preheat a baking sheet in the oven, then place the shaped dough on the hot sheet. Cover it with a metal mixing bowl or a large oven-safe pot to trap steam. Bake covered for 25 minutes, then remove the cover and bake for another 15-20 minutes until golden.
How do I know when my starter is ready to use?
A mature starter should be bubbly, doubled in size, and have a pleasant sour smell. It should pass the “float test”—drop a small spoonful into a glass of water; if it floats, it’s ready. Feed your starter 4-6 hours before starting the recipe for best results.
Can I freeze the baked bread?
Yes, but slice it first. Wrap individual slices in plastic wrap, then place them in a freezer-safe bag. Toast directly from frozen for the best texture. The bread will keep for up to 3 months in the freezer without losing quality.
Pin This Recipe!
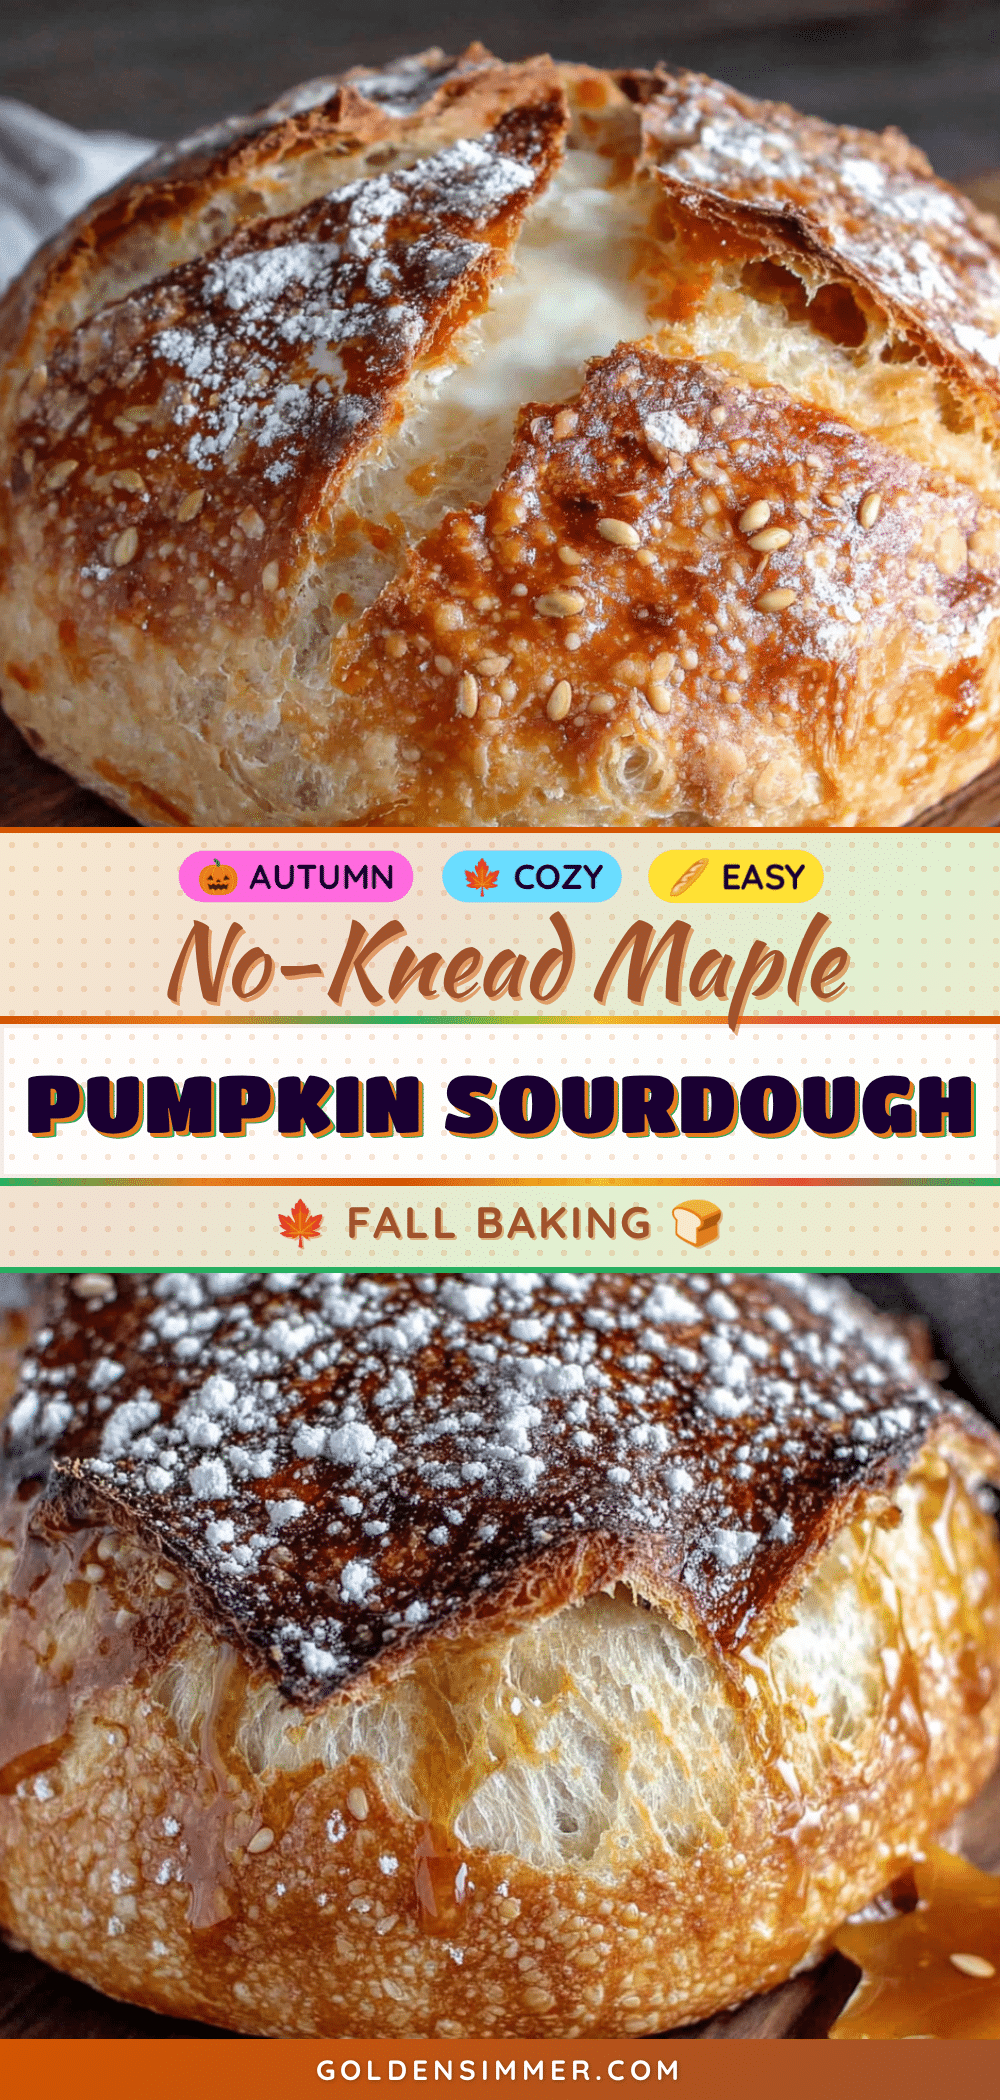
Easy No-Knead Maple Pumpkin Sourdough Bread Recipe
This no-knead maple pumpkin sourdough bread is forgiving enough for a busy Tuesday and impressive enough for a holiday table. The combination of tangy sourdough, sweet maple, and earthy pumpkin creates a special flavor that makes you slow down and actually taste what you’re eating.
- Prep Time: 30 minutes
- Cook Time: 45 minutes
- Total Time: 13 hours 15 minutes (including overnight cold retard)
- Yield: 12 servings 1x
- Category: Bread
- Cuisine: American
Ingredients
- 100g (about ½ cup) active sourdough starter, bubbly and fed within the last 4-6 hours
- 400g (about 3 cups) bread flour (preferably King Arthur Bread Flour)
- 100g (about ¾ cup) whole wheat flour
- 150g (about ⅔ cup) pumpkin puree (100% pumpkin, not pumpkin pie filling)
- 80g (about ¼ cup) real maple syrup (Grade A dark amber preferred)
- 200g (about ¾ cup) lukewarm water
- 9g (about 1½ teaspoons) fine sea salt
- 1 teaspoon pumpkin pie spice (optional but recommended)
Instructions
- Mix the Dough (8:00 AM): In a large mixing bowl, combine 100g active sourdough starter, 200g lukewarm water, 80g maple syrup, and 150g pumpkin puree. Whisk until the starter is mostly dissolved and the mixture looks like a thick, orange-tinted slurry. Add 400g bread flour, 100g whole wheat flour, 9g salt, and 1 teaspoon pumpkin pie spice. Mix with a wooden spoon or your hands until no dry flour remains. The dough will be shaggy, sticky, and ugly. Cover the bowl with plastic wrap and let it rest …
- Bulk Fermentation (8:30 AM to 1:30 PM): After the rest, perform a series of stretch and folds every 30 minutes for the first 2 hours. To do a stretch and fold, wet your hand, grab the dough from one side, stretch it up as high as it will go without tearing, and fold it over the top. Rotate the bowl a quarter turn and repeat three more times. Do this 4 times total. After the final fold, cover the bowl and let it sit at room temperature (70-72°F) for the remaining 3 hours. The dough should increas…
- Shape the Dough (1:30 PM): Lightly flour your work surface. Gently turn the dough out. Use a bench scraper to fold the edges toward the center, creating a round boule shape. Flip it seam-side down and use your hands to gently cup the dough and pull it toward you in a circular motion to create surface tension. Place the shaped dough seam-side up into a floured banneton or a bowl lined with a floured tea towel.
- Cold Retard (1:45 PM to Next Morning): Cover the shaped dough with plastic wrap and place it in the refrigerator overnight (8-12 hours). This cold fermentation deepens the flavor, makes the dough easier to score, and gives you a more open crumb.
- Preheat and Prepare (Next Morning, 7:30 AM): Place your Dutch oven in the oven and preheat to 475°F for at least 30 minutes. While the oven heats, take the dough out of the fridge. It should feel firm and slightly puffy. Don’t let it warm up.
- Score and Bake (8:00 AM): Carefully remove the hot Dutch oven from the oven. Place a piece of parchment paper over the dough, invert the banneton, and gently turn the dough out onto the parchment. Using a sharp lame or a razor blade, score the top with a single deep slash (about ½ inch deep) at a 45-degree angle. Slide the parchment with the dough into the hot Dutch oven. Cover and bake for 30 minutes.
- Finish Baking (8:30 AM): Remove the lid and continue baking for 15-20 minutes, until the crust is deep amber and the internal temperature reaches 200-205°F. The bread should sound hollow when tapped on the bottom. Let it cool on a wire rack for at least 2 hours before slicing.
Notes
Don’t skip the autolyse (30-minute rest after mixing). Watch your water temperature: if kitchen is cold (under 68°F), use water around 80°F; if warm (over 75°F), use cool tap water. Trust the sticky dough—don’t add more flour. The cold retard is essential for flavor and easier scoring. Steam is everything; the Dutch oven creates a steamy environment. For variations, try adding toasted pecans, dark chocolate chips, or herbs. Store bread cut-side down at room temperature for up to 3 days; do not refrigerate. Slice and freeze for up to 3 months.
Nutrition
- Serving Size: 1 slice
- Calories: 180
- Sugar: 6
- Sodium: 180
- Fat: 1
- Carbohydrates: 36
- Fiber: 3
- Protein: 6
Keywords: no-knead bread, sourdough bread, pumpkin bread, maple bread, fall baking, artisan bread, easy sourdough, pumpkin sourdough, maple pumpkin bread



