Love this? Save it for later!
Share the inspiration with your friends
I’m not supposed to play favorites with recipes, but this one is the exception that proves the rule.
Honestly, it happened by accident. A Tuesday night, a pack of chicken thighs I’d forgotten to thaw properly, and a fridge that looked a little sad. I had butter, garlic, and a cast iron skillet that needed seasoning anyway. I figured I’d just sear the chicken and call it a night. But then the butter hit the pan, and the garlic started to sizzle, and I threw in some thyme because it was wilting in the crisper drawer. The smell—oh, that smell—pulled my roommate out of her room like a cartoon character floating on a cloud.
That first bite had this unexpected crispiness on the outside, but the inside was so tender it practically fell apart. The garlic butter sauce pooled in the pan, soaking into the rice I’d made on autopilot. I stood at the counter eating straight from the skillet, and I knew I’d stumbled onto something I’d make again and again.
Maybe you’ve been there—a meal that wasn’t supposed to be anything special, but it ended up becoming your go-to. That’s this quick garlic butter chicken thighs recipe. It’s the one you’ll make when you’re tired, when you’re busy, and when you just want something that tastes like you tried harder than you actually did. It’s been in my weekly rotation ever since that Tuesday, and it’s never let me down.
Why You’ll Love This Recipe
Let me tell you, I’ve made this quick garlic butter chicken thighs recipe more times than I can count. I’ve tested it with different pans, different cuts of chicken, and even different types of butter (yes, that’s a thing). Every time, it delivers. Here’s why you’re going to love it too:
- Quick & Easy: This one pan garlic butter chicken comes together in under 30 minutes. From start to finish, you’re looking at about 25 minutes. Perfect for those nights when you’re staring at the fridge wondering what to make.
- Simple Ingredients: You probably have everything already. Butter, garlic, chicken thighs, salt, pepper, and maybe some herbs if you’re feeling fancy. No fancy grocery trips needed.
- Perfect for Busy Weeknights: This is the definition of a weeknight hero. It’s impressive enough for company but easy enough for a Tuesday when you’ve got nothing left in the tank.
- Crowd-Pleaser: I’ve served this to picky eaters, to my dad who “doesn’t like chicken thighs,” and to friends who usually go for takeout. Every single person asked for the recipe.
- Unbelievably Delicious: The texture is what gets me every time. That crispy, golden-brown skin on the outside, and the juicy, tender meat inside. And the sauce—oh, the garlic butter sauce is liquid gold.
What makes this recipe different from the rest is the technique. I’m not just throwing chicken in a pan with butter. I’m searing the thighs skin-side down until they’re perfectly crisp, then finishing them in a garlic butter bath that keeps them moist and flavorful. It’s a simple trick, but it makes all the difference.
This isn’t just another chicken recipe. It’s the kind that makes you close your eyes after the first bite. It’s comfort food reimagined—faster, easier, but with the same soul-soothing satisfaction. Perfect for impressing guests without stress, or turning a simple meal into something memorable.
What Ingredients You Will Need
This recipe uses simple, everyday ingredients to deliver bold flavor without the fuss. Most of these are pantry staples, which is exactly why I love making this on a whim.
- Chicken Thighs: 4 bone-in, skin-on chicken thighs (about 1.5 lbs or 680g). The skin gets beautifully crispy, and the bone keeps the meat juicy. You can use boneless, skinless thighs if you prefer, but reduce cooking time by about 5 minutes.
- Unsalted Butter: 3 tablespoons (42g). I use unsalted so I can control the salt level. Kerrygold is my go-to for its rich flavor, but any good quality butter works.
- Garlic: 6 cloves, minced (about 2 tablespoons). Fresh garlic is non-negotiable here. Pre-minced jarred garlic just doesn’t give the same punch.
- Olive Oil: 1 tablespoon (15ml). For searing the chicken. It has a higher smoke point than butter alone, so we use both.
- Fresh Thyme: 4-5 sprigs. Adds an earthy, aromatic note that pairs beautifully with garlic. Dried thyme works in a pinch (use 1 teaspoon), but fresh is better.
- Chicken Broth: ¼ cup (60ml). Helps deglaze the pan and creates a light sauce. Low-sodium is best so you can control the salt.
- Salt: 1 teaspoon (5g), or to taste. I use kosher salt for its clean flavor.
- Black Pepper: ½ teaspoon (2g), freshly ground. Adds a subtle heat that balances the richness.
- Optional Garnish: Fresh parsley, chopped (about 2 tablespoons). Adds a pop of color and freshness at the end.
Ingredient Tips: For the best texture, look for chicken thighs that are similar in size so they cook evenly. If you can find air-chilled chicken, it tends to have better texture and less water content, which means better browning. For the garlic, I recommend using a microplane or a garlic press for the finest mince—it melts right into the butter.
Substitution Guidance: If you’re dairy-free, you can substitute the butter with a good quality vegan butter or ghee (which is lactose-free). For a lower-fat option, use 2 tablespoons of olive oil instead of butter, though you’ll lose some richness. You can swap the thyme with rosemary or oregano for a different flavor profile.
Equipment Needed
You don’t need much for this one pan garlic butter chicken. That’s the beauty of it.
- Large Oven-Safe Skillet: 10-12 inch cast iron or stainless steel. Cast iron gives the best sear, but any heavy-bottomed pan works. Avoid non-stick if possible—you won’t get that beautiful golden crust.
- Tongs: For flipping the chicken without piercing the skin. This keeps the juices locked in.
- Sharp Knife: For mincing garlic. A chef’s knife or paring knife works fine.
- Cutting Board: Preferably wood or plastic. I use a large wooden board for everything.
- Paper Towels: For patting the chicken dry. This is crucial for crispy skin.
- Meat Thermometer: Optional but recommended. Chicken thighs are done at 165°F (74°C), but I prefer them at 175°F (80°C) for more tender meat.
Budget-Friendly Tip: If you don’t have a cast iron skillet, a stainless steel pan works just as well. Just make sure it’s oven-safe if you’re finishing in the oven (though this stovetop version doesn’t require it).
Preparation Method
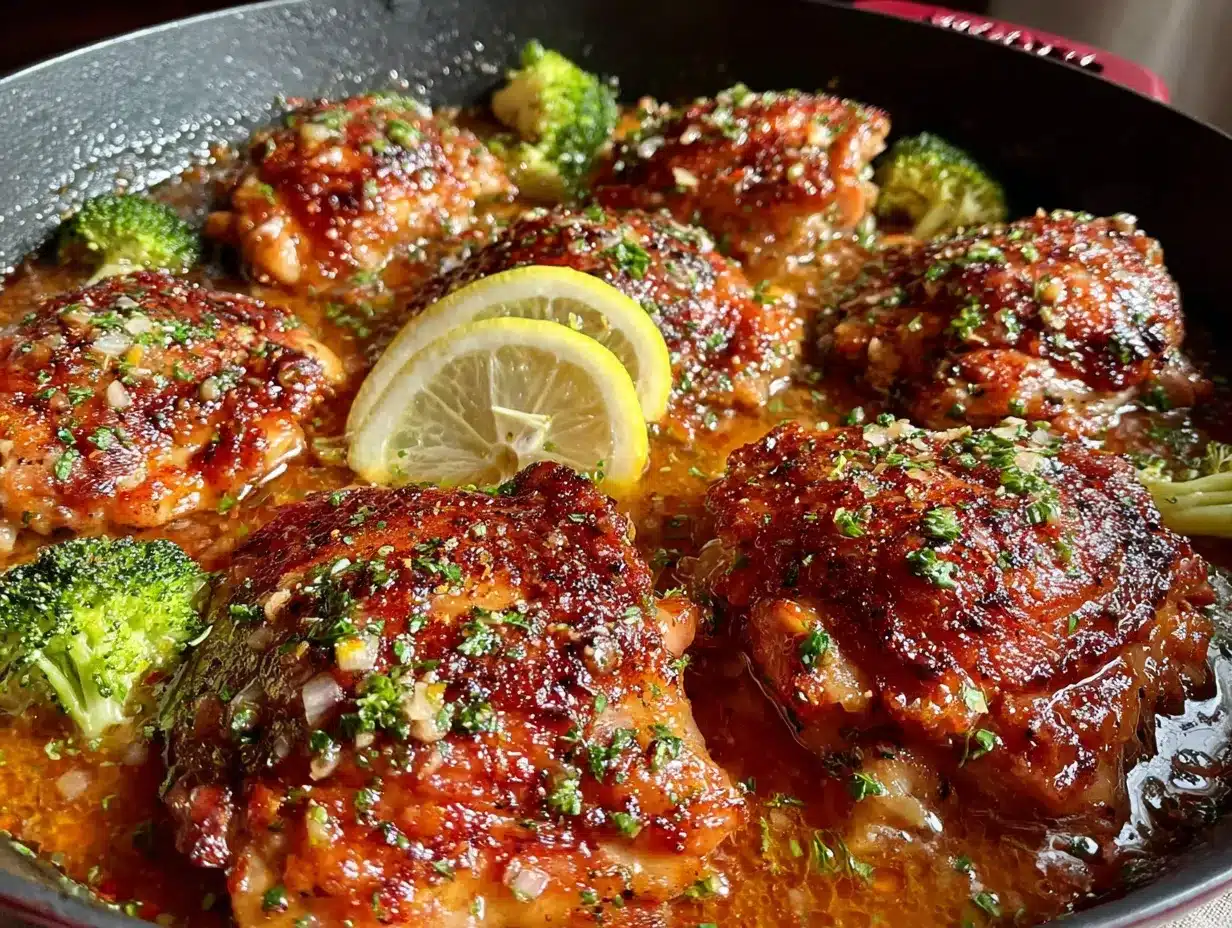
Let’s get cooking. This one pan garlic butter chicken comes together fast, so have everything ready before you start.
- Prep the Chicken (5 minutes): Pat the chicken thighs dry with paper towels. This is the most important step for crispy skin. Season both sides generously with salt and pepper. Let them sit at room temperature for 10 minutes while you prep the other ingredients.
- Heat the Pan (2 minutes): Place your skillet over medium-high heat. Add the olive oil and 1 tablespoon of butter. Swirl to coat the pan. Wait until the butter stops foaming and starts to brown slightly—that’s your signal that it’s hot enough.
- Sear the Chicken (8-10 minutes): Place the chicken thighs skin-side down in the hot pan. Don’t overcrowd—they should have a little space between them. Press down gently with a spatula for 10 seconds to ensure even contact. Let them cook undisturbed for 5-6 minutes. The skin should be deep golden brown and crispy. Flip and cook for another 3-4 minutes on the other side. The chicken should be golden all over.
- Create the Garlic Butter Sauce (2 minutes): Reduce heat to medium-low. Push the chicken to one side of the pan. Add the remaining 2 tablespoons of butter and the minced garlic to the empty space. Stir the garlic constantly for about 30 seconds until fragrant—don’t let it burn. Pour in the chicken broth and add the thyme sprigs. Stir everything together, scraping up any browned bits from the bottom of the pan.
- Finish Cooking (5-7 minutes): Nestle the chicken back into the sauce, skin-side up. Spoon some of the garlic butter sauce over the top of each thigh. Let it simmer gently for 5-7 minutes, basting occasionally with the sauce. The chicken is done when it reaches 165°F (74°C) at the thickest part, but I like to take it to 175°F (80°C) for more tender meat.
- Rest and Serve (5 minutes): Remove the pan from heat. Let the chicken rest in the pan for 5 minutes. This allows the juices to redistribute. Garnish with fresh parsley if using. Serve hot with the garlic butter sauce spooned over the top.
Sensory Cues: When you flip the chicken, the skin should be a deep amber color with visible crispiness. The garlic should smell fragrant and sweet, not sharp or burnt. The sauce should be bubbling gently and slightly thickened. When you pierce the thickest part of the thigh, the juices should run clear.
Personal Tip: I always make extra sauce. Sometimes I double the butter and garlic because that sauce is the best part. It’s amazing over rice, mashed potatoes, or even crusty bread to soak up every last drop.
Cooking Tips & Techniques
I’ve made this quick garlic butter chicken thighs recipe at least thirty times. I’ve learned a few things the hard way so you don’t have to.
Patience is Everything: The biggest mistake people make is moving the chicken too soon. When you first put it in the pan, it will stick. That’s normal. Let it cook undisturbed for a full 5-6 minutes. The chicken will naturally release from the pan when the crust is formed. If you try to flip it early, you’ll tear the skin and lose all that crispy goodness.
Don’t Crowd the Pan: If you’re cooking more than 4 thighs, do it in batches. Overcrowding lowers the pan temperature, which means the chicken steams instead of searing. You want that sizzle when the chicken hits the pan. If it’s not sizzling loudly, the pan isn’t hot enough.
Garlic Timing is Crucial: Garlic burns fast. That’s why you add it after the chicken is seared, not before. And when you do add it, keep stirring. Thirty seconds is plenty. Burnt garlic turns bitter and ruins the whole dish. I learned that one the hard way—I was distracted by my phone and ended up with acrid, blackened garlic. Had to start over.
Temperature Control: Medium-high heat for searing, then medium-low for the sauce. If you keep the heat too high when you add the garlic and broth, the garlic will burn and the broth will evaporate too quickly. Low and slow for the sauce phase is the secret.
Basting is Your Friend: Spooning that garlic butter sauce over the chicken while it simmers keeps the meat moist and infuses every bite with flavor. Do it every minute or so. It takes five seconds and makes a huge difference.
Resting Matters: I know you’re hungry, but let the chicken rest for 5 minutes. If you cut into it immediately, all those juices run out onto the plate instead of staying in the meat. Trust me on this.
Variations & Adaptations
This one pan garlic butter chicken is endlessly adaptable. Here are a few ways I’ve changed it up over the years.
Lemon Garlic Version: Add the juice of half a lemon and a few lemon slices to the pan when you add the broth. The acidity cuts through the richness beautifully. I make this version in the summer when I want something brighter.
Spicy Kick: Add ½ teaspoon of red pepper flakes along with the garlic. Or toss in a sliced jalapeño for fresh heat. My brother loves this version—he says it wakes up the whole dish.
Herb Garden Variation: Swap the thyme for rosemary or oregano. Or use a combination. I once threw in some sage leaves from my neighbor’s garden, and it was incredible. Fresh herbs make everything better.
Creamy Garlic Butter: After you add the broth, stir in ¼ cup of heavy cream. Let it simmer for 2-3 minutes until thickened. This creates a richer, creamier sauce that’s perfect over pasta or with crusty bread.
Bone-In vs. Boneless: If you use boneless, skinless thighs, reduce the searing time to 3-4 minutes per side and the simmering time to 3-4 minutes. They cook faster, so keep an eye on them. The skinless version won’t be as crispy, but it’s still delicious and even quicker.
Oven-Finished Method: After searing both sides, transfer the skillet to a preheated 400°F (200°C) oven for 10-12 minutes. This is great for when you’re cooking for a crowd and want everything to finish at the same time.
Dietary Adaptation: For a low-carb version, serve the chicken over cauliflower rice or a bed of sautéed spinach. The garlic butter sauce is naturally keto-friendly. For gluten-free, just make sure your chicken broth is certified gluten-free (most are, but check the label).
Serving & Storage Suggestions
This quick garlic butter chicken thighs recipe is versatile enough for any occasion. Here’s how I like to serve and store it.
Serving Temperature: Serve hot, straight from the pan. The garlic butter sauce should be bubbling and glossy. Spoon it generously over each thigh.
What to Serve With It: The sauce is the star, so you want something to soak it up. I love this over:
- Fluffy white rice or jasmine rice
- Mashed potatoes (creamy or rustic)
- Buttered egg noodles
- Crusty bread for dipping
- Roasted vegetables like asparagus or green beans
- A simple green salad with lemon vinaigrette
Beverage Pairings: A crisp white wine like Sauvignon Blanc or unoaked Chardonnay cuts through the richness. For red drinkers, a light Pinot Noir works beautifully. If you’re going non-alcoholic, sparkling water with lemon is perfect.
Storage Instructions: Store leftover chicken in an airtight container in the refrigerator for up to 4 days. Keep the sauce with the chicken—it helps keep the meat moist. I don’t recommend freezing this dish, as the texture of the sauce can change upon thawing.
Reheating Methods: The best way to reheat is in a skillet over medium-low heat. Add a splash of chicken broth or water to loosen the sauce. Cover and heat for 5-7 minutes, flipping halfway. The microwave works in a pinch, but the skin won’t be crispy. If you’re using the microwave, cover the plate with a damp paper towel to prevent drying out.
How Flavors Develop: Honestly, this dish tastes even better the next day. The garlic and herb flavors meld together overnight, and the chicken absorbs more of that delicious sauce. I sometimes make extra just for leftovers.
Nutritional Information & Benefits
Here’s the nutritional breakdown for one serving (one chicken thigh with sauce). Values are approximate and based on using bone-in, skin-on thighs.
| Nutrient | Amount per Serving |
|---|---|
| Calories | 385 |
| Protein | 28g |
| Fat | 29g |
| Saturated Fat | 12g |
| Carbohydrates | 2g |
| Fiber | 0g |
| Sugar | 0g |
| Sodium | 620mg |
Health Benefits: Chicken thighs are an excellent source of protein, which supports muscle health and keeps you full longer. They’re also rich in B vitamins, particularly B6 and B12, which support energy metabolism and brain function. Garlic is known for its anti-inflammatory properties and may support immune health. Butter provides fat-soluble vitamins A, D, E, and K, though it should be enjoyed in moderation.
Dietary Considerations: This recipe is naturally low-carb and keto-friendly. It’s gluten-free as written (verify your chicken broth). It’s not suitable for dairy-free diets unless you substitute the butter. The main allergen is dairy (butter).
Personal Wellness Perspective: I love that this meal feels indulgent but uses whole, recognizable ingredients. It’s real food that nourishes you without any weird additives. I feel good serving it to my family because I know exactly what’s in it.
Conclusion
This quick garlic butter chicken thighs recipe is the kind of meal that saves your weeknight. It’s fast, it’s forgiving, and it tastes like you spent hours in the kitchen when you really only spent 25 minutes. The crispy skin, the tender meat, that garlic butter sauce—it all comes together in one pan with minimal cleanup.
What I love most about this recipe is how it makes me feel. Like I’ve got this whole cooking thing figured out, even on days when I’m tired and running late. It’s a confidence booster in a skillet. And honestly, that’s the kind of recipe we all need in our back pocket.
I’d love to hear how yours turns out. Did you add your own twist? Serve it with something unexpected? Leave a comment below and let me know. And if you share it on social media, tag me—I love seeing your creations. This one pan garlic butter chicken is meant to be shared, adapted, and made your own. Happy cooking!
Frequently Asked Questions
Can I use chicken breasts instead of thighs?
Yes, but be careful. Chicken breasts cook faster and can dry out easily. Use boneless, skinless breasts and reduce the cooking time. Sear for 3-4 minutes per side, then simmer for 5-6 minutes until they reach 165°F (74°C). The sauce will still be delicious, but the texture won’t be as forgiving as thighs.
How do I get the skin extra crispy?
Pat the chicken dry with paper towels before seasoning. Let it sit uncovered in the fridge for 30 minutes if you have time—this dries out the skin even more. Use a heavy pan like cast iron, and don’t move the chicken for the first 5-6 minutes. The skin needs uninterrupted contact with the hot surface to crisp up properly.
Can I make this ahead of time?
You can prep the ingredients ahead, but I recommend cooking it fresh for the best texture. If you need to make it ahead, cook it completely, then reheat in a skillet with a splash of broth. The skin won’t be as crispy, but the flavor will still be amazing. It’s great for meal prep lunches.
What if I don’t have fresh thyme?
Dried thyme works in a pinch. Use 1 teaspoon of dried thyme instead of the fresh sprigs. Add it with the garlic so it can rehydrate in the sauce. You can also use other dried herbs like oregano, rosemary, or even Italian seasoning. The flavor will be different but still good.
Is this recipe freezer-friendly?
I don’t recommend freezing this dish. The butter-based sauce can separate and become grainy when thawed, and the crispy skin will turn soggy. If you have leftovers, store them in the fridge for up to 4 days. This recipe is so quick to make that freezing isn’t really necessary—you can whip it up fresh any night of the week.
Pin This Recipe!
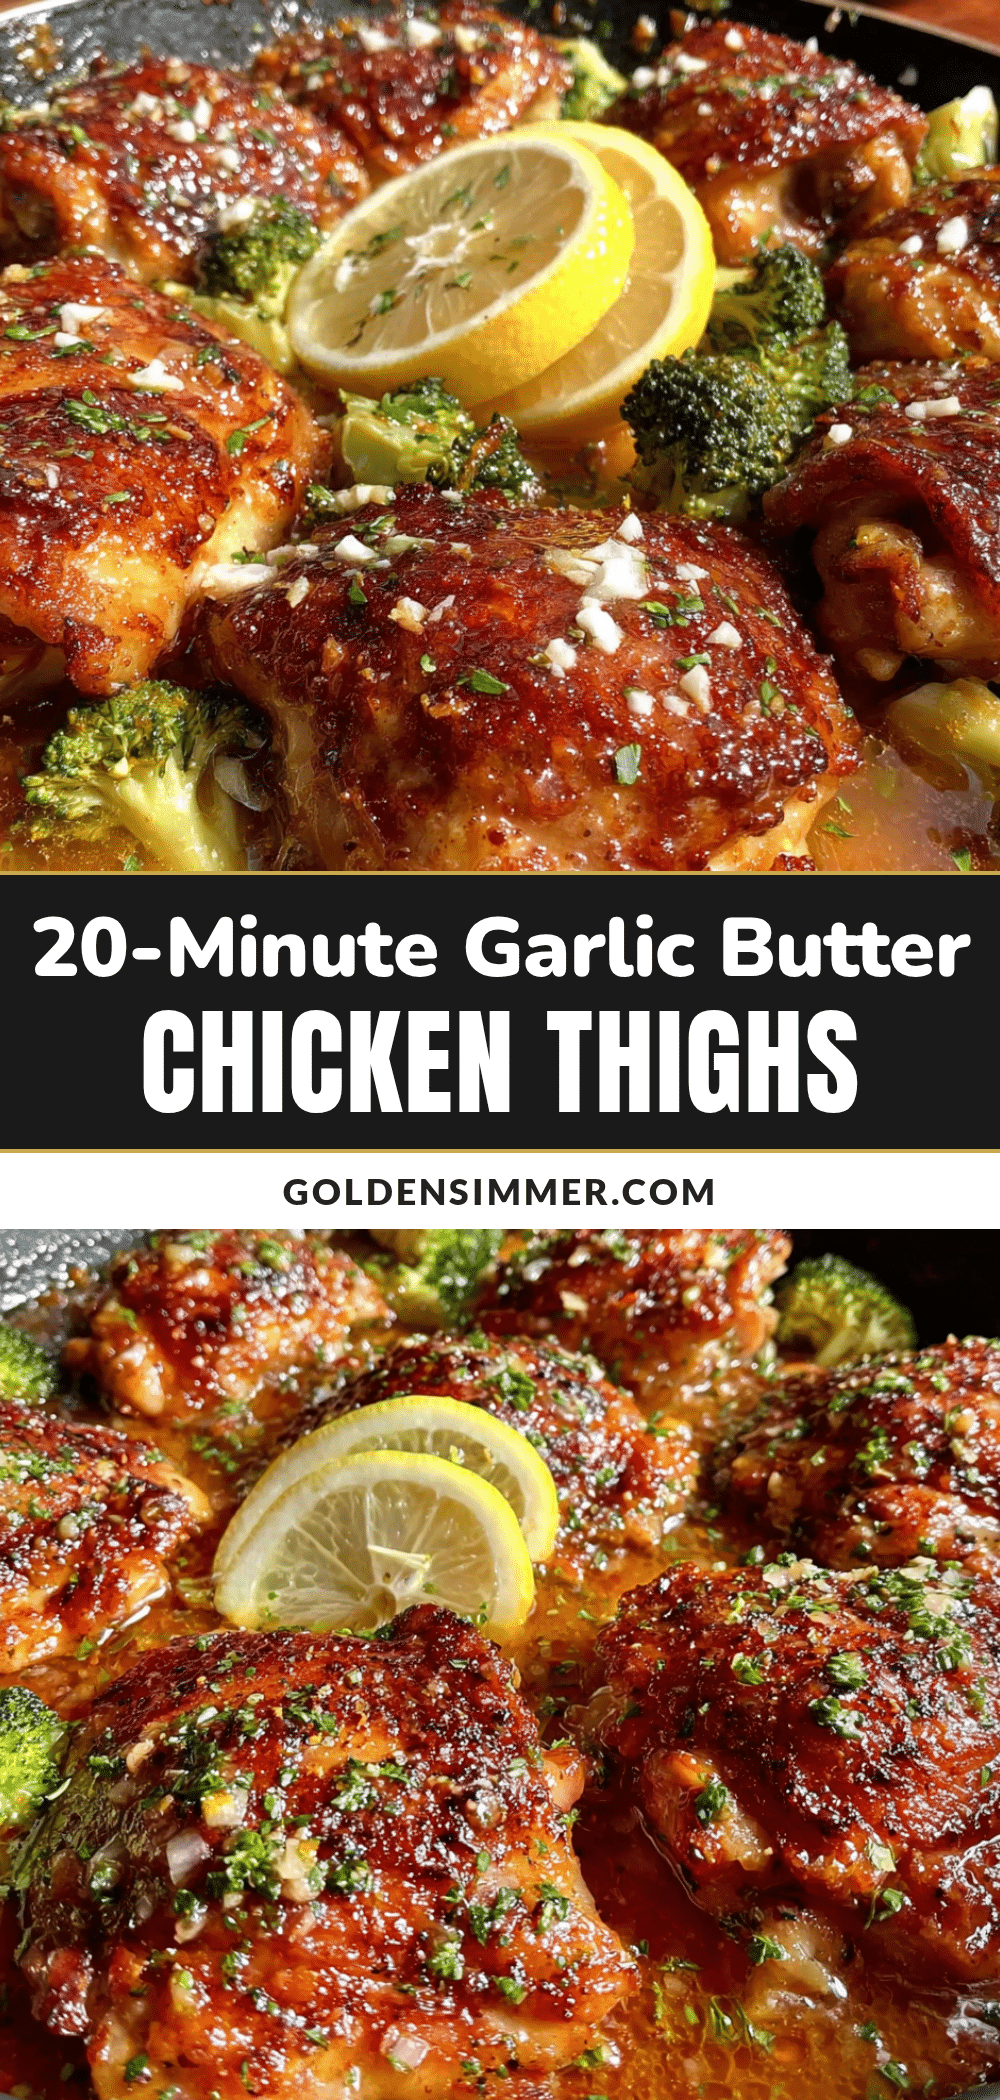
Quick & Easy Garlic Butter Chicken Thighs: One Pan Best Dinner

A quick and easy one-pan garlic butter chicken thighs recipe that delivers crispy skin, tender meat, and a rich garlic butter sauce in under 30 minutes. Perfect for busy weeknights and made with simple ingredients.
- Prep Time: 10 minutes
- Cook Time: 15 minutes
- Total Time: 25 minutes
- Yield: 4 servings 1x
- Category: Main Course
- Cuisine: American
Ingredients
- 4 bone-in, skin-on chicken thighs (about 1.5 lbs or 680g)
- 3 tablespoons unsalted butter (42g)
- 6 cloves garlic, minced (about 2 tablespoons)
- 1 tablespoon olive oil (15ml)
- 4–5 sprigs fresh thyme (or 1 teaspoon dried thyme)
- ¼ cup chicken broth (60ml), low-sodium
- 1 teaspoon kosher salt (5g)
- ½ teaspoon black pepper (2g), freshly ground
- Optional: 2 tablespoons fresh parsley, chopped for garnish
Instructions
- Prep the Chicken (5 minutes): Pat the chicken thighs dry with paper towels. Season both sides generously with salt and pepper. Let them sit at room temperature for 10 minutes while you prep the other ingredients.
- Heat the Pan (2 minutes): Place your skillet over medium-high heat. Add the olive oil and 1 tablespoon of butter. Swirl to coat the pan. Wait until the butter stops foaming and starts to brown slightly.
- Sear the Chicken (8-10 minutes): Place the chicken thighs skin-side down in the hot pan. Don’t overcrowd. Press down gently with a spatula for 10 seconds. Cook undisturbed for 5-6 minutes until deep golden brown and crispy. Flip and cook for another 3-4 minutes on the other side.
- Create the Garlic Butter Sauce (2 minutes): Reduce heat to medium-low. Push chicken to one side. Add remaining 2 tablespoons butter and minced garlic to the empty space. Stir constantly for about 30 seconds until fragrant. Pour in chicken broth and add thyme sprigs. Stir, scraping up browned bits from the pan.
- Finish Cooking (5-7 minutes): Nestle chicken back into sauce, skin-side up. Spoon sauce over each thigh. Simmer gently for 5-7 minutes, basting occasionally, until chicken reaches 165°F (74°C) at the thickest part (or 175°F/80°C for more tender meat).
- Rest and Serve (5 minutes): Remove from heat. Let chicken rest in pan for 5 minutes. Garnish with fresh parsley if using. Serve hot with garlic butter sauce spooned over the top.
Notes
Pat chicken dry for crispy skin. Don’t move chicken too early when searing. Add garlic after searing to prevent burning. Baste chicken with sauce while simmering. Let rest 5 minutes before serving. For extra crispy skin, let chicken sit uncovered in fridge for 30 minutes before cooking. Leftovers keep in fridge for up to 4 days; reheat in skillet with splash of broth.
Nutrition
- Serving Size: 1 chicken thigh with
- Calories: 385
- Sodium: 620
- Fat: 29
- Saturated Fat: 12
- Carbohydrates: 2
- Protein: 28
Keywords: garlic butter chicken, one pan chicken, quick chicken dinner, weeknight chicken, crispy chicken thighs, garlic butter sauce, easy chicken recipe



