Love this? Save it for later!
Share the inspiration with your friends
I grabbed the wrong bottle. That is how this whole thing started. I was standing in my kitchen on a Wednesday night, completely frazzled after a day that had gone sideways around 10 AM. I needed dinner on the table in thirty minutes, and I had this plan for a simple soy-ginger glaze on chicken drumsticks. I reached into the fridge, grabbed what I thought was the soy sauce, and started mixing. It was only after I had poured a generous amount into the bowl that I realized I was holding honey. Pure, sticky, golden honey. And not just a little bit—I had basically emptied half the bottle before I caught myself.
My first instinct was panic. I mean, have you ever tried to scrape honey back out of a mixing bowl? It is a sticky nightmare. I stood there for a solid minute, spatula in hand, wondering if I should just toss the whole thing and order pizza. But I had already seasoned the chicken, and honestly, I was too tired to start over. So I did what any reasonable person would do when a recipe goes off the rails: I kept going. I added the soy sauce anyway, threw in some garlic because garlic fixes everything, and hoped for the best.
What came out of the oven was nothing like the plan. And it was better. The honey had caramelized into this glossy, almost lacquered coating that clung to the drumsticks like it was meant to be there. The garlic had mellowed into something sweet and savory at the same time. My husband walked in and asked what smelled so good, and I just pointed at the pan, still half in shock that my mistake had turned into something I would actually want to make again on purpose.
That was about six months ago, and these sticky honey garlic chicken drumsticks have been in regular rotation ever since. It is the kind of recipe that makes you look like you spent hours in the kitchen when really, you just got lucky with a wrong turn. And honestly, maybe you have been there too—staring at a half-ruined dinner, wondering if it is worth saving. Trust me on this one. Sometimes the best recipes come from the moments you least expect them.
Why You’ll Love This Recipe
Let me tell you why these sticky honey garlic chicken drumsticks have become my go-to for busy nights. I have tested this recipe at least a dozen times since that first happy accident, tweaking the ratios and the cooking time until it was just right. Here is what makes it stand out:
- Quick & Easy : From start to table in about 45 minutes. Most of that time is hands-off baking, so you can throw together a quick salad or just sit down for a minute.
- Simple Ingredients : You probably have everything in your kitchen right now. Honey, soy sauce, garlic, a few spices. No fancy grocery trips required.
- Perfect for Weeknights : This is the kind of dinner that works on a random Tuesday but feels special enough for a casual weekend gathering. It is versatile like that.
- Crowd-Pleaser : I have brought these to potlucks and watched them disappear in minutes. Kids love the sticky-sweet coating, and adults appreciate the savory depth.
- Unbelievably Delicious : The texture is what gets me every time. That caramelized, almost tacky exterior gives way to juicy, tender meat underneath. It is next-level comfort food.
What makes this recipe different from all the other honey garlic chicken recipes out there? It is the balance. I spent a lot of time figuring out the right ratio of honey to soy sauce so it is sweet without being cloying, savory without being salty. And the garlic—I use fresh garlic here, not powder, because the little bits of roasted garlic in the glaze make all the difference. It is not just another version of honey garlic chicken. It is the version I actually want to make again and again.
This recipe is the kind that makes you close your eyes after the first bite. It is comfort food reimagined—simpler, faster, but with the same soul-soothing satisfaction. Perfect for impressing guests without stress, or turning a simple Tuesday into something memorable.
What Ingredients You Will Need
This recipe uses simple, wholesome ingredients that come together to create that signature sticky glaze and perfectly tender chicken. Most of these are pantry staples, which is exactly what I love about it.
For the Chicken
- 8 chicken drumsticks (about 2 pounds) – Skin-on, bone-in drumsticks work best here. The skin crisps up beautifully under the glaze, and the bone keeps the meat juicy. I usually grab a family pack from the store and freeze half.
- 1 tablespoon olive oil – Just enough to help the seasoning stick and encourage browning. You can use avocado oil if that is what you have.
- 1 teaspoon salt – I prefer kosher salt for its clean flavor. If you are using table salt, cut it back to about ¾ teaspoon.
- ½ teaspoon black pepper – Freshly ground is always better, but pre-ground works in a pinch.
- ½ teaspoon garlic powder – This is for the initial seasoning, just to build flavor from the inside out.
- ½ teaspoon paprika – Adds a subtle warmth and helps with browning. Smoked paprika would be lovely here if you want a deeper flavor.
For the Sticky Honey Garlic Glaze
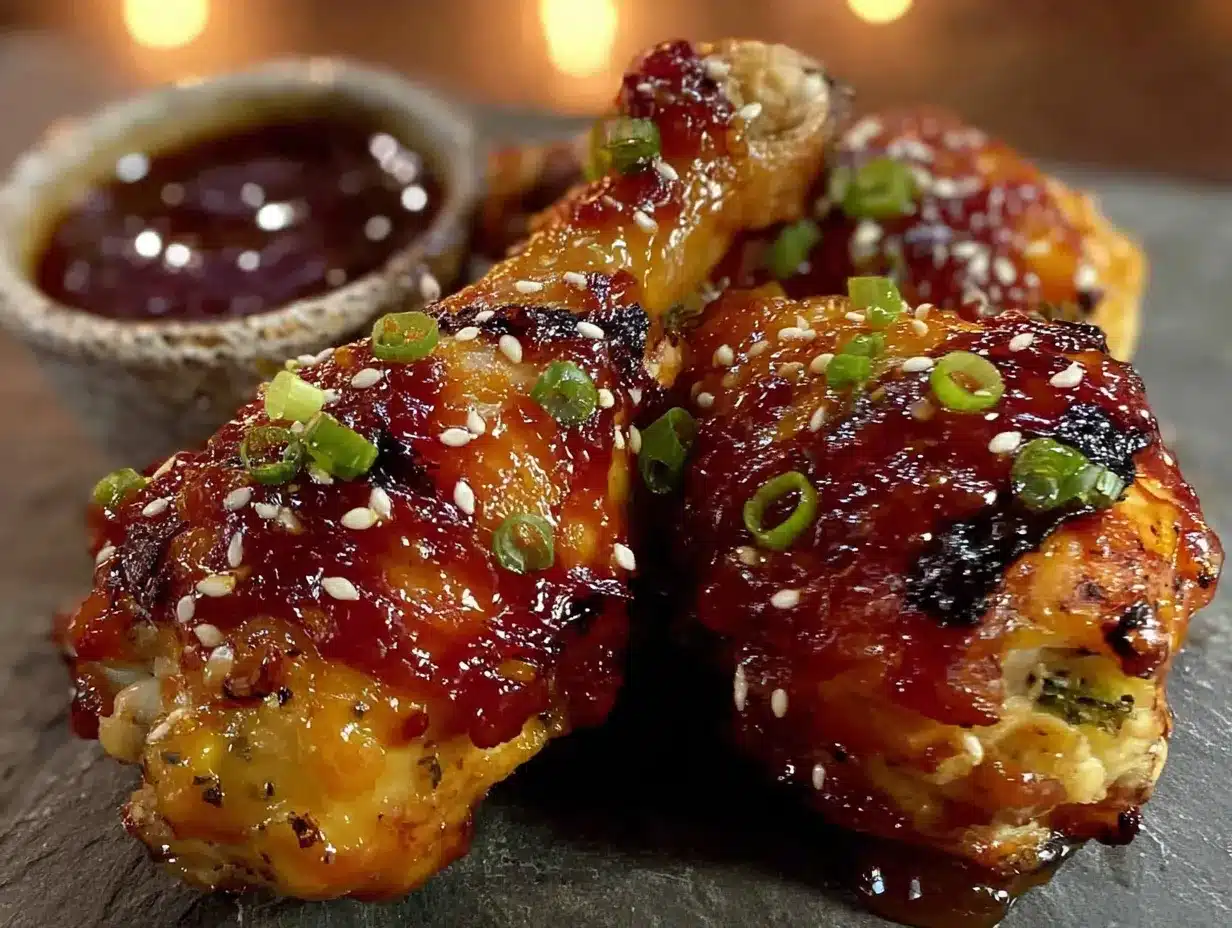
- ⅓ cup honey – Use a runny, good-quality honey. I like local honey when I can find it, but any pure honey works. Do not use the crystallized stuff unless you warm it up first.
- ¼ cup low-sodium soy sauce – Regular soy sauce will work, but it can get salty fast. Low-sodium gives you more control. For a gluten-free option, use tamari or coconut aminos.
- 4 cloves garlic, minced – Fresh garlic is non-negotiable here. The little roasted bits in the glaze are what make this recipe special. I use a microplane for the finest mince, but a garlic press works too.
- 1 tablespoon rice vinegar – This adds a touch of acidity to balance the sweetness. Apple cider vinegar or white wine vinegar can substitute in a pinch.
- 1 teaspoon sesame oil – Optional, but it adds a lovely nutty undertone. Skip it if you do not have it on hand.
- 1 tablespoon cornstarch mixed with 2 tablespoons water – This is your slurry for thickening the glaze at the end. Do not skip it—it is what gives you that glossy, sticky finish.
For Garnish (Optional but Recommended)
- 2 green onions, sliced – Adds a fresh, sharp contrast to the rich glaze.
- 1 tablespoon sesame seeds – Toasted sesame seeds add a nice crunch and visual appeal.
I have made this recipe with chicken thighs and even chicken breasts, and it works well with all of them. Just adjust the cooking time accordingly. Thighs take about the same time as drumsticks, but boneless breasts will cook faster—start checking at 25 minutes.
Equipment Needed
You do not need a lot of fancy equipment for this recipe, which is part of what makes it so approachable. Here is what you will need:
- Large mixing bowl – For tossing the drumsticks with the seasoning and oil. A glass or stainless steel bowl works best.
- Baking sheet or roasting pan – I use a half-sheet pan lined with parchment paper or aluminum foil for easy cleanup. A 9×13 baking dish works too, but the drumsticks will not brown as evenly.
- Wire rack – If you have one, place it over the baking sheet. This lifts the drumsticks off the bottom so the heat circulates around them, giving you crispier skin. Totally optional but worth it.
- Small saucepan – For making the glaze. A 1-quart saucepan is perfect.
- Whisk – For combining the glaze ingredients smoothly.
- Pastry brush or spoon – For brushing the glaze onto the drumsticks during baking. A silicone brush is ideal because it does not shed bristles.
- Instant-read thermometer – This is my non-negotiable tool for chicken. It takes the guesswork out of doneness and guarantees juicy meat every time.
If you do not have a wire rack, do not worry. I have made this recipe without one many times. Just flip the drumsticks halfway through baking to ensure even cooking. And if you do not have an instant-read thermometer, you can check doneness by cutting into the thickest part of a drumstick—the juices should run clear and the meat should no longer be pink.
Preparation Method
Let me walk you through this step by step. I have made this recipe enough times to know exactly where things can go wrong, so I will point out those spots along the way.
- Preheat your oven to 400°F (200°C). Give it a full 15 minutes to come to temperature. While it is heating, line a baking sheet with foil or parchment paper and place a wire rack on top if you have one.
- Pat the drumsticks dry. This is more important than you might think. Use paper towels to dry each drumstick thoroughly. Moisture is the enemy of crispy skin, and we want that skin to crisp up under the glaze. I learned this the hard way after making soggy chicken one too many times.
- Season the chicken. In a large mixing bowl, combine the olive oil, salt, pepper, garlic powder, and paprika. Add the drumsticks and toss with your hands until each piece is evenly coated. Make sure to get the seasoning under the skin if you can—just slide your fingers between the skin and the meat and rub a little in there.
- Arrange on the baking sheet. Place the drumsticks on the wire rack (or directly on the lined sheet) in a single layer. Leave a little space between each one so the heat can circulate. Crowding the pan will steam the chicken instead of roasting it.
- Bake for 25 minutes. Pop the pan in the oven and set a timer. During this time, the chicken will start to brown and render some of its fat. Do not open the oven door—let it do its thing.
- Make the glaze. While the chicken bakes, combine the honey, soy sauce, minced garlic, rice vinegar, and sesame oil in a small saucepan. Whisk everything together and bring it to a gentle simmer over medium heat. Let it bubble for about 3 minutes, stirring occasionally, until it thickens slightly. Then whisk in the cornstarch slurry and cook for another minute until the glaze is glossy and coats the back of a spoon. Remove from heat and set aside.
- Brush on the first layer of glaze. After 25 minutes, pull the baking sheet out of the oven. Use a pastry brush to coat each drumstick with a generous layer of the glaze. Reserve about half of the glaze for later. Return the pan to the oven and bake for another 10 minutes.
- Brush on the second layer. After 10 minutes, pull the pan out again and brush on another layer of glaze. This builds up that sticky, caramelized coating. Bake for a final 5 to 10 minutes.
- Check for doneness. The internal temperature of the thickest part of a drumstick should read 165°F (74°C) on an instant-read thermometer. If it is not there yet, give it another 5 minutes and check again. My oven runs a little hot, so 40 minutes total is usually perfect for me.
- Rest and serve. Let the drumsticks rest on the pan for 5 minutes. This lets the glaze set up and the juices redistribute. Transfer to a serving platter, sprinkle with sliced green onions and sesame seeds, and serve warm.
One thing I want to emphasize: do not skip the two-layer glazing process. I tried brushing all the glaze on at once one time, and it just slid right off the chicken. Building it up in layers gives you that thick, sticky coating that makes these drumsticks so addictive.
Cooking Tips & Techniques
After making this recipe more times than I can count, I have picked up a few tricks that make the process smoother and the results more consistent. Let me share what I have learned.
Dry those drumsticks thoroughly. I cannot stress this enough. Pat them down with paper towels until they feel almost tacky to the touch. Any moisture on the surface will steam instead of roast, and you will end up with pale, rubbery skin. I once rushed through this step because I was hungry, and the difference was noticeable.
Use a wire rack if you have one. This is probably the single biggest upgrade you can make to this recipe. Lifting the drumsticks off the baking sheet allows hot air to circulate all the way around them, resulting in evenly browned, crispy skin on all sides. If you do not have a wire rack, flip the drumsticks halfway through the initial 25-minute bake to get both sides browned.
Watch the glaze. Honey-based glazes can go from perfect to burnt in a matter of seconds. Keep an eye on it while it simmers, and stir frequently. If it starts to darken too much, pull it off the heat immediately. And do not walk away during the final few minutes of baking—the sugar in the honey can burn quickly under the broiler if you are using one.
Let it rest. I know it is tempting to dig in right away, but those 5 minutes of resting time make a real difference. The glaze sets up into that perfect sticky coating, and the juices redistribute so every bite is moist. I learned this lesson after serving drumsticks that were delicious but a little dry on the outside because I did not let them rest.
Double the glaze. If you are serving a crowd, make a double batch of the glaze. It keeps well in the fridge for up to a week, and you can use it on chicken wings, pork chops, or even roasted vegetables. I always make extra just to have on hand for busy nights.
Variations & Adaptations
One of the things I love about this recipe is how adaptable it is. Here are a few variations I have tried and loved:
Spicy Honey Garlic Drumsticks: Add 1 teaspoon of sriracha or red pepper flakes to the glaze for a sweet-heat combination. I did this on a whim one night when I wanted a little kick, and it was fantastic. The heat builds slowly and does not overpower the honey.
Air Fryer Version: This works beautifully in an air fryer. Preheat to 375°F (190°C), arrange the drumsticks in a single layer in the basket, and cook for 20 minutes, flipping halfway. Brush with glaze, then cook for another 5 minutes. Brush again and cook for a final 2 to 3 minutes. The air fryer gives you incredibly crispy skin in less time.
Gluten-Free Adaptation: Simply swap the soy sauce for tamari or coconut aminos, and make sure your cornstarch is labeled gluten-free. Everything else in the recipe is naturally gluten-free, so this is an easy swap.
Lemon Herb Twist: Add the zest of one lemon and a tablespoon of fresh thyme leaves to the glaze. It brightens up the flavor and makes it feel more spring-like. I made this version for Easter brunch last year, and it was a hit.
Slow Cooker Method: If you want a hands-off approach, sear the drumsticks in a hot skillet for 2 minutes per side, then transfer to a slow cooker. Whisk the glaze ingredients together, pour over the chicken, and cook on low for 4 to 5 hours. The texture will be different—fall-off-the-bone tender rather than crispy—but it is just as delicious.
Serving & Storage Suggestions
These sticky honey garlic chicken drumsticks are best served warm, right after that 5-minute rest. The glaze is at its glossiest and most sticky at this point. I like to arrange them on a large platter, sprinkle with sliced green onions and sesame seeds, and serve them family-style.
For side dishes, I usually keep it simple. A steamed rice or coconut rice is perfect for soaking up any extra glaze that pools on the plate. Roasted broccoli or green beans add a nice contrast in texture and color. A crisp cucumber salad with rice vinegar and a little sugar cuts through the richness beautifully. If I am feeling ambitious, I might make a quick coleslaw or some garlic naan to round out the meal.
For storage, let the drumsticks cool completely, then transfer them to an airtight container. They will keep in the refrigerator for up to 4 days. The glaze will soften and lose some of its stickiness, but the flavor is still fantastic. I have been known to eat them cold straight from the fridge—do not judge me.
To reheat, I recommend the oven or air fryer for best results. Place the drumsticks on a baking sheet and warm them in a 350°F (175°C) oven for about 10 minutes, or until heated through. The microwave works in a pinch, but the skin will be soft rather than crispy. If you are reheating in the microwave, do it in 30-second bursts to avoid drying out the meat.
These drumsticks also freeze beautifully. Place the cooled drumsticks in a freezer-safe bag or container, removing as much air as possible. They will keep for up to 3 months. Thaw overnight in the refrigerator before reheating.
One thing I have noticed: the flavors actually deepen after a day in the fridge. The garlic mellows further, and the honey-soy combination becomes even more harmonious. So do not be afraid to make these a day ahead if you are planning a gathering.
Nutritional Information & Benefits
Here is an approximate nutritional breakdown per serving (2 drumsticks):
| Nutrient | Amount |
|---|---|
| Calories | 385 |
| Protein | 32g |
| Fat | 18g |
| Saturated Fat | 5g |
| Carbohydrates | 22g |
| Fiber | 0g |
| Sugar | 18g |
| Sodium | 720mg |
Chicken drumsticks are a good source of lean protein, which is essential for muscle repair and keeping you full. They also provide B vitamins, particularly niacin and B6, which support energy metabolism. The honey in the glaze offers natural sugars and small amounts of antioxidants, though it is still sugar, so moderation is key. Garlic is known for its immune-supporting properties and adds flavor without extra sodium.
This recipe is naturally dairy-free and can be made gluten-free with a simple soy sauce swap. It is also nut-free and egg-free, making it suitable for many common dietary restrictions. If you are watching your sodium intake, use low-sodium soy sauce and go easy on the added salt in the initial seasoning.
I personally love that this recipe feels indulgent but is actually quite balanced. You get protein, a little sweetness, and plenty of flavor without a laundry list of processed ingredients. It is comfort food that I can feel good about serving to my family.
Conclusion
These sticky honey garlic chicken drumsticks started as a mistake, but they have earned a permanent spot in my recipe rotation. They are the kind of dish that proves you do not need complicated techniques or hard-to-find ingredients to make something truly memorable. Just good chicken, a simple glaze, and a little patience while it bakes to sticky perfection.
I hope you give this recipe a try, and I hope you make it your own. Maybe you will add a little extra garlic, or a splash of lime, or a pinch of chili flakes. That is the beauty of a recipe like this—it is forgiving, adaptable, and always rewarding. And if you happen to grab the wrong bottle by accident, do not panic. You might just discover your new favorite dinner.
I would love to hear how these turn out for you. Drop a comment below and let me know if you tried any variations, or tag me in your photos if you share them online. Happy cooking, friends!
Frequently Asked Questions
Can I use chicken thighs instead of drumsticks?
Absolutely. Bone-in, skin-on thighs work beautifully with this recipe. The cooking time is about the same—start checking for doneness around 40 minutes. Boneless, skinless thighs will cook faster, so check them at 25 minutes.
Can I make this recipe in advance?
Yes. You can prep the seasoning and glaze up to 2 days ahead and store them separately in the fridge. You can also fully cook the drumsticks, let them cool, and reheat them in the oven when you are ready to serve. The glaze will soften slightly, but the flavor is still excellent.
How do I prevent the glaze from burning?
Keep an eye on the glaze while it simmers, and do not let it boil for too long. During baking, the two-layer method helps prevent burning because you are not adding all the sugar at once. If your oven runs hot, check the drumsticks a few minutes early.
Can I use chicken breasts instead of drumsticks?
You can, but I recommend butterflying the breasts so they cook evenly. Brush the glaze on during the last 10 minutes of baking to prevent burning. Chicken breasts cook faster than drumsticks, so start checking for doneness around 20 to 25 minutes.
Is this recipe freezer-friendly?
Yes. Let the cooked drumsticks cool completely, then place them in a freezer-safe bag or container. They will keep for up to 3 months. Thaw overnight in the refrigerator and reheat in a 350°F oven for about 10 to 15 minutes.
Pin This Recipe!
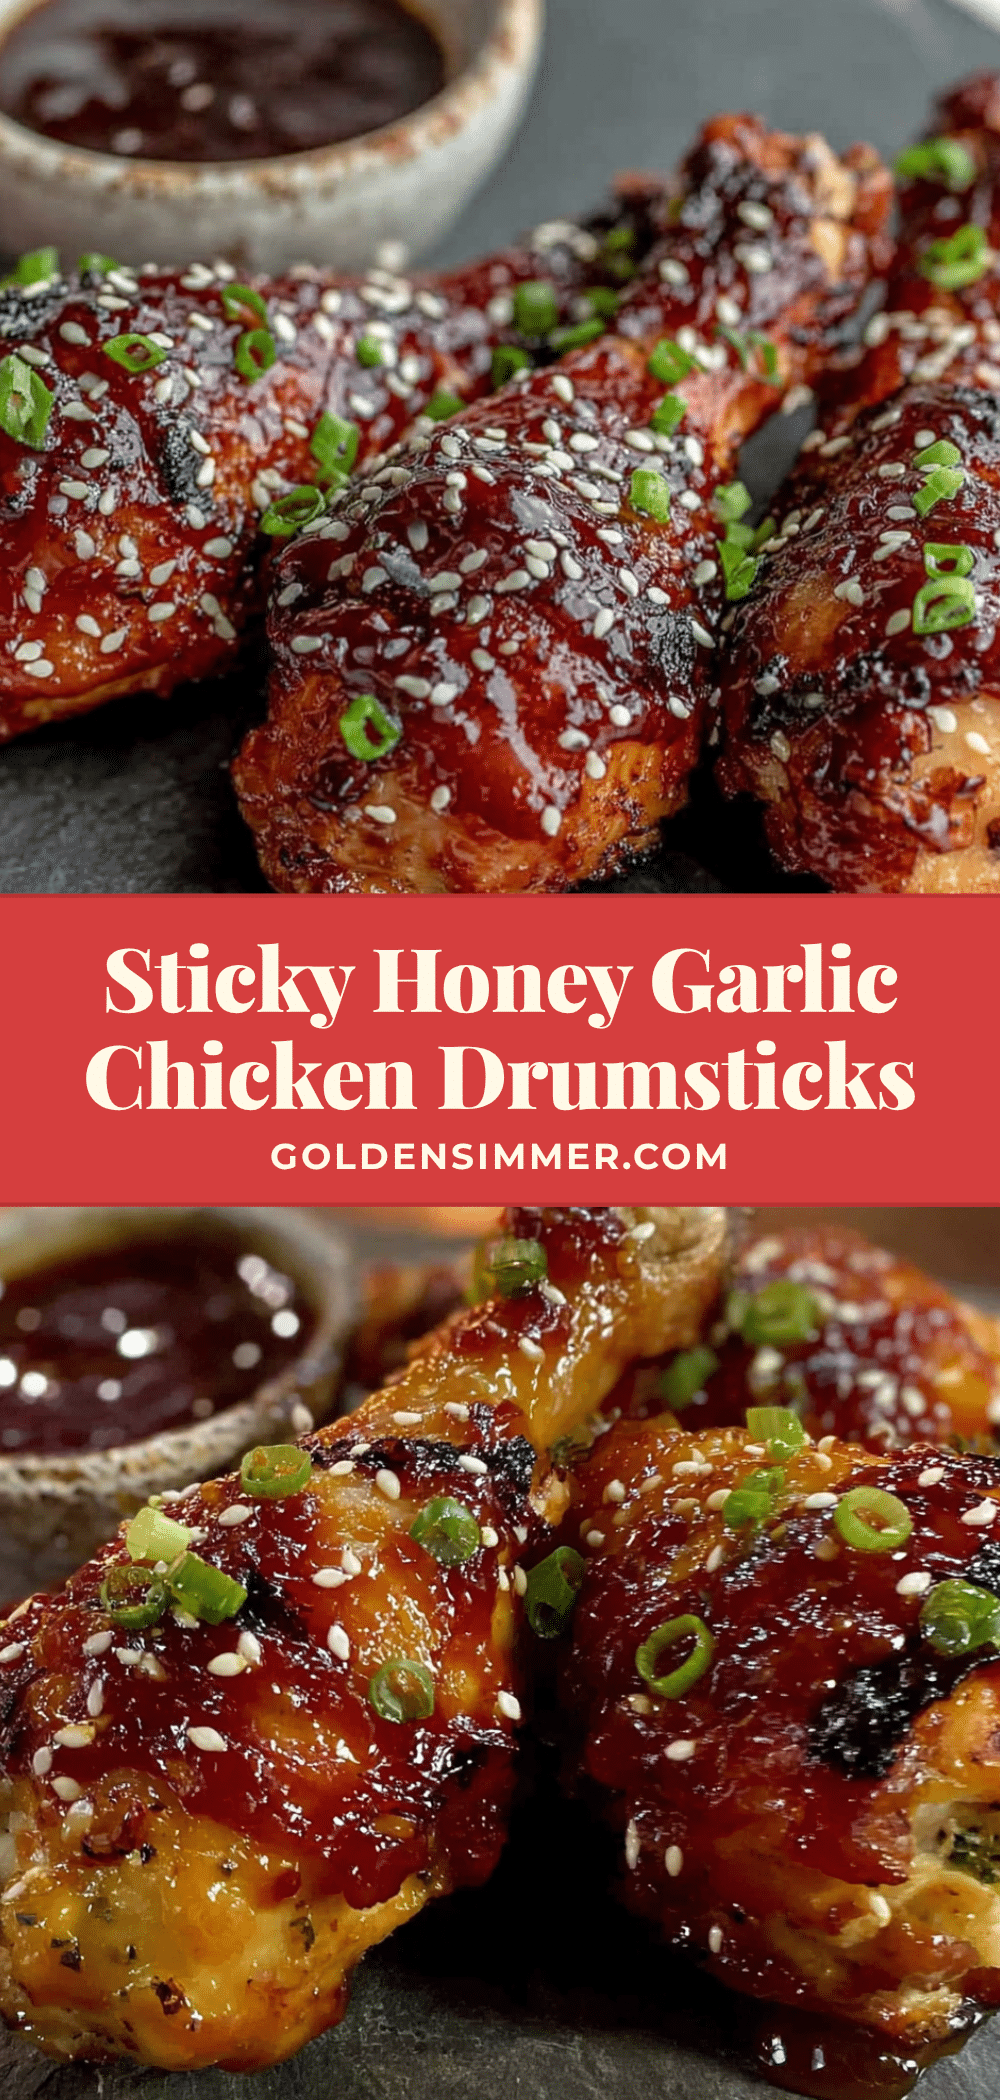
Easy Sticky Honey Garlic Chicken Drumsticks | Best Dinner
These sticky honey garlic chicken drumsticks are a happy accident turned weeknight favorite. With a glossy, caramelized glaze and juicy meat, they come together in about 45 minutes using simple pantry ingredients.
- Prep Time: 15 minutes
- Cook Time: 40 minutes
- Total Time: 55 minutes
- Yield: 4 servings 1x
- Category: Main Course
- Cuisine: American
Ingredients
- 8 chicken drumsticks (about 2 pounds)
- 1 tablespoon olive oil
- 1 teaspoon salt
- ½ teaspoon black pepper
- ½ teaspoon garlic powder
- ½ teaspoon paprika
- ⅓ cup honey
- ¼ cup low-sodium soy sauce
- 4 cloves garlic, minced
- 1 tablespoon rice vinegar
- 1 teaspoon sesame oil (optional)
- 1 tablespoon cornstarch mixed with 2 tablespoons water
- 2 green onions, sliced (for garnish)
- 1 tablespoon sesame seeds (for garnish)
Instructions
- Preheat your oven to 400°F (200°C). Line a baking sheet with foil or parchment paper and place a wire rack on top if available.
- Pat the drumsticks dry with paper towels.
- In a large mixing bowl, combine olive oil, salt, pepper, garlic powder, and paprika. Add drumsticks and toss until evenly coated.
- Arrange drumsticks in a single layer on the prepared baking sheet (or wire rack), leaving space between each.
- Bake for 25 minutes.
- While chicken bakes, combine honey, soy sauce, minced garlic, rice vinegar, and sesame oil in a small saucepan. Whisk and bring to a gentle simmer over medium heat. Cook for about 3 minutes, stirring occasionally, until slightly thickened. Whisk in the cornstarch slurry and cook for another minute until glossy. Remove from heat.
- After 25 minutes, remove baking sheet from oven. Brush a generous layer of glaze onto each drumstick. Reserve about half the glaze. Return to oven and bake for 10 minutes.
- Remove from oven again and brush on another layer of glaze. Bake for a final 5 to 10 minutes.
- Check for doneness: internal temperature should reach 165°F (74°C) in the thickest part.
- Let drumsticks rest on the pan for 5 minutes. Transfer to a serving platter, sprinkle with sliced green onions and sesame seeds, and serve warm.
Notes
Do not skip the two-layer glazing process for the best sticky coating. Dry drumsticks thoroughly for crispy skin. Let the chicken rest for 5 minutes before serving to allow the glaze to set. Double the glaze if serving a crowd.
Nutrition
- Serving Size: 2 drumsticks
- Calories: 385
- Sugar: 18
- Sodium: 720
- Fat: 18
- Saturated Fat: 5
- Carbohydrates: 22
- Protein: 32
Keywords: honey garlic chicken, sticky chicken drumsticks, easy chicken dinner, weeknight chicken, baked chicken drumsticks



