Love this? Save it for later!
Share the inspiration with your friends
My neighbor Carol wasn’t trying to impress anyone. I’d stopped by to return her measuring cups—the ones I’d borrowed three weeks prior and honestly kept forgetting about—and this warm, spiced smell hit me before I even got to her screen door. It was October, sure, but this wasn’t your typical pumpkin-everything situation. This was deeper. Richer. And there was something faintly sweet and nutty underneath it all.
Carol waved me in like it was nothing. “Oh, just using up some bananas,” she said, sliding a loaf pan onto the counter. Using up bananas. She made it sound like she’d thrown together a sandwich. Meanwhile, I was standing there practically drooling on her welcome mat. The loaf was golden brown, cracked right down the middle in that perfect bakery way, and studded with walnuts that looked almost candied on top. She cut me a slice while it was still warm, and let me tell you—I nearly asked if I could just move in.
That first bite had this unexpected softness. The pumpkin made it incredibly moist, but the bananas brought this natural sweetness that didn’t need much help. And the walnuts? They added this little crunch that kept every bite interesting. I stood there in her kitchen, eating slice after slice, while Carol told me about her week. She didn’t even seem to realize she’d made something extraordinary. That’s the thing about the best recipes, you know? They come from people who aren’t trying to show off. They’re just making something good because it’s Tuesday.
I asked for the recipe before I left, and she scribbled it on a scrap of envelope. It was one bowl. One bowl! No stand mixer, no sifting, no nonsense. I’ve been making it ever since, and I’ve tweaked it just enough to call it my own. But the soul of it? That’s all Carol, standing in her cozy kitchen, not making a big deal out of something that absolutely was. Maybe you’ve been there—finding a recipe that feels like a secret worth sharing. This is that recipe.
Why You’ll Love This Recipe
Let’s be honest—baking can sometimes feel like a science experiment with too many steps and too much cleanup. This easy one-bowl pumpkin banana bread with walnuts flips that script completely. It’s the kind of recipe that makes you wonder why you ever stressed about banana bread in the first place.
- Quick & Easy: From start to oven in about 10 minutes. Seriously. One bowl, a spatula, and you’re done with the prep. Perfect for those mornings when you need something homemade but don’t have two hours to spend in the kitchen.
- Simple Ingredients: You probably already have most of this in your pantry. Canned pumpkin, ripe bananas, flour, sugar, eggs, oil, and walnuts. No trips to a specialty store required.
- Perfect for Fall Mornings: This bread was made for cozy October and November days. It pairs beautifully with coffee, makes an excellent breakfast, and nobody will judge you for having a slice as an afternoon snack.
- Crowd-Pleaser: I’ve brought this to brunches, potlucks, and even a book club meeting. It disappears fast. Kids love it, adults love it, and people always ask for the recipe.
- Unbelievably Moist: The combination of pumpkin and banana creates a texture that’s almost pudding-like in its tenderness. It stays moist for days—if it lasts that long.
What makes this version different from the rest? It’s the balance. A lot of pumpkin breads are too dense or too dry. A lot of banana breads are one-note sweet. This one hits that perfect middle ground where the pumpkin adds richness without overpowering, and the banana keeps everything soft and naturally sweet. Plus, the walnuts give it that little edge—a toasty crunch that makes every slice feel complete.
This isn’t just good bread. It’s the kind that makes you close your eyes after the first bite. It’s comfort food for fall, simplified. No stress, no fuss, just really good homemade bread that tastes like you spent hours on it.
What Ingredients You Will Need
This recipe uses simple, wholesome ingredients to deliver bold flavor and satisfying texture without the fuss. Most of these are pantry staples, which makes this bread an easy last-minute bake whenever the craving hits.
For the Bread
- 1 ½ cups all-purpose flour (195g) – Spoon and level for accuracy. You can substitute half with whole wheat pastry flour for a heartier texture.
- 1 teaspoon baking soda – Make sure it’s fresh. Old baking soda won’t give you that nice rise.
- ½ teaspoon baking powder – Adds a little extra lift.
- 1 teaspoon ground cinnamon – The backbone of the spice blend. I prefer McCormick for consistent flavor.
- ½ teaspoon ground nutmeg – Freshly grated if you have it, but pre-ground works perfectly.
- ½ teaspoon ground ginger – Adds warmth without being overpowering.
- ¼ teaspoon ground cloves – Just a hint. It goes a long way.
- ½ teaspoon salt – Balances the sweetness and enhances the other flavors.
- 1 cup canned pumpkin puree (245g) – Not pumpkin pie filling. Make sure it’s 100% pure pumpkin. Libby’s is my go-to brand for consistent thickness.
- 2 large ripe bananas, mashed (about 1 cup or 225g) – The riper, the better. Spotty brown bananas are ideal for maximum sweetness and moisture.
- ½ cup granulated sugar (100g) – Adds sweetness and helps with browning.
- ¼ cup brown sugar, packed (50g) – Light or dark works. Dark brown sugar adds more molasses depth.
- 2 large eggs – Room temperature if possible. Cold eggs can seize the batter slightly.
- ⅓ cup vegetable oil (80ml) – Or any neutral oil like canola or avocado. Melted coconut oil also works beautifully.
- 1 teaspoon vanilla extract – Pure vanilla, not imitation, for the best flavor.
- ¾ cup chopped walnuts (85g) – Plus a few extra whole or halved pieces for topping. Toast them lightly beforehand for deeper flavor.
Ingredient Selection Tips
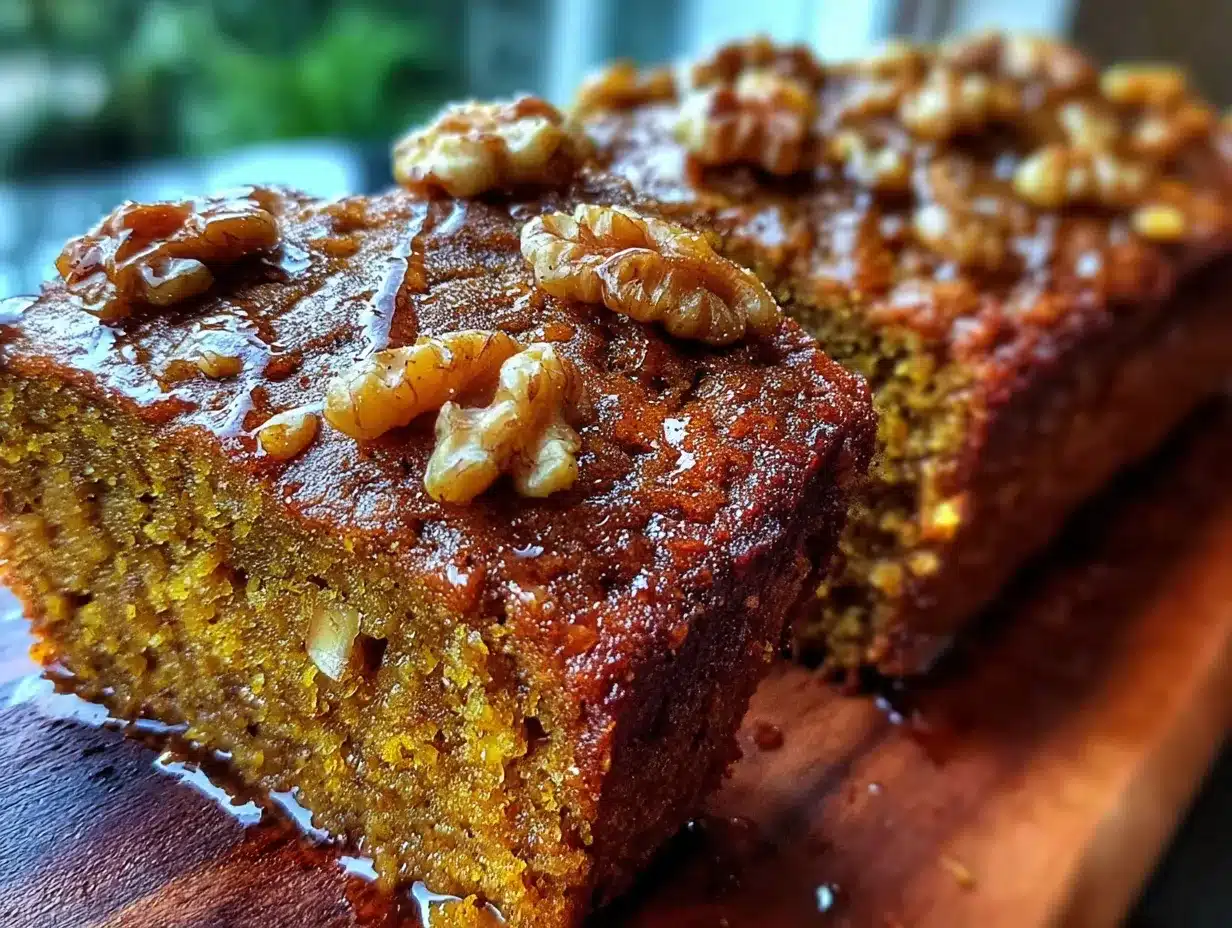
For the best texture, look for bananas that are heavily speckled with brown spots. They should be soft to the touch but not completely mushy or fermented. If your bananas aren’t ripe enough, you can speed things up by placing them on a baking sheet in a 300°F oven for 15–20 minutes until the skins darken.
When choosing canned pumpkin, avoid the brands that are too watery. Libby’s is consistently thick and doesn’t require draining. If your pumpkin puree seems watery, blot it gently with a paper towel before adding it to the batter.
For the walnuts, I recommend buying raw halves and chopping them yourself. Pre-chopped walnuts can be dusty and less flavorful. Toasting them in a dry skillet over medium heat for 3–4 minutes brings out their natural oils and makes them infinitely more delicious.
Substitution Guidance
- Gluten-free option: Use a 1:1 gluten-free baking flour blend containing xanthan gum. King Arthur Measure for Measure works well here.
- Dairy-free: This recipe is already dairy-free as written, since it uses oil instead of butter.
- Nut-free: Omit the walnuts or substitute with pepitas (pumpkin seeds) or sunflower seeds for a similar crunch.
- Lower sugar: Reduce the granulated sugar to ⅓ cup and use very ripe bananas for natural sweetness.
Equipment Needed
One of the best things about this recipe is how little equipment it requires. You don’t need a stand mixer, a food processor, or any fancy gadgets. Here’s what you’ll need:
- Large mixing bowl – Any medium-to-large bowl will do. I use a ceramic one that’s wide enough to mix without splashing.
- Wooden spoon or rubber spatula – A spatula is ideal for scraping the sides and folding in the walnuts gently.
- 9×5-inch loaf pan – Standard size. If you use an 8×4-inch pan, your bread will be taller and可能需要 bake a few minutes longer. If you use a 9×5, it will be slightly shorter but bake more evenly.
- Parchment paper – Not strictly required, but it makes lifting the bread out so much easier. I never skip it.
- Measuring cups and spoons – For dry and wet ingredients. A kitchen scale is even better for accuracy.
- Cooling rack – Lets air circulate around the bread so it doesn’t get soggy on the bottom.
- Fork or potato masher – For mashing the bananas. I just use a fork, but a masher works fine too.
If you don’t have parchment paper, you can grease the pan thoroughly with butter or oil and dust it lightly with flour. It won’t be quite as easy to remove, but it’ll still work. I’ve used both methods plenty of times, and honestly, parchment is worth the tiny investment.
Preparation Method
This is where the magic happens. Follow these steps, and you’ll have a beautiful loaf of pumpkin banana bread with walnuts in about an hour. The key is not to overmix—trust me on this one.
- Preheat your oven to 350°F (175°C). Position the rack in the center of the oven. Line your 9×5-inch loaf pan with parchment paper, leaving some overhang on the long sides. This creates little handles for lifting the bread out later. Lightly grease the parchment with cooking spray or a dab of oil.
- Mash the bananas in your large mixing bowl. Use a fork or potato masher until they’re mostly smooth with a few small lumps remaining. You want some texture, not baby food. This should take about 30 seconds.
- Add the wet ingredients to the bowl. To the mashed bananas, add the pumpkin puree, granulated sugar, brown sugar, eggs, vegetable oil, and vanilla extract. Stir with your spatula or wooden spoon until everything is well combined. It should look smooth and slightly glossy. Don’t worry if it seems thin—that’s normal.
- Add the dry ingredients directly on top. Sprinkle the flour, baking soda, baking powder, cinnamon, nutmeg, ginger, cloves, and salt over the wet mixture. Do NOT stir yet. This method helps prevent overmixing.
- Fold the dry ingredients into the wet. Use a gentle folding motion—cut through the center of the batter, scrape along the bottom, and bring the spatula up and over. Rotate the bowl as you go. Stop as soon as you no longer see streaks of flour. A few small lumps are totally fine. Overmixing at this stage will make the bread tough and dense. I speak from experience—I ruined my first batch by stirring too enthusiastically.
- Fold in the chopped walnuts. Gently incorporate them with just a few strokes. Reserve about 2 tablespoons of walnuts for the top if you want a prettier presentation.
- Pour the batter into the prepared loaf pan. Use your spatula to scrape every last bit out. Smooth the top gently. Sprinkle the reserved walnuts evenly over the surface, pressing them in slightly so they stick.
- Bake for 50–60 minutes. Start checking at the 50-minute mark. The bread is done when a toothpick inserted into the center comes out clean or with just a few moist crumbs attached. If the top is browning too quickly (around 40 minutes), tent the pan loosely with aluminum foil.
- Cool in the pan for 15 minutes. Set the pan on a cooling rack. This resting time allows the bread to firm up so it doesn’t fall apart when you remove it.
- Lift the bread out using the parchment handles. Transfer it to the cooling rack and let it cool completely before slicing. I know it’s tempting to cut into it warm, but it will be very fragile. If you absolutely can’t wait (I’ve been there), use a serrated knife and gentle sawing motions.
Sensory cues: The batter should be thick but scoopable, like a dense muffin batter. When it’s done, the bread will be deeply golden brown, the kitchen will smell like autumn, and the top will have a beautiful cracked dome. The walnuts on top should look toasted and fragrant.
Cooking Tips & Techniques
After making this recipe more times than I can count, I’ve picked up a few tricks that make a real difference. Here are the ones worth knowing:
Don’t overmix the batter. This is the number one mistake people make with quick breads. Mix until the flour just disappears. Those little lumps are your friends. Overmixing develops gluten, and too much gluten makes bread tough and rubbery. I learned this the hard way when I made a batch that came out more like a doorstop than a loaf.
Toast your walnuts. This is a small step that makes a huge difference. Spread the walnuts on a baking sheet and toast them at 350°F for 5–7 minutes until they smell nutty and are slightly darker. Let them cool before adding to the batter. Toasted walnuts have a deeper, richer flavor that elevates the whole bread.
Use room temperature eggs. Cold eggs can cause the batter to seize up slightly, making it harder to mix evenly. If you forgot to take them out of the fridge, place them in a bowl of warm water for 5 minutes. Problem solved.
Check for doneness with a thermometer. If you’re unsure about the toothpick test, an instant-read thermometer is foolproof. The internal temperature of the bread should be around 200°F to 205°F (93°C to 96°C) when it’s fully baked.
Let it cool completely. I know I said this already, but it bears repeating. Cutting into warm bread releases steam too quickly, and the texture becomes gummy. Patience pays off here. Give it at least an hour on the cooling rack.
Multitasking strategy: While the bread is baking, clean up your one bowl and spatula. That’s literally all the dishes you’ll have. By the time the bread is done, your kitchen will be spotless. It’s a beautiful thing.
Variations & Adaptations
This recipe is incredibly forgiving and adaptable. Here are some variations I’ve tried and loved:
Chocolate Chip Pumpkin Banana Bread
Fold in ½ cup of semi-sweet or dark chocolate chips along with the walnuts. The chocolate adds a lovely richness that pairs beautifully with the pumpkin and banana. I’ve also used white chocolate chips for a sweeter, creamier version.
Spiced Pecan Version
Swap the walnuts for pecans and add an extra ½ teaspoon of pumpkin pie spice to the dry ingredients. Pecans have a buttery flavor that works wonderfully with the warm spices. Toast them first just like the walnuts.
Gluten-Free Adaptation
Use a 1:1 gluten-free baking flour blend. I’ve tested this with King Arthur Measure for Measure and it worked perfectly. The texture is slightly more tender but still holds together beautifully. Add an extra tablespoon of flour if the batter seems too thin.
Vegan Option
Replace the eggs with two flax eggs (2 tablespoons ground flaxseed mixed with 6 tablespoons water, let sit for 5 minutes). Use coconut oil or another plant-based oil. The bread will be slightly denser but still delicious and moist.
Lower Sugar Version
Reduce the granulated sugar to ¼ cup and use very ripe, spotty bananas. The natural sweetness from the bananas will carry the flavor. You can also substitute the brown sugar with coconut sugar for a lower glycemic option.
I once made a batch with dried cranberries and orange zest added to the batter. It was an experiment born from a half-empty pantry, and honestly? It was incredible. The tartness of the cranberries cut through the sweetness perfectly. Don’t be afraid to play around.
Serving & Storage Suggestions
This bread is incredibly versatile when it comes to serving. Here’s how I enjoy it:
Serving temperature: This bread is delicious at room temperature, but I actually prefer it slightly warm. Pop a slice in the microwave for 10–15 seconds, or warm it in a 300°F oven for 5 minutes. The warmth brings out the spices and makes the texture even more tender.
Presentation ideas: For a simple but pretty presentation, slice the bread and arrange it on a wooden board. Sprinkle a little flaky sea salt on top—it sounds weird, but the salt really enhances the sweetness. A pat of salted butter on a warm slice is also a classic move that never fails.
Complementary dishes and beverages: This bread is perfect with a hot cup of coffee, chai tea, or a spiced latte. For a more substantial breakfast, serve it alongside scrambled eggs and fresh fruit. It also makes a great dessert when served with a dollop of whipped cream or a scoop of vanilla ice cream.
Storage instructions: Store the bread in an airtight container at room temperature for up to 4 days. To keep it extra moist, wrap it tightly in plastic wrap before placing it in the container. Do not refrigerate—the cold air will dry it out.
Freezing instructions: This bread freezes beautifully. Wrap the cooled loaf (or individual slices) tightly in plastic wrap, then in a layer of aluminum foil. Freeze for up to 3 months. To thaw, leave it at room temperature for a few hours, or microwave individual slices for 20–30 seconds.
How flavors develop: Honestly, this bread tastes even better on day two. The spices have time to meld, and the moisture from the pumpkin and banana distributes more evenly throughout the loaf. If you can manage to wait, make it a day ahead for the best flavor.
Nutritional Information & Benefits
Here’s an approximate nutritional breakdown for one slice (based on 10 slices per loaf):
| Nutrient | Amount per Slice |
|---|---|
| Calories | 285 |
| Total Fat | 14g |
| Saturated Fat | 2g |
| Cholesterol | 37mg |
| Sodium | 298mg |
| Total Carbohydrates | 37g |
| Dietary Fiber | 3g |
| Sugars | 19g |
| Protein | 5g |
This bread offers some solid nutritional benefits. Pumpkin is packed with vitamin A and fiber, which supports eye health and digestion. Bananas provide potassium and natural sweetness, reducing the need for added sugar. Walnuts are an excellent source of omega-3 fatty acids, which are great for heart health.
Dietary considerations: This recipe is naturally dairy-free. For gluten-free and vegan options, see the variations section above. Be aware that this recipe contains tree nuts (walnuts) and gluten (if using regular flour).
I love that this bread feels indulgent but has some redeeming qualities. It’s not health food by any stretch, but it’s made with real ingredients and no artificial anything. That counts for a lot in my book.
Conclusion
This easy one-bowl pumpkin banana bread with walnuts has become a staple in my kitchen, and I have a feeling it will become one in yours too. It’s the kind of recipe that delivers every single time—moist, flavorful, and incredibly simple to make. One bowl, a handful of pantry ingredients, and about an hour is all you need.
What I love most about this bread is how adaptable it is. Make it your own. Add chocolate chips, swap the nuts, play with the spices. The base recipe is so solid that you can experiment without fear. And honestly? That’s the best kind of recipe to have in your back pocket.
I’d love to hear how yours turns out. Did you try a variation? Did your family love it? Drop a comment below and let me know. And if you share it on social media, tag me—I love seeing your bakes. Happy baking, friends!
Frequently Asked Questions
Can I use fresh pumpkin instead of canned?
Yes, you can. Roast a small sugar pumpkin until tender, then puree the flesh. Just be aware that fresh pumpkin puree can be more watery than canned. Drain it in a fine-mesh strainer lined with cheesecloth for about 30 minutes before using to remove excess moisture.
Why did my bread sink in the middle?
This usually happens for one of two reasons: the bread was underbaked, or the oven temperature was too low. Make sure your oven is properly preheated to 350°F, and always test for doneness with a toothpick or thermometer before pulling it out. Opening the oven door too early can also cause sinking.
Can I make this into muffins instead of a loaf?
Absolutely. Grease a 12-cup muffin tin or line it with paper liners. Fill each cup about ¾ full. Bake at 350°F for 18–22 minutes, or until a toothpick inserted into the center of a muffin comes out clean. This will yield about 12 muffins.
How do I know when my bananas are ripe enough?
Look for bananas with lots of brown spots on the peel. They should be soft to the touch and smell sweet. If they’re still yellow with green tips, they’re not ready. You can speed up ripening by placing them in a paper bag with an apple overnight.
Can I skip the walnuts?
Of course. The bread will still be delicious without them. If you want some texture, try adding pepitas (pumpkin seeds), sunflower seeds, or even rolled oats on top for a different kind of crunch.
Pin This Recipe!
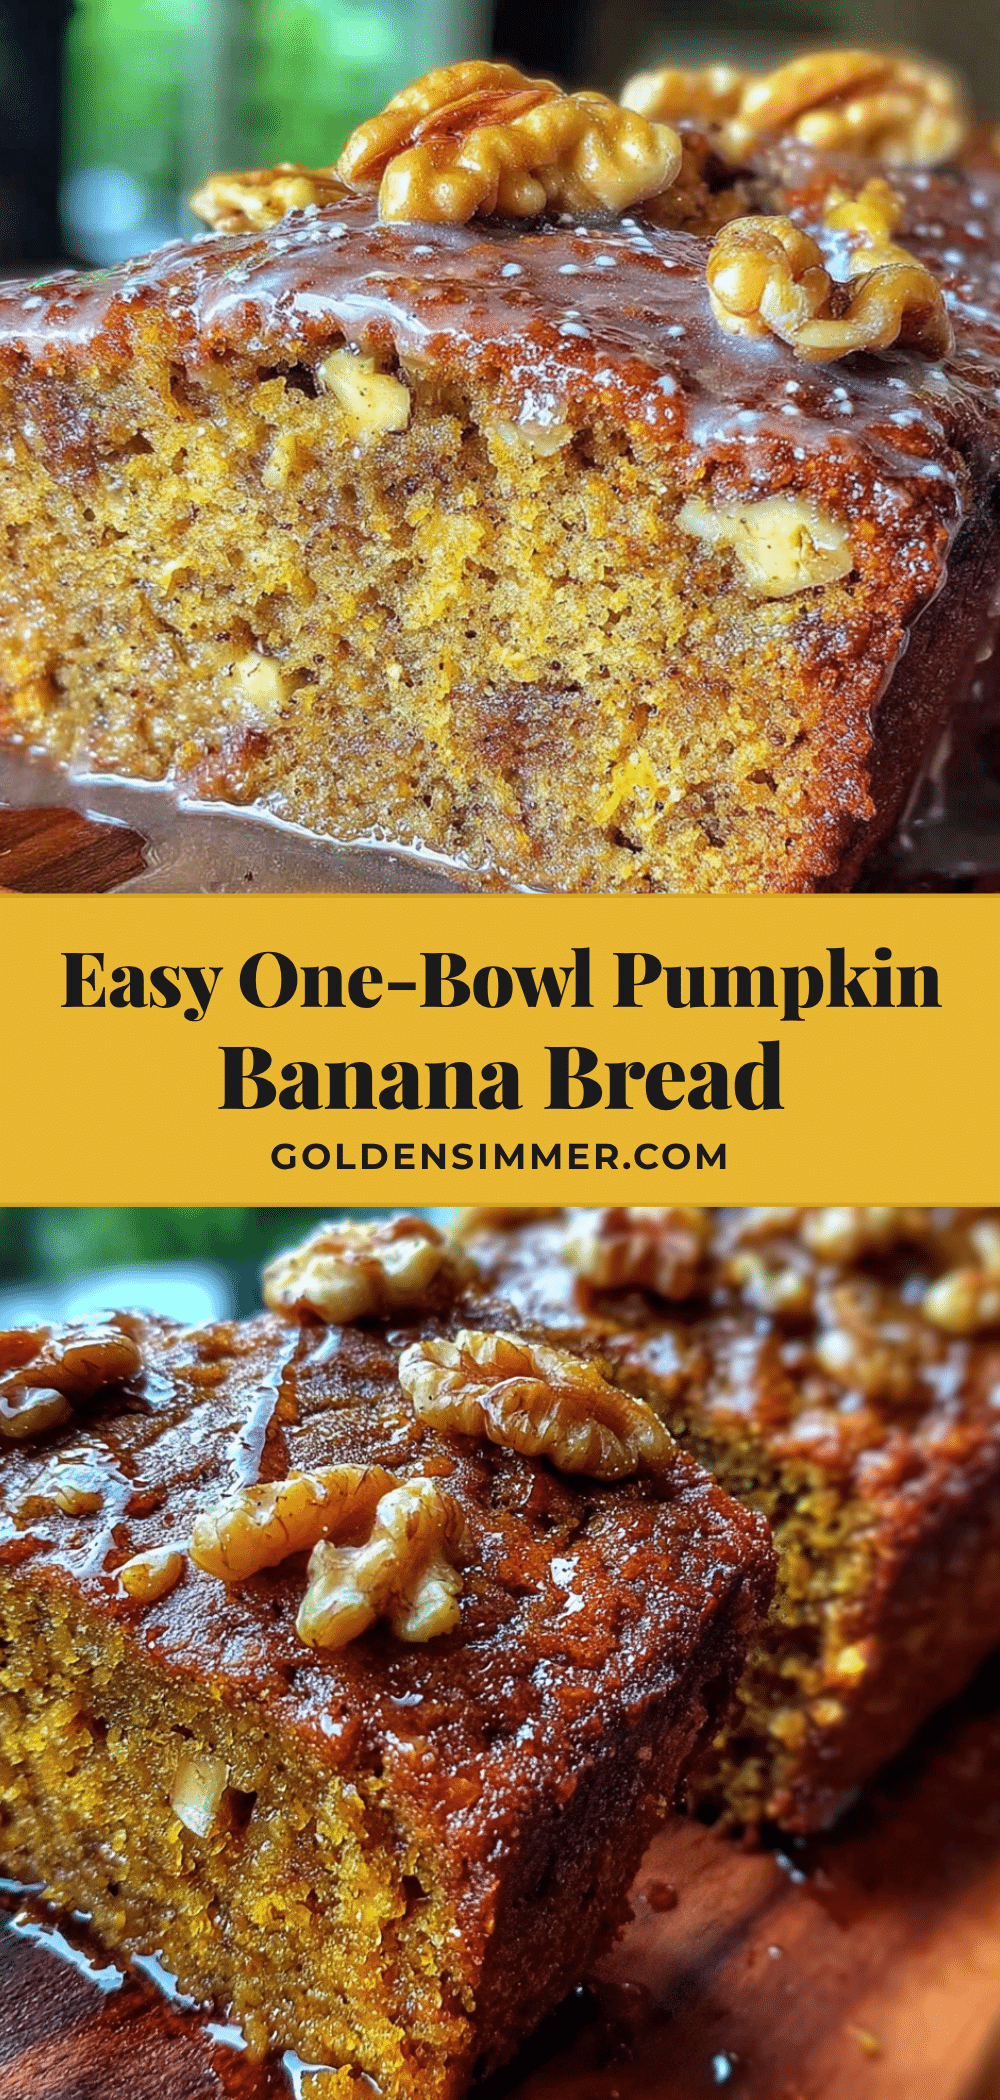
Easy One-Bowl Pumpkin Banana Bread with Walnuts
This easy one-bowl pumpkin banana bread with walnuts is incredibly moist, flavorful, and simple to make. It’s the perfect fall treat that comes together in about 10 minutes of prep and tastes even better the next day.
- Prep Time: 10 minutes
- Cook Time: 55 minutes
- Total Time: 1 hour 5 minutes
- Yield: 10 servings 1x
- Category: Bread
- Cuisine: American
Ingredients
- 1 ½ cups all-purpose flour (195g)
- 1 teaspoon baking soda
- ½ teaspoon baking powder
- 1 teaspoon ground cinnamon
- ½ teaspoon ground nutmeg
- ½ teaspoon ground ginger
- ¼ teaspoon ground cloves
- ½ teaspoon salt
- 1 cup canned pumpkin puree (245g)
- 2 large ripe bananas, mashed (about 1 cup or 225g)
- ½ cup granulated sugar (100g)
- ¼ cup brown sugar, packed (50g)
- 2 large eggs
- ⅓ cup vegetable oil (80ml)
- 1 teaspoon vanilla extract
- ¾ cup chopped walnuts (85g)
Instructions
- Preheat your oven to 350°F (175°C). Position the rack in the center of the oven. Line your 9×5-inch loaf pan with parchment paper, leaving some overhang on the long sides. Lightly grease the parchment with cooking spray or a dab of oil.
- Mash the bananas in your large mixing bowl using a fork or potato masher until mostly smooth with a few small lumps remaining.
- Add the wet ingredients to the bowl: pumpkin puree, granulated sugar, brown sugar, eggs, vegetable oil, and vanilla extract. Stir until well combined and smooth.
- Add the dry ingredients directly on top: flour, baking soda, baking powder, cinnamon, nutmeg, ginger, cloves, and salt. Do not stir yet.
- Fold the dry ingredients into the wet using a gentle folding motion until no streaks of flour remain. Do not overmix.
- Fold in the chopped walnuts, reserving about 2 tablespoons for the top.
- Pour the batter into the prepared loaf pan. Smooth the top and sprinkle reserved walnuts on top, pressing them in slightly.
- Bake for 50–60 minutes, until a toothpick inserted into the center comes out clean or with a few moist crumbs. If the top browns too quickly, tent with foil.
- Cool in the pan for 15 minutes, then lift out using the parchment handles and transfer to a cooling rack. Cool completely before slicing.
Notes
Don’t overmix the batter to avoid tough bread. Toast walnuts for deeper flavor. Use room temperature eggs. Let bread cool completely before slicing for best texture. Bread tastes even better on day two.
Nutrition
- Serving Size: 1 slice
- Calories: 285
- Sugar: 19
- Sodium: 298
- Fat: 14
- Saturated Fat: 2
- Carbohydrates: 37
- Fiber: 3
- Protein: 5
Keywords: pumpkin banana bread, one bowl banana bread, easy pumpkin bread, fall baking, walnut banana bread



