Love this? Save it for later!
Share the inspiration with your friends
My neighbor, a retired baker named Edna, watched me one October afternoon as I was trying to wrangle a squirming toddler, a bag of flour, and a very determined pumpkin that had rolled off the counter. She didn’t say anything at first. Then she just walked over, picked up the pumpkin, and said, “You’re making this harder than it needs to be, honey.” She didn’t offer to help with the toddler—she just started pulling ingredients from my own pantry. Within ten minutes, she had a single bowl out, a wooden spoon in her hand, and a batter that smelled like fall. “No mixer,” she said, handing me the spoon. “Less to wash. More time to sit.”
Honestly, I was skeptical. Pumpkin cookies I’d made before were always a bit of a project—creaming butter, dragging out the stand mixer, dirtying every bowl I owned. But Edna’s way was different. She didn’t measure perfectly. She used a coffee cup for the flour and a soup spoon for the vanilla. She forgot the salt at first, scraped it in halfway through, and just laughed. “It’ll be fine,” she said. And you know what? They were more than fine. They were the softest, most perfectly spiced pumpkin cookies I’d ever had, with melty chocolate chips in every bite.
That moment stuck with me. Not just because the cookies were good—though, let me tell you, they were—but because Edna made it feel like cooking could be easy again. No fuss, no stress, just good food made with what you have. Maybe you’ve been there, standing in a messy kitchen wondering why a simple cookie recipe needs three bowls and a mixer. This recipe is for those days. One bowl, one spoon, and a promise that you’ll be eating warm pumpkin chocolate chip cookies in under thirty minutes. I’ve been making them ever since, and they’ve never let me down.
Why You’ll Love This Recipe
Let’s be real for a second. I’ve tested a lot of pumpkin cookie recipes over the years, and most of them fall into one of two camps: they’re either dry and cakey, or they require a sink full of dishes. This one is neither. These cookies come out soft, almost pillowy, with a tender crumb that stays moist for days. The chocolate chips melt into little pools of richness that balance the warm pumpkin spice perfectly.
- Quick & Easy: From start to finish, you’re looking at about 25 minutes. No chilling the dough, no waiting for butter to soften—just mix, scoop, and bake.
- Simple Ingredients: You probably have most of these in your pantry right now. Canned pumpkin, flour, sugar, eggs, chocolate chips—nothing fancy required.
- Perfect for Fall Baking: Whether it’s a weekday treat or a Thanksgiving dessert table addition, these cookies scream autumn without the hassle.
- Crowd-Pleaser: I’ve brought these to potlucks, school events, and family dinners. Kids grab them by the handful, and adults always ask for the recipe.
- Unbelievably Delicious: The texture is what gets people. They’re not quite cake, not quite cookie—somewhere in that magical middle where everything tastes better.
What makes this recipe different is the method. Most pumpkin cookie recipes have you cream butter and sugar, which requires a mixer. Here, we use oil instead of butter, which means you can stir everything together by hand in one bowl. No mixer, no extra dishes, no fuss. The oil keeps the cookies incredibly moist, and the pumpkin adds so much flavor that you won’t miss the butter at all. Plus, the one-bowl cleanup is a game-changer for busy evenings.
What Ingredients You Will Need
This recipe uses simple, wholesome ingredients to deliver bold flavor and satisfying texture without the fuss. Most of these are pantry staples, especially if you keep canned pumpkin on hand during the fall months. Here’s what you’ll need:
For the Cookie Dough
- All-purpose flour – 1 ¾ cups (220g). Spoon and level your flour for the best results. Scooping directly from the bag can pack it down and make your cookies dry.
- Baking soda – 1 teaspoon. This helps the cookies rise and stay soft.
- Baking powder – ½ teaspoon. Adds a little extra lift.
- Ground cinnamon – 1 ½ teaspoons. The backbone of pumpkin spice.
- Ground nutmeg – ½ teaspoon. Freshly grated if you have it, but pre-ground works fine.
- Ground ginger – ¼ teaspoon. Adds a subtle warmth.
- Ground cloves – ¼ teaspoon. A little goes a long way.
- Salt – ½ teaspoon. Balances the sweetness and brings out the pumpkin flavor.
- Granulated sugar – ¾ cup (150g). For sweetness and structure.
- Brown sugar – ½ cup (100g), packed. Adds moisture and a hint of molasses flavor.
- Pumpkin purée – 1 cup (245g). Make sure you’re using 100% pumpkin purée, not pumpkin pie filling. I usually go with Libby’s—it’s consistent and never watery.
- Vegetable oil – ½ cup (120ml). Use a neutral oil like canola or avocado. Olive oil will overpower the pumpkin.
- Large egg – 1, at room temperature. If your egg is cold, place it in a bowl of warm water for five minutes.
- Vanilla extract – 1 teaspoon. Pure vanilla is best, but imitation works in a pinch.
For the Mix-Ins
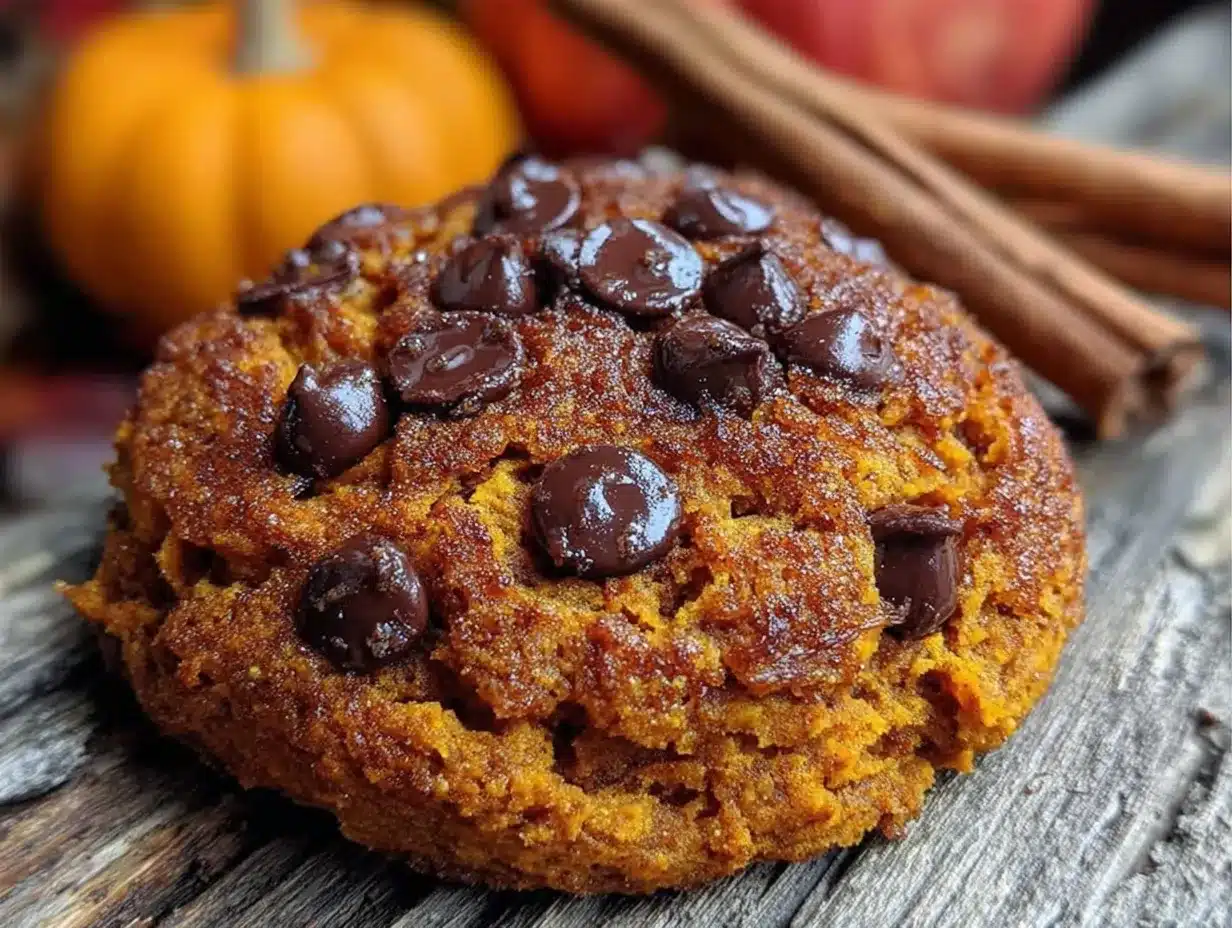
- Semi-sweet chocolate chips – 1 cup (175g). I prefer Ghirardelli or Toll House for even melting. You can also use dark chocolate or milk chocolate depending on your preference.
- Optional: Extra chocolate chips for topping – A handful. Press a few onto the tops of the cookie dough balls before baking for that bakery-style look.
Substitution Notes
If you’re out of an ingredient, don’t panic. You can swap the all-purpose flour with a 1:1 gluten-free baking flour blend for a gluten-free version. Use coconut oil (melted and cooled) instead of vegetable oil, though the texture will be slightly different. For a dairy-free option, this recipe is already dairy-free since we’re using oil instead of butter. Just double-check your chocolate chips—some brands contain milk solids.
Equipment Needed
The beauty of this recipe is that you don’t need much. Here’s what you’ll want to have on hand:
- Large mixing bowl – One is all you need. I use a standard ceramic or glass bowl, but anything works.
- Wooden spoon or rubber spatula – For mixing everything together. A wooden spoon gives you a bit more leverage for the thicker dough.
- Measuring cups and spoons – For dry and wet ingredients. A liquid measuring cup with a spout is handy for the oil and vanilla.
- Baking sheet – One standard half-sheet pan (18×13 inches) works perfectly. Line it with parchment paper for easy cleanup.
- Cookie scoop or tablespoon – A 1.5-tablespoon cookie scoop makes uniform balls. If you don’t have one, just use two spoons to drop the dough.
- Cooling rack – Lets the cookies cool evenly and prevents soggy bottoms.
If you don’t have a cookie scoop, honestly, a regular tablespoon works fine. I used one for years before I finally bought a scoop at a dollar store. The cookies won’t be perfectly round, but they’ll taste exactly the same. Also, if you don’t have parchment paper, you can grease the baking sheet lightly with cooking spray. Just watch the bottoms—they might brown a bit faster.
Preparation Method
Alright, let’s get to it. This is the easiest cookie dough you’ll ever make, I promise.
- Preheat your oven to 350°F (175°C). Line a baking sheet with parchment paper and set it aside. If you’re making two batches, you can prep the second sheet while the first batch bakes.
- Whisk the dry ingredients together. In your large mixing bowl, add the flour, baking soda, baking powder, cinnamon, nutmeg, ginger, cloves, and salt. Give it a good whisk until everything is evenly combined. This takes about 30 seconds. You want the spices distributed so you don’t get a pocket of cinnamon in one cookie.
- Add the sugars. Pour in the granulated sugar and brown sugar. Whisk them into the flour mixture until there are no lumps. The brown sugar might clump a bit—just break it up with your fingers or the whisk.
- Make a well in the center. Push the dry ingredients to the sides of the bowl to create a little crater. This is where the wet ingredients will go.
- Add the wet ingredients. Pour the pumpkin purée, vegetable oil, egg, and vanilla extract into the well. Don’t dump them on top of the dry ingredients—keep them in the center for easier mixing.
- Stir everything together. Using your wooden spoon or spatula, stir in a circular motion, gradually incorporating the dry ingredients into the wet. Start from the center and work your way outward. The dough will be thick and a little sticky—that’s normal. Stop mixing as soon as you no longer see streaks of flour. Overmixing will make the cookies tough.
- Fold in the chocolate chips. Pour the chocolate chips on top of the dough and fold them in with a few gentle strokes. Don’t overdo it—just until they’re evenly distributed. If you want, reserve a handful to press onto the tops of the dough balls later.
- Scoop the dough. Use your cookie scoop or a tablespoon to drop rounded balls of dough onto the prepared baking sheet. Space them about 2 inches apart—they will spread a little, but not too much. If you’re using a tablespoon, aim for about 1.5 tablespoons of dough per cookie.
- Optional: Top with extra chocolate chips. Press 3-4 chocolate chips onto the top of each dough ball. This makes the cookies look prettier and ensures every bite has chocolate.
- Bake for 10-12 minutes. Place the baking sheet on the center rack. Bake until the edges are set and lightly golden, but the centers still look soft and slightly underdone. That’s the secret to soft cookies—don’t wait for the centers to look fully baked. At 10 minutes, they’ll be very soft; at 12 minutes, they’ll be a bit firmer but still tender.
- Cool on the baking sheet. Let the cookies rest on the hot baking sheet for 5 minutes. This allows them to set up without overbaking. After 5 minutes, transfer them to a cooling rack to cool completely. If you try to move them too soon, they’ll fall apart.
- Repeat with remaining dough. If you’re baking in batches, let the baking sheet cool down before scooping the next batch. A hot sheet will cause the dough to spread too much.
Cooking Tips & Techniques
I’ve made these cookies probably fifty times by now, and I’ve learned a few things the hard way. First, don’t skip the step of whisking the dry ingredients together. I know it seems like an extra step, but if you just dump everything in and stir, you’ll end up with a bite that’s pure baking soda. Not pleasant.
Second, use room temperature ingredients. The egg especially—if it’s cold, it’ll seize up the oil and make the dough harder to mix. I learned this when I was rushing one evening and just cracked a cold egg straight from the fridge. The dough turned out lumpy, and the cookies were uneven. Just let your egg sit on the counter for 15 minutes, or warm it in a bowl of water for 5 minutes.
Third, don’t overbake. This is the most common mistake with pumpkin cookies. Because the dough is wetter than regular cookie dough, it’s easy to think they need more time. They don’t. Pull them out when the edges are set and the centers look slightly underdone. They’ll continue cooking on the hot baking sheet. I’ve ruined batches by leaving them in just two extra minutes—they go from soft to dry really fast.
Fourth, if your pumpkin purée seems watery, blot it with a paper towel before adding it to the bowl. Some brands are more watery than others, and too much moisture will make the cookies spread into flat discs. I’ve had this happen with store-brand pumpkin purée. Just give it a gentle press with a paper towel to remove excess liquid.
Finally, let the cookies cool completely before storing them. If you stack them while they’re still warm, they’ll stick together and turn into a sad, squished mess. I’ve made that mistake more times than I’d like to admit.
Variations & Adaptations
One of the best things about this recipe is how easy it is to change up. Here are a few variations I’ve tried and loved:
- Spice it up: Add ¼ teaspoon of cardamom or allspice for a more complex flavor profile. I did this last Thanksgiving and it was a hit.
- Swap the chocolate: Use white chocolate chips, butterscotch chips, or even chopped pecans instead of semi-sweet chocolate. White chocolate and pumpkin is a surprisingly good combo. For a nutty twist, toast ½ cup of pecans and fold them in with the chocolate chips.
- Make it vegan: Replace the egg with a flax egg (1 tablespoon ground flaxseed mixed with 3 tablespoons water, let sit for 5 minutes). Use dairy-free chocolate chips. The texture will be slightly denser but still delicious.
- Gluten-free option: Substitute the all-purpose flour with a 1:1 gluten-free baking flour blend. I’ve used Bob’s Red Mill with great results. Add an extra tablespoon of flour if the dough seems too sticky.
- Add a streusel topping: Mix 2 tablespoons of flour, 2 tablespoons of brown sugar, and 1 tablespoon of cold butter until crumbly. Sprinkle on top of the dough balls before baking for a crunchy finish.
- Pumpkin chocolate chip cookie bars: Press the entire batch of dough into a greased 9×13-inch baking pan and bake for 18-20 minutes. Cut into squares once cooled. Perfect for feeding a crowd.
I tried the white chocolate version last fall when I ran out of semi-sweet chips, and honestly, it might be my new favorite. The sweetness of the white chocolate pairs beautifully with the warm spices. My kids still prefer the original with semi-sweet, so I usually make a half batch of each.
Serving & Storage Suggestions
These cookies are best served slightly warm, when the chocolate chips are still melty and the texture is at its softest. Let them cool for 5 minutes on the baking sheet, then transfer to a plate and serve immediately. They’re perfect with a glass of cold milk or a hot cup of coffee.
For storage, place the completely cooled cookies in an airtight container at room temperature. They’ll stay soft for up to 5 days. I like to put a slice of bread in the container—it absorbs excess moisture and keeps the cookies from drying out. Change the bread every other day if you’re storing them longer.
You can also freeze these cookies. Place the baked and cooled cookies in a single layer on a baking sheet and freeze for 1 hour. Then transfer them to a freezer-safe bag or container. They’ll keep for up to 3 months. To thaw, just leave them at room temperature for 30 minutes, or pop them in the microwave for 10-15 seconds.
If you want to freeze the dough instead, scoop the dough balls onto a parchment-lined baking sheet and freeze until solid. Transfer the frozen dough balls to a freezer bag. When you’re ready to bake, place them on a baking sheet and add 2-3 minutes to the baking time. No need to thaw first.
One thing I’ve noticed—these cookies actually taste better the next day. The flavors meld together overnight, and the texture becomes even softer. So if you can resist eating them all on day one, you’re in for a treat on day two.
Nutritional Information & Benefits
Here’s the estimated nutritional breakdown per cookie (based on 24 cookies):
| Nutrient | Amount |
|---|---|
| Calories | 165 |
| Total Fat | 8g |
| Saturated Fat | 2.5g |
| Cholesterol | 10mg |
| Sodium | 95mg |
| Total Carbohydrates | 23g |
| Dietary Fiber | 1g |
| Sugars | 14g |
| Protein | 2g |
These cookies offer a few surprising benefits. Pumpkin is packed with vitamin A, which supports eye health and immune function. It’s also rich in fiber, which helps with digestion. The cinnamon and ginger have anti-inflammatory properties, and the dark chocolate provides antioxidants. Of course, these are still cookies—they’re a treat, not a health food—but it’s nice to know you’re getting a little something extra with each bite.
For those watching their sugar intake, you can reduce the granulated sugar to ½ cup without affecting the texture too much. The brown sugar adds moisture, so I wouldn’t reduce that. If you’re on a low-carb diet, this recipe isn’t ideal, but you could try a keto-friendly flour blend and sugar substitute at your own risk—I haven’t tested that version.
Potential allergens: This recipe contains wheat (gluten) and eggs. It’s dairy-free as written, but check your chocolate chips for milk solids if you have a dairy allergy.
Conclusion
These one-bowl pumpkin chocolate chip cookies have become a staple in my kitchen, and I think they’ll become one in yours too. They’re simple enough for a weekday craving but special enough to share at a fall gathering. The recipe came to me through a kind neighbor who believed that cooking shouldn’t be complicated, and every time I make them, I remember that lesson.
I’d love to hear how they turn out for you. Did you add any fun variations? Did your kids help with the mixing? Drop a comment below and let me know. And if you’re looking for more easy fall baking ideas, check out our easy pumpkin bread recipe or these soft apple cider donuts—they’re both made in one bowl too!
Happy baking, friends. May your kitchen smell like cinnamon and your cookies stay soft.
Frequently Asked Questions
Can I use fresh pumpkin instead of canned?
Yes, you can, but you’ll need to prepare it first. Roast a small sugar pumpkin until tender, then purée the flesh in a food processor. Drain any excess liquid through a cheesecloth or paper towel. Fresh pumpkin purée is often more watery than canned, so you may need to blot it dry before using.
Why did my cookies turn out flat?
Flat cookies usually mean one of three things: your pumpkin purée was too watery, your baking soda was old, or you overmixed the dough. Make sure your baking soda is fresh (less than 6 months old) and blot your pumpkin purée if it looks watery. Also, stop mixing as soon as the flour disappears.
Can I make these cookies ahead of time?
Absolutely. You can make the dough up to 3 days ahead and keep it in the fridge. Let it sit at room temperature for 10 minutes before scooping and baking. You can also freeze the baked cookies or the dough balls for up to 3 months.
How do I make these cookies more cake-like?
If you prefer a cakier texture, add an extra ¼ cup of flour and bake them for 12-13 minutes instead of 10-12. They’ll puff up more and have a softer, breadier crumb. Just be careful not to overbake or they’ll dry out.
Can I use pumpkin pie spice instead of individual spices?
Yes! Substitute 2 teaspoons of pumpkin pie spice for the cinnamon, nutmeg, ginger, and cloves. The flavor will be slightly different—pumpkin pie spice often includes allspice—but it works beautifully. I’ve done this when I was out of nutmeg and it turned out great.
Pin This Recipe!
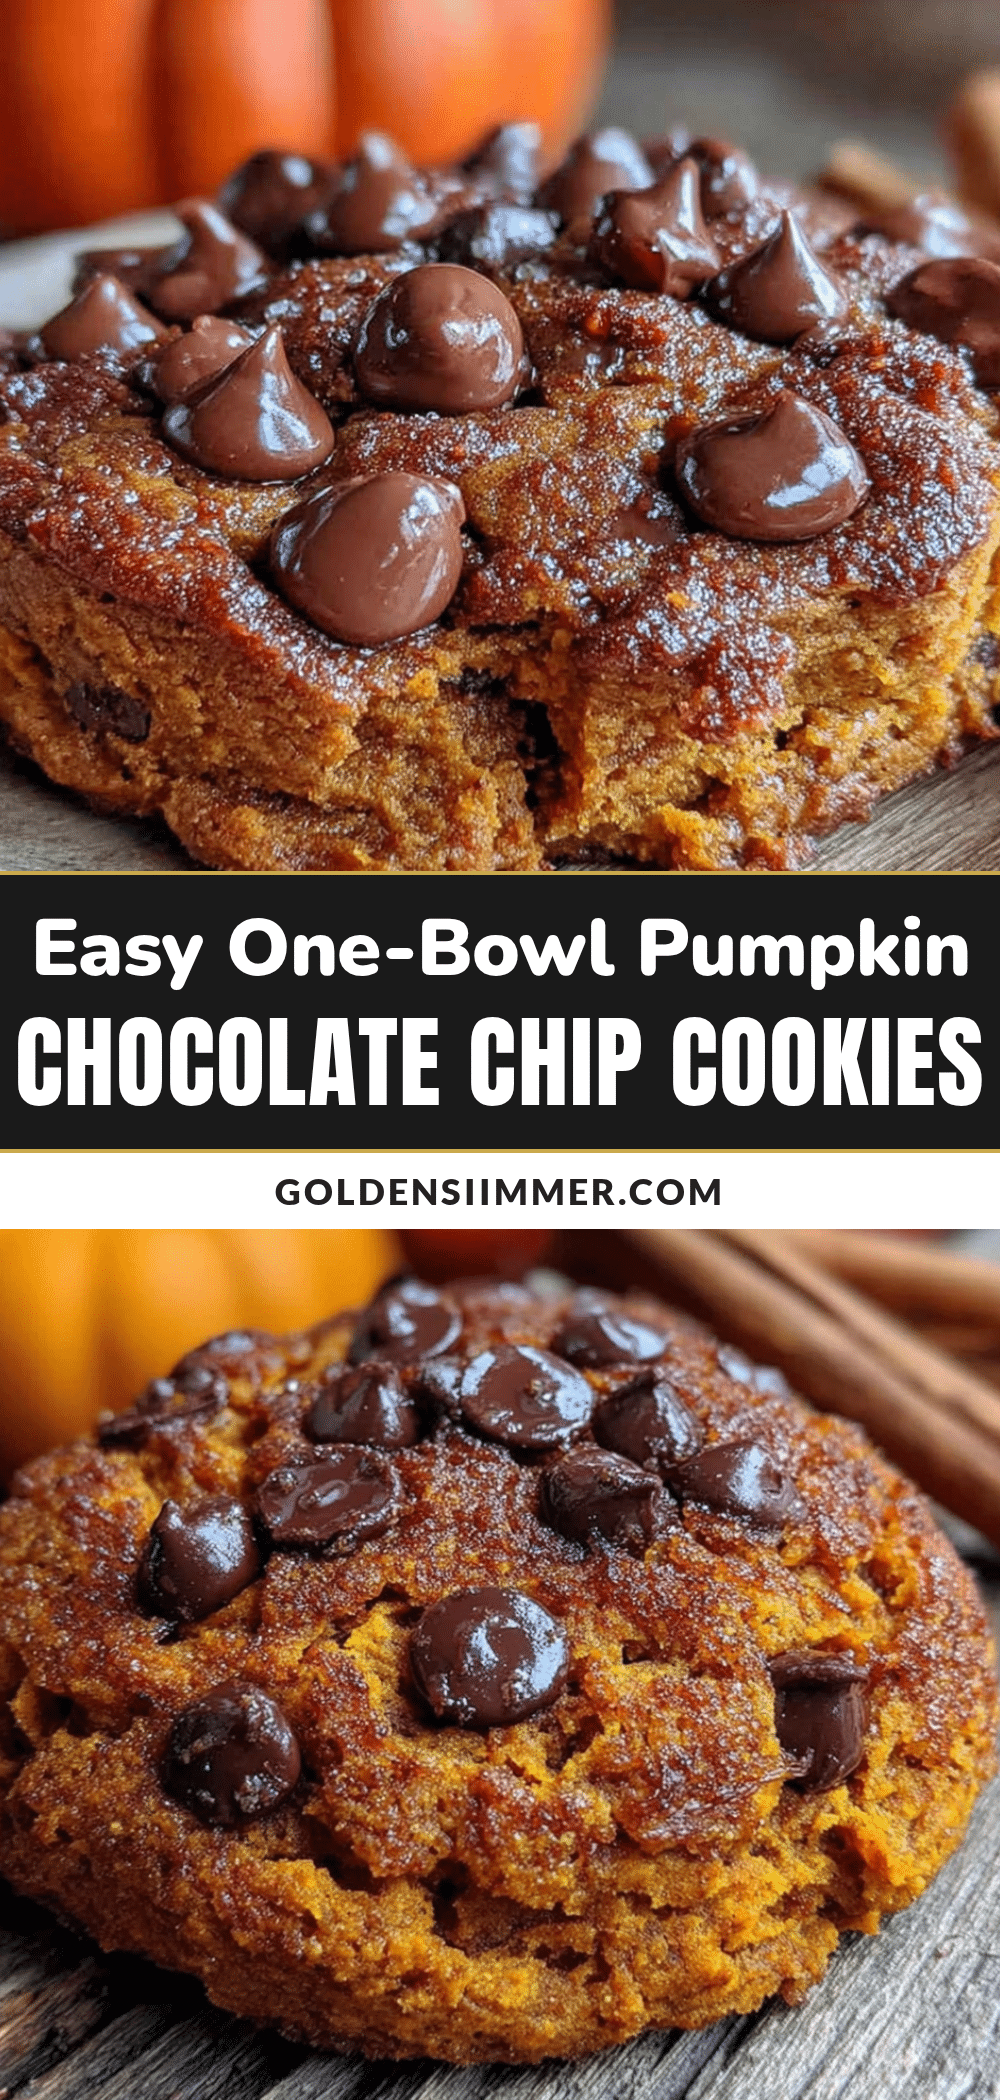
Easy One-Bowl Pumpkin Chocolate Chip Cookies Recipe (No Mixer)
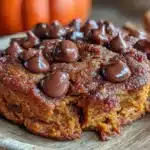
These soft, pillowy pumpkin chocolate chip cookies come together in one bowl with no mixer needed. Made with simple pantry ingredients, they’re the perfect easy fall treat that stays moist for days.
- Prep Time: 10 minutes
- Cook Time: 12 minutes
- Total Time: 22 minutes
- Yield: 24 cookies 1x
- Category: Dessert
- Cuisine: American
Ingredients
- 1 ¾ cups (220g) all-purpose flour
- 1 teaspoon baking soda
- ½ teaspoon baking powder
- 1 ½ teaspoons ground cinnamon
- ½ teaspoon ground nutmeg
- ¼ teaspoon ground ginger
- ¼ teaspoon ground cloves
- ½ teaspoon salt
- ¾ cup (150g) granulated sugar
- ½ cup (100g) packed brown sugar
- 1 cup (245g) pumpkin purée (100% pumpkin, not pie filling)
- ½ cup (120ml) vegetable oil (neutral oil like canola or avocado)
- 1 large egg, at room temperature
- 1 teaspoon vanilla extract
- 1 cup (175g) semi-sweet chocolate chips
- Optional: extra chocolate chips for topping
Instructions
- Preheat your oven to 350°F (175°C). Line a baking sheet with parchment paper and set aside.
- In a large mixing bowl, whisk together the flour, baking soda, baking powder, cinnamon, nutmeg, ginger, cloves, and salt until evenly combined.
- Add the granulated sugar and brown sugar to the bowl and whisk until no lumps remain.
- Make a well in the center of the dry ingredients.
- Pour the pumpkin purée, vegetable oil, egg, and vanilla extract into the well.
- Stir with a wooden spoon or rubber spatula, starting from the center and working outward, until just combined and no streaks of flour remain. Do not overmix.
- Fold in the chocolate chips gently until evenly distributed. Reserve a handful for topping if desired.
- Using a cookie scoop or tablespoon, drop rounded balls of dough (about 1.5 tablespoons each) onto the prepared baking sheet, spacing them 2 inches apart.
- Optional: Press 3-4 extra chocolate chips onto the top of each dough ball.
- Bake for 10-12 minutes, until edges are set and lightly golden but centers still look soft and slightly underdone.
- Let cookies rest on the hot baking sheet for 5 minutes, then transfer to a cooling rack to cool completely.
- Repeat with remaining dough, allowing the baking sheet to cool between batches.
Notes
For best results, use room temperature egg and blot watery pumpkin purée with a paper towel. Do not overbake; cookies continue cooking on the hot sheet. Store in an airtight container at room temperature for up to 5 days. Freeze baked cookies or dough balls for up to 3 months.
Nutrition
- Serving Size: 1 cookie
- Calories: 165
- Sugar: 14
- Sodium: 95
- Fat: 8
- Saturated Fat: 2.5
- Carbohydrates: 23
- Fiber: 1
- Protein: 2
Keywords: pumpkin chocolate chip cookies, one bowl cookies, no mixer cookies, easy pumpkin cookies, fall baking, soft pumpkin cookies