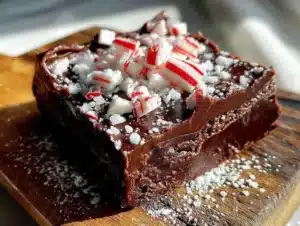
Love this? Save it for later!
Share the inspiration with your friends
My sister-in-law, Claire, had claimed to hate peppermint bark for years. “It’s just chocolate with crunchy toothpaste,” she’d say every December when the tins started showing up at every gathering. For a solid decade, I believed her. I mean, she’s a pastry chef — if anyone knows good dessert, it’s her. So I just accepted that peppermint bark was off the holiday menu whenever she was around.
Then last Christmas Eve, I caught her. I’d made a test batch of something I was calling “fudge but make it fancy” — mostly because I had leftover chocolate chips and a bag of crushed candy canes I didn’t know what to do with. I left it on the counter to set and walked away for maybe ten minutes. When I came back, Claire was standing at the kitchen island, fork in hand, absolutely demolishing a piece. She had chocolate on her chin. She didn’t even care.
“This isn’t peppermint bark,” she said, mouth half-full. “This is something else entirely.” And honestly? She was right. This Holiday No-Bake Peppermint Bark Fudge isn’t that dry, brittle stuff you crack your tooth on. It’s creamy. It’s rich. It’s got that satisfying snap on the outside but melts like butter on your tongue. And the best part? It’s only three ingredients. Maybe you’ve been burned by disappointing peppermint desserts before — I get it. But this one? This one might change your mind.
Why You’ll Love This Recipe
Look, I’ve tested a lot of holiday desserts over the years. Some are fussy. Some require a stand mixer and a degree in patience. This one? It’s the kind of recipe that makes you look like a hero with almost zero effort. And after testing it six times (yes, six — my coworkers were very happy that week), I can confidently say this version is the one.
- Quick & Easy: From start to finish, you’re looking at about 15 minutes of active work. The hardest part is waiting for it to set in the fridge — and even that’s only two hours.
- Simple Ingredients: Three ingredients. That’s it. No obscure extracts, no specialty baking sections. You probably have two of them right now.
- Perfect for Holiday Gifting: This stuff slices clean, stacks beautifully in tins, and everyone acts like you spent hours on it. Let them think that.
- Crowd-Pleaser: I brought this to three different holiday parties last year. Every single time, someone asked for the recipe. Even Claire finally admitted she “might” make it herself.
- Unbelievably Delicious: The texture is what gets people. It’s fudge — so it’s dense and creamy — but the peppermint crunch gives it this bright, fresh pop that cuts through all the richness. It’s the perfect balance.
What makes this recipe different from all the other peppermint bark recipes out there? It’s the ratio. Most recipes use way too much peppermint extract or end up with a chalky texture from poor-quality chocolate. I tested this with different chocolate percentages, different brands, even different types of sweetened condensed milk. This version hits that sweet spot where the chocolate stays glossy, the peppermint tastes natural, and the whole thing sets up perfectly every single time. No tempering. No double-boiler anxiety. Just honest, foolproof holiday magic.
What Ingredients You Will Need
This recipe uses just three simple ingredients to deliver that perfect holiday flavor and melt-in-your-mouth texture. No complicated shopping lists here — just honest, pantry-friendly staples that come together in the most magical way.
- Semi-sweet chocolate chips, 3 cups (540g) — I recommend Ghirardelli or Guittard for the smoothest melt and richest flavor. Avoid generic store brands here; they often contain stabilizers that prevent that silky-smooth texture we’re after. If you prefer a less sweet fudge, you can use dark chocolate chips (60-70% cacao) — just know it’ll be slightly firmer when set.
- Sweetened condensed milk, 1 can (14 oz / 397g) — This is non-negotiable for the classic fudge texture. Don’t confuse it with evaporated milk; they’re not the same thing. I use Eagle Brand or Borden, but any brand works as long as it’s full-fat. For a dairy-free version, you can use condensed coconut milk — the texture will be slightly softer but still delicious.
- Crushed peppermint candies or candy canes, 1/2 cup (about 6-8 candy canes, crushed) — You want a mix of fine dust and tiny chunks. Too fine and it dissolves into the chocolate; too chunky and it’s hard to bite through. I’ll show you the perfect crushing method in the tips section. For a naturally colored option, look for organic candy canes or make your own using peppermint oil and powdered sugar.
- Optional: 1/2 teaspoon peppermint extract — Only add this if you want an extra punch of peppermint flavor. Start with 1/4 teaspoon and taste — peppermint extract is potent and can easily overwhelm the chocolate. I use Nielsen-Massey because it’s pure and doesn’t have that artificial medicine taste.
- Optional: Flaky sea salt, for sprinkling — Trust me on this one. A tiny pinch of Maldon salt right before the fudge sets takes this from “really good” to “I can’t stop eating this.” It balances the sweetness and makes the chocolate taste even more chocolatey.
See? That’s it. Three ingredients (plus two optional ones) and you’re on your way to the easiest holiday dessert you’ll make all season. No butter, no cream, no complicated techniques. Just pure, simple deliciousness.
Equipment Needed
You don’t need a fancy kitchen for this recipe. In fact, you probably have everything already. But let me share what I’ve learned from making this about a dozen times now.
- 8×8-inch baking pan (20×20 cm) — Glass or metal both work fine. I prefer glass because I can see the sides to check if the fudge has pulled away (a sign it’s fully set). If you only have a 9×9-inch pan, your fudge will be slightly thinner — just reduce the setting time by about 30 minutes.
- Parchment paper — Don’t skip this. It creates a sling that lets you lift the entire block of fudge out cleanly. I learned this the hard way after spending twenty minutes trying to pry fudge out of a pan with a butter knife. Not my finest moment.
- Medium saucepan — For melting the chocolate and condensed milk together. Use a heavy-bottomed pan to prevent scorching. I burned my first batch because I walked away to check my phone — don’t be like me.
- Rubber spatula — A silicone one is best because it won’t scratch your pan and it scrapes every last bit of chocolate goodness out of the saucepan.
- Ziploc bag and rolling pin (or food processor) — For crushing the candy canes. I’ve tried both methods. The Ziploc bag is more satisfying (there’s something therapeutic about whacking candy canes), but the food processor gives you more consistent results. Your call.
- Sharp knife — For cutting the fudge once it’s set. A chef’s knife works great. Run it under hot water and wipe it dry between cuts for the cleanest slices.
That’s genuinely everything you need. No stand mixer, no candy thermometer, no special molds. Just basic kitchen tools and about fifteen minutes of your time.
Preparation Method
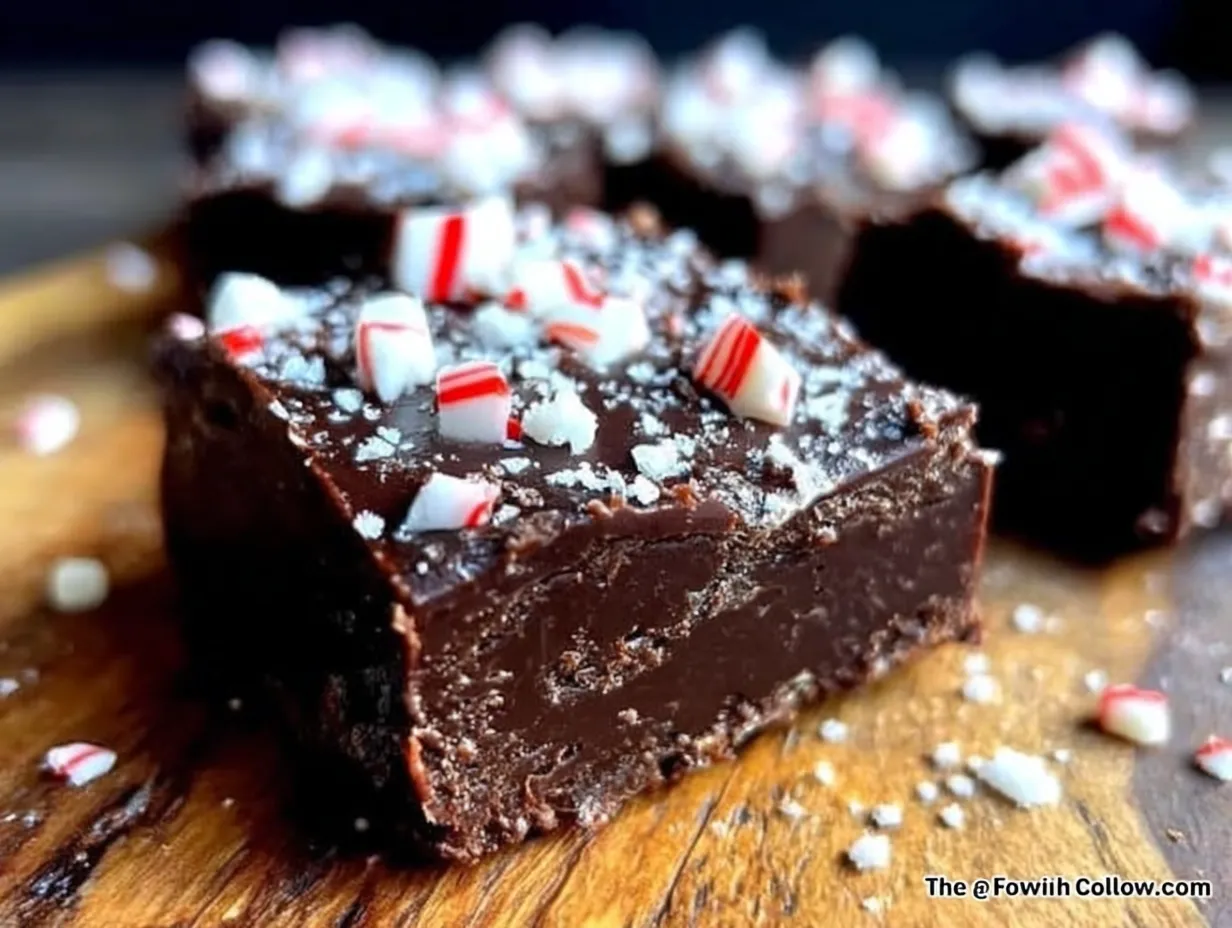
- Prep your pan. Line your 8×8-inch baking pan with parchment paper, leaving about 2 inches (5 cm) of overhang on two opposite sides. This creates handles so you can lift the fudge out later. Lightly grease the parchment with a tiny bit of butter or nonstick spray — it helps the parchment stay in place while you pour.
- Crush your candy canes. Place 6-8 candy canes in a sturdy Ziploc bag. Seal it, removing as much air as possible. Now — and this is the fun part — take a rolling pin or even a heavy skillet and start whacking. I’m not kidding. Go to town on those candy canes. You want a mix of fine powder and small chunks (think the size of sprinkles). If you’re using a food processor, pulse in short bursts — you don’t want dust. Set aside about 2 tablespoons for the topping.
- Melt the chocolate. In a medium saucepan over low heat, combine your 3 cups of semi-sweet chocolate chips and the full can of sweetened condensed milk. Stir constantly with your rubber spatula. I cannot stress this enough — low heat and constant stirring. Chocolate burns easily and once it’s burnt, there’s no going back. The mixture will look grainy at first, then suddenly it’ll come together into this glossy, smooth river of chocolate. This usually takes about 5-7 minutes.
- Add the peppermint. Once the chocolate is completely melted and smooth, remove the pan from heat. Stir in the crushed candy canes (reserving those 2 tablespoons for later). If you’re using peppermint extract, add it now — start with 1/4 teaspoon, taste, and add more if needed. Remember: you can always add, but you can’t take away. Too much peppermint extract tastes like toothpaste, and nobody wants that.
- Pour and spread. Pour the mixture into your prepared pan. Use the spatula to spread it evenly into all four corners. Give the pan a few gentle taps on the counter to release any air bubbles. The surface should look smooth and glossy — if it looks dull or streaky, you might have overheated the chocolate (but don’t worry, it’ll still taste fine).
- Add the topping. Immediately sprinkle the reserved crushed candy canes over the top. Press them gently into the surface with your fingers or the back of a spoon. If you’re using flaky sea salt, sprinkle a tiny pinch over everything now. The salt will stick to the slightly warm surface.
- Set the fudge. Place the pan in the refrigerator, uncovered, for at least 2 hours. I know — waiting is the hardest part. But don’t rush this. If you try to cut it too early, you’ll end up with a sticky mess. The fudge should be firm to the touch and slightly pulling away from the sides of the parchment when it’s ready.
- Cut and serve. Once fully set, lift the fudge out of the pan using the parchment sling. Place it on a cutting board. Use a sharp knife to cut into squares — I usually go for 1-inch (2.5 cm) pieces, but you can make them bigger or smaller depending on your crowd. For the cleanest cuts, run your knife under hot water, wipe it dry, and slice. Wipe the blade between each cut. This gives you those beautiful, professional-looking edges.
And that’s it. Eight steps. Fifteen minutes of work. Two hours of patience. One absolutely incredible holiday dessert.
Cooking Tips & Techniques
After making this fudge more times than I care to count, I’ve collected a few hard-won lessons. Let me save you the trouble.
Don’t rush the melting process. I know it’s tempting to crank up the heat and get it over with, but low and slow is the way to go. High heat will scorch the chocolate, and scorched chocolate has this bitter, burnt flavor that no amount of peppermint can cover up. I learned this when I was rushing to make a batch before a party. I ended up having to start over completely. Not fun.
Watch for the gloss. The moment your chocolate mixture turns from matte to glossy is the moment it’s done. It happens fast — like, within 30 seconds. Once you see that shine, take it off the heat immediately. Overcooking the condensed milk can cause the fudge to become grainy or crumbly once it sets.
Crush your candy canes strategically. You want a mix of textures. Fine dust will flavor the fudge throughout, while tiny chunks give you those satisfying crunchy bits. I like to crush about two-thirds of the candy canes into a fine powder and leave the rest as small pieces. If you crush everything into dust, you lose that textural contrast that makes peppermint bark so special.
Room temperature matters. If your kitchen is warm (like, above 75°F / 24°C), your fudge might take longer to set. On the flip side, if your kitchen is cold, it might set in just over an hour. Check it at the 90-minute mark by touching the surface gently — it should feel firm and not leave a fingerprint.
Double the recipe for gifting. This fudge keeps beautifully and makes an incredible homemade gift. I usually make two batches at once — one for us and one for neighbors, teachers, and mail carriers. Just use a 9×13-inch pan and increase the setting time to about 3 hours.
Variations & Adaptations
This recipe is wonderfully flexible. Here are some of my favorite ways to change it up depending on the occasion or who I’m making it for.
Dark Chocolate Peppermint Fudge: Swap the semi-sweet chips for dark chocolate (60-70% cacao). The bitterness of the dark chocolate balances the sweetness of the condensed milk beautifully, creating a more sophisticated, less sweet fudge. This is my personal go-to for adult gatherings. Just note that dark chocolate sets firmer, so let it sit at room temperature for 5 minutes before cutting.
White Chocolate Peppermint Fudge: Use white chocolate chips instead of semi-sweet. This gives you that classic peppermint bark look — snowy white with red and pink candy cane flecks. White chocolate is more delicate, so melt it even more slowly and add a teaspoon of coconut oil if it seems too thick. The result is incredibly creamy and almost vanilla-like.
Mint Chocolate Chip Variation: Fold in 1/2 cup of mini chocolate chips along with the crushed candy canes. The extra chocolate chips create little pockets of pure chocolate throughout the fudge, giving it a texture similar to mint chocolate chip ice cream. This one disappears fast at parties.
Vegan-Friendly Version: Use dairy-free chocolate chips and a can of condensed coconut milk. I’ve tested this with Let’s Do Organic brand, and it works beautifully. The texture is slightly softer than the original, so keep it refrigerated until just before serving. The flavor is still incredible — rich, creamy, and perfectly pepperminty.
Spiced Holiday Fudge: Add 1/2 teaspoon of cinnamon and a pinch of nutmeg along with the peppermint. The warm spices pair surprisingly well with the cool peppermint, creating a flavor that tastes like Christmas in a single bite. I stumbled on this combination by accident when I knocked a cinnamon jar into my fudge — best accident ever.
Serving & Storage Suggestions
This fudge is wonderfully versatile when it comes to serving. Here’s how to make the most of it.
Serving temperature: I prefer this fudge straight from the fridge — it’s firm, clean, and the peppermint crunch is at its peak. If you prefer a softer, creamier texture, let it sit at room temperature for about 10 minutes before serving. For a really indulgent treat, serve it alongside a scoop of vanilla ice cream or a warm brownie.
Presentation ideas: Arrange the fudge squares on a festive platter or in a decorative tin lined with parchment paper. For gift-giving, stack the squares in a small box with tissue paper between layers. I like to tie a candy cane to the ribbon for an extra festive touch. If you’re serving at a party, dust the platter with a little powdered sugar for a snowy effect.
Complementary pairings: This fudge is amazing with a cup of hot coffee or a mug of rich hot chocolate. For a grown-up pairing, try it with a glass of red wine (a fruity Zinfandel works surprisingly well) or a small pour of bourbon. The peppermint also pairs beautifully with fresh berries — raspberries, in particular, cut through the sweetness perfectly.
Storage instructions: Store the fudge in an airtight container in the refrigerator for up to 2 weeks. Layer the pieces between sheets of parchment paper to prevent them from sticking together. I’ve found that the flavor actually improves after a day or two — the peppermint mellows and blends more evenly with the chocolate.
Freezing: This fudge freezes beautifully. Place the squares in a single layer on a baking sheet and freeze for 1 hour, then transfer to a freezer-safe container or Ziploc bag. It will keep for up to 3 months. Thaw in the refrigerator overnight before serving. The texture remains nearly identical to fresh — it’s one of the reasons I make extra batches during the holidays.
Flavor development note: The peppermint flavor will intensify slightly over the first few days as it melds with the chocolate. If you’re making this for a specific event, I recommend making it 1-2 days in advance for the best flavor balance.
Nutritional Information & Benefits
Let’s be real — this is a treat, not a health food. But that doesn’t mean it can’t fit into a balanced lifestyle, especially during the holidays when we’re all about moderation and enjoyment.
Estimated nutrition per piece (based on 36 pieces):
- Calories: 145
- Fat: 7g
- Carbohydrates: 20g
- Sugar: 17g
- Protein: 2g
- Fiber: 1g
Health highlights: Dark chocolate (if you choose that variation) is rich in antioxidants called flavonoids, which have been linked to heart health benefits. Peppermint has natural digestive properties — it’s why we reach for peppermint tea after a big meal. And honestly? There’s something to be said for the mental health benefits of enjoying a small, beautiful treat without guilt. The holidays are about joy, and this fudge brings plenty of it.
Dietary considerations: This recipe is naturally gluten-free (check your candy canes to be sure — most are). For a dairy-free version, use the vegan adaptations mentioned above. It’s also nut-free, making it safe for school events or parties where allergies are a concern. The sugar content is moderate for a dessert, but if you’re watching your intake, cut the pieces smaller — they’re rich enough that a tiny square feels satisfying.
Conclusion
This Holiday No-Bake Peppermint Bark Fudge has become my go-to for every Christmas party, cookie exchange, and last-minute gift emergency. It’s the recipe that changed Claire’s mind about peppermint desserts, and it’s the one I keep coming back to year after year because it just works. Three ingredients. Fifteen minutes. Zero stress.
What I love most about this recipe is how forgiving it is. You can’t overmix it. You can’t underbake it (there’s no baking involved!). Even if you make a mistake — say, you add too much peppermint extract — you can usually fix it by melting in a little more chocolate. It’s the kind of recipe that makes you feel like a confident baker, even if you’ve never made fudge before.
I’d love to hear how yours turns out. Did you add the sea salt? Try the white chocolate version? Maybe you discovered a variation I haven’t thought of yet. Drop a comment below and let me know — I read every single one, and your ideas often inspire my next batch. And if you’re feeling generous, share this recipe with a friend who needs a little holiday magic in their life. Trust me, they’ll thank you for it.
Now go make some fudge. The holidays are waiting.
Frequently Asked Questions
Can I use milk chocolate instead of semi-sweet?
Absolutely! Milk chocolate will make the fudge sweeter and creamier. Just keep in mind that milk chocolate is more delicate, so melt it even more slowly and watch it carefully. The final texture will be softer than the semi-sweet version, so you might want to keep it refrigerated until just before serving.
Why did my fudge turn out grainy?
Grainy fudge usually means the chocolate got too hot or the condensed milk was overheated. Always melt over low heat and stir constantly. If your fudge is already grainy, don’t throw it out — try melting it down with a tablespoon of coconut oil or heavy cream, stirring until smooth, then resetting it in the fridge. It might not look as perfect, but it’ll still taste delicious.
How long does this fudge last?
Stored in an airtight container in the refrigerator, this fudge will stay fresh for up to 2 weeks. It also freezes beautifully for up to 3 months. Just make sure to layer it with parchment paper so the pieces don’t stick together. The flavor actually improves after a day or two as the peppermint melds with the chocolate.
Can I use peppermint extract instead of crushed candy canes?
You can, but you’ll lose the crunchy texture that makes this fudge so special. If you’re out of candy canes, use 1/2 teaspoon of peppermint extract and add 1/4 cup of crushed pretzels or white chocolate chips for crunch. The flavor won’t be exactly the same, but it’ll still be delicious.
My fudge didn’t set properly. What went wrong?
This usually happens for one of three reasons: the chocolate wasn’t melted fully, the pan was too warm, or it didn’t chill long enough. Make sure your chocolate is completely smooth before pouring it into the pan. If your kitchen is warm, let the fudge chill for at least 3 hours. If it still hasn’t set after that, pop it in the freezer for 30 minutes — that usually does the trick.
Pin This Recipe!
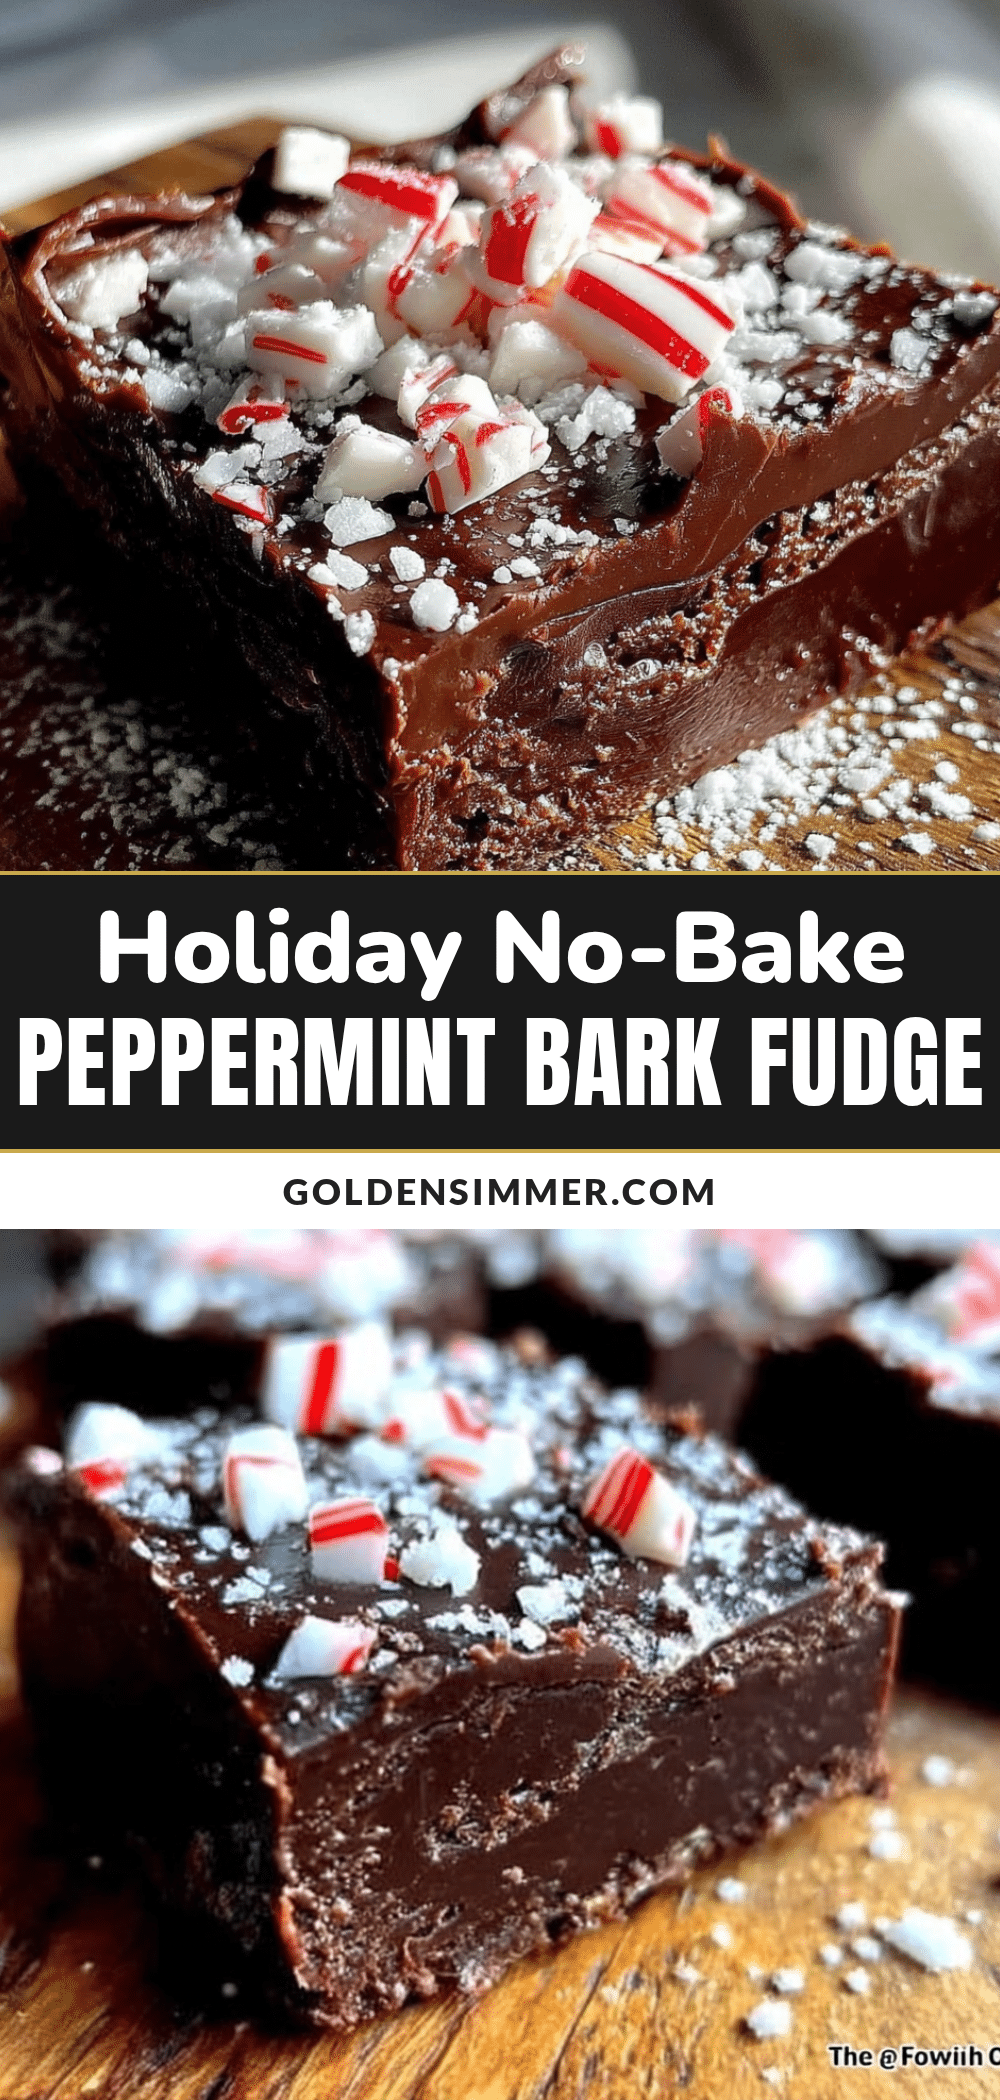
Holiday No-Bake Peppermint Bark Fudge: Easy 3-Ingredient Dessert

This creamy, rich peppermint bark fudge is made with just three ingredients and requires no baking. It’s the perfect easy holiday dessert that looks impressive but takes only 15 minutes of active work.
- Prep Time: 15 minutes
- Cook Time: 5 minutes
- Total Time: 2 hours 20 minutes (includes 2 hours chilling)
- Yield: 36 pieces 1x
- Category: Dessert
- Cuisine: American
Ingredients
- 3 cups (540g) semi-sweet chocolate chips (recommended: Ghirardelli or Guittard)
- 1 can (14 oz / 397g) sweetened condensed milk (full-fat, not evaporated milk)
- 1/2 cup crushed peppermint candies or candy canes (about 6–8 candy canes)
- 1/2 teaspoon peppermint extract (optional, for extra flavor)
- Flaky sea salt (optional, for sprinkling)
Instructions
- Line an 8×8-inch baking pan with parchment paper, leaving about 2 inches of overhang on two opposite sides. Lightly grease the parchment with butter or nonstick spray.
- Place 6-8 candy canes in a sturdy Ziploc bag, remove air, and crush with a rolling pin or heavy skillet until you have a mix of fine powder and small chunks. Set aside about 2 tablespoons for topping.
- In a medium saucepan over low heat, combine 3 cups semi-sweet chocolate chips and the full can of sweetened condensed milk. Stir constantly with a rubber spatula until the mixture is smooth and glossy, about 5-7 minutes.
- Remove the pan from heat. Stir in the crushed candy canes (reserving 2 tablespoons for topping). If using peppermint extract, add 1/4 teaspoon, taste, and add more if needed.
- Pour the mixture into the prepared pan. Spread evenly with the spatula. Tap the pan gently on the counter to release air bubbles.
- Immediately sprinkle the reserved crushed candy canes over the top. Press them gently into the surface. If using flaky sea salt, sprinkle a tiny pinch over everything.
- Refrigerate the pan, uncovered, for at least 2 hours, until the fudge is firm and slightly pulling away from the sides of the parchment.
- Lift the fudge out of the pan using the parchment sling. Place on a cutting board. Cut into 1-inch squares using a sharp knife (run knife under hot water and wipe dry between cuts for clean edges).
Notes
For the best texture, use high-quality chocolate chips like Ghirardelli or Guittard. Don’t rush the melting process—low heat and constant stirring prevent scorching. The fudge flavor improves after 1-2 days as the peppermint melds with the chocolate. For vegan version, use dairy-free chocolate chips and condensed coconut milk. Store in an airtight container in the refrigerator for up to 2 weeks, or freeze for up to 3 months.
Nutrition
- Serving Size: 1 piece (1-inch squa
- Calories: 145
- Sugar: 17
- Sodium: 25
- Fat: 7
- Saturated Fat: 4
- Carbohydrates: 20
- Fiber: 1
- Protein: 2
Keywords: peppermint bark fudge, no-bake fudge, 3-ingredient dessert, holiday fudge, easy fudge recipe, peppermint dessert, Christmas fudge