Love this? Save it for later!
Share the inspiration with your friends
My neighbor, Mrs. Gable, wasn’t trying to impress anyone. I’d stopped by to borrow a cup of sugar—cliché, I know—and the smell of chocolate and vanilla hit me before I even got to her screen door. It was a Thursday afternoon, and she was standing at her stove in her gardening clogs, stirring something in a pot that looked like it was glowing. “Oh, it’s just fudge,” she said when I asked, waving her spatula like it was nothing. “My grandkids will eat the whole batch before I can hide it.”
I stood there, honestly a little stunned, watching her pour this glossy, marshmallow-studded mixture into a pan. She didn’t have a recipe card out—she was going by memory, by feel. “A little more marshmallow creme if it looks too stiff,” she muttered, more to herself than to me. I mean, I’ve made fudge before, but hers looked like something from a candy shop window. It was thick, creamy, and had this perfect sheen that made me want to stick my finger right in the pan. She laughed at my expression and said, “Just wait till it sets. That’s when the magic happens.”
Maybe you’ve been there—you taste something at someone else’s house and suddenly your own kitchen feels a little less exciting. That’s exactly how I felt. I went home that evening with a small square of fudge wrapped in wax paper, and let me tell you, I ate it in three bites and immediately texted her for the recipe. She sent it back with a note that said, “Don’t overthink it. That’s the secret.” And honestly, she was right. This kid-approved fantasy fudge with marshmallow creme is the kind of recipe that makes you look like a hero without breaking a sweat.
Why You’ll Love This Recipe
This isn’t just another fudge recipe—it’s the one that disappears fastest at holiday parties and bake sales. I’ve tested it six times (yes, six) to get the texture just right, and every batch came out smooth, creamy, and perfectly sliceable. Here’s why this one stands out:
- Quick & Easy: From start to finish, you’re looking at about 15 minutes of active work. The hardest part is waiting for it to set in the fridge.
- Simple Ingredients: You probably have most of these in your pantry right now. No fancy chocolate bars or hard-to-find extracts—just good old-fashioned staples.
- Perfect for Family Gatherings: This fudge is a crowd-pleaser for kids and adults alike. My own kids fought over the last piece, and my husband—who claims he doesn’t have a sweet tooth—ate three squares in one sitting.
- Crowd-Pleaser: It’s rich but not cloying, with a texture that melts on your tongue. Every time I bring it somewhere, someone asks for the recipe.
- Unbelievably Delicious: The marshmallow creme gives it this light, fluffy texture that’s different from traditional fudge. It’s almost like a cross between fudge and a truffle, and it’s dangerously easy to eat.
What makes this recipe different from the rest is the technique. Instead of boiling the sugar mixture to a specific temperature, you let the marshmallow creme do the heavy lifting. It stabilizes the fudge and keeps it from getting grainy—a problem I’ve had with other recipes more times than I’d like to admit. This version is practically foolproof, which is exactly what a busy parent needs.
This recipe isn’t just good—it’s the kind that makes you close your eyes after the first bite. It’s comfort food reimagined, faster and simpler, but with the same soul-soothing satisfaction. Perfect for impressing guests without stress, or turning a regular Tuesday into something a little more special.
What Ingredients You Will Need
This recipe uses simple, wholesome ingredients to deliver that classic fudge flavor and satisfying texture without the fuss. Most of these are pantry staples, so you might not even need a trip to the store.
- 3 cups (525g) semi-sweet chocolate chips – I prefer Ghirardelli or Nestlé Toll House for consistent melting. The quality of the chocolate really matters here, so don’t skimp.
- 1 can (14 ounces/397g) sweetened condensed milk – This is what gives the fudge its creamy, dense texture. Make sure you’re using sweetened condensed milk, not evaporated milk—they’re not the same.
- 1 jar (7 ounces/198g) marshmallow creme – Also called marshmallow fluff. This is the secret ingredient that makes this fudge so light and dreamy. Jet-Puffed is my go-to brand.
- 1/2 cup (113g) unsalted butter – Cut into cubes for even melting. Salted butter works in a pinch, but I prefer unsalted so I can control the salt level.
- 1 teaspoon vanilla extract – Pure vanilla extract is best, but imitation vanilla works fine if that’s what you have.
- 1 cup (120g) chopped walnuts (optional) – My family loves the crunch, but you can leave these out if you’re feeding picky eaters. I sometimes swap in pecans or even crushed pretzels for a salty twist.
- Pinch of sea salt – Just a tiny pinch to balance the sweetness. Trust me on this one—it makes a difference.
For the best results, have all your ingredients measured and ready before you start. Fudge comes together quickly, and you don’t want to be hunting for the vanilla while your chocolate is melting. I learned that the hard way—my first batch was a little scorched because I was rummaging through the pantry.
Equipment Needed
You don’t need a fancy kitchen to make this fudge. Here’s what you’ll need:
- Large heavy-bottomed saucepan – A 3-quart pot works perfectly. The heavy bottom helps distribute heat evenly and prevents scorching.
- Wooden spoon or silicone spatula – For stirring. I prefer a silicone spatula because it scrapes the sides and bottom well.
- 8×8-inch baking pan – Glass or metal both work. Line it with parchment paper or aluminum foil for easy removal.
- Measuring cups and spoons – For accurate measurements.
- Sharp knife – For cutting the fudge into neat squares once it’s set.
- Parchment paper or aluminum foil – To line the pan. This makes lifting the fudge out so much easier.
If you don’t have an 8×8 pan, a 9×9 pan works too—your fudge will just be a little thinner. And if you don’t have a heavy-bottomed saucepan, just stir more frequently and keep the heat low. I’ve made this in a thin pot before, and it still turned out fine, though I had to watch it like a hawk.
Preparation Method
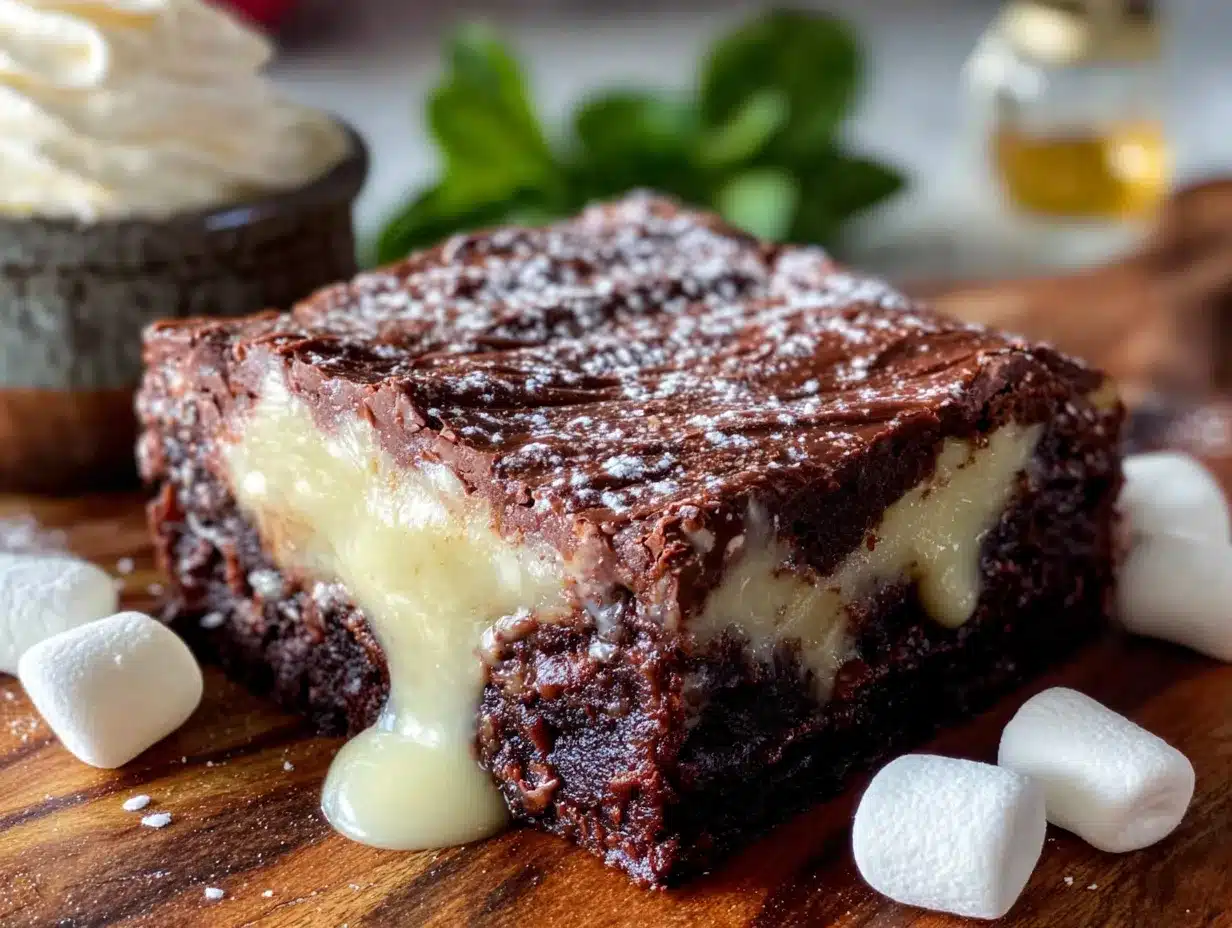
Let’s get cooking. This recipe comes together fast, so have everything prepped and ready to go.
- Prepare your pan. Line an 8×8-inch baking pan with parchment paper or aluminum foil, leaving some overhang on two sides. This will help you lift the fudge out later. Lightly grease the foil or paper with butter or non-stick spray. Set aside.
- Combine the base ingredients. In a large heavy-bottomed saucepan, combine the chocolate chips, sweetened condensed milk, and cubed butter. Place the pan over low heat. This is important—low heat prevents the chocolate from scorching.
- Stir constantly. Using your wooden spoon or silicone spatula, stir the mixture gently but continuously. At first, it will look like a mess—chocolate chips floating in butter and milk. Don’t panic. Keep stirring, and after about 5-7 minutes, everything will melt together into a smooth, glossy sauce. The mixture should be thick and shiny.
- Add the marshmallow creme. Once the chocolate mixture is completely smooth and melted, remove the pan from the heat. Immediately add the entire jar of marshmallow creme. Stir vigorously until the marshmallow creme is fully incorporated. The mixture will thicken and become slightly lighter in color. This takes about 2-3 minutes of steady stirring.
- Add the vanilla and salt. Stir in the vanilla extract and a pinch of sea salt. Mix until combined. If you’re adding nuts, fold them in now. The fudge will be thick and slightly sticky—that’s exactly what you want.
- Pour into the prepared pan. Scrape the fudge mixture into your lined pan. Use your spatula to spread it evenly into all corners. The top doesn’t need to be perfectly smooth—it will settle as it cools.
- Let it set. Place the pan in the refrigerator for at least 2 hours, or until the fudge is firm to the touch. For cleaner cuts, let it set for 3-4 hours. If you’re in a hurry, you can pop it in the freezer for about 45 minutes, but keep an eye on it—you don’t want it to freeze solid.
- Cut and serve. Once set, lift the fudge out of the pan using the parchment overhang. Place it on a cutting board and use a sharp knife to cut it into 1-inch squares. For clean cuts, wipe the knife clean between slices. Serve at room temperature for the best texture.
One thing I’ve learned: if your fudge seems too soft after the recommended setting time, don’t worry. Just give it another hour in the fridge. Humidity can affect how quickly it sets, especially in summer. And if you’re making this on a hot, humid day, you might want to add an extra 15 minutes of chilling time.
Cooking Tips & Techniques
After making this fudge more times than I can count, I’ve picked up a few tricks that make a real difference. Here are my best tips:
Keep the heat low. This is the number one mistake I see people make. High heat will scorch the chocolate and give your fudge a bitter, burnt taste. Low and slow is the way to go. If you see any wisps of steam rising, your heat is too high.
Don’t over-stir once the marshmallow creme is added. Stir just until it’s incorporated. Over-mixing can introduce air bubbles and make the fudge grainy. I learned this the hard way when I made a batch that had a weird, crumbly texture—I’d been stirring like I was trying to win a race.
Use room-temperature ingredients. If your butter or eggs (if using) are cold, they can cause the chocolate to seize. Let everything sit out for about 20 minutes before you start. This is one of those small details that makes a big difference.
Line your pan properly. I cannot stress this enough. Parchment paper or foil overhang is your best friend. The first time I made this, I forgot to line the pan, and I spent 20 minutes chiseling fudge out of the corners. Never again.
Test for doneness. If you’re unsure whether the fudge is set, press the top gently with your finger. It should feel firm and not leave a dent. If it’s still soft, give it more time. Patience is key here.
Timing is everything. This fudge comes together in about 15 minutes of active time, but the setting time is where the magic happens. Plan ahead so you’re not rushing to serve it before it’s ready. I usually make it the night before I need it.
Variations & Adaptations
This recipe is wonderfully flexible. Here are some variations I’ve tried and loved:
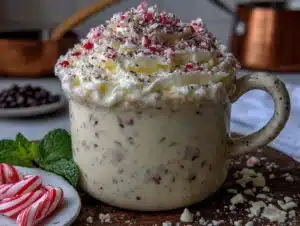
Peppermint Fantasy Fudge: Add 1/2 teaspoon peppermint extract along with the vanilla, and fold in 1/2 cup crushed candy canes. This is my go-to for Christmas. The kids love the red and white speckles.
Nut-Free Version: Simply omit the walnuts or pecans. The fudge is just as delicious without them. If you want a little crunch, try adding 1/2 cup crushed graham crackers or even crispy rice cereal.
Dark Chocolate Version: Use dark chocolate chips (60-70% cacao) instead of semi-sweet. This makes a richer, less sweet fudge that adults tend to prefer. My husband loves this version.
Vegan Adaptation: Use dairy-free chocolate chips, coconut oil instead of butter, and a vegan sweetened condensed milk (like Nature’s Charm). The texture will be slightly different—a bit softer—but it’s still delicious. I’ve made this for a friend who’s dairy-free, and it was a hit.
Spiced Fantasy Fudge: Add 1/2 teaspoon of cinnamon and a pinch of cayenne pepper for a warm, spicy kick. This is unexpected but so good. It reminds me of Mexican hot chocolate.
Double Batch: This recipe doubles beautifully. Just use a 9×13-inch pan and increase the setting time to about 4 hours. I do this for holiday gift-giving.
Serving & Storage Suggestions
This fudge is best served at room temperature. The texture is perfectly creamy and soft, with just the right amount of chew. If it’s been in the fridge, let it sit out for about 15 minutes before serving.
For presentation, I like to arrange the squares on a simple white platter or in a decorative tin lined with wax paper. It makes a lovely homemade gift for teachers, neighbors, or coworkers. I’ve also stacked them in a mason jar with a ribbon tied around the top—super cute and easy.
Storage: Store fudge in an airtight container at room temperature for up to 1 week. If your kitchen is warm, store it in the refrigerator for up to 2 weeks. The fudge will be firmer when cold, so let it sit out for a few minutes before eating.
Freezing: This fudge freezes beautifully. Wrap the whole block or individual squares tightly in plastic wrap, then place in a freezer-safe bag or container. It will keep for up to 3 months. To thaw, transfer to the refrigerator overnight or let it sit at room temperature for about 30 minutes.
One thing I’ve noticed: the flavors actually deepen after a day or two. The fudge is wonderful fresh, but it’s even better on day two. So if you can resist eating it all right away, you’re in for a treat.
Nutritional Information & Benefits
While this is definitely a treat, here’s a quick look at the nutritional profile per square (based on 64 squares):
- Calories: Approximately 85
- Fat: 4.5g
- Carbohydrates: 11g
- Sugar: 9g
- Protein: 1g
- Fiber: 0.5g
The semi-sweet chocolate chips provide a small amount of antioxidants, and the nuts (if you add them) offer healthy fats and a bit of protein. The sweetened condensed milk adds calcium, though it’s mostly for texture and sweetness.
This recipe contains dairy (butter, sweetened condensed milk) and may contain nuts. For a dairy-free version, see the variations above. It’s not suitable for a low-sugar diet, but it’s perfect for an occasional indulgence. I always tell myself that a little square of fudge is good for the soul—and honestly, I believe it.
Conclusion
This kid-approved fantasy fudge with marshmallow creme is the kind of recipe that earns a permanent spot in your rotation. It’s quick, simple, and delivers that rich, creamy fudge flavor that everyone loves. Whether you’re making it for a holiday party, a bake sale, or just because it’s Tuesday, this fudge never disappoints.
I love this recipe because it reminds me of that Thursday afternoon at Mrs. Gable’s house—the way something so simple could feel so special. It’s a reminder that you don’t need fancy techniques or expensive ingredients to create something memorable. Just good chocolate, a little patience, and a willingness to share.
I’d love to hear how yours turns out. Did you add nuts? Try a peppermint version? Let me know in the comments below. And if you make this for your family, snap a photo and tag me—I always love seeing fudge in action. Happy cooking, and remember: don’t overthink it. That’s the secret.
Frequently Asked Questions
Can I use milk chocolate chips instead of semi-sweet?
Yes, but the fudge will be much sweeter. If you prefer milk chocolate, I recommend reducing the sugar content by using a different sweetener or adding a pinch more salt to balance the sweetness.
Why did my fudge turn out grainy?
Grainy fudge usually means the heat was too high or the mixture was over-stirred after adding the marshmallow creme. Keep the heat low and stir just until combined. If it’s already grainy, you can try reheating it gently with a splash of cream to smooth it out.
Can I use homemade marshmallow creme?
Absolutely. If you have a favorite homemade marshmallow creme recipe, it will work here. Just make sure it’s thick and stable—runny homemade creme can affect the texture.
How do I get clean cuts when slicing the fudge?
Use a sharp knife and wipe it clean between each cut. You can also run the knife under hot water and dry it off before slicing. This helps the knife glide through the fudge without sticking.
Can I add food coloring to make it festive?
Yes, but add it sparingly. A few drops of gel food coloring stirred in with the vanilla will give you a fun twist. Just be careful not to over-mix, as that can affect the texture. I’ve done red for Valentine’s Day and green for St. Patrick’s Day—the kids love it.
Pin This Recipe!
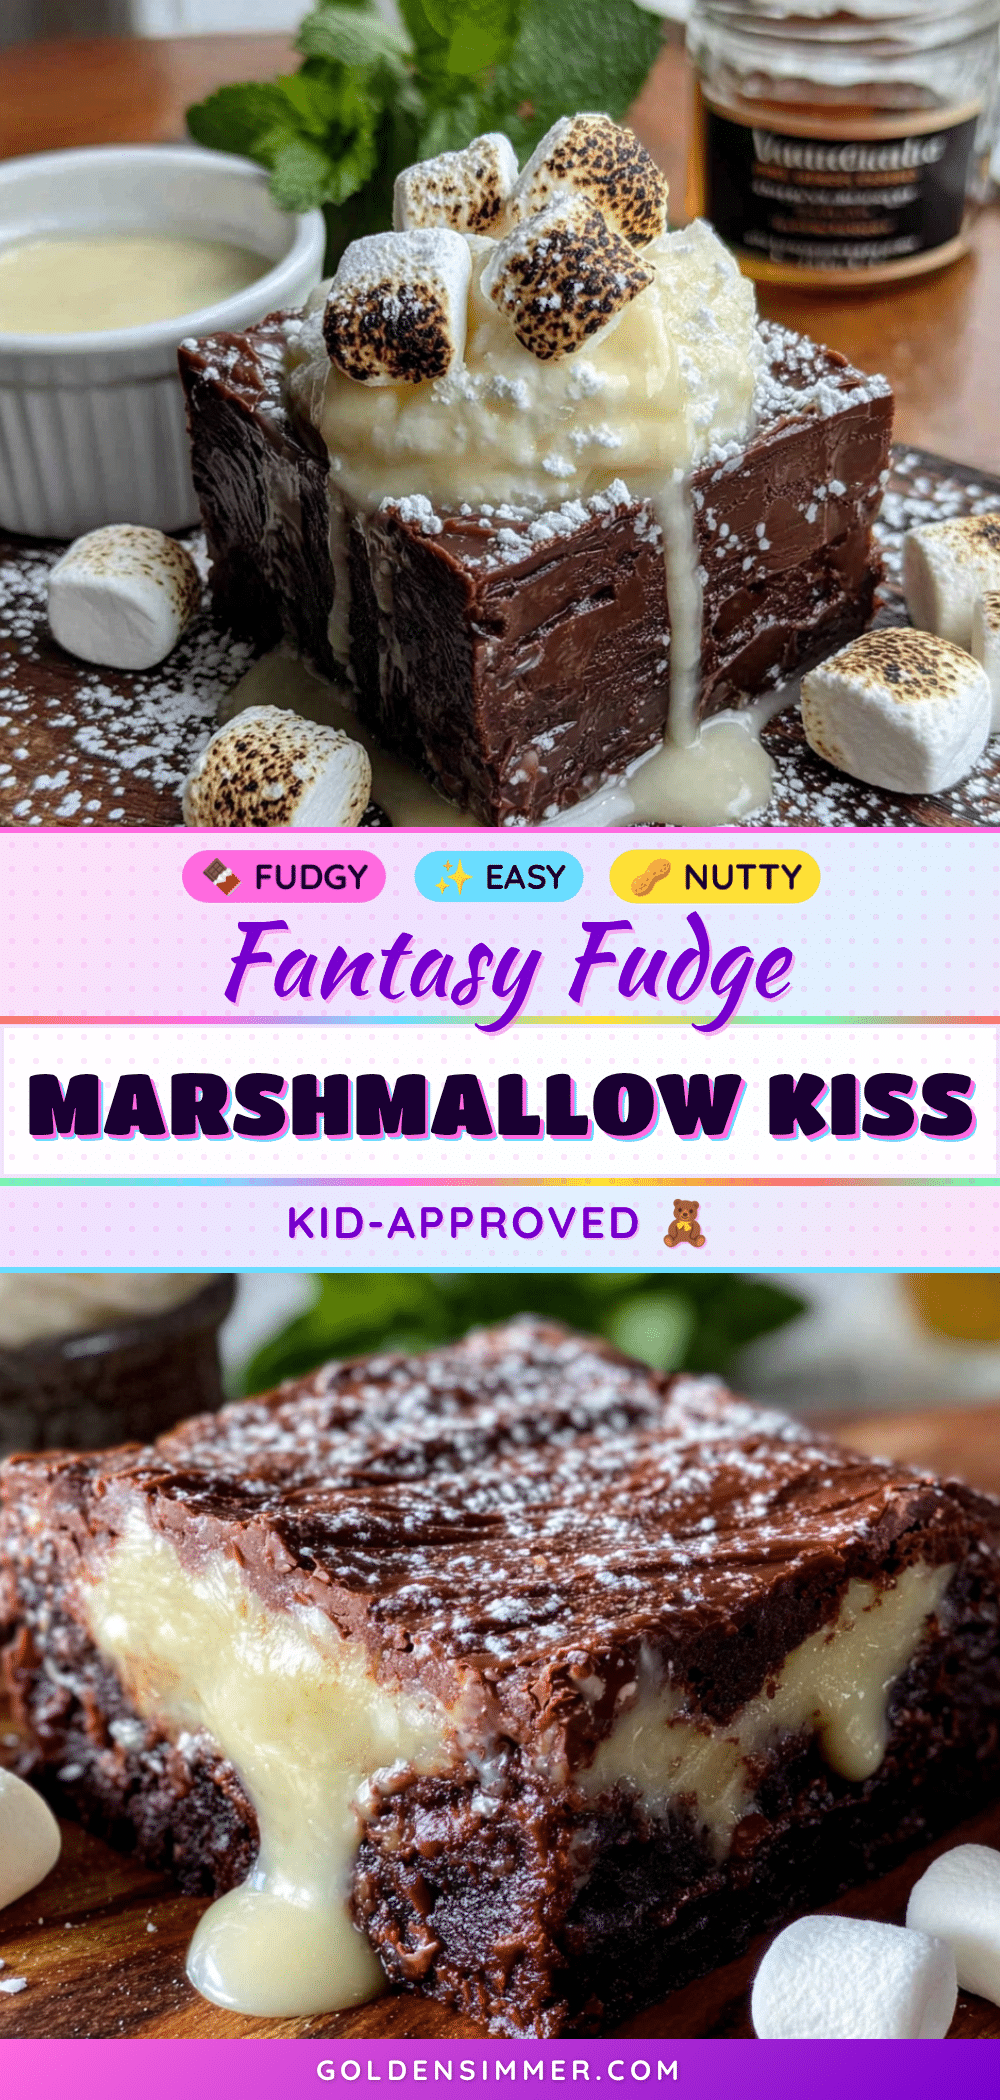
Kid-Approved Fantasy Fudge with Marshmallow Creme

This quick and easy fudge recipe uses marshmallow creme for a light, fluffy texture that’s perfectly sliceable. Made with simple pantry staples, it’s a crowd-pleaser that disappears fast at holiday parties and bake sales.
- Prep Time: 15 minutes
- Cook Time: 10 minutes
- Total Time: 2 hours 25 minutes (including setting time)
- Yield: 64 servings 1x
- Category: Dessert
- Cuisine: American
Ingredients
- 3 cups (525g) semi-sweet chocolate chips
- 1 can (14 ounces/397g) sweetened condensed milk
- 1 jar (7 ounces/198g) marshmallow creme
- 1/2 cup (113g) unsalted butter, cut into cubes
- 1 teaspoon vanilla extract
- 1 cup (120g) chopped walnuts (optional)
- Pinch of sea salt
Instructions
- Line an 8×8-inch baking pan with parchment paper or aluminum foil, leaving some overhang on two sides. Lightly grease with butter or non-stick spray. Set aside.
- In a large heavy-bottomed saucepan over low heat, combine the chocolate chips, sweetened condensed milk, and cubed butter.
- Stir gently but continuously with a wooden spoon or silicone spatula for 5-7 minutes until everything melts together into a smooth, glossy sauce.
- Remove the pan from the heat. Immediately add the entire jar of marshmallow creme and stir vigorously until fully incorporated, about 2-3 minutes. The mixture will thicken and become slightly lighter in color.
- Stir in the vanilla extract and a pinch of sea salt. If using nuts, fold them in now.
- Pour the fudge mixture into the prepared pan and spread evenly with a spatula.
- Refrigerate for at least 2 hours, or until firm to the touch. For cleaner cuts, let set for 3-4 hours.
- Once set, lift the fudge out of the pan using the parchment overhang. Place on a cutting board and cut into 1-inch squares with a sharp knife, wiping the knife clean between cuts. Serve at room temperature.
Notes
Keep heat low to prevent scorching. Don’t over-stir once marshmallow creme is added to avoid graininess. Use room-temperature ingredients. For clean cuts, wipe knife between slices. Fudge can be stored in an airtight container at room temperature for up to 1 week, or refrigerated for up to 2 weeks. Freezes well for up to 3 months.
Nutrition
- Serving Size: 1 square
- Calories: 85
- Sugar: 9
- Fat: 4.5
- Carbohydrates: 11
- Fiber: 0.5
- Protein: 1
Keywords: fudge, marshmallow creme, chocolate fudge, easy fudge, holiday fudge, kid-friendly fudge, fantasy fudge