Love this? Save it for later!
Share the inspiration with your friends
Introduction
There used to be this small, tucked-away bakery near the old pier in Cape Cod that made the most charming patriotic mini cheesecakes. When they closed down unexpectedly one summer, it felt like a little fireworks show had fizzled out early. I mean, those cheesecakes weren’t just desserts; they were memories of salty ocean air, laughter from the boardwalk, and the warm buzz of summer nights. After about a dozen attempts—some with too much crust, others with a topping that looked more like a mess than a flag—I finally nailed a version of these easy patriotic mini cheesecakes with flag topping that hits all the right notes.
Let me tell you, the way the creamy cheesecake melts next to the fresh, vibrant berries—honestly, it’s like a mini celebration in every bite. I forgot to set my timer once and ended up with a slightly golden crust that actually added this unexpected crunch. Maybe you’ve been there, chasing a perfect recipe that feels just out of reach, and it drives you a little wild. This recipe stayed with me because it’s simple, festive, and surprisingly quick. Plus, it brings back that joyful, bustling vibe of summer parties and parades, even when I’m just making it in my own kitchen.
Why You’ll Love This Recipe
These easy patriotic mini cheesecakes are more than just a dessert; they’re a crowd-pleaser that’s both straightforward and special. Here’s why you’ll keep coming back to this recipe:
- Quick & Easy: Ready in under 45 minutes, perfect for last-minute summer gatherings.
- Simple Ingredients: No fancy, hard-to-find items—just basics you probably have in your pantry and fridge.
- Perfect for Summer Parties: These little cheesecakes bring a festive touch to BBQs, potlucks, or 4th of July celebrations.
- Crowd-Pleaser: Kids love the colorful flag topping, and adults appreciate the creamy, balanced flavor.
- Unbelievably Delicious: The smooth, tangy cheesecake paired with sweet berries and a buttery crust is comfort food with a patriotic twist.
- Unique Topping Technique: The flag design is easy to replicate but looks impressively detailed, making your dessert table stand out.
This recipe isn’t just another cheesecake—it’s the one that makes you pause after the first bite, savoring the fresh berry burst and the hint of vanilla in the creamy filling. It’s comfort food that feels celebratory, perfect for impressing guests without stress, or just enjoying a quiet moment with your favorite summer drink.
What Ingredients You Will Need
This recipe uses simple, wholesome ingredients to deliver bold flavor and a satisfying texture without the fuss. Most are pantry staples, and the fresh berries add that seasonal brightness perfect for summer.
- For the Crust:
- 1 cup graham cracker crumbs (about 8 full sheets) – I recommend using a brand like Nabisco for the best texture
- 3 tablespoons unsalted butter, melted (adds richness and helps bind the crust)
- 2 tablespoons granulated sugar (balances the buttery flavor)
- For the Cheesecake Filling:
- 8 oz cream cheese, softened (room temperature for smooth mixing)
- 1/3 cup granulated sugar
- 1 large egg (room temperature)
- 1 teaspoon vanilla extract (use pure vanilla for depth of flavor)
- 2 tablespoons sour cream (for creaminess and slight tang)
- For the Flag Topping:
- 1/2 cup fresh blueberries (for the stars)
- 1/2 cup fresh strawberries, sliced (for the red stripes)
- 1/2 cup fresh raspberries (for the red stripes)
- Optional: a small sprig of fresh mint for garnish
Substitution tips: You can swap sour cream for Greek yogurt if you want a tangier bite or use dairy-free cream cheese if needed. In summer, try using fresh local berries for the best flavor. Frozen berries can work in a pinch but drain them well to avoid soggy topping.
Equipment Needed
- Mini muffin pan or silicone muffin mold (12-cup size) – I find silicone molds make removal easier and less messy
- Mixing bowls (one large for crust, one medium for filling)
- Electric mixer or hand mixer (to beat the cream cheese smooth)
- Measuring cups and spoons
- Spatula (for scraping bowls clean and folding ingredients)
- Cooling rack (helps mini cheesecakes cool evenly)
- Optional: piping bag or small spoon for filling cups neatly
If you don’t have a mini muffin pan, you can use a standard muffin pan but expect larger cheesecakes and adjust baking time slightly. I once tried using a silicone ice cube tray in a pinch—fun but tricky to get the crust right! For budget-friendly options, simple metal pans work fine with a bit of greasing.
Preparation Method
- Preheat the Oven: Set your oven to 325°F (160°C). This lower baking temperature helps prevent cracking in the cheesecakes.
- Prepare the Crust: In a medium bowl, mix the graham cracker crumbs, melted butter, and sugar until the mixture resembles wet sand. This step is crucial because if the butter isn’t fully melted or the crumbs are too coarse, the crust won’t hold well.
- Form the Crust Base: Spoon about 1 tablespoon (15 g) of the crust mixture into each mini muffin cup. Press down firmly with the back of a spoon or your fingers to create an even layer. I find pressing firmly but not too hard gives the best crunch without being too thick. Bake the crusts for 5 minutes, then remove and let cool slightly.
- Make the Filling: In a large bowl, beat the softened cream cheese until smooth (about 2 minutes). Add sugar and continue beating until well combined. Next, add the egg and vanilla extract, mixing until smooth. Finally, fold in the sour cream gently with a spatula to keep the texture creamy and light. Overmixing here can incorporate too much air and cause cracks.
- Fill the Cups: Spoon about 2 tablespoons (30 ml) of the cheesecake filling over each crust in the muffin pan. Smooth the tops with the back of the spoon or a small offset spatula. The cups should be about 3/4 full to leave room for rising.
- Bake the Mini Cheesecakes: Place the muffin pan in the oven and bake for 18–22 minutes. The centers should be slightly jiggly but not liquid when you gently shake the pan. If the edges brown too fast, cover loosely with foil to prevent overbaking.
- Cool and Chill: Remove from oven and let the cheesecakes cool in the pan for 15 minutes to set. Then transfer them carefully to a wire rack. Once cooled to room temperature, refrigerate for at least 2 hours (or overnight if possible) to firm up and develop flavor.
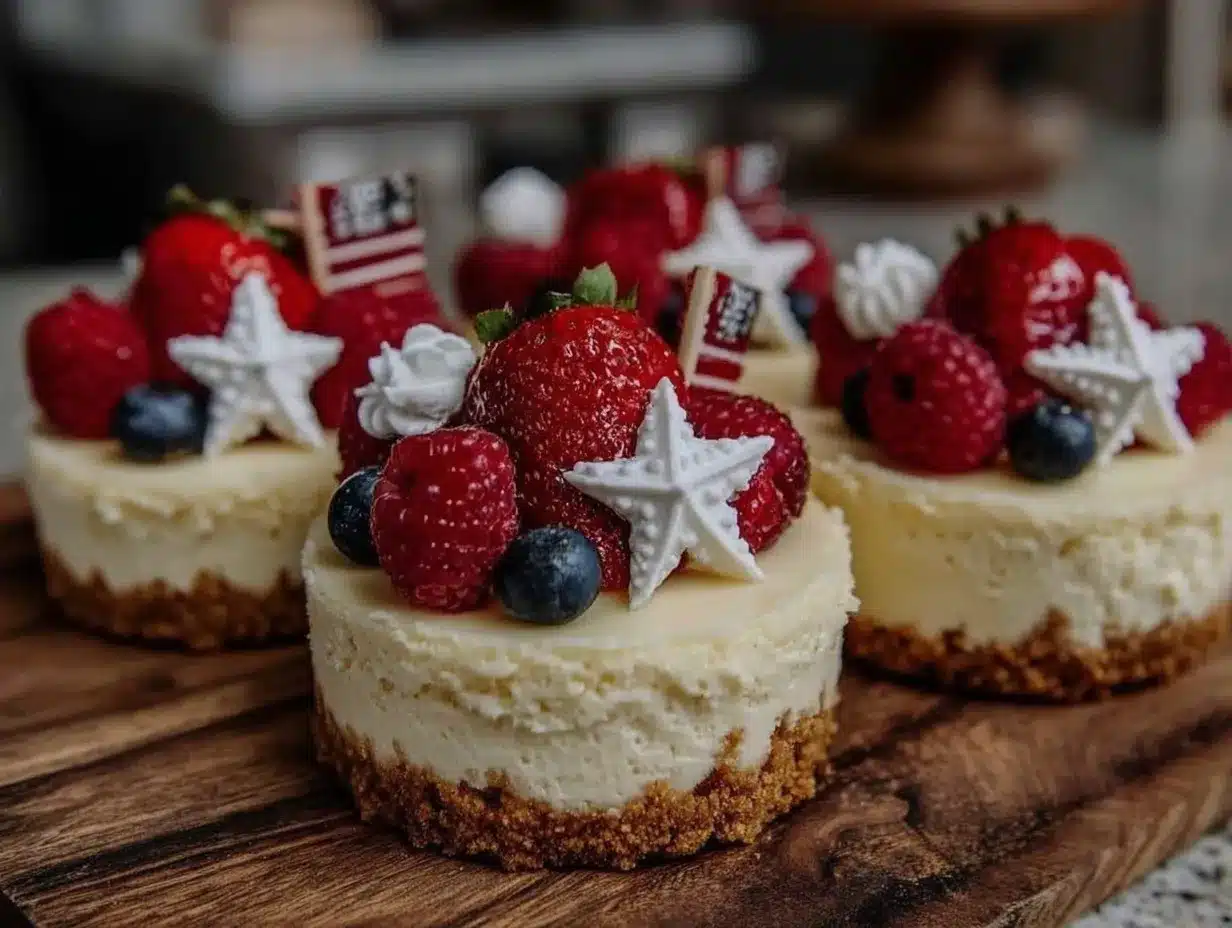
- Assemble the Flag Topping: Arrange blueberries in the top left corner of each mini cheesecake to mimic the stars area of the flag. Then alternate rows of sliced strawberries and raspberries horizontally for the stripes. This step is where your creativity shines—feel free to trim berries for a neater fit.
- Serve: Optionally garnish with a tiny mint leaf for a pop of green. Serve chilled for best texture.
Pro tip: If your crust edges seem too crumbly after baking, next time try pressing the crust mixture a bit firmer or adding an extra tablespoon of melted butter. Also, watch that your cream cheese really softens beforehand to avoid lumps in the filling.
Cooking Tips & Techniques
Here are some lessons I’ve learned from trial and error with these festive cheesecakes:
- Soften Cream Cheese Properly: Let it sit at room temperature for at least 30 minutes or microwave briefly in 5-second bursts. Cold cream cheese leads to lumpy batter.
- Don’t Overbake: Cheesecakes continue to cook after removal. Take them out when the centers still wiggle slightly to avoid dryness and cracks.
- Press Crust Evenly: Uneven crust results in some bites being too thick or crumbly. Use a flat-bottomed measuring cup or spoon to press the crust down evenly.
- Multitask Cooling and Topping: While cheesecakes chill in the fridge, prep your berries and slices. It saves time and prevents rushed assembly.
- Use Fresh, Firm Berries: Soft or overripe berries can bleed juice and make the topping messy. Firmer fruit holds the flag shape better.
Honestly, I once ignored the chilling step, and the cheesecakes fell apart when I tried to remove them. Lesson learned! Patience is key here.
Variations & Adaptations
Want to switch things up? Here are some ways to make these mini cheesecakes your own:
- Dietary Adaptations: Use gluten-free graham crumbs or almond flour crust for gluten-free options. Swap cream cheese with a plant-based version for a dairy-free treat.
- Seasonal Twists: In fall, replace the berries with diced apples and a sprinkle of cinnamon for a cozy spin.
- Flavor Variants: Add lemon zest or a splash of almond extract to the cheesecake filling for subtle flavor changes.
- Cooking Methods: Try no-bake versions by skipping the oven and chilling the crust and filling mixture overnight.
- Personal Variation: Once, I added a swirl of raspberry jam in the filling before baking for a surprise berry burst—delicious and visually stunning!
Serving & Storage Suggestions
These mini cheesecakes are best served chilled, straight from the fridge, so the texture stays firm and creamy. They make a lovely centerpiece for summer parties, especially paired with iced tea or a sparkling lemonade.
If you want to prep ahead, store them covered tightly in the refrigerator for up to 3 days. For longer storage, freeze without fruit topping for up to a month—thaw overnight before adding fresh berries and serving. Reheat is not recommended as it affects texture, but letting them sit at room temperature for 10 minutes before serving brings out the flavor nicely.
Over time, the crust softens a bit, and the flavors meld beautifully—sometimes I make them a day in advance just for that reason.
Nutritional Information & Benefits
Each mini cheesecake serves about 1 and contains approximately 180 calories, 10 grams of fat, and 15 grams of carbohydrates. The cream cheese provides a good source of protein and calcium, while the fresh berries add antioxidants and vitamins.
This dessert fits nicely into a balanced diet when enjoyed in moderation. It can also be adapted for low-sugar or gluten-free diets with simple ingredient swaps. I appreciate that it offers a festive treat without feeling too heavy or overly sweet, making it a guilt-free indulgence for patriotic celebrations.
Conclusion
These easy patriotic mini cheesecakes with flag topping are a delightful way to bring a splash of color and flavor to your summer gatherings. They’re simple to make, impressive to serve, and beloved by folks of all ages. I encourage you to customize the toppings and flavors to your liking—whether that’s switching up berries or adding a personal twist in the filling.
Personally, this recipe always brings a bit of that lost bakery magic back into my kitchen, and I hope it does the same for you. Give it a try, share your adaptations, and let me know how your mini cheesecakes turn out—because the best part of recipes like these is the stories and smiles they create.
FAQs
Can I make these mini cheesecakes ahead of time?
Absolutely! They keep well refrigerated for up to 3 days. Just add the fresh berry topping right before serving for the best appearance.
What if I don’t have a mini muffin pan?
You can use a regular muffin pan or even small ramekins. Just adjust baking time—regular muffins take about 25-30 minutes.
Can I use frozen berries for the flag topping?
Yes, but thaw and drain them well to avoid excess moisture that can make the topping soggy.
How do I prevent cracks in the cheesecake filling?
Beat the cream cheese until smooth, avoid overmixing after adding the egg, and bake at a lower temperature (325°F/160°C). Also, don’t overbake—remove when centers are still slightly jiggly.
Is there a vegan version of this recipe?
Yes, you can try using dairy-free cream cheese and a plant-based crust alternative. The filling texture will differ slightly but can still be delicious!
For more fun dessert ideas, you might enjoy my no-bake lemon bars recipe or the festive fresh berry pavlova. Both bring bright flavors perfect for summer celebrations.
Pin This Recipe!
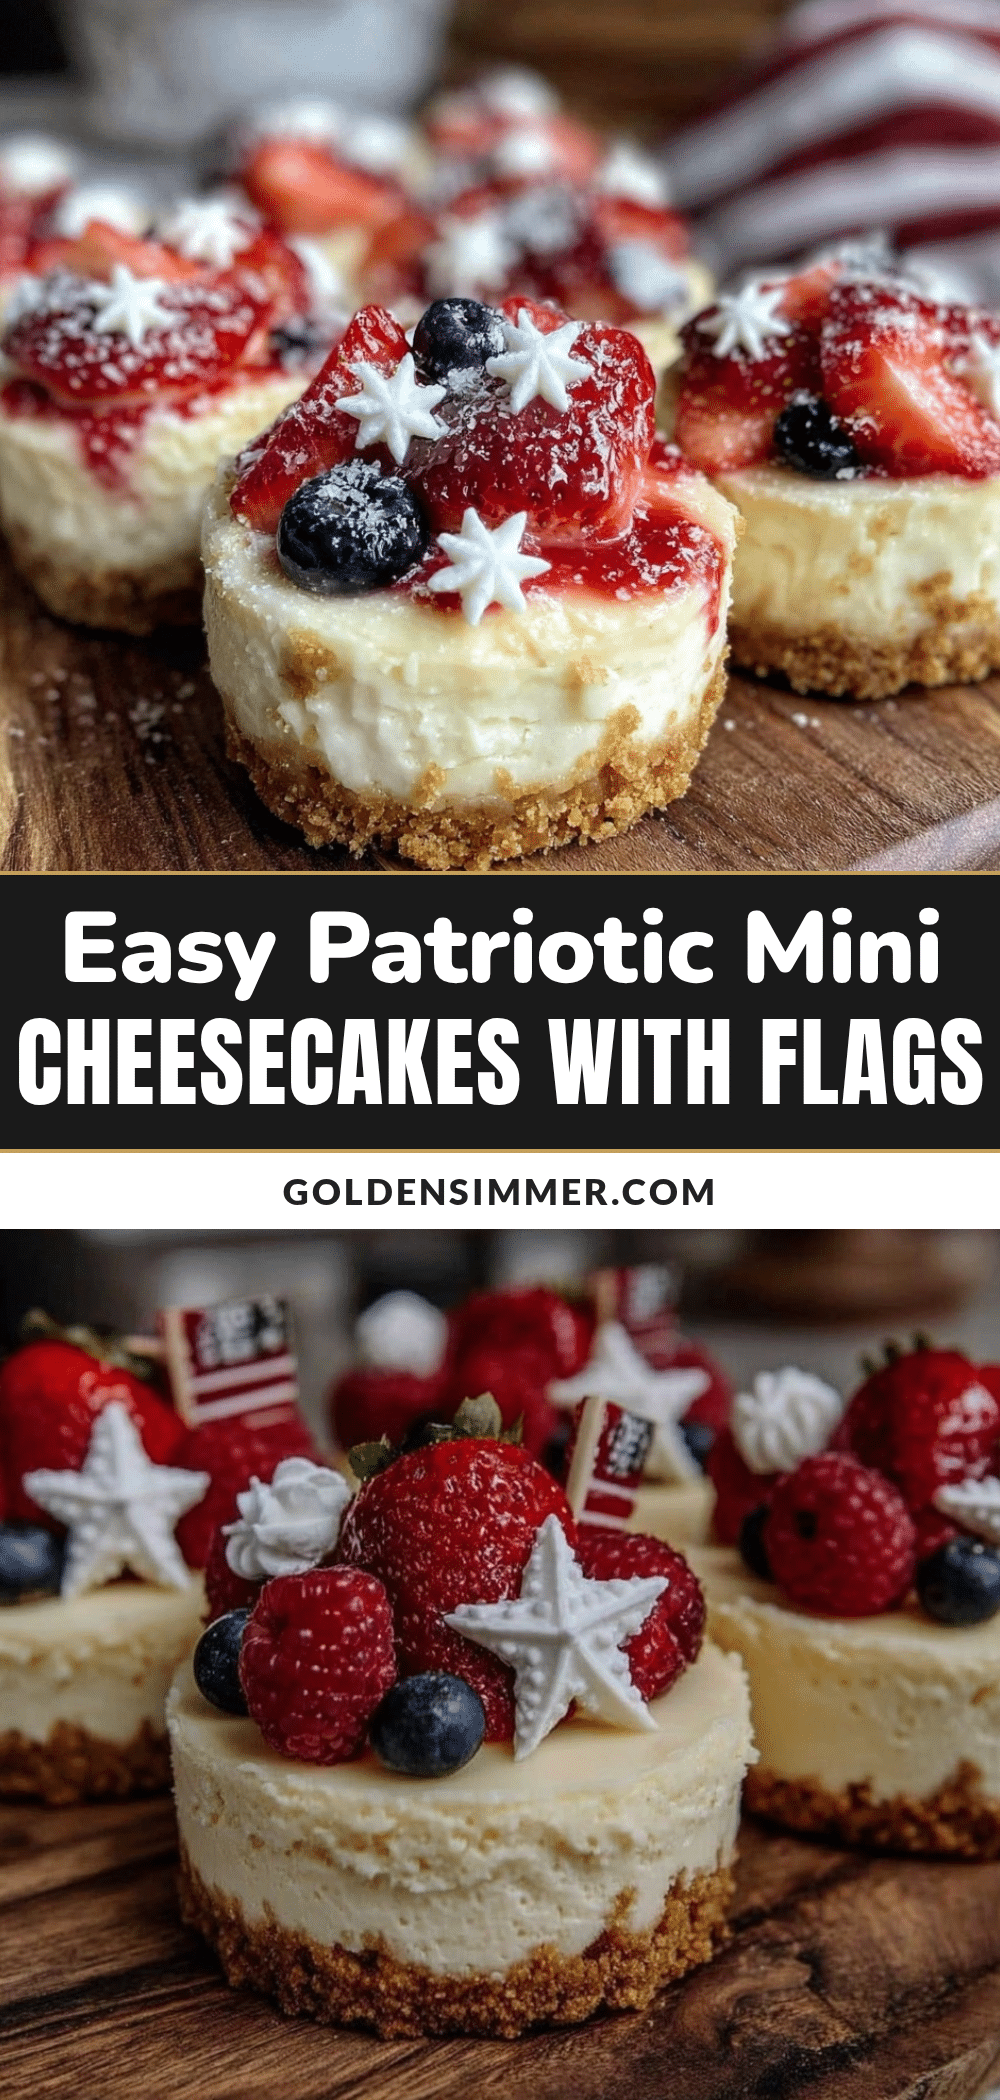
Easy Patriotic Mini Cheesecakes Recipe with Perfect Flag Topping for Summer Parties

These easy patriotic mini cheesecakes feature a creamy filling and a buttery graham cracker crust, topped with fresh berries arranged like a flag. Perfect for summer parties, BBQs, and 4th of July celebrations.
- Prep Time: 15 minutes
- Cook Time: 27 minutes
- Total Time: 2 hours 42 minutes
- Yield: 12 mini cheesecakes 1x
- Category: Dessert
- Cuisine: American
Ingredients
- 1 cup graham cracker crumbs (about 8 full sheets)
- 3 tablespoons unsalted butter, melted
- 2 tablespoons granulated sugar
- 8 oz cream cheese, softened (room temperature)
- 1/3 cup granulated sugar
- 1 large egg (room temperature)
- 1 teaspoon vanilla extract
- 2 tablespoons sour cream
- 1/2 cup fresh blueberries
- 1/2 cup fresh strawberries, sliced
- 1/2 cup fresh raspberries
- Optional: a small sprig of fresh mint for garnish
Instructions
- Preheat the oven to 325°F (160°C).
- In a medium bowl, mix graham cracker crumbs, melted butter, and sugar until the mixture resembles wet sand.
- Spoon about 1 tablespoon (15 g) of the crust mixture into each mini muffin cup. Press down firmly to create an even layer.
- Bake the crusts for 5 minutes, then remove and let cool slightly.
- In a large bowl, beat the softened cream cheese until smooth (about 2 minutes). Add sugar and continue beating until well combined.
- Add the egg and vanilla extract, mixing until smooth.
- Fold in the sour cream gently with a spatula to keep the texture creamy and light.
- Spoon about 2 tablespoons (30 ml) of the cheesecake filling over each crust in the muffin pan, smoothing the tops. Fill cups about 3/4 full.
- Bake for 18–22 minutes until centers are slightly jiggly but not liquid. Cover loosely with foil if edges brown too fast.
- Remove from oven and let cool in the pan for 15 minutes, then transfer to a wire rack to cool to room temperature.
- Refrigerate for at least 2 hours or overnight to firm up and develop flavor.
- Arrange blueberries in the top left corner of each mini cheesecake to mimic stars on a flag.
- Alternate rows of sliced strawberries and raspberries horizontally for the stripes.
- Optionally garnish with a small mint leaf and serve chilled.
Notes
Soften cream cheese properly before mixing to avoid lumps. Do not overbake; remove when centers are still slightly jiggly to prevent cracks. Press crust evenly and firmly for best texture. Use fresh, firm berries to maintain the flag shape and avoid soggy topping. Refrigerate at least 2 hours or overnight for best results. Can substitute sour cream with Greek yogurt or use dairy-free cream cheese for dietary adaptations.
Nutrition
- Serving Size: 1 mini cheesecake
- Calories: 180
- Fat: 10
- Carbohydrates: 15
Keywords: mini cheesecakes, patriotic dessert, 4th of July, summer party dessert, berry topping, easy cheesecake, mini desserts



