Love this? Save it for later!
Share the inspiration with your friends
Introduction
The office barbecue was in less than two hours and I’d completely blanked on what to bring. Everyone else was showing up with their fancy smoked ribs or meticulously marinated brisket, each boasting recipes perfected over weekends of slow cooking. I had, honestly, nothing but a half-empty cooler and a vague hope I could whip something up on the grill. The pantry was bare except for a can of beer and a lonely whole chicken sitting in the fridge. I mean, who keeps just a plain chicken and a can of beer as their culinary arsenal? Well, that day, it saved me.
With no time to spare, I grabbed the chicken, slapped on a quick spice rub, and perched it on that beer can like some kind of makeshift throne. The sizzle when I placed it on the grill was the soundtrack of my last-minute rescue, and honestly, I was more curious than confident. Maybe you’ve been there—scrambling to impress while feeling completely underprepared. But let me tell you, when that crispy skin formed and the aroma started to fill the backyard, people gathered around like moths to a flame.
That slightly frantic afternoon turned into one of those accidental triumphs that stick with you. The beer can chicken wasn’t just juicy; it had this crisp, flavorful skin that made everyone forget about their fancy dishes. It’s now my go-to recipe whenever I’m short on time but want to look like I spent hours perfecting dinner. And if you’re wrestling with what to grill next, this crispy beer can chicken might just surprise you the way it surprised me.
Why You’ll Love This Recipe
After testing this crispy beer can chicken recipe multiple times, I can confidently say it’s a winner for several reasons. It manages to combine simplicity with that irresistible crispy skin and juicy meat that everyone craves. More than once, I’ve brought this to gatherings and watched as folks went back for seconds without hesitation.
- Quick & Easy: This whole chicken comes together in under 90 minutes, which is perfect for those spontaneous grill sessions or last-minute invites.
- Simple Ingredients: No complicated marinades or exotic spices here—just pantry staples and a good beer.
- Perfect for Outdoor Gatherings: Whether it’s a weekend cookout, a holiday picnic, or a casual family dinner, this recipe fits the bill.
- Crowd-Pleaser: Kids and adults alike love the tender, juicy meat paired with the crispy, golden skin.
- Unbelievably Delicious: The beer helps steam the chicken from the inside, keeping it moist, while the grill crisps the outside beautifully.
What sets this recipe apart is the balance between the beer’s subtle flavor infusion and the spice rub’s punch. I’ve tried dry brining and wet marinating, but the straightforward rub with garlic, paprika, and a pinch of cayenne brings just the right kick without overpowering the chicken’s natural flavor. Honestly, it feels like comfort food with a twist—simple, satisfying, and memorable.
What Ingredients You Will Need
This recipe relies on straightforward, wholesome ingredients that you can usually find without a special trip to the grocery store. The beer can chicken gets its magic from a few key components that create that crave-worthy crispy skin and juicy interior.
- Whole chicken (about 4-5 pounds / 1.8-2.3 kg) – preferably organic or free-range for better flavor and texture
- Beer (12 oz / 355 ml can) – a lager or pale ale works best; avoid overly bitter IPAs
- Olive oil (2 tablespoons) – helps the rub stick and crisps the skin
- Garlic powder (1 teaspoon)
- Smoked paprika (1 tablespoon) – adds a smoky depth
- Onion powder (1 teaspoon)
- Cayenne pepper (¼ teaspoon) – optional, for a subtle spicy kick
- Salt (1½ teaspoons) – kosher salt preferred for even seasoning
- Black pepper (1 teaspoon) – freshly ground
- Lemon (1, halved) – optional, placed inside the cavity for extra aroma
Tip: If you don’t have smoked paprika, regular paprika works too, but the smoky flavor is worth seeking out. And for a gluten-free option, double-check your beer choice or swap beer with sparkling water seasoned with a bit of apple cider vinegar.
Equipment Needed
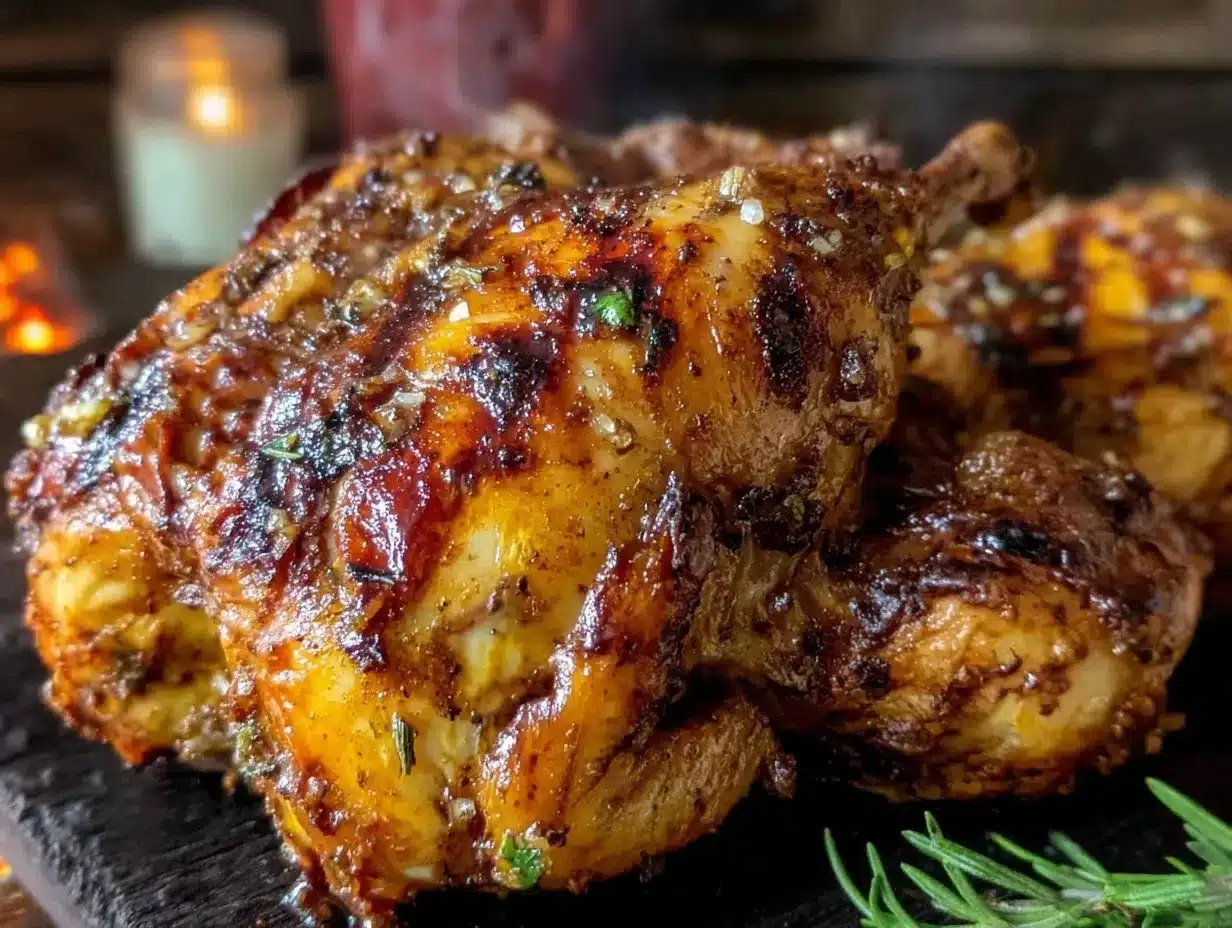
- Grill: A charcoal or gas grill works well. I prefer charcoal for that authentic smoky flavor, but gas grills offer more control over temperature.
- Beer can chicken holder (optional): These stands keep the chicken stable and upright, but if you don’t have one, a clean beer can and some careful balancing will do.
- Meat thermometer: A must-have for checking doneness without cutting into the chicken and losing juices.
- Brush: For applying olive oil and rub evenly.
- Tongs and heat-resistant gloves: Safety first when handling hot chicken and grills.
If you’re on a budget, no worries—improvise with what you have. A disposable aluminum pan can catch drippings, and a sturdy can will hold the chicken just fine. I once grilled this chicken balanced precariously on a beer can with a brick nearby for support—don’t laugh, it worked!
Preparation Method
- Preheat your grill to medium-high heat (around 375°F / 190°C): This usually takes about 15 minutes. If using charcoal, arrange coals on one side for indirect cooking.
- Prepare the chicken: Remove giblets and pat the chicken dry inside and out with paper towels. Dry skin is key for crispy results.
- Mix the spice rub: In a small bowl, combine garlic powder, smoked paprika, onion powder, cayenne pepper, salt, and black pepper.
- Apply olive oil: Rub the entire chicken with olive oil, then generously apply the spice mix all over, including under the skin where you can reach, and inside the cavity.
- Insert lemon halves (optional): Place inside the cavity for a hint of citrus aroma during cooking.
- Open the beer, pour out (or drink!) about a quarter of it: Place the can on a stable surface and carefully lower the chicken onto the can so it sits upright.
- Set the chicken on the grill: Position it over indirect heat (the side without coals or burners on). Close the lid and cook for about 1 hour to 1 hour 15 minutes.
- Check the temperature: Insert a meat thermometer into the thickest part of the thigh (avoiding bone). When it hits 165°F (74°C), the chicken is done.
- Remove carefully: Use tongs and gloves to lift the chicken off the can. Let it rest for 10 minutes before carving to let juices redistribute.
Pro tip: If the skin isn’t as crispy as you want near the end, move the chicken closer to direct heat for a few minutes—but watch closely to avoid burning. And don’t forget that resting step—it really makes a difference in keeping the meat juicy.
Cooking Tips & Techniques
One thing I learned the hard way is that patience is key. Rushing the cooking or opening the grill too often lets heat escape and can dry out your chicken. Trust the process and let the indirect heat do its magic.
Another tip: Dry your chicken thoroughly before applying the rub. Moisture on the skin leads to steaming instead of crisping. I sometimes leave the chicken uncovered in the fridge overnight to dry the skin further, which results in a much better crunch.
When balancing the chicken on the beer can, make sure the can is sturdy and doesn’t tip. Using a beer can chicken holder can save you stress, especially if you’re grilling for a crowd.
Finally, keep an eye on your grill temperature. Too hot and you risk burning the skin before the inside cooks; too low and the skin won’t crisp properly. A steady 375°F (190°C) is the sweet spot I stick to.
Variations & Adaptations
- Herb-Infused: Add fresh rosemary, thyme, or sage inside the cavity or mix into the spice rub for an aromatic twist.
- Spicy Kick: Amp up the cayenne or add chili powder and a drizzle of hot sauce to the rub for heat lovers.
- Gluten-Free Option: Use gluten-free spices and a gluten-free beer or swap with sparkling water and lemon juice.
- Oven-Baked Version: If you don’t have a grill, roast the chicken upright on a beer can in a 375°F (190°C) oven for about 1 hour and 15 minutes.
- Smoked Flavor: Toss some soaked wood chips on the coals or use a smoker box on a gas grill for that extra smoky depth.
I once tried a maple syrup glaze in the last 10 minutes for a sweet-savory combo—it was a surprising crowd-pleaser that added a nice caramelized finish.
Serving & Storage Suggestions
Serve your crispy beer can chicken hot off the grill, ideally with grilled veggies, corn on the cob, or a fresh, tangy coleslaw. The crispy skin and juicy meat pair wonderfully with something light and bright.
Leftovers can be stored in an airtight container in the fridge for up to 3 days. Reheat gently in the oven at 300°F (150°C) for about 15 minutes to keep the skin from getting rubbery. Alternatively, shred leftover meat for sandwiches or salads—no waste here!
Flavors tend to deepen overnight, so sometimes I actually prefer the chicken the next day, cold or warmed up. It’s perfect for quick lunches or picnic snacks.
Nutritional Information & Benefits
This crispy beer can chicken is a protein-rich meal with moderate fat, mostly from the skin and olive oil. The use of simple spices and natural ingredients keeps it free from additives and excess sodium.
Chicken provides essential nutrients like B vitamins, zinc, and iron, supporting energy and immune health. Using olive oil adds heart-healthy monounsaturated fats, while the spices bring antioxidants and a metabolism boost.
This recipe can easily fit into gluten-free, low-carb, or paleo diets by adjusting the beer or substituting with sparkling water. Just be mindful of any alcohol sensitivity, as the beer flavor is subtle but present.
Conclusion
If you’re looking for a recipe that’s straightforward but delivers on flavor and texture, this crispy beer can chicken is a solid pick. It’s an underdog dish that’s proven itself time and again, especially when time and resources are tight.
Feel free to tweak the spice rub or try different beers until you find your perfect match. Honestly, it’s become one of my favorite ways to impress without the fuss. I’d love to hear about your own takes on this recipe—drop a comment sharing your tweaks or grilling tales!
Grab your grill, crack open a beer, and give this recipe a shot—you might just find your new go-to chicken dish.
FAQs
Can I use a different kind of beer for this recipe?
Absolutely! Lagers and pale ales are popular choices because they’re mild and complement the chicken well. Avoid very bitter or hoppy beers as they can overpower the flavor.
Do I have to use a whole beer can, or can I pour some out?
It’s common to pour out or drink about a quarter of the beer so the can isn’t overflowing. The beer inside steams the chicken from the inside, keeping it moist.
What if I don’t have a grill—can I make beer can chicken in the oven?
Yes! Place the chicken on a beer can in a roasting pan and bake at 375°F (190°C) for about 1 hour 15 minutes. The cooking time and temperature are similar to grilling.
How do I know when the chicken is done?
Use a meat thermometer to check the thickest part of the thigh without touching bone. It should read 165°F (74°C) for safe and juicy chicken.
Is the beer flavor strong in the chicken?
Not at all. The beer mostly moistens the chicken and adds a subtle, slightly malty aroma. Most people won’t notice a strong beer taste, just juicy, flavorful meat.
For a similar crowd-pleasing grilled poultry option, you might enjoy my crispy garlic chicken recipe that’s perfect for weeknight dinners.
Pin This Recipe!
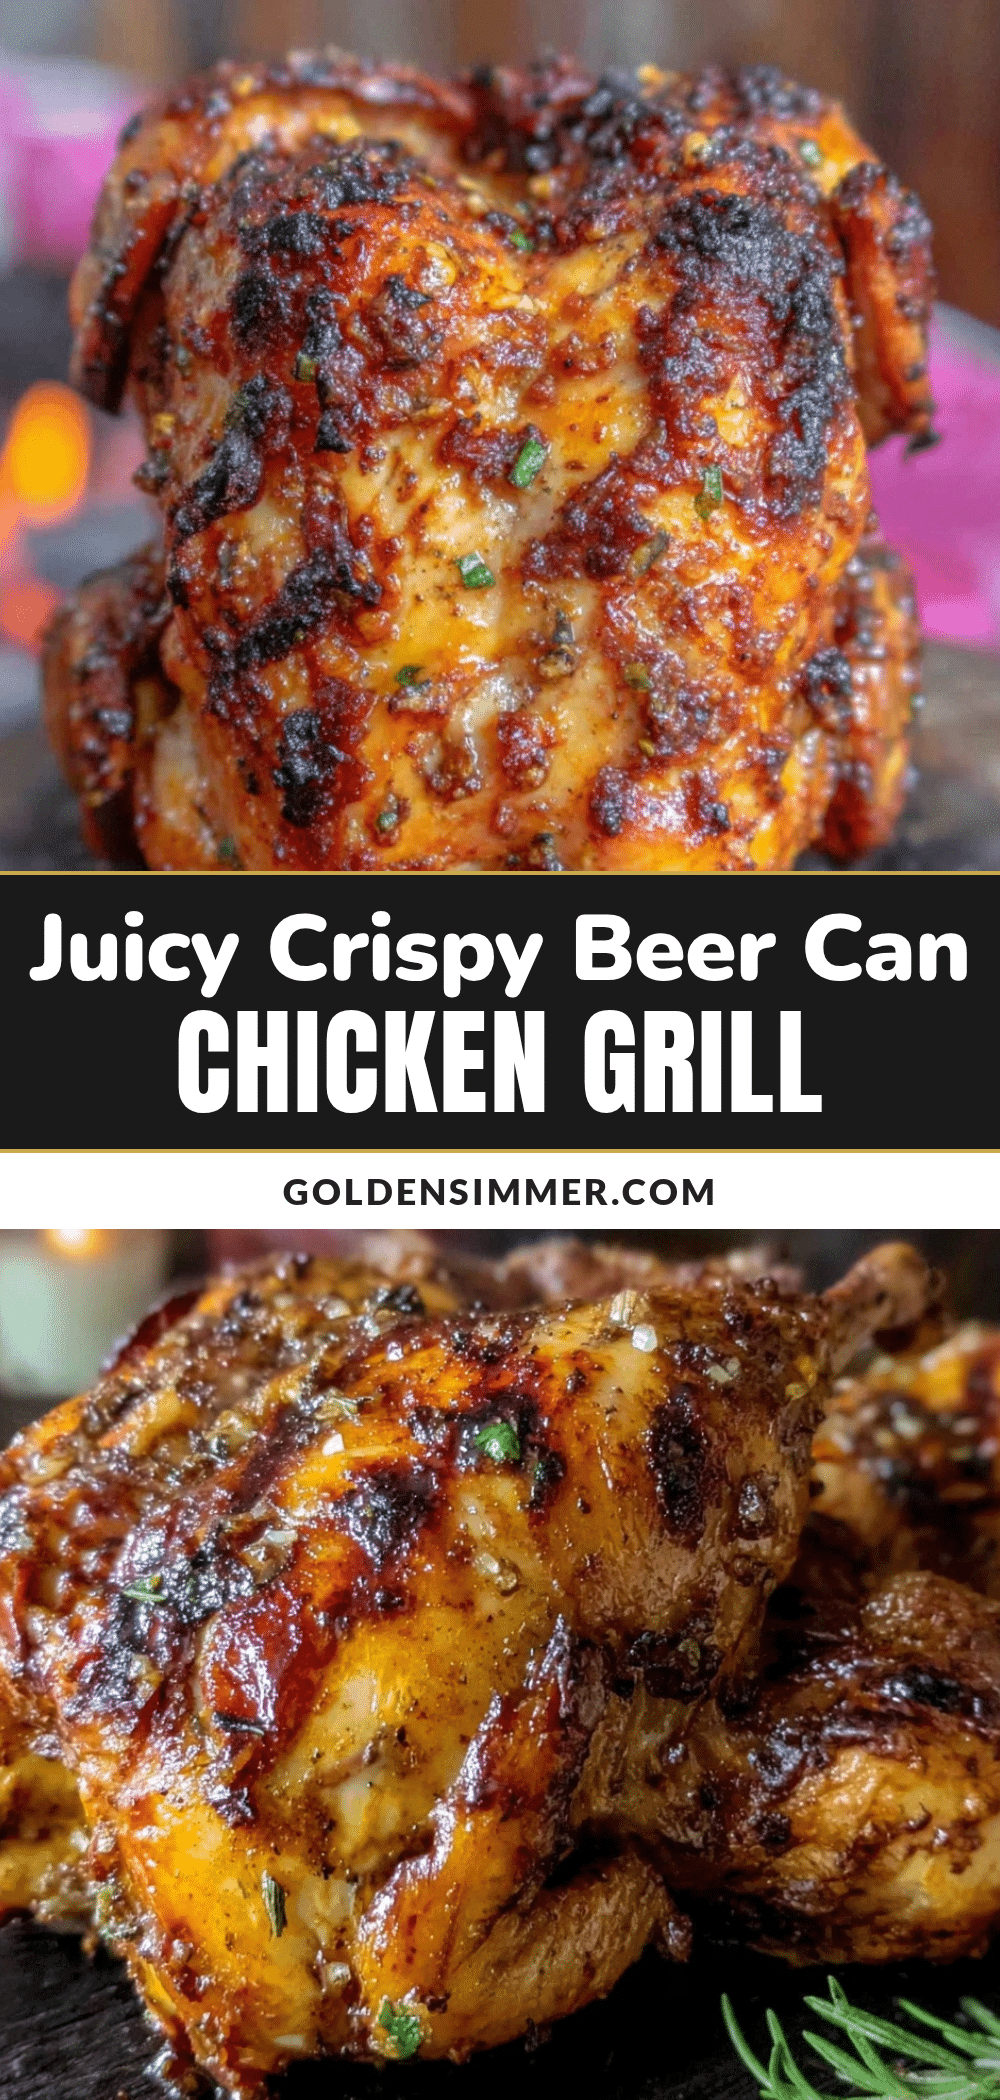
Crispy Beer Can Chicken

A quick and easy grilled whole chicken recipe that delivers crispy skin and juicy meat using a beer can for moisture and flavor.
- Prep Time: 15 minutes
- Cook Time: 1 hour 15 minutes
- Total Time: 1 hour 30 minutes
- Yield: 4-6 servings
- Category: Main Course
- Cuisine: American
Ingredients
- Whole chicken (about 4-5 pounds / 1.8-2.3 kg) – preferably organic or free-range
- Beer (12 oz / 355 ml can) – lager or pale ale recommended
- Olive oil (2 tablespoons)
- Garlic powder (1 teaspoon)
- Smoked paprika (1 tablespoon)
- Onion powder (1 teaspoon)
- Cayenne pepper (¼ teaspoon, optional)
- Salt (1½ teaspoons) – kosher salt preferred
- Black pepper (1 teaspoon) – freshly ground
- Lemon (1, halved, optional)
Instructions
- Preheat your grill to medium-high heat (around 375°F / 190°C). If using charcoal, arrange coals on one side for indirect cooking.
- Remove giblets and pat the chicken dry inside and out with paper towels.
- In a small bowl, combine garlic powder, smoked paprika, onion powder, cayenne pepper, salt, and black pepper.
- Rub the entire chicken with olive oil, then generously apply the spice mix all over, including under the skin and inside the cavity.
- Place lemon halves inside the cavity if using.
- Open the beer, pour out or drink about a quarter of it. Place the can on a stable surface and carefully lower the chicken onto the can so it sits upright.
- Set the chicken on the grill over indirect heat. Close the lid and cook for about 1 hour to 1 hour 15 minutes.
- Check the temperature by inserting a meat thermometer into the thickest part of the thigh (avoiding bone). When it reaches 165°F (74°C), the chicken is done.
- Use tongs and gloves to carefully remove the chicken from the can. Let it rest for 10 minutes before carving.
Notes
If the skin isn’t crispy enough near the end, move the chicken closer to direct heat for a few minutes but watch carefully to avoid burning. Resting the chicken for 10 minutes after cooking helps keep the meat juicy. Dry the chicken thoroughly before applying the rub for best crispiness. Use a sturdy beer can or a beer can chicken holder for stability. For a gluten-free option, use gluten-free beer or substitute beer with sparkling water and a splash of apple cider vinegar.
Nutrition
- Serving Size: 1/4 to 1/6 of the wh
- Calories: 350
- Sodium: 600
- Fat: 22
- Saturated Fat: 5
- Carbohydrates: 2
- Protein: 38
Keywords: beer can chicken, grilled chicken, crispy chicken, barbecue chicken, easy chicken recipe, beer chicken, outdoor cooking



