Love this? Save it for later!
Share the inspiration with your friends
I was standing in my kitchen last Tuesday, staring at three zucchinis that were about to go soft, when my four-year-old walked in and asked for chips. Not the kind from a bag, she specified — she wanted something crunchy. I almost laughed. Zucchini and crunchy don’t usually belong in the same sentence, do they? But I’d been seeing these air fryer zucchini chips all over my feed, and honestly, I was skeptical. Would they actually satisfy a picky preschooler’s snack craving? Or would I end up with a plate of sad, soggy green discs?
Let me tell you, I’ve had my share of kitchen failures. There was the time I tried to make kale chips and they turned into green dust. The sweet potato fries that came out more like sweet potato mush. So when I decided to try these easy 5-minute air fryer zucchini chips, I kept my expectations low. I mean, really low. I pulled out my air fryer, grabbed the zucchinis, and figured I’d give it a shot while my daughter watched from her step stool, asking “Is it done yet?” every thirty seconds.
When that first batch came out — golden, crispy, actually crunchy — I honestly did a little dance in my kitchen. My daughter grabbed one, took a bite, and her eyes got wide. “More, please!” she said, reaching for the bowl. That moment, right there, is why I keep experimenting in the kitchen. Maybe you’ve been there too — that feeling when a simple recipe actually works, and your kids are happily munching on vegetables without any fuss. These zucchini chips have become our go-to snack, and I’m pretty sure they’ll become yours too.
Why You’ll Love This Recipe
I’ve tested this recipe about seven times now, and I can tell you with confidence — it works. Every single time. Here’s what makes these easy 5-minute air fryer zucchini chips stand out from every other recipe you’ve tried:
- Quick & Easy: From start to finish, you’re looking at about 5 minutes of prep and 8-10 minutes in the air fryer. That’s it. No complicated steps, no fancy techniques.
- Simple Ingredients: You probably have everything in your kitchen right now. Zucchini, breadcrumbs, parmesan, eggs, and some seasonings. No special grocery trips required.
- Kid-Approved: My daughter calls these “green chips” and asks for them as an after-school snack. Her friends love them too — I’ve served them at playdates and watched kids devour them without realizing they’re eating vegetables.
- Crowd-Pleaser: I brought these to a potluck last month, and they were gone within twenty minutes. Adults and kids alike couldn’t stop grabbing them.
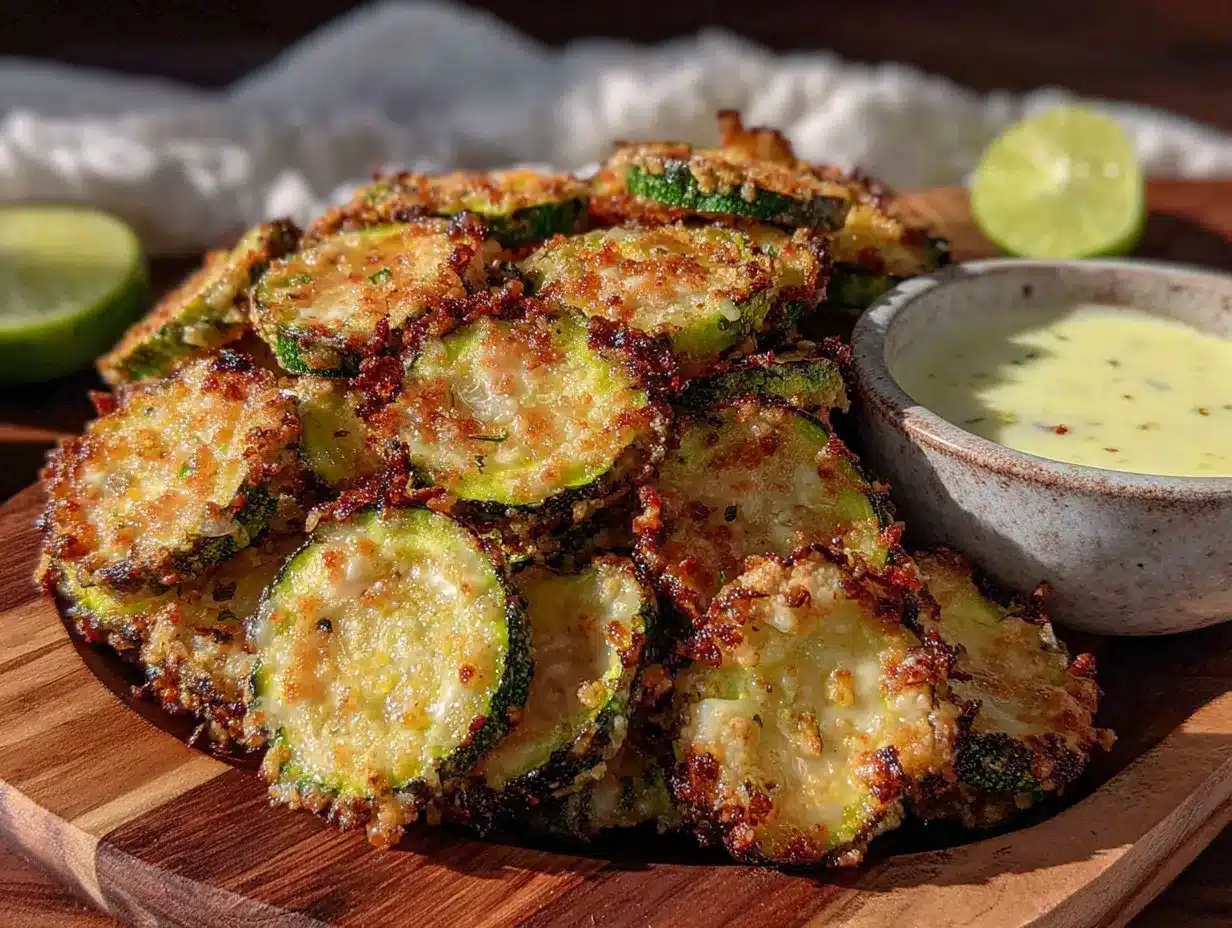
- Unbelievably Delicious: The secret is the combination of panko breadcrumbs and parmesan cheese. It creates this incredibly crispy coating that shatters when you bite into it, while the zucchini stays tender on the inside.
What makes this recipe different from the rest? It’s the technique. Most recipes tell you to slice your zucchini thick and hope for the best. I’ve learned that thin, even slices are the key to that perfect crunch. Plus, salting the zucchini first draws out excess moisture — that’s the step most people skip, and it makes all the difference.
This recipe isn’t just good — it’s the kind that makes you close your eyes after the first bite. It’s comfort food reimagined: healthier, faster, but with the same soul-soothing satisfaction. Perfect for impressing guests without stress, or turning a simple snack into something memorable.
What Ingredients You Will Need
This recipe uses simple, wholesome ingredients that work together to create that perfect crispy texture without any fuss. Most of these are pantry staples, which makes this recipe perfect for those days when you need a snack now.
- Zucchini: 2 medium zucchinis (about 8-10 inches long). Look for firm, dark green zucchinis without any soft spots. Fresh is best here — older zucchinis have more moisture and won’t get as crispy.
- Panko breadcrumbs: 1 cup. I prefer panko over regular breadcrumbs because they create a lighter, crunchier coating. My go-to brand is Kikkoman, but any brand works fine.
- Grated Parmesan cheese: 1/2 cup. The real stuff, not the green can. Freshly grated parmesan melts better and adds way more flavor. (adds richness and helps with browning)
- Large eggs: 2, beaten. These help the breading stick to the zucchini slices. Make sure they’re at room temperature for easier coating.
- Garlic powder: 1 teaspoon. Adds savory depth without being overpowering.
- Onion powder: 1/2 teaspoon. Complements the garlic and adds a subtle sweetness.
- Paprika: 1/2 teaspoon. I use smoked paprika for extra flavor, but regular works too.
- Salt: 1/2 teaspoon, plus extra for drawing out moisture from the zucchini.
- Black pepper: 1/4 teaspoon, freshly ground.
- Olive oil spray: For coating the air fryer basket and spritzing the chips. Avocado oil spray also works great and has a higher smoke point.
Substitution Guidance: If you’re gluten-free, use gluten-free panko breadcrumbs — they work beautifully. For a dairy-free version, swap the parmesan with nutritional yeast (use about 1/4 cup). You can also add 1 tablespoon of Italian seasoning for a herby twist, or a pinch of cayenne pepper if you like some heat.
Equipment Needed
You don’t need much for this recipe, which is part of why I love it so much.
- Air fryer: Any size works, but a 5-6 quart basket-style air fryer is ideal. I use the Cosori Pro II and love it. If you have an oven-style air fryer, just make sure to shake the basket halfway through for even cooking.
- Mandoline slicer or sharp knife: For getting those thin, even slices. A mandoline is faster and more consistent, but a sharp chef’s knife works perfectly — just take your time.
- Mixing bowls: Two shallow bowls — one for the beaten eggs, one for the breadcrumb mixture.
- Cutting board: Any standard cutting board will do.
- Paper towels or clean kitchen towel: For drying the zucchini slices after salting.
- Tongs: For dipping the zucchini slices into the egg and breadcrumb mixture without making a mess.
- Cooling rack: Optional, but helps keep the chips crispy if you’re making multiple batches.
If you don’t have a mandoline, don’t worry — I actually prefer using a knife because I find it more meditative. Just aim for slices that are about 1/4 inch thick, and try to keep them as even as possible.
Preparation Method
Let me walk you through this step by step. Trust me, after a few batches, you’ll be able to do this with your eyes closed.
- Prep the zucchini: Wash your zucchinis and trim off the ends. Using a mandoline or sharp knife, slice them into 1/4-inch thick rounds. Try to keep them uniform — this ensures even cooking. (About 2 minutes)
- Salt the zucchini: Place the slices in a colander and sprinkle with 1 teaspoon of salt. Toss gently to coat, then let them sit for 10 minutes. This step draws out excess moisture, which is the secret to crispy chips. You’ll see little beads of water forming on the surface — that’s a good sign. (10 minutes, mostly hands-off)
- Pat dry: After 10 minutes, rinse the zucchini slices quickly with cold water (to remove excess salt), then pat them thoroughly dry with paper towels or a clean kitchen towel. Get them as dry as possible — moisture is the enemy of crispiness. (2 minutes)
- Set up your breading station: In one shallow bowl, beat the 2 eggs until smooth. In another shallow bowl, combine the panko breadcrumbs, grated parmesan, garlic powder, onion powder, paprika, 1/2 teaspoon salt, and black pepper. Mix well with a fork. (2 minutes)
- Bread the zucchini: Working one slice at a time, dip each zucchini round into the beaten eggs, letting any excess drip off. Then press it into the breadcrumb mixture, coating both sides evenly. Place the breaded slices on a plate or cutting board. (3-4 minutes)
- Preheat your air fryer: Set your air fryer to 375°F (190°C) and let it preheat for 3 minutes. If your air fryer doesn’t have a preheat setting, just let it run empty for 3 minutes.
- Arrange in the basket: Lightly spray the air fryer basket with olive oil spray. Place the breaded zucchini slices in a single layer — don’t overcrowd them. They need space for the hot air to circulate. Depending on your air fryer size, you’ll likely need to work in batches. (1 minute)
- Cook: Spray the tops of the zucchini slices lightly with olive oil spray. Cook at 375°F (190°C) for 8-10 minutes, flipping halfway through. At the 5-minute mark, open the basket and flip each chip using tongs. They should be golden brown and crispy when done. (8-10 minutes)
- Cool and serve: Transfer the cooked zucchini chips to a cooling rack or plate. Let them cool for 2-3 minutes — they’ll continue to crisp up as they cool. Serve immediately with your favorite dipping sauce. (2 minutes)
Pro tip: If you’re making multiple batches, keep the finished chips in a single layer on a baking sheet in a 200°F (93°C) oven to stay warm and crispy while you finish cooking the rest.
Cooking Tips & Techniques
I’ve made this recipe enough times to know exactly what can go wrong — and how to fix it. Here are my hard-earned lessons:
- Don’t skip the salting step: I know it adds 10 minutes, but it’s non-negotiable. Zucchini is basically a water balloon with seeds, and if you don’t draw out that moisture, you’ll end up with soggy, steamed chips. The first time I made these, I was in a hurry and skipped this step. Big mistake. They came out limp and sad.
- Pat them really dry: After salting and rinsing, use a clean kitchen towel and really press down on those slices. You want them almost dry to the touch. This helps the egg wash stick better and ensures maximum crispiness.
- Don’t overcrowd the basket: I know it’s tempting to cram as many as possible in there, but air needs to circulate around each chip. If they’re touching, they’ll steam instead of crisp. Work in batches if you need to — it’s worth the extra few minutes.
- Flip halfway through: Set a timer for 5 minutes and flip each chip. The bottom side gets less airflow, so flipping ensures even browning on both sides.
- Let them cool: I know it’s hard to wait, but those chips are still steam-cooking inside when they come out of the air fryer. Give them 2-3 minutes on a cooling rack, and they’ll reach peak crispiness.
- Eat them fresh: These are best within 30 minutes of cooking. They’ll still be good after that, but that perfect crunch fades as they sit.
Variations & Adaptations
One of the best things about this recipe is how versatile it is. Here are some variations I’ve tried and loved:
- Cheesy Herb Version: Add 1 tablespoon of Italian seasoning and 2 tablespoons of extra parmesan to the breadcrumb mixture. The herbs add a lovely fragrance, and the extra cheese makes them even more irresistible.
- Spicy Kick: Add 1/2 teaspoon of cayenne pepper and 1/4 teaspoon of red pepper flakes to the breadcrumb mixture. My husband loves this version — he says it’s like spicy chips but actually good for you.
- Gluten-Free Option: Use gluten-free panko breadcrumbs (I like the Ian’s brand) and make sure your parmesan is labeled gluten-free. The texture is almost identical to the original.
- Vegan Adaptation: Replace the eggs with a mixture of 2 tablespoons of flaxseed meal and 5 tablespoons of water (let it sit for 5 minutes to gel). Use nutritional yeast instead of parmesan. The coating won’t be quite as crispy, but it’s still delicious.
- Air Fryer vs. Oven: If you don’t have an air fryer, you can bake these at 425°F (218°C) for 15-18 minutes, flipping halfway. They won’t be quite as crispy as the air fryer version, but they’re still really good.
- Different Veggies: This breading works beautifully on other vegetables too. Try it with yellow squash, eggplant slices, or even green beans. Just adjust cooking times as needed.
Serving & Storage Suggestions
These zucchini chips are best served fresh and hot, but let me give you some ideas for making the most of them.
Serving Temperature and Presentation: Serve these immediately after cooking while they’re still warm and crispy. Arrange them on a platter in a single layer — stacking them will trap steam and make them soggy. I like to serve them with a small bowl of marinara sauce for dipping, but ranch dressing, garlic aioli, or even just a squeeze of lemon juice works beautifully.
Complementary Dishes: These chips pair perfectly with grilled chicken or fish for a light dinner. They’re also great alongside a burger or sandwich instead of regular fries. For a party, serve them with a variety of dips — I’ve done a trio of marinara, ranch, and spicy mayo, and they always disappear fast.
Storage Instructions: If you have leftovers (which rarely happens in my house), store them in an airtight container in the refrigerator for up to 2 days. But honestly, they’re best eaten fresh. The texture changes significantly after refrigeration.
Reheating Methods: To revive leftover chips, pop them back in the air fryer at 350°F (177°C) for 3-4 minutes. The microwave will make them soggy, so avoid it if you can. I’ve also had success reheating them in a single layer on a baking sheet in a 400°F (204°C) oven for about 5 minutes.
How Flavors Develop: These chips are at their peak right after cooking. The parmesan flavor is most pronounced when hot, and the texture is unbeatable. If you’re making them for a party, I recommend cooking them just before serving for the best experience.
Nutritional Information & Benefits
Here’s the thing about these zucchini chips — they feel indulgent, but they’re actually pretty good for you. Let me break it down.
- Estimated Nutritional Values (per serving, about 1 cup): Approximately 120 calories, 6g protein, 10g carbohydrates, 5g fat, 2g fiber, 3g sugar, 350mg sodium.
- Health Benefits of Key Ingredients: Zucchini is packed with vitamin C, vitamin A, and antioxidants. It’s also high in water content, which helps with hydration. The parmesan adds calcium and protein, while the eggs provide additional protein and healthy fats.
- Dietary Considerations: This recipe is naturally low-carb and can be made gluten-free with a simple swap. It’s also relatively low in calories compared to traditional potato chips — you get the same satisfying crunch with way less guilt.
- Potential Allergens: Contains eggs and dairy (parmesan). If you have allergies, check the substitution suggestions above.
Honestly, I love that I can feel good about feeding these to my daughter. She’s getting vegetables without any fuss, and I’m not stressing about hidden ingredients or excessive oil. It’s a win-win in my book.
Frequently Asked Questions
Can I make these zucchini chips without an air fryer?
Absolutely! You can bake them in a conventional oven at 425°F (218°C) for 15-18 minutes, flipping halfway through. They won’t be quite as crispy as the air fryer version, but they’re still delicious. Just make sure to use a wire rack on your baking sheet for better air circulation.
Why are my zucchini chips soggy?
This usually happens for one of three reasons: you skipped the salting step, you didn’t pat the zucchini dry enough, or you overcrowded the air fryer basket. Make sure to follow the preparation method closely, and give those chips some space to breathe in the air fryer.
Can I freeze these zucchini chips?
I don’t recommend freezing them. The texture changes significantly after thawing — they become watery and lose their crunch. These are best made fresh and eaten within a day or two. If you need to prep ahead, you can slice and salt the zucchini in advance, then bread and cook them when you’re ready.
What dipping sauces go well with these chips?
So many options! Marinara sauce is my go-to, but ranch dressing, garlic aioli, spicy mayo, tzatziki, and even honey mustard all work beautifully. For a kid-friendly option, my daughter loves them with ketchup (I know, but hey — she’s eating vegetables!).
How thin should I slice the zucchini?
Aim for 1/4-inch thick slices. Too thin, and they’ll burn before they get crispy. Too thick, and they’ll be soft in the middle. Think of a thick potato chip — that’s the texture you’re going for. If you’re using a mandoline, the 1/4-inch setting is perfect.
Conclusion
These easy 5-minute air fryer zucchini chips have honestly changed the way I think about snacks. They’re proof that you don’t need complicated techniques or fancy ingredients to make something truly delicious. Just a few simple ingredients, an air fryer, and about 15 minutes of your time.
I love that this recipe has become a staple in our kitchen. It’s the kind of snack that brings people together — whether it’s my daughter munching on them after school, friends grabbing them at a party, or just me sneaking a few while I’m cooking dinner. They’re versatile, forgiving, and always satisfying.
I’d love to hear how these turn out for you! Did you try any fun variations? What dipping sauce did you use? Drop a comment below and let me know — I read every single one. And if you loved this recipe, share it with a friend who needs a healthy snack idea. Trust me, they’ll thank you.
Happy cooking, friends!
Pin This Recipe!
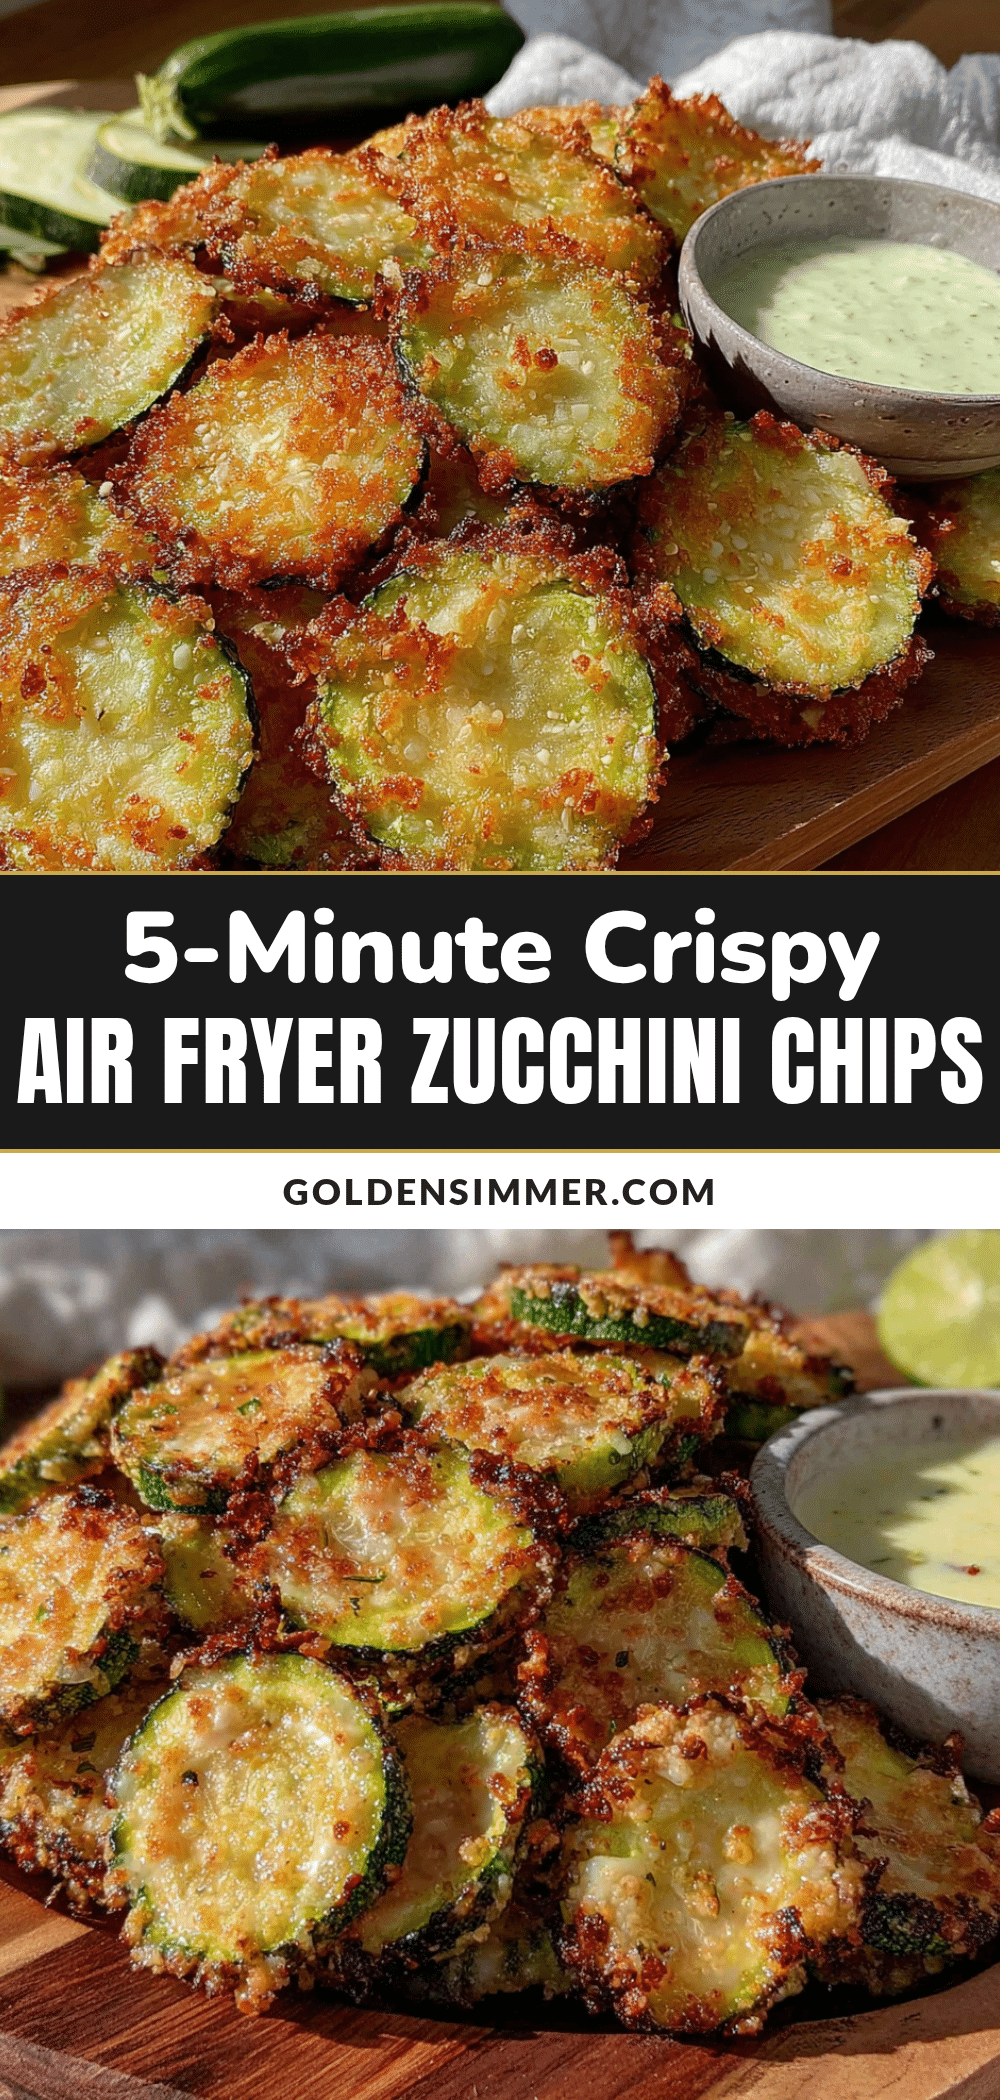
Easy 5-Minute Air Fryer Zucchini Chips Recipe

Crispy, golden air fryer zucchini chips that are quick, easy, and kid-approved. Made with simple ingredients, they’re the perfect healthy snack or crowd-pleasing appetizer.
- Prep Time: 15 minutes
- Cook Time: 10 minutes
- Total Time: 25 minutes
- Yield: 4 servings 1x
- Category: Appetizer
- Cuisine: American
Ingredients
- 2 medium zucchinis (about 8–10 inches long)
- 1 cup panko breadcrumbs
- 1/2 cup grated Parmesan cheese
- 2 large eggs, beaten
- 1 teaspoon garlic powder
- 1/2 teaspoon onion powder
- 1/2 teaspoon paprika (smoked or regular)
- 1/2 teaspoon salt, plus extra for drawing out moisture
- 1/4 teaspoon black pepper, freshly ground
- Olive oil spray (or avocado oil spray)
Instructions
- Wash zucchinis, trim ends, and slice into 1/4-inch thick rounds using a mandoline or sharp knife.
- Place slices in a colander, sprinkle with 1 teaspoon salt, toss gently, and let sit for 10 minutes to draw out moisture.
- Rinse zucchini slices with cold water and pat thoroughly dry with paper towels or a clean kitchen towel.
- In a shallow bowl, beat the eggs until smooth. In another shallow bowl, combine panko breadcrumbs, Parmesan, garlic powder, onion powder, paprika, 1/2 teaspoon salt, and black pepper; mix well.
- Working one at a time, dip each zucchini round into the beaten eggs, letting excess drip off, then press into breadcrumb mixture to coat both sides evenly. Place on a plate.
- Preheat air fryer to 375°F (190°C) for 3 minutes.
- Lightly spray air fryer basket with olive oil spray. Arrange breaded zucchini slices in a single layer without overcrowding (work in batches if needed).
- Spray tops of zucchini slices lightly with olive oil spray. Cook at 375°F (190°C) for 8-10 minutes, flipping halfway through (at 5 minutes).
- Transfer cooked chips to a cooling rack or plate. Let cool for 2-3 minutes to crisp up further. Serve immediately with desired dipping sauce.
Notes
Don’t skip the salting step—it draws out moisture for maximum crispiness. Pat zucchini slices very dry after salting. Avoid overcrowding the air fryer basket; work in batches if needed. For best texture, serve within 30 minutes of cooking. To keep multiple batches warm and crispy, place finished chips in a single layer on a baking sheet in a 200°F (93°C) oven.
Nutrition
- Serving Size: 1 cup
- Calories: 120
- Sugar: 3
- Sodium: 350
- Fat: 5
- Saturated Fat: 2
- Carbohydrates: 10
- Fiber: 2
- Protein: 6
Keywords: air fryer zucchini chips, crispy zucchini chips, healthy snack, easy zucchini recipe, kid-friendly snack, low-carb chips



