Love this? Save it for later!
Share the inspiration with your friends
I wasn’t expecting cooking advice from my accountant, but there I was, sorting through a pile of receipts in his cluttered office, listening to him describe exactly how to make the perfect pumpkin seed snack. It was a Tuesday afternoon in late October, and I had just mentioned I was planning to carve pumpkins with my niece that weekend. Without missing a beat, Mr. Henderson—a man who wore the same gray cardigan every single day and spoke mostly in numbers—leaned back in his creaky chair and said, “Don’t you dare throw those seeds away. You roast them. But not the way everyone else does.”
He pulled a crumpled index card from his desk drawer, the edges soft and stained with what I hoped was butter. On it, in tiny, precise handwriting, was his recipe for honey roasted pumpkin seeds. “The trick,” he told me, tapping the card, “is to toast them first, then add the honey. Most people dump everything together and end up with a sticky, burnt mess.” Honestly, I was skeptical. This was the same man who once told me to claim my cat as a dependent, so I took his advice with a grain of salt. But the next weekend, standing in my tiny kitchen with a colander full of slippery pumpkin seeds, I decided to give it a shot.
Let me tell you—the first bite was a revelation. The seeds were impossibly crunchy, with a thin, glossy shell of honey that wasn’t cloying but just sweet enough to balance the salt. I stood at the counter eating them straight off the baking sheet, burning my fingers and not caring. Mr. Henderson’s “quick honey roasted pumpkin seeds with sea salt” became my go-to fall snack that year, and I’ve made them every autumn since. Maybe you’ve been there—staring at a pile of pumpkin guts and wondering if it’s worth the hassle. Trust me, it is. This isn’t your average seed recipe. It’s the one that makes people hover around the kitchen island, asking for the secret.
Why You’ll Love This Recipe
Look, I’ve tested a lot of pumpkin seed recipes over the years. Some are too salty, some are too bland, and most of them end up with burnt honey or seeds that taste like cardboard. This quick honey roasted pumpkin seeds with sea salt recipe is different. It’s the one I keep coming back to, and here’s why it’ll become your favorite too.
- Quick & Easy: From start to finish, you’re looking at about 25 minutes. That’s less time than it takes to scrub the pumpkin guts off your counter. Perfect for those weeknights when you’re carving pumpkins with the kids and need a snack fast.
- Simple Ingredients: You need pumpkin seeds, honey, butter, sea salt, and a little oil. That’s it. No trips to a specialty store, no weird ingredients you’ll never use again. Chances are, you already have everything in your pantry.
- Perfect for Fall Gatherings: Whether it’s a Halloween party, a Thanksgiving appetizer, or just a cozy night in, these seeds disappear fast. I’ve brought them to potlucks and watched people hover around the bowl like it’s the main event.
- Crowd-Pleaser: Kids love the sweet-salty crunch, and adults appreciate that it’s not another bag of chips. Even my friend who “doesn’t like pumpkin seeds” ate half the batch last year.
- Unbelievably Delicious: The texture is what gets me every time. The seeds are roasted to a deep, nutty crunch, and the honey glaze is thin enough to coat without making them sticky. A sprinkle of flaky sea salt on top? Absolute perfection.
What makes this recipe stand out from the dozens of others online is the technique. Most recipes tell you to toss everything together and bake, which leaves you with burnt honey and soggy seeds. I learned the hard way—my first attempt was a sticky, blackened disaster that I had to scrape off the pan. This method toasts the seeds first, then coats them in a honey-butter glaze at just the right moment. It’s a small tweak, but it makes all the difference. You get that perfect crunch without the burnt sugar taste.
Honestly, this recipe is the kind of snack that makes you close your eyes after the first bite. It’s comfort food in its simplest form—warm, salty, sweet, and deeply satisfying. And the best part? You made it yourself from something you were about to throw away. That never gets old.
What Ingredients You Will Need
This recipe uses simple, wholesome ingredients to deliver bold flavor and satisfying texture without the fuss. Most of these are pantry staples, which means you can whip up a batch whenever the craving hits. Here’s what you’ll need and why each ingredient matters.
- Fresh pumpkin seeds (1 cup, cleaned and dried): You can use seeds from any pumpkin variety. Sugar pumpkins tend to have smaller, more tender seeds, while larger carving pumpkins yield bigger, crunchier seeds. I prefer using seeds from a sugar pumpkin for the best texture, but honestly, any pumpkin works. Just make sure you rinse off the stringy pulp and pat them dry—wet seeds won’t crisp up properly.
- Honey (2 tablespoons): This is the star of the show. Use a good-quality honey—I like local wildflower honey for its floral notes, but clover honey works great too. Avoid raw honey with crystallized bits, as it won’t melt evenly. The honey gives the seeds that gorgeous golden glaze and a gentle sweetness that doesn’t overpower the salt.
- Unsalted butter (1 tablespoon, melted): Butter adds richness and helps the honey coat the seeds evenly. I use unsalted so I can control the salt level. If you only have salted butter, reduce the added salt by about a quarter teaspoon.
- Olive oil or avocado oil (1 tablespoon): A neutral oil helps the seeds toast evenly and prevents them from sticking to the pan. Avocado oil has a higher smoke point, which is nice, but olive oil adds a subtle fruity flavor that I really like. Use whatever you have on hand.
- Flaky sea salt (1 teaspoon, plus more for finishing): This is non-negotiable. Flaky sea salt like Maldon or fleur de sel gives you those little bursts of salt that make the sweet honey pop. Regular table salt will work in a pinch, but it won’t give you the same texture or flavor distribution. I always sprinkle a little extra on top right when the seeds come out of the oven.
Optional add-ins: If you want to get fancy, try adding a pinch of cinnamon, cayenne pepper, or smoked paprika to the honey mixture. I’ve done a cinnamon version that’s perfect for fall, and a spicy-sweet version with cayenne that’s dangerously addictive. Just remember to start with a small amount—a little goes a long way.
Substitution guidance: For a vegan version, swap the butter with coconut oil or a vegan butter alternative. The flavor will be slightly different, but still delicious. If you’re watching your sugar intake, you can use maple syrup instead of honey, though the texture will be slightly less crisp. And if you don’t have fresh pumpkin seeds, you can use raw, shelled pumpkin seeds (pepitas) from the store—just reduce the roasting time by a few minutes since they’re smaller.
Equipment Needed
You don’t need a fancy kitchen to make these quick honey roasted pumpkin seeds with sea salt. Here’s what you’ll need, along with a few tips from my own trials and errors.
- Baking sheet: A standard half-sheet pan works perfectly. I recommend lining it with parchment paper or a silicone baking mat for easy cleanup. The honey glaze can get sticky, and nobody wants to scrub burnt sugar off a pan at 10 PM.
- Mixing bowls: You’ll need one medium bowl for tossing the seeds with oil and salt, and a small bowl for mixing the honey and butter. I use glass bowls because they’re easy to clean and don’t retain odors.
- Colander: For rinsing the pumpkin seeds. A fine-mesh strainer works even better—it catches all the tiny seeds and lets the pulp rinse away easily.
- Paper towels or clean kitchen towel: For drying the seeds thoroughly. This step is more important than you think. Damp seeds steam instead of roast, and you’ll end up with chewy, sad seeds.
- Spatula: For stirring the seeds halfway through roasting. A silicone spatula is great because it won’t scratch your baking sheet.
- Cooling rack: Optional but helpful. Letting the seeds cool on a rack prevents them from steaming on the hot pan and losing their crunch.
If you don’t have parchment paper, you can grease the pan lightly with oil. I’ve done it both ways, and parchment just makes life easier. Also, a small offset spatula is nice for spreading the seeds in an even layer, but a regular spoon works fine. Don’t overthink the equipment—this recipe is forgiving.
Preparation Method
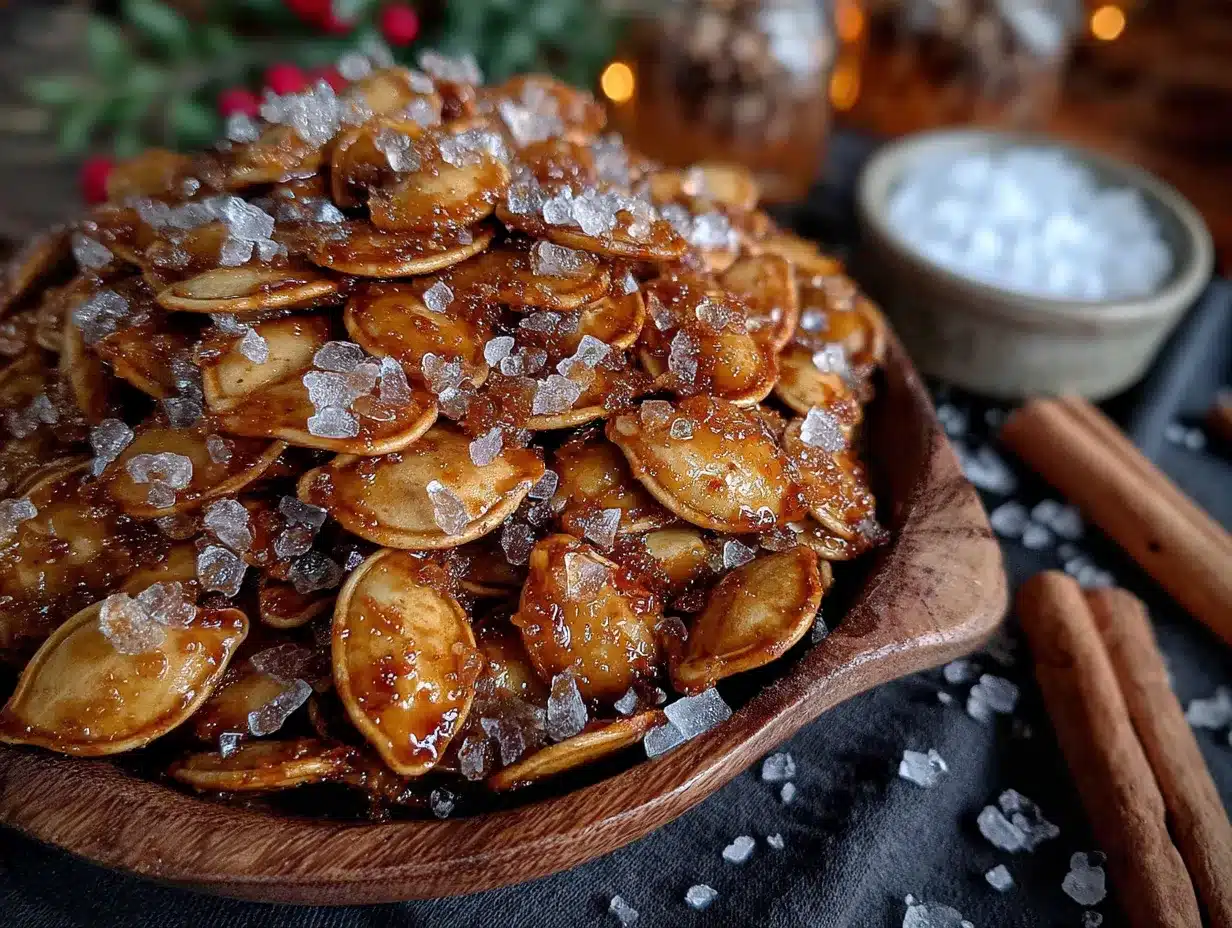
Alright, let’s get to the good part. Here’s how to make these quick honey roasted pumpkin seeds with sea salt, step by step. I’ve included all the little details I wish someone had told me the first time.
- Preheat your oven to 350°F (175°C). Get this going first so the oven is hot and ready. Line a baking sheet with parchment paper or a silicone mat.
- Clean the pumpkin seeds. Separate the seeds from the stringy pulp. Place them in a colander and rinse under cool water, using your fingers to rub off any remaining bits of pumpkin guts. Don’t stress about getting every last piece—a little pulp adds flavor. Drain well.
- Dry the seeds thoroughly. Spread the rinsed seeds on a clean kitchen towel or paper towels. Pat them dry, then let them sit for 5-10 minutes. This is the step I used to skip, and my seeds always came out chewy. Trust me—dry seeds are crispy seeds.
- Toss the seeds with oil and salt. In a medium bowl, combine the dried pumpkin seeds, olive oil, and 1 teaspoon of flaky sea salt. Toss until every seed is coated. Spread them in a single layer on the prepared baking sheet. Don’t overcrowd—if they’re piled up, they’ll steam instead of roast.
- Toast the seeds. Bake for 10 minutes, then remove the pan and stir the seeds with a spatula. Return to the oven and bake for another 5-8 minutes, until the seeds are lightly golden and fragrant. You’ll start to smell that nutty, toasty aroma—that’s your cue.
- Make the honey glaze. While the seeds are toasting, combine the honey and melted butter in a small bowl. Stir until smooth. Set aside.
- Glaze the seeds. Remove the seeds from the oven and immediately drizzle the honey-butter mixture over them. Toss gently with a spatula to coat. The seeds will be hot, so work quickly but carefully. Spread them back into a single layer.
- Finish roasting. Return the pan to the oven and bake for another 3-5 minutes. Watch closely—the honey can burn fast. You want the glaze to bubble and caramelize slightly, but not turn dark brown. When the seeds look glossy and golden, they’re done.
- Season immediately. As soon as the seeds come out of the oven, sprinkle them with an extra pinch of flaky sea salt. This is the moment the salt sticks to the warm glaze, creating those perfect salty-sweet bites.
- Cool completely. Let the seeds cool on the baking sheet for 10-15 minutes. Don’t skip this—they crisp up as they cool. If you eat them warm, they’ll still be a bit soft. Patience pays off here.
Pro tip: If you’re making a double batch, use two pans and rotate them halfway through baking. And if your seeds start to smell burnt at any point, pull them out immediately. Every oven runs a little differently, so trust your nose more than the timer.
Cooking Tips & Techniques
I’ve made this quick honey roasted pumpkin seeds with sea salt recipe more times than I can count, and I’ve learned a few things along the way. Here are the tips that’ll save you from my early mistakes.
Dry your seeds like your life depends on it. I cannot stress this enough. The first time I made these, I rinsed the seeds and tossed them straight into the oven, still dripping. They came out steamed and chewy, with a texture that reminded me of soggy cereal. Now I pat them dry, then let them air-dry for an extra 10 minutes. The difference is night and day. Dry seeds roast; wet seeds steam.
Toast first, glaze later. This is the secret that Mr. Henderson taught me, and it’s the reason this recipe works. If you add honey at the beginning, it burns before the seeds are properly toasted. By toasting the seeds first, you get that deep, nutty crunch, and the honey glaze just adds a thin, caramelized shell at the end. It’s a game-changer.
Watch the oven like a hawk. Honey burns fast. Like, really fast. I once got distracted by a phone call and came back to a pan of blackened, smoking seeds. The line between perfectly glazed and burnt is about 60 seconds. Set a timer, and check the seeds at the 3-minute mark after adding the glaze. If they look dark golden, they’re done.
Use flaky salt for the finish. Regular table salt dissolves into the glaze and you lose that pop of saltiness. Flaky sea salt stays intact, giving you little bursts of salt that balance the sweet honey. It’s a small detail, but it makes these seeds taste like something you’d buy at a fancy market.
Let them cool completely. I know it’s hard to wait, but the seeds continue to crisp up as they cool. If you dig in while they’re warm, they’ll seem soft and you’ll be disappointed. Give them 15-20 minutes on the pan, and you’ll be rewarded with the crunchiest seeds you’ve ever had.
Multitasking strategy: While the seeds are toasting in the first round, make your honey glaze and clean up your workspace. That way, when the timer goes off, you’re ready to glaze and go. It makes the whole process feel effortless.
Variations & Adaptations
This recipe is a great starting point, but don’t be afraid to play around. Here are some variations I’ve tried and loved.
Spicy Honey Roasted Pumpkin Seeds: Add 1/4 teaspoon of cayenne pepper and a pinch of smoked paprika to the honey-butter glaze. The heat sneaks up on you—it starts sweet, then hits you with a warm kick. I made these for a football party, and they were gone before halftime. If you’re sensitive to spice, start with 1/8 teaspoon of cayenne.
Cinnamon Sugar Version: Mix 1/2 teaspoon of cinnamon and 1 tablespoon of brown sugar into the honey glaze. The brown sugar adds a deeper, molasses-like sweetness that pairs beautifully with the pumpkin seeds. This version tastes like fall in a bowl. I like to serve it alongside hot apple cider.
Maple Rosemary Variation: Swap the honey for maple syrup and add 1 teaspoon of finely chopped fresh rosemary to the glaze. The earthy rosemary balances the sweet maple, and the result is surprisingly sophisticated. This is my go-to for Thanksgiving—it looks fancy on a cheese board with almost no extra effort.
Dietary adaptations: For a vegan version, use coconut oil or vegan butter instead of regular butter, and maple syrup instead of honey. The texture will be slightly different—maple syrup doesn’t get quite as crispy as honey—but the flavor is still amazing. For a lower-sugar option, use just 1 tablespoon of honey and add an extra pinch of salt to compensate.
Different seed options: This recipe works beautifully with pepitas (shelled pumpkin seeds). They’re smaller, so reduce the toasting time by 3-4 minutes. You can also try it with sunflower seeds or even sliced almonds—just adjust the roasting time based on the size of the seed or nut.
Serving & Storage Suggestions
These quick honey roasted pumpkin seeds with sea salt are best served at room temperature, straight from the cooling pan. But they’re versatile enough to use in all sorts of ways.
Serving ideas: Pile them in a bowl for a snack that disappears fast. Sprinkle them over a fall salad with roasted squash, goat cheese, and a maple vinaigrette—the crunch is incredible. Use them as a topping for pumpkin soup or butternut squash bisque. Or, if you’re feeling indulgent, chop them up and sprinkle over vanilla ice cream with a drizzle of caramel. Trust me on this one.
What to serve with them: These seeds pair beautifully with a cheese board—think sharp cheddar, creamy brie, and some apple slices. They’re also great alongside a warm mug of spiced cider or a pumpkin latte. For a party, I like to set out a bowl of these next to some dark chocolate chips and dried cranberries. It’s an easy, no-fuss snack mix that looks intentional.
Storage: Store the seeds in an airtight container at room temperature for up to 2 weeks. I use a glass jar with a tight-fitting lid. The key is keeping them away from moisture—don’t store them in the refrigerator, or they’ll lose their crunch. If they do get soft, you can re-crisp them in a 300°F oven for 5 minutes.
Freezer instructions: These seeds freeze beautifully. Let them cool completely, then transfer to a freezer-safe bag or container. They’ll keep for up to 3 months. To serve, let them come to room temperature—no need to reheat. I often make a double batch and freeze one bag for later. It’s like finding a little gift to yourself on a random Tuesday.
Flavor development: The seeds are best within the first week, when the glaze is still glossy and the crunch is at its peak. After that, the honey can start to soften the seeds slightly. But honestly, I’ve never had a batch last longer than a week—they’re always gone before then.
Nutritional Information & Benefits
These quick honey roasted pumpkin seeds with sea salt aren’t just delicious—they’re actually good for you. Here’s the breakdown per 1/4 cup serving (approximately 30 grams).
| Nutrient | Amount |
|---|---|
| Calories | 180 |
| Total Fat | 14g |
| Saturated Fat | 3g |
| Carbohydrates | 10g |
| Fiber | 2g |
| Sugar | 7g |
| Protein | 7g |
| Sodium | 180mg |
Health benefits: Pumpkin seeds are packed with magnesium, zinc, and healthy fats. Magnesium helps with sleep and muscle recovery, zinc supports your immune system (perfect for cold season), and the protein and fiber keep you full between meals. The honey adds antioxidants, and the sea salt provides electrolytes. It’s a snack that actually fuels your body instead of just filling space.
Dietary considerations: This recipe is naturally gluten-free and nut-free, making it safe for most common allergies. It’s also vegetarian. For a vegan version, use coconut oil and maple syrup as mentioned above. The sugar content is moderate—about 7 grams per serving—so it’s reasonable for most diets. Just be mindful of portion sizes if you’re watching your sodium intake.
Personally, I love that this snack feels indulgent but is actually pretty wholesome. It’s the kind of thing I can feel good about eating while watching a movie, and I don’t get that sugar crash afterward. Plus, knowing I made it from something I’d otherwise throw away? That’s a win in my book.
Conclusion
So there you have it—the quick honey roasted pumpkin seeds with sea salt that turned me into a believer. It all started with a crumpled index card from my accountant, of all people, and now I can’t imagine fall without a batch of these on my counter. They’re crunchy, sweet, salty, and just a little bit addictive. And the best part? They come together in under 30 minutes with ingredients you probably already have.
I hope you give these a try, whether you’re carving pumpkins with your kids, hosting a Halloween party, or just looking for a snack that feels a little special. Don’t be afraid to make them your own—tweak the spices, add your favorite seasonings, or double the batch because trust me, one batch won’t be enough. And if you come up with a variation I haven’t tried, I’d love to hear about it.
Drop a comment below and let me know how yours turned out. Did you add cinnamon? Did you go the spicy route? Or did you stick with the classic honey and salt? Share your photos on Pinterest and tag me—I love seeing your creations. Until next time, happy roasting, and remember: the best recipes often come from the most unexpected places.
Frequently Asked Questions
Can I use store-bought pumpkin seeds instead of fresh?
Absolutely! Raw, shelled pumpkin seeds (pepitas) work great. Just skip the cleaning step and reduce the roasting time by 3-4 minutes since they’re smaller and thinner. You’ll still get that delicious honey-salt glaze.
Why did my honey burn in the oven?
Honey burns easily because of its high sugar content. The most common mistake is adding it too early. Always toast the seeds first, then add the honey glaze for the last 3-5 minutes. Keep a close eye on them—honey can go from golden to black in under a minute.
How do I get my seeds extra crunchy?
The secret is drying them thoroughly before roasting and letting them cool completely after baking. Moisture is the enemy of crunch. Also, make sure you’re roasting at 350°F—lower temperatures will dry the seeds out instead of toasting them.
Can I make these ahead of time for a party?
Yes! These seeds keep well for up to 2 weeks in an airtight container at room temperature. I often make them a day or two ahead. Just don’t refrigerate them, or they’ll lose their crunch. If they soften slightly, re-crisp them in a 300°F oven for 5 minutes.
Are these seeds healthy enough for kids?
Definitely. They’re a great alternative to sugary snacks or chips. The protein and fiber keep kids full, and the natural sweetness from honey makes them feel like a treat. Just watch the salt if your little one is sensitive to sodium—you can reduce it to 1/2 teaspoon.
Pin This Recipe!
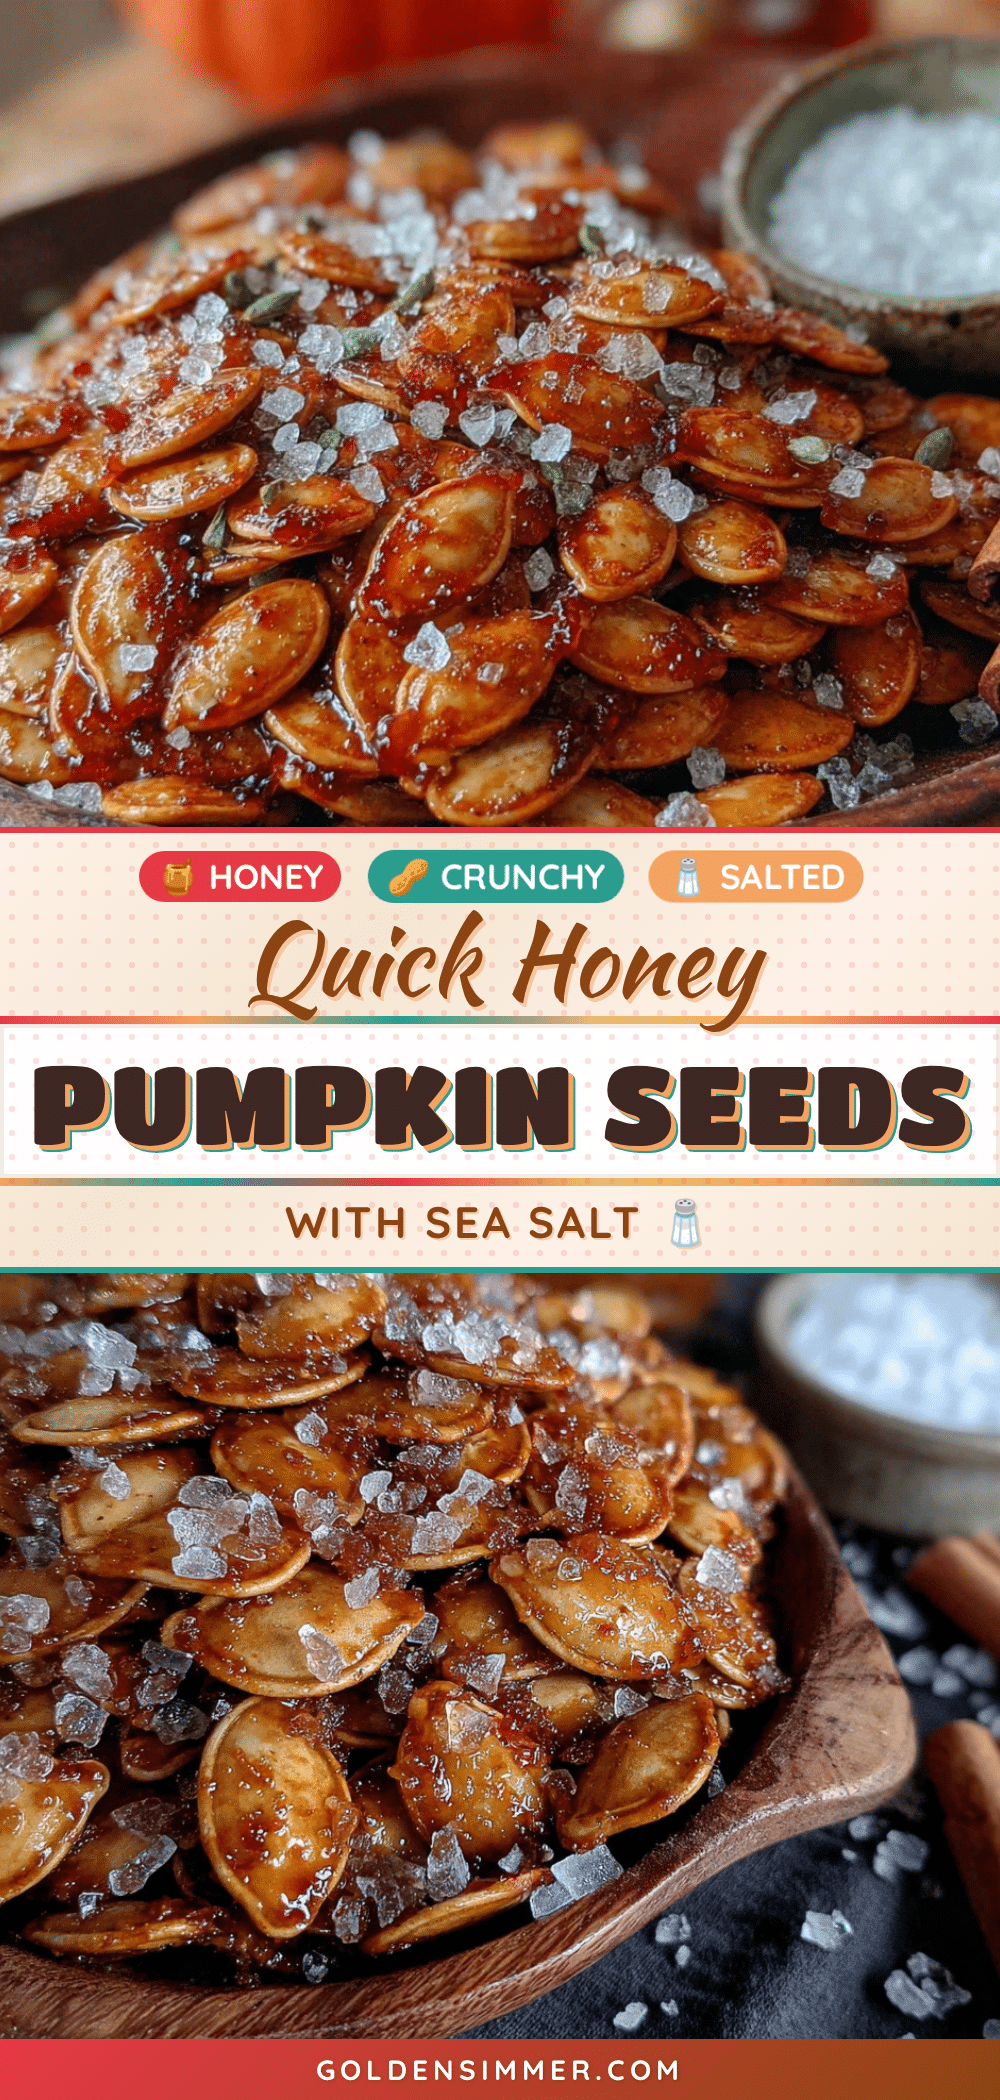
Quick Honey Roasted Pumpkin Seeds with Sea Salt (Easy & Best Snack)
These quick honey roasted pumpkin seeds with sea salt are impossibly crunchy, with a thin, glossy shell of honey that’s just sweet enough to balance the salt. Perfect for fall gatherings, this easy snack comes together in under 30 minutes with simple ingredients.
- Prep Time: 10 minutes
- Cook Time: 18-23 minutes
- Total Time: 28-33 minutes
- Yield: 4 servings 1x
- Category: Snack
- Cuisine: American
Ingredients
- 1 cup fresh pumpkin seeds, cleaned and dried
- 2 tablespoons honey
- 1 tablespoon unsalted butter, melted
- 1 tablespoon olive oil or avocado oil
- 1 teaspoon flaky sea salt, plus more for finishing
Instructions
- Preheat your oven to 350°F (175°C). Line a baking sheet with parchment paper or a silicone mat.
- Clean the pumpkin seeds: Separate seeds from stringy pulp, rinse under cool water in a colander, and drain well.
- Dry the seeds thoroughly: Spread on a clean kitchen towel or paper towels, pat dry, and let sit for 5-10 minutes.
- Toss the seeds with oil and salt: In a medium bowl, combine dried seeds, olive oil, and 1 teaspoon flaky sea salt. Toss to coat. Spread in a single layer on the prepared baking sheet.
- Toast the seeds: Bake for 10 minutes, then stir. Return to oven and bake another 5-8 minutes until lightly golden and fragrant.
- Make the honey glaze: While seeds toast, combine honey and melted butter in a small bowl. Stir until smooth.
- Glaze the seeds: Remove seeds from oven and immediately drizzle honey-butter mixture over them. Toss gently to coat, then spread back into a single layer.
- Finish roasting: Return to oven and bake for 3-5 minutes, watching closely, until glaze bubbles and caramelizes slightly but does not burn.
- Season immediately: As soon as seeds come out, sprinkle with an extra pinch of flaky sea salt.
- Cool completely: Let seeds cool on the baking sheet for 10-15 minutes before serving.
Notes
Toast seeds first, then add honey glaze to prevent burning. Dry seeds thoroughly for maximum crunch. Use flaky sea salt for best texture. Cool completely before serving to achieve crispiness.
Nutrition
- Serving Size: 1/4 cup (approximate
- Calories: 180
- Sugar: 7
- Sodium: 180
- Fat: 14
- Saturated Fat: 3
- Carbohydrates: 10
- Fiber: 2
- Protein: 7
Keywords: pumpkin seeds, honey roasted, sea salt, fall snack, easy snack, Halloween, Thanksgiving



