Love this? Save it for later!
Share the inspiration with your friends
I was standing in the frozen food aisle of our local grocery store last Tuesday, staring blankly at a box of macaroni and cheese, when the smell of toasted breadcrumbs hit me. Not real breadcrumbs, you understand — just some phantom scent that my brain conjured up out of nowhere. And suddenly I was seven years old, standing on a step stool in my Aunt Rosie’s tiny kitchen, watching her pull a bubbling casserole dish from the oven. The top was golden and craggy, with little crispy bits of panko catching the light like edible jewels.
Aunt Rosie passed away five years ago, and I still haven’t found her exact recipe card — it’s probably in a box somewhere in my mom’s attic, buried under Christmas decorations and old photo albums. But honestly, I’ve been chasing that specific mac and cheese ever since. You know that feeling when you can almost taste something but not quite? Like a word on the tip of your tongue, except it’s cheesy and warm and makes your whole chest ache a little.
I’ve made probably thirty versions of baked mac and cheese since then. Some were too dry, some were gluey, some had a crust that crumbled into sad little flakes. But this one — this crowd-pleasing baked mac and cheese with crispy panko topping — this is the one that finally made me stop and close my eyes after the first bite. It’s the one I bring to every potluck, every family dinner, every gathering where I need to show up with something that says I care about you without actually having to say it.
Maybe you’ve been there too, standing in your own kitchen, trying to recreate a taste from your past. Or maybe you just need the best baked mac and cheese recipe for your next dinner party. Either way, I think you’re going to love this one.
Why You’ll Love This Recipe
Let me be real with you — there are about a million baked mac and cheese recipes out there. Some use Velveeta, some swear by a roux, some insist on three different kinds of cheese. And they’re all fine. But this one? This is the one that disappears first at every gathering I bring it to. Here’s why it’s different:
- Crowd-Sized and Stress-Free: This recipe makes enough to feed 12 hungry adults, and it’s designed for hosts. You can assemble it completely the day before, pop it in the fridge, and just bake it off when your guests arrive. No last-minute whisking, no burnt roux panic.
- That Unforgettable Crispy Topping: The panko breadcrumb crust gets deeply golden and shatteringly crisp, while the cheese underneath stays creamy and luscious. It’s the textural contrast that makes people go back for thirds.
- Real Ingredients, No Shortcuts: We’re using sharp cheddar, Gruyère, and a touch of cream cheese for that ultra-smooth melt. Nothing from a box, nothing processed — just honest, good cheese.
- Perfect for Entertaining: This is the dish you bring to impress. It looks stunning coming out of the oven, it smells like heaven, and it pairs beautifully with roasted chicken, grilled steak, or even just a big green salad. Your guests will think you spent hours on it.
- Foolproof Technique: I’ve tested this recipe seven times to get the ratios exactly right. No curdling, no graininess, no oily separation. Just velvety cheese sauce every single time.
This isn’t just another mac and cheese recipe — it’s the one you’ll pull out for Thanksgiving, Christmas, birthday parties, and Tuesday nights when you need something that feels like a hug in a dish. It’s the kind of food that makes people linger at the table a little longer, scraping the last bits of crispy topping from the corners of the dish.
What Ingredients You Will Need
This recipe uses simple, high-quality ingredients that work together to create something truly special. Most of these are pantry staples for a well-stocked kitchen, but a few might require a quick trip to the store. Trust me, it’s worth it.
For the Pasta
- 1 pound (450g) elbow macaroni or cavatappi — I prefer cavatappi because the ridges grab the cheese sauce beautifully, but elbows work great too. Cook to just al dente — you want it firm, not mushy.
- Salt for the pasta water — Don’t skimp here. The pasta water should taste like the sea. This is your first chance to season the dish.
For the Cheese Sauce
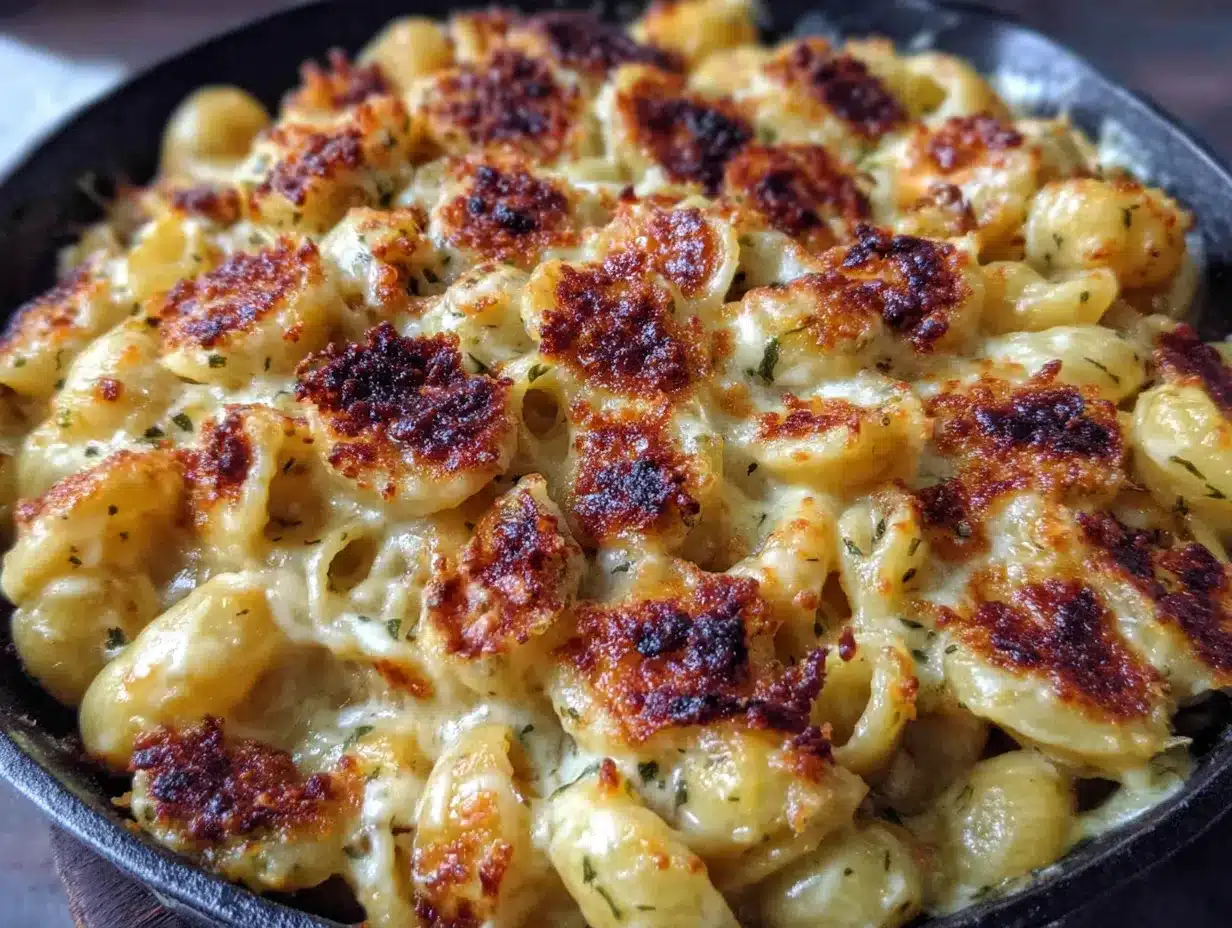
- 4 tablespoons (56g) unsalted butter — I use Kerrygold for the rich flavor, but any good butter works. Salted butter is fine too, just reduce the added salt slightly.
- 1/4 cup (30g) all-purpose flour — This creates the roux that thickens the sauce. All-purpose is perfect here.
- 3 cups (720ml) whole milk — Whole milk gives the creamiest result. You can use 2% in a pinch, but the sauce won’t be quite as luxurious. Do not use skim milk.
- 1 cup (240ml) heavy cream — This adds richness and helps prevent the sauce from breaking during baking. Don’t skip it.
- 3 cups (340g) sharp cheddar cheese, freshly grated — Please, please grate your own cheese. Pre-shredded cheese has anti-caking agents that prevent smooth melting. I like Cabot Seriously Sharp or Tillamook.
- 1 1/2 cups (170g) Gruyère cheese, freshly grated — Gruyère melts like a dream and adds a nutty, slightly sweet flavor that cheddar alone can’t match. It’s worth the splurge for entertaining.
- 4 ounces (113g) cream cheese, softened — This is my secret ingredient. It stabilizes the sauce and gives it that velvety, almost silky texture that coats every piece of pasta perfectly.
- 1 teaspoon Dijon mustard — Just a little, to cut through the richness and brighten the flavor. You won’t taste mustard, I promise.
- 1/2 teaspoon garlic powder — Not fresh garlic, which can become bitter in a baked dish. Garlic powder gives a gentle background warmth.
- 1/4 teaspoon cayenne pepper (optional but recommended) — Not enough to make it spicy, just enough to wake up the flavors. Think of it as a whisper of heat.
- 1/2 teaspoon salt, plus more to taste — I use fine sea salt. Adjust based on how salty your cheese is.
- 1/4 teaspoon black pepper, freshly ground
For the Crispy Panko Topping
- 1 1/2 cups (85g) panko breadcrumbs — Panko is key here. Regular breadcrumbs will get soggy. Panko stays crispy and gives that gorgeous golden crust.
- 3 tablespoons (42g) unsalted butter, melted — This helps the panko toast evenly and adds flavor.
- 1/2 cup (55g) freshly grated Parmesan cheese — The Parmesan adds umami and helps the topping get extra crispy. Use the real stuff, not the green can.
- 1/4 teaspoon paprika — Mostly for color, but it adds a subtle smokiness too.
- Pinch of salt
Equipment Needed
You don’t need a professional kitchen to make this recipe, but a few key tools will make your life much easier. Here’s what I use:
- A 9×13-inch baking dish (3-quart capacity) — This is the perfect size for feeding a crowd. I love my Le Creuset stoneware dish, but a metal or glass baking dish works just fine. If you’re using glass, reduce the oven temperature by 25°F since glass heats more aggressively.
- A large pot (at least 5 quarts) — For boiling the pasta. You need enough water for the pasta to move freely.
- A medium saucepan — For making the cheese sauce. A heavy-bottomed pan is ideal to prevent scorching.
- A whisk — Essential for a smooth, lump-free roux and cheese sauce. A silicone whisk is great for scraping the corners of the pan.
- A box grater or food processor with grating disc — I’ve grated cheese by hand and I’ve used a food processor. The food processor saves about 10 minutes and my knuckles. But honestly, the hand grater gives me a moment to zone out and listen to a podcast, so it’s not awful either.
- A wooden spoon or rubber spatula — For folding the pasta into the sauce without breaking the noodles.
- A small bowl — For mixing the panko topping.
- Aluminum foil — To cover the dish during the first part of baking so the topping doesn’t burn before the inside is hot and bubbly.
That’s it. No fancy gadgets, no special equipment. Just good tools and good ingredients.
Preparation Method
Alright, let’s make some magic. This recipe has a few steps, but I’ll walk you through every single one. The key is to read through the whole thing before you start so nothing surprises you. Trust me, I learned that the hard way — the first time I made this, I forgot to grate the cheese before starting the roux, and I was frantically shredding cheddar while my butter-flour mixture sat there looking at me judgmentally.
- Preheat your oven to 375°F (190°C). Position the rack in the center of the oven. While it’s heating, butter your 9×13-inch baking dish lightly — this prevents sticking and adds a little extra flavor to the edges.
- Bring a large pot of salted water to a rolling boil. Add the pasta and cook until just al dente — about 2 minutes less than the package directions. For elbow macaroni, that’s usually about 6-7 minutes. The pasta will continue cooking in the oven, so you want it firm. Drain the pasta, but don’t rinse it — you want that starch to help the sauce cling. Set it aside in the colander.
- While the pasta cooks, make the cheese sauce. In a medium saucepan over medium heat, melt the 4 tablespoons of butter. Once it’s fully melted and starting to foam, add the flour all at once. Whisk constantly for about 2 minutes. The mixture should be smooth and smell slightly nutty — this is your roux, and it’s the foundation of the whole sauce. Don’t let it brown; you just want to cook out the raw flour taste.
- Slowly pour in the milk and heavy cream, whisking continuously. Start with a thin stream and keep whisking — if you dump it all in at once, you’ll get lumps. Keep whisking until the mixture comes to a gentle simmer and thickens enough to coat the back of a spoon, about 3-4 minutes. It should look like a thick, creamy white sauce at this point.
- Reduce the heat to low. Add the softened cream cheese and whisk until it’s completely melted and incorporated. This takes about a minute. The sauce will look slightly glossy and smell amazing.
- Add the grated cheddar and Gruyère, one handful at a time, whisking constantly. Don’t dump all the cheese in at once — it can cause the sauce to become grainy. Let each addition melt completely before adding the next. This takes patience, but it’s worth it. Once all the cheese is in, add the Dijon mustard, garlic powder, cayenne (if using), salt, and pepper. Whisk until smooth. Taste the sauce — it should be rich, creamy, and well-seasoned. Remember that the pasta will dilute the seasoning slightly, so it should taste a little stronger than you think it needs to be.
- Pour the drained pasta into the cheese sauce and fold gently with a wooden spoon or rubber spatula until every piece of pasta is coated. Take your time here — you don’t want dry spots. The sauce should cling to the pasta and look luscious and creamy.
- Transfer the mixture to your prepared baking dish and spread it into an even layer. Don’t press it down — just let it settle naturally. The top should be relatively flat for even topping coverage.
- Make the panko topping. In a small bowl, combine the panko breadcrumbs, melted butter, grated Parmesan, paprika, and a pinch of salt. Stir with a fork until the breadcrumbs are evenly coated and the mixture looks like wet sand. Sprinkle this evenly over the mac and cheese, covering every bit of the surface.
- Cover the dish with aluminum foil and bake for 20 minutes. This allows the inside to heat through and the cheese sauce to get bubbly without burning the topping. After 20 minutes, remove the foil and bake for another 15-20 minutes, until the topping is deeply golden and crispy, and the edges are bubbling. If you want an extra-crispy top, you can broil it for the last 2-3 minutes — but watch it carefully, because panko can go from golden to burnt in seconds.
- Let it rest for 10 minutes before serving. I know this is the hardest part — your kitchen smells incredible, and everyone is hovering with forks. But that rest time is crucial. It allows the sauce to set up slightly so it doesn’t run all over the plate. The texture will be perfectly creamy and cohesive.
And that’s it. You’ve just made the best baked mac and cheese with crispy panko topping. Take a moment to admire your work before the feeding frenzy begins.
Cooking Tips & Techniques
I’ve made this recipe enough times to have some hard-won wisdom to share. Here are the things I wish someone had told me before my first attempt:
Grate your own cheese. I’m begging you. Pre-shredded cheese is coated with cellulose and potato starch to prevent clumping, and those additives prevent smooth melting. Your sauce will turn out grainy and slightly gritty. Freshly grated cheese melts into a velvety dream. It takes 5 extra minutes, and it makes all the difference.
Don’t overcook the pasta. I know it’s tempting to cook it until it’s tender, but remember that it will continue cooking in the oven. If you start with fully cooked pasta, you’ll end up with mushy, broken noodles. Al dente is your friend. When I first made this, I cooked the pasta to “done” and ended up with something that looked more like porridge than mac and cheese. Learn from my mistakes.
Low and slow for the cheese sauce. High heat is the enemy of a smooth cheese sauce. It can cause the proteins in the cheese to seize up and create a grainy, separated mess. Keep the heat low once you add the cheese, and whisk constantly. If you see the sauce starting to look greasy or separated, remove it from the heat immediately and whisk vigorously — you might be able to save it.
Make it ahead for stress-free hosting. This is my favorite tip for entertaining. Assemble the mac and cheese completely (including the panko topping) up to 24 hours in advance. Cover it tightly with foil and refrigerate. When you’re ready to bake, add about 10-15 minutes to the covered baking time since you’re starting from cold. The topping might not get quite as crispy, but honestly, no one will notice because they’ll be too busy going back for seconds.
Double the topping if you’re a crust person. I’m a crust person. I love the crispy bits so much that I sometimes make a double batch of the panko mixture and press extra into the corners. If you’re serving this to fellow crust-lovers, go ahead and pile it on.
Variations & Adaptations
One of the best things about this recipe is how adaptable it is. Here are some variations I’ve tried and loved:
Add some protein. Fold in 2 cups of shredded rotisserie chicken, cooked and crumbled bacon, or diced ham along with the pasta. It turns this into a complete one-dish meal that’s perfect for potlucks. I once made it with leftover Thanksgiving turkey and it was honestly better than the original.
Make it spicy. Increase the cayenne to 1/2 teaspoon, or add a diced jalapeño (seeds removed unless you want real heat) to the cheese sauce. You can also sprinkle some red pepper flakes over the panko topping before baking. My neighbor Dave requests this version every time we have a block party.
Go vegetarian with roasted vegetables. Toss 2 cups of roasted broccoli, cauliflower, or butternut squash with the pasta before adding the sauce. The caramelized edges of the vegetables add a whole new dimension of flavor. I love this version in the fall when squash is in season.
Try a different cheese blend. Don’t be afraid to experiment. Smoked Gouda adds a gorgeous smoky flavor, fontina melts beautifully, and a little bit of blue cheese (about 1/4 cup) adds a tangy punch. Just keep the total cheese weight the same — about 4 1/2 cups total — and make sure at least half is a good melting cheese like cheddar or Gruyère.
Gluten-free option. Use gluten-free pasta (I like the brown rice and quinoa blends) and substitute the all-purpose flour with a 1:1 gluten-free flour blend. For the topping, use gluten-free panko — they work just as well. I’ve tested this with my gluten-sensitive sister-in-law, and she couldn’t tell the difference.
Serving & Storage Suggestions
This mac and cheese is at its absolute best fresh out of the oven, when the topping is still crispy and the inside is molten and creamy. But let’s talk about how to handle leftovers — because with a recipe this good, you’ll want to enjoy it again.
Serving: Scoop generous portions onto warm plates. I like to serve this alongside a simple green salad with a tangy vinaigrette — the acidity cuts through the richness beautifully. It’s also fantastic with roasted broccoli, grilled sausages, or a slice of crusty bread to mop up any extra sauce. For holiday dinners, it’s the perfect companion to roast turkey or prime rib.
Storage: Leftover mac and cheese keeps in an airtight container in the refrigerator for up to 5 days. The topping will lose its crunch, but the flavor will actually deepen as it sits. I sometimes make a batch specifically to eat cold from the fridge the next day — don’t judge me until you’ve tried it.
Reheating: The best way to reheat is in the oven. Place the mac and cheese in a small baking dish, add a splash of milk (about 2 tablespoons per cup of mac and cheese), cover with foil, and bake at 350°F for 15-20 minutes. If you want to revive the crispy topping, remove the foil for the last 5 minutes. In a pinch, the microwave works — just add a splash of milk and heat in 30-second bursts, stirring between each. The texture won’t be quite as good, but it’ll still be delicious.
Freezing: This mac and cheese freezes beautifully. Assemble the dish completely but don’t bake it. Wrap it tightly in plastic wrap, then aluminum foil, and freeze for up to 3 months. To bake from frozen, remove the plastic wrap, cover with foil, and bake at 375°F for about 60-70 minutes, removing the foil for the last 15 minutes. You might need to add a little extra milk if it looks dry.
Nutritional Information & Benefits
Let’s be honest — this is a decadent dish, and I’m not going to pretend otherwise. But it does have some redeeming qualities beyond its incredible taste.
Per serving (based on 12 servings): Approximately 480 calories, 28g fat (17g saturated), 65mg cholesterol, 590mg sodium, 38g carbohydrates (2g fiber, 5g sugar), 22g protein.
The good stuff: This dish is packed with protein from the cheese and milk, which helps keep you full and satisfied. The calcium content is significant — about 35% of your daily needs per serving — which is great for bone health. If you use whole milk and full-fat cheese, you’re also getting a good dose of vitamin A and vitamin D. And hey, the pasta provides some complex carbohydrates for sustained energy. It’s comfort food that actually has some nutritional merit.
Dietary considerations: This recipe contains gluten, dairy, and eggs (if you use egg noodles). For a gluten-free version, see my variation notes above. If you’re lactose intolerant, you can try using lactose-free milk and hard aged cheeses like aged cheddar and Gruyère, which have very low lactose content. But honestly, this is not a dairy-free friendly recipe — it’s a celebration of dairy in all its glory.
My perspective: I believe in balance. This mac and cheese is a special-occasion dish for me — I make it for gatherings, holidays, and days when I need a little extra comfort. It’s not an everyday meal, and that’s okay. Food is about joy and connection as much as it is about nutrition. So serve yourself a generous portion, eat it with people you love, and don’t feel guilty about it for a second.
Conclusion
This crowd-pleasing baked mac and cheese with crispy panko topping is more than just a recipe — it’s a dish that brings people together. Every time I make it, I think about Aunt Rosie and her step stool and that tiny kitchen where I first learned that food could be love. And every time I watch someone take their first bite and close their eyes, I feel that same warmth spreading through me.
I hope you’ll make this for your next gathering — whether it’s a holiday dinner, a potluck with friends, or just a Tuesday night when you need something that feels special. Don’t be afraid to make it your own. Add extra cheese, pile on the panko, throw in some bacon if that’s your thing. The best recipes are the ones that evolve with the people who make them.
When you do make it — and I hope you will — come back and let me know how it turned out. Did you add any twists? Did your guests fight over the crispy bits? I genuinely want to hear about it. Leave a comment below, share a photo, or tag me on social media. There’s nothing I love more than seeing this recipe find its way into someone else’s kitchen.
Now go preheat that oven. Your people are waiting.
Frequently Asked Questions
Can I make this mac and cheese ahead of time?
Absolutely! Assemble the dish completely (including the panko topping), cover tightly with foil, and refrigerate for up to 24 hours. When ready to bake, add about 10-15 minutes to the covered baking time. You may want to add a splash of milk before baking if it looks dry.
Why did my cheese sauce turn out grainy?
Grainy cheese sauce usually happens for one of two reasons: using pre-shredded cheese (which contains anti-caking agents) or applying too much heat. Always grate your own cheese and keep the heat low when melting it into the sauce. If your sauce starts to look grainy, remove it from the heat immediately and whisk vigorously.
Can I use a different type of pasta?
Yes! While elbow macaroni is classic, this recipe works beautifully with cavatappi, shells, rotini, or even penne. Just make sure to cook it to al dente since it will continue cooking in the oven. Shapes with ridges or curves hold onto the cheese sauce better than smooth pasta.
How do I get the topping extra crispy?
For maximum crispiness, broil the mac and cheese for the last 2-3 minutes of baking. Watch it very carefully — panko can burn quickly. You can also double the panko topping mixture and press it into the corners of the dish where the crispy bits are always the best.
Can I freeze this baked mac and cheese?
Yes, this freezes beautifully. Assemble the dish completely but don’t bake it. Wrap tightly in plastic wrap and then aluminum foil, and freeze for up to 3 months. To bake from frozen, remove the plastic wrap, cover with foil, and bake at 375°F for about 60-70 minutes, removing the foil for the last 15 minutes. Add a splash of milk if needed.
Pin This Recipe!
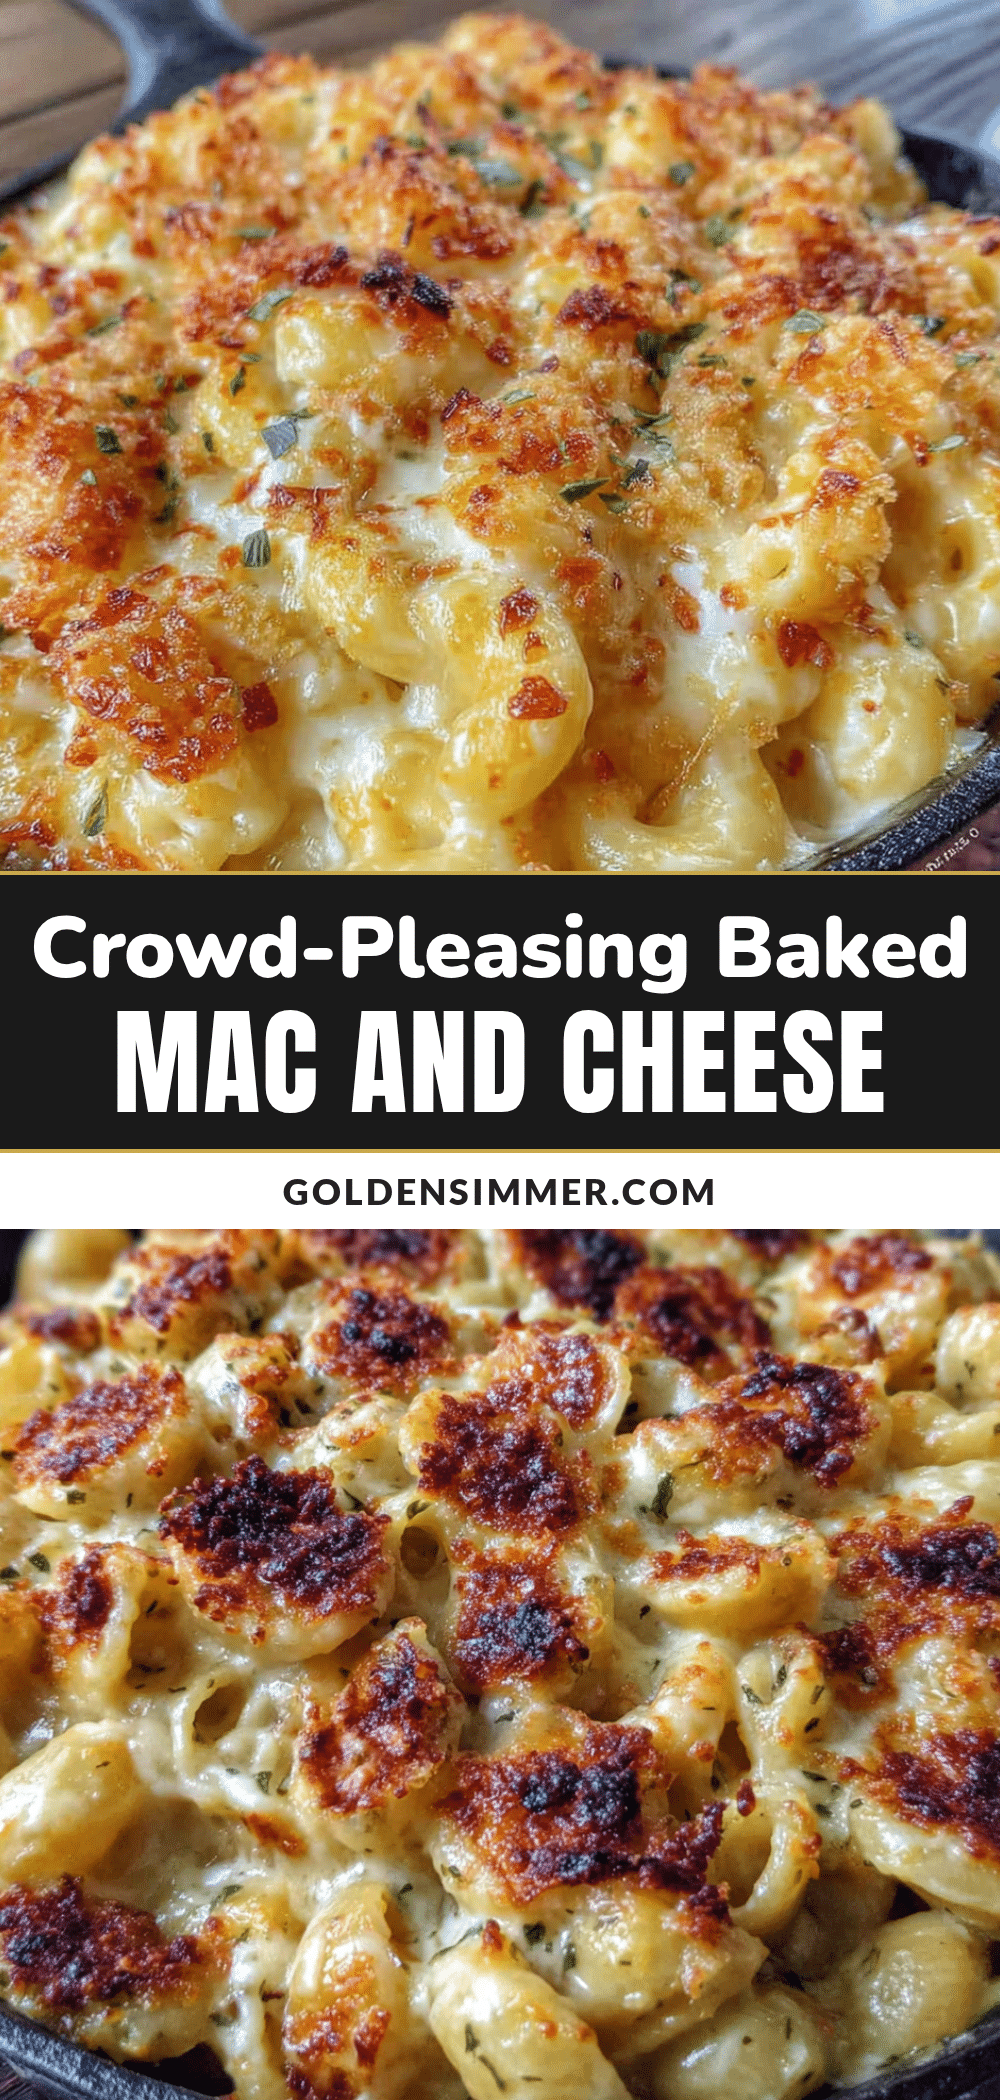
Best Baked Mac and Cheese with Crispy Panko Topping

This crowd-pleasing baked mac and cheese features a velvety cheese sauce made with sharp cheddar, Gruyère, and cream cheese, topped with a deeply golden and crispy panko crust. Perfect for potlucks, holiday dinners, or any gathering where you need a comforting, make-ahead dish.
- Prep Time: 20 minutes
- Cook Time: 35-40 minutes
- Total Time: 55-60 minutes
- Yield: 12 servings 1x
- Category: Main Course
- Cuisine: American
Ingredients
- 1 pound (450g) elbow macaroni or cavatappi
- Salt for the pasta water
- 4 tablespoons (56g) unsalted butter
- 1/4 cup (30g) all-purpose flour
- 3 cups (720ml) whole milk
- 1 cup (240ml) heavy cream
- 3 cups (340g) sharp cheddar cheese, freshly grated
- 1 1/2 cups (170g) Gruyère cheese, freshly grated
- 4 ounces (113g) cream cheese, softened
- 1 teaspoon Dijon mustard
- 1/2 teaspoon garlic powder
- 1/4 teaspoon cayenne pepper (optional but recommended)
- 1/2 teaspoon salt, plus more to taste
- 1/4 teaspoon black pepper, freshly ground
- 1 1/2 cups (85g) panko breadcrumbs
- 3 tablespoons (42g) unsalted butter, melted
- 1/2 cup (55g) freshly grated Parmesan cheese
- 1/4 teaspoon paprika
- Pinch of salt
Instructions
- Preheat your oven to 375°F (190°C). Butter a 9×13-inch baking dish lightly.
- Bring a large pot of salted water to a rolling boil. Add the pasta and cook until just al dente — about 2 minutes less than the package directions. Drain the pasta, but do not rinse. Set aside.
- In a medium saucepan over medium heat, melt the 4 tablespoons of butter. Once melted and foaming, add the flour all at once. Whisk constantly for about 2 minutes until smooth and slightly nutty (do not let it brown).
- Slowly pour in the milk and heavy cream, whisking continuously. Continue whisking until the mixture comes to a gentle simmer and thickens enough to coat the back of a spoon, about 3-4 minutes.
- Reduce the heat to low. Add the softened cream cheese and whisk until completely melted and incorporated, about 1 minute.
- Add the grated cheddar and Gruyère, one handful at a time, whisking constantly until each addition is fully melted. Then add the Dijon mustard, garlic powder, cayenne (if using), salt, and pepper. Whisk until smooth. Taste and adjust seasoning if needed.
- Pour the drained pasta into the cheese sauce and fold gently with a wooden spoon or rubber spatula until every piece of pasta is coated.
- Transfer the mixture to the prepared baking dish and spread into an even layer.
- In a small bowl, combine the panko breadcrumbs, melted butter, grated Parmesan, paprika, and a pinch of salt. Stir with a fork until evenly coated. Sprinkle this evenly over the mac and cheese.
- Cover the dish with aluminum foil and bake for 20 minutes. Remove the foil and bake for another 15-20 minutes, until the topping is deeply golden and crispy and the edges are bubbling. For extra crispiness, broil for the last 2-3 minutes, watching carefully.
- Let it rest for 10 minutes before serving.
Notes
Grate your own cheese for a smooth sauce. Do not overcook the pasta; it will continue cooking in the oven. For make-ahead, assemble completely (including topping) and refrigerate up to 24 hours; add 10-15 minutes to covered baking time. Double the panko topping if you love crispy bits. For gluten-free, use gluten-free pasta and a 1:1 gluten-free flour blend, plus gluten-free panko.
Nutrition
- Serving Size: 1 serving (1/12 of r
- Calories: 480
- Sugar: 5
- Sodium: 590
- Fat: 28
- Saturated Fat: 17
- Carbohydrates: 38
- Fiber: 2
- Protein: 22
Keywords: baked mac and cheese, crispy panko topping, crowd-pleasing, comfort food, holiday side dish, potluck recipe



