Love this? Save it for later!
Share the inspiration with your friends
This was supposed to be roasted garlic mashed potatoes. I had the Yukon Golds all scrubbed and ready to go, the butter sitting out to soften, and a whole head of garlic I’d just sliced the top off of. But somewhere between preheating the oven and answering a text from my sister-in-law about whether I was bringing dessert to Sunday dinner, I grabbed the wrong bag from the crisper drawer. Two large heads of cauliflower, not potatoes, got tossed into my roasting pan with the garlic. I didn’t realize it until the timer went off forty minutes later and I pulled out a pan full of caramelized cauliflower instead of golden potatoes. My first thought was pure panic—dinner was in three hours and I’d just ruined the side dish. But honestly? That pan smelled incredible. The cauliflower had soaked up all that garlicky, buttery goodness, and the edges were getting all brown and sweet. I grabbed my immersion blender on a whim, threw it all in a pot with some cream cheese I found in the fridge, and let me tell you—what came out was nothing like the plan. And it was better. Way better. My brother-in-law, who swears he hates cauliflower, asked for seconds before he even knew what it was.
Why You’ll Love This Recipe
This roasted garlic cauliflower mash has become my absolute go-to for every single gathering I host, and I’m not exaggerating when I say it disappears faster than almost anything else on the table. There’s something about that velvety texture and deep, nutty flavor that just gets people. You know that feeling when you bring a dish somewhere and you’re secretly hoping people will love it? This one delivers every single time.
Here’s why this recipe stands out from the countless other cauliflower mash recipes out there:
- Simple Ingredients: You likely have most of this in your kitchen right now. Cauliflower, garlic, cream cheese, butter, and a few pantry staples. No fancy grocery trips needed.
- Quick & Easy: Active prep time is about 15 minutes. The oven does most of the work while you handle other things. Perfect for busy hosts who need one less thing to stress about.
- Perfect for Gatherings: This dish was born for dinner parties, potlucks, and holiday tables. It scales beautifully and holds well in a slow cooker if you need to keep it warm.
- Crowd-Pleaser: I’ve served this to cauliflower lovers, cauliflower skeptics, and even a few self-proclaimed cauliflower haters. Everyone goes back for more. It’s that good.
- Unbelievably Delicious: The roasting process changes everything. No bland, watery cauliflower here. The caramelization brings out this natural sweetness that pairs perfectly with the mellow roasted garlic.
What makes this version different from the rest is the roasting step. Most recipes just boil or steam the cauliflower, which leaves it waterlogged and sad. Roasting concentrates the flavor and gives you that rich, almost nutty taste that makes people do a double-take. Plus, the cream cheese adds a tangy richness that mimics the texture of real mashed potatoes without the carbs.
This recipe is the kind that makes you close your eyes after the first bite. It’s comfort food reimagined—healthier, faster, but with the same soul-soothing satisfaction. Perfect for impressing guests without stress, or turning a simple weeknight dinner into something memorable.
What Ingredients You Will Need
This recipe uses simple, wholesome ingredients to deliver bold flavor and satisfying texture without the fuss. Most of these are pantry staples or easy to find at any grocery store.
- 2 large heads of cauliflower (about 2 pounds each), cut into florets. Look for heads that are firm, white, and free from brown spots. Fresh is best here—frozen cauliflower releases too much water and won’t roast properly.
- 1 whole head of garlic, top sliced off to expose the cloves. This will get roasted alongside the cauliflower and turns into sweet, spreadable goodness. I prefer using fresh garlic rather than pre-minced for this—the roasting process really matters.
- 3 tablespoons olive oil, divided. Use a good quality extra virgin olive oil for roasting. It helps with caramelization and adds flavor.
- 4 ounces cream cheese, softened to room temperature. Full-fat works best for the creamiest texture, but you can use reduced-fat if needed. I’ve tried both and the full-fat version is noticeably richer.
- 3 tablespoons unsalted butter, softened. This adds richness and that buttery flavor we all love in mashed potatoes. You can use salted butter, just adjust the added salt accordingly.
- 1/2 cup grated Parmesan cheese (optional but highly recommended). It adds a savory, umami depth that takes this from good to incredible. I use the real stuff, not the green can.
- 1/2 cup heavy cream or whole milk, warmed. This helps achieve the perfect consistency. Start with less and add more as needed. For a dairy-free version, unsweetened almond milk or oat milk works surprisingly well.
- 1 teaspoon salt, plus more to taste. I prefer kosher salt for its clean flavor and easy pinch-ability.
- 1/2 teaspoon black pepper, freshly ground. Don’t skip this—it balances the richness.
- 1/4 teaspoon garlic powder (optional). This reinforces the roasted garlic flavor. I add it when I want an extra garlicky punch.
- Fresh chives or parsley, chopped, for garnish. Adds a pop of color and freshness. Plus, it makes the dish look fancy with zero effort.
Ingredient Selection Tips: When choosing cauliflower, look for heads that feel heavy for their size with tightly packed florets. The leaves should be crisp and green, not yellow or wilted. For the garlic, choose heads that are firm with tight, unbroken skin. Avoid any that feel soft or have sprouted green shoots.
Equipment Needed
You don’t need a ton of fancy equipment for this recipe, which is part of why I love it. Here’s what you’ll need:
- Large baking sheet with a rim. You need space for the cauliflower to spread out in a single layer. Crowding it leads to steaming instead of roasting. I use a half-sheet pan and it works perfectly.
- Large pot or Dutch oven for combining everything. A 5-quart pot is ideal. You’ll also use this to warm the cream or milk.
- Immersion blender or food processor. An immersion blender is my preference because it creates the smoothest texture with less cleanup. If using a food processor, be careful not to over-process or the mash can turn gummy. A potato masher works too if you prefer a chunkier texture.
- Chef’s knife and cutting board. A sharp knife makes cutting cauliflower florets much easier and safer.
- Aluminum foil for wrapping the garlic head while it roasts. This traps steam and helps the cloves soften perfectly.
- Measuring cups and spoons. Precision matters, especially with the cream cheese and butter.
- Rubber spatula for scraping every last bit of goodness into the pot. Trust me, you won’t want to waste any of that roasted garlic.
Budget-Friendly Tip: If you don’t have an immersion blender, a standard potato masher will give you a chunkier, more rustic texture that’s still delicious. I’ve made this both ways and honestly, sometimes I prefer the chunkier version.
Preparation Method
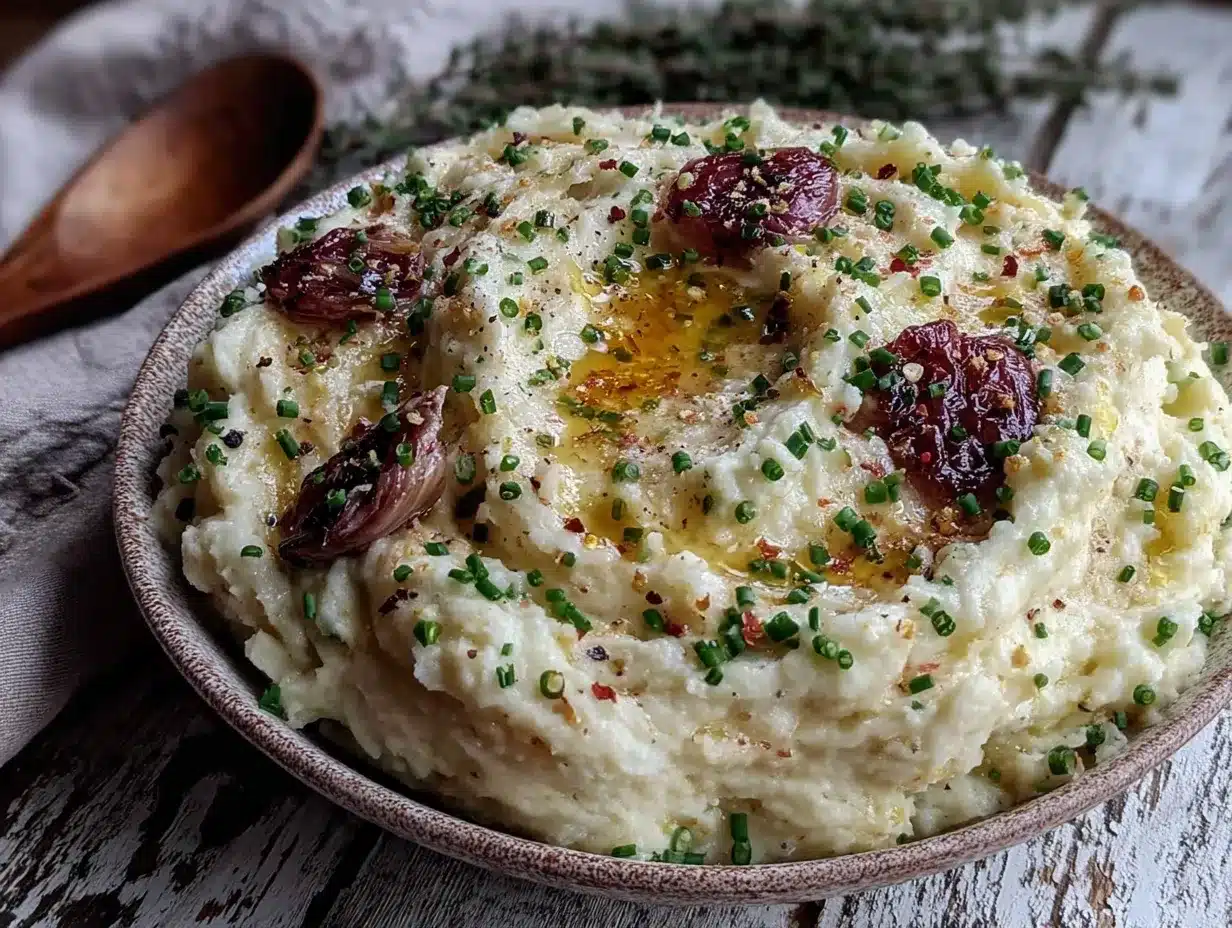
Let me walk you through this step by step. I’ve made this recipe more times than I can count, so I’ve got all the little tricks figured out.
- Preheat your oven to 400°F (200°C). Position the rack in the middle of the oven. Give it a good 15-20 minutes to come to temperature. A properly preheated oven is key to getting that beautiful caramelization.
- Prepare the cauliflower. Remove the outer leaves from each head of cauliflower and cut out the tough core. Break or cut the cauliflower into evenly sized florets—about 1 to 1.5 inches each. This size ensures they roast evenly without burning. You should end up with about 8-10 cups of florets total.
- Prepare the garlic. Take the whole head of garlic and slice off the top quarter inch to expose the tops of the cloves. Don’t peel it—the papery skin protects the cloves and keeps them from burning. Place the garlic head on a piece of aluminum foil large enough to wrap it completely. Drizzle with about 1 teaspoon of olive oil and sprinkle with a pinch of salt. Wrap the foil tightly around the garlic.
- Roast everything together. On your large baking sheet, spread the cauliflower florets in a single layer. Drizzle with the remaining olive oil and sprinkle with about 1/2 teaspoon of salt and the black pepper. Toss to coat evenly. Place the wrapped garlic head on the same baking sheet. Roast for 35-40 minutes, flipping the cauliflower halfway through. You’re looking for deep golden brown spots on the florets—that’s where the flavor lives. The cauliflower should be fork-tender but not mushy.
- Check for doneness. At the 35-minute mark, poke a floret with a fork. It should slide in easily with a little resistance. The edges should be browned and crispy-looking. If not, give it another 5 minutes. My first time making this, I pulled it out too early and the mash was watery. Don’t make that mistake—let it get those brown bits.
- Release the garlic. Remove the baking sheet from the oven and carefully unwrap the garlic. Let it cool for about 5 minutes—long enough to handle but still warm. Squeeze the bottom of the garlic head to push the soft, roasted cloves out into a small bowl. They should slide right out like butter. Discard the skins.
- Combine and blend. Transfer the roasted cauliflower florets to your large pot or Dutch oven. Add the roasted garlic cloves, softened cream cheese, softened butter, and Parmesan cheese if using. Pour in about 1/4 cup of the warmed heavy cream. Using your immersion blender, blend until smooth and creamy. Start on low speed to avoid splattering, then increase to high. If the mixture seems too thick, add more warm cream a tablespoon at a time until you reach your desired consistency. I usually end up using about 1/3 to 1/2 cup total.
- Season to perfection. Taste the mash and adjust seasoning. You’ll likely need more salt—cauliflower can handle it. Add the garlic powder if using. Give it one final blend to incorporate everything. The texture should be silky and smooth, similar to well-made mashed potatoes but slightly lighter.
- Keep warm until serving. If you’re not serving immediately, transfer the mash to a slow cooker set to warm, or place the pot over very low heat, stirring occasionally. You can also keep it in a covered casserole dish in a 200°F (95°C) oven for up to an hour. Add a splash of warm cream if it thickens too much.
Cooking Tips & Techniques
I’ve learned a few things the hard way so you don’t have to. Here are my best tips for perfect roasted garlic cauliflower mash every single time.
Don’t skip the roasting step. This is the single most important thing. Boiling or steaming cauliflower releases tons of water, and you end up with watery, bland mash. Roasting concentrates the flavor and removes excess moisture. The caramelization adds a sweetness that you just can’t get any other way. I once tried to speed things up by microwaving the cauliflower and honestly, it was a sad, watery mess. Never again.
Dry your cauliflower well. After washing the florets, pat them completely dry with a clean kitchen towel or paper towels. Any excess moisture will create steam in the oven and prevent browning. I learned this after pulling out a pan of steamed cauliflower instead of roasted. The difference is night and day.
Give the florets space. Crowding the baking sheet is another common mistake. The florets need room for hot air to circulate around them. If they’re piled on top of each other, they’ll steam instead of roast. Use two baking sheets if you need to. It’s worth the extra pan to wash.
Warm your dairy. Cold cream cheese and cold cream can make the mash seize up and become grainy. Let your cream cheese and butter come to room temperature, and warm the cream slightly before adding it. This ensures a silky smooth texture. I’ve forgotten to do this before and ended up with lumps that no amount of blending could fix.
Taste and adjust. Cauliflower can be bland on its own, so don’t be shy with the salt. I always start with the recommended amount and add more after blending. You can always add more salt, but you can’t take it out. The Parmesan cheese also adds saltiness, so keep that in mind.
Variations & Adaptations
One of the best things about this recipe is how adaptable it is. Here are some of my favorite variations:
Dairy-Free Version: Swap the cream cheese for a dairy-free alternative like Kite Hill or Miyoko’s. Use vegan butter or olive oil instead of regular butter, and substitute the heavy cream with full-fat coconut milk or unsweetened oat milk. Omit the Parmesan or use a vegan Parmesan. The texture will be slightly different but still delicious. I’ve made this for a friend with dairy allergies and she couldn’t tell the difference.
Herb-Infused Mash: Add 2 tablespoons of fresh chopped herbs during the blending step. Rosemary, thyme, and chives are all excellent choices. For a more intense flavor, roast a few sprigs of rosemary or thyme on the baking sheet with the cauliflower and blend them right in. This version is especially good with roast chicken or pork.
Cheesy Cauliflower Mash: Increase the Parmesan to 1 cup, or add 1/2 cup of shredded sharp cheddar along with the Parmesan. The extra cheese makes it even more indulgent and perfect for holiday tables. My family requests this version for Thanksgiving now.
Spicy Kick: Add 1/4 teaspoon of red pepper flakes or a pinch of cayenne pepper along with the salt and pepper. The heat pairs beautifully with the sweet roasted garlic. I love this version with grilled meats or spicy sausage.
Bacon-Topped Mash: Cook 4-5 strips of bacon until crispy, crumble them, and sprinkle over the finished mash. The salty, smoky crunch takes this to a whole new level. I’ve served this at football parties and it was the first dish to go empty.
Serving & Storage Suggestions
This roasted garlic cauliflower mash is incredibly versatile when it comes to serving. Here’s how to make the most of it.
Serving Temperature: Serve it warm, not hot. Let it sit for about 5 minutes after blending to allow the flavors to meld. If it’s too hot, the flavors will be muted. A warm mash also holds its shape better on the plate.
Presentation Tips: Transfer the mash to a warmed serving bowl and smooth the top with a spatula. Create a slight swirl pattern with the back of a spoon, then garnish with fresh chopped chives or parsley and a drizzle of olive oil or melted butter. For a dinner party, I like to serve it in a cast-iron skillet for a rustic look. It keeps warm longer too.
What to Serve Alongside: This mash pairs beautifully with roasted chicken, grilled steak, pan-seared salmon, or pork chops. It’s also fantastic under a rich stew or braised short ribs. For a vegetarian meal, serve it alongside roasted mushrooms and sautéed greens. During the holidays, it’s a perfect low-carb alternative to mashed potatoes on your Thanksgiving or Christmas table.
Storage Instructions: Store leftovers in an airtight container in the refrigerator for up to 5 days. The flavors actually deepen overnight, so it might taste even better the next day. I’ve been known to make a double batch just for leftovers.
Reheating Methods: The best way to reheat is in a saucepan over medium-low heat, stirring frequently and adding a splash of warm cream or milk to loosen it up. You can also reheat it in the microwave in 30-second bursts, stirring between each. If it seems thick, just add a little liquid. Avoid reheating on high heat or it can become grainy.
Freezer Instructions: This mash freezes surprisingly well. Let it cool completely, then transfer to a freezer-safe bag or container. It will keep for up to 3 months. Thaw overnight in the refrigerator, then reheat as directed. I like to freeze individual portions for quick weeknight sides.
Nutritional Information & Benefits
This roasted garlic cauliflower mash is not just delicious—it’s actually good for you. Here’s the nutritional breakdown per serving (based on 8 servings):
| Nutrient | Amount Per Serving |
|---|---|
| Calories | 185 |
| Total Fat | 15g |
| Saturated Fat | 8g |
| Cholesterol | 40mg |
| Sodium | 420mg |
| Total Carbohydrates | 9g |
| Dietary Fiber | 3g |
| Sugars | 3g |
| Protein | 6g |
| Vitamin C | 70% DV |
| Calcium | 10% DV |
| Iron | 4% DV |
Pin This Recipe!
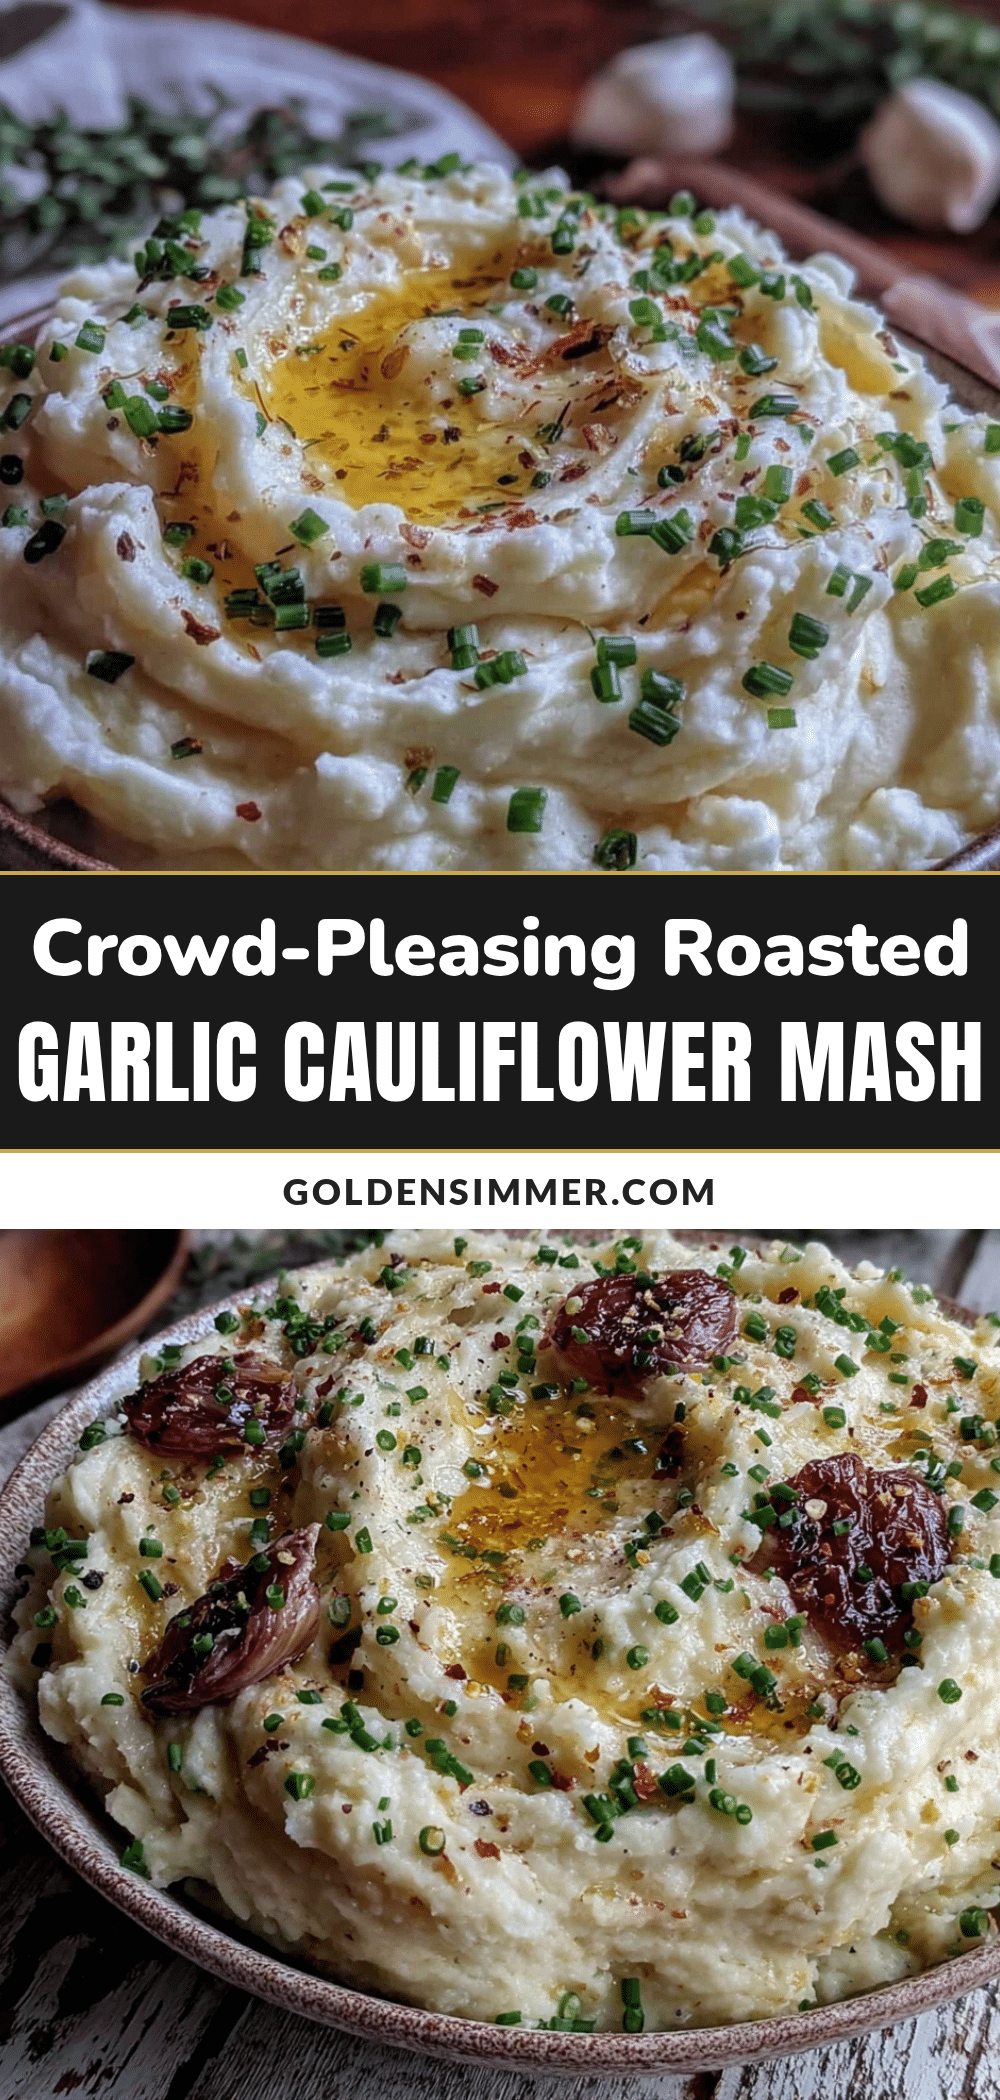
Best Roasted Garlic Cauliflower Mash – Easy Low-Carb Side
This roasted garlic cauliflower mash is a creamy, low-carb side dish that’s perfect for gatherings. Roasting the cauliflower brings out a nutty sweetness, and the cream cheese adds a tangy richness that mimics mashed potatoes without the carbs.
- Prep Time: 15 minutes
- Cook Time: 40 minutes
- Total Time: 55 minutes
- Yield: 8 servings 1x
- Category: Side Dish
- Cuisine: American
Ingredients
- 2 large heads of cauliflower (about 2 pounds each), cut into florets
- 1 whole head of garlic, top sliced off
- 3 tablespoons olive oil, divided
- 4 ounces cream cheese, softened
- 3 tablespoons unsalted butter, softened
- 1/2 cup grated Parmesan cheese (optional)
- 1/2 cup heavy cream or whole milk, warmed
- 1 teaspoon salt, plus more to taste
- 1/2 teaspoon black pepper, freshly ground
- 1/4 teaspoon garlic powder (optional)
- Fresh chives or parsley, chopped, for garnish
Instructions
- Preheat your oven to 400°F (200°C). Position the rack in the middle of the oven.
- Remove the outer leaves from each head of cauliflower and cut out the tough core. Break or cut the cauliflower into evenly sized florets—about 1 to 1.5 inches each.
- Take the whole head of garlic and slice off the top quarter inch to expose the tops of the cloves. Place the garlic head on a piece of aluminum foil large enough to wrap it completely. Drizzle with about 1 teaspoon of olive oil and sprinkle with a pinch of salt. Wrap the foil tightly around the garlic.
- On your large baking sheet, spread the cauliflower florets in a single layer. Drizzle with the remaining olive oil and sprinkle with about 1/2 teaspoon of salt and the black pepper. Toss to coat evenly. Place the wrapped garlic head on the same baking sheet. Roast for 35-40 minutes, flipping the cauliflower halfway through, until deep golden brown and fork-tender.
- Remove the baking sheet from the oven and carefully unwrap the garlic. Let it cool for about 5 minutes. Squeeze the bottom of the garlic head to push the soft, roasted cloves out into a small bowl. Discard the skins.
- Transfer the roasted cauliflower florets to your large pot or Dutch oven. Add the roasted garlic cloves, softened cream cheese, softened butter, and Parmesan cheese if using. Pour in about 1/4 cup of the warmed heavy cream. Using an immersion blender, blend until smooth and creamy. Add more warm cream a tablespoon at a time until you reach your desired consistency.
- Taste the mash and adjust seasoning. Add the garlic powder if using. Give it one final blend to incorporate everything.
- If not serving immediately, transfer the mash to a slow cooker set to warm, or place the pot over very low heat, stirring occasionally. Add a splash of warm cream if it thickens too much.
Notes
Don’t skip the roasting step—it concentrates flavor and removes excess moisture. Dry cauliflower well before roasting. Give florets space on the baking sheet to avoid steaming. Warm dairy ingredients to prevent graininess. Taste and adjust salt after blending.
Nutrition
- Serving Size: 1 serving (about 1 c
- Calories: 185
- Sugar: 3
- Sodium: 420
- Fat: 15
- Saturated Fat: 8
- Carbohydrates: 9
- Fiber: 3
- Protein: 6
Keywords: cauliflower mash, roasted garlic, low-carb, keto, side dish, gluten-free, vegetarian



