Love this? Save it for later!
Share the inspiration with your friends
There used to be a tiny French bistro on the corner of Elm and 4th in my old neighborhood called Le Petit Coin that made the most incredible turkey gravy I have ever tasted. When they closed suddenly in 2019—a “For Lease” sign taped to the door practically overnight—I honestly felt a little pang of grief. That gravy was the reason I ordered the roasted turkey plate even in July. After twelve attempts—twelve, let me tell you, some of them were genuinely embarrassing—I finally cracked the code.
It hit me on a random Tuesday afternoon while I was roasting a chicken for dinner. The secret wasn’t some fancy stock or imported wine. It was about respecting the pan drippings and knowing exactly when to whisk in the flour. That bistro’s gravy had this velvety texture that coated every single thing on the plate, and the flavor was deep without being heavy. I stood there in my kitchen, wooden spoon in hand, and I actually laughed out loud when I tasted it. That was it. That was the one.
This classic turkey gravy from pan drippings is the recipe I’ve been making every Thanksgiving since, and honestly, it works for any roasted bird situation. Maybe you’ve been there—standing over a hot stove, staring at a lumpy gravy boat, wondering where it all went wrong. I get it. I’ve been through more gravy disasters than I care to admit. But this method? It’s foolproof, and it tastes like the kind of gravy that makes people close their eyes at the dinner table.
Why You’ll Love This Recipe
- Quick & Easy: Comes together in under 15 minutes once your turkey is resting. Perfect for that chaotic window between carving and serving.
- Simple Ingredients: No fancy grocery trips needed. You likely already have everything in your kitchen—flour, butter, broth, and those precious pan drippings.
- Perfect for Thanksgiving: This is the gravy your family will request year after year. It’s made for holiday tables and cozy Sunday roasts.
- Crowd-Pleaser: Always gets rave reviews from kids and adults alike. I’ve watched people pour this over everything on their plate, including the cranberry sauce.
- Unbelievably Delicious: The texture and flavor combo is next-level comfort food. That silky mouthfeel with those deep roasted notes—it’s pure magic.
What makes this recipe different from the rest? It’s all about the technique. Most recipes tell you to just whisk flour into hot drippings and hope for the best. I spent months testing ratios, temperatures, and whisking methods to get that bistro-quality result every single time. The trick is using a combination of butter and flour cooked together first, then slowly incorporating your liquid while whisking constantly. No lumps, no floury taste, no stress.
This recipe isn’t just good—it is the kind that makes you close your eyes after the first bite. It’s comfort food reimagined—richer, smoother, but with the same soul-soothing satisfaction. Perfect for impressing guests without stress, or turning a simple roast chicken dinner into something memorable.
What Ingredients You Will Need
This recipe uses simple, wholesome ingredients to deliver bold flavor and satisfying texture without the fuss. The magic happens when these everyday staples meet your turkey’s pan drippings.
- Pan drippings from roasted turkey (about 1/4 cup fat and 1/4 cup browned bits) — this is the star of the show, packed with all that roasted flavor
- Unsalted butter, 1/4 cup (4 tablespoons or 56 grams) — I prefer Kerrygold for its rich taste, but any good unsalted butter works
- All-purpose flour, 1/4 cup (30 grams) — use unbleached for the smoothest results
- Turkey or chicken broth, 2 cups (480 ml) — homemade is amazing, but Swanson’s low-sodium works perfectly in a pinch
- Salt, 1/2 teaspoon (3 grams) — adjust based on how salty your drippings are
- Black pepper, 1/4 teaspoon (1 gram) — freshly ground makes a noticeable difference
- Fresh thyme sprigs, 2 to 3 (optional but lovely) — adds that subtle herbal note
For the best results, look for drippings that have plenty of browned bits stuck to the bottom of your roasting pan. That’s where all the concentrated flavor lives. If your turkey didn’t produce much fat, you can supplement with extra butter. And if you’re using store-bought broth, go for low-sodium so you can control the salt level yourself.
Substitution guidance: Use gluten-free all-purpose flour blend if needed—just whisk a little longer to ensure it’s fully incorporated. For a dairy-free version, substitute the butter with a good quality olive oil or vegan butter. The flavor will change slightly, but it’ll still be delicious.
Equipment Needed
You don’t need fancy equipment for this recipe, which is part of its beauty. Here’s what you’ll need:
- Roasting pan — the one you cooked your turkey in, obviously
- Fine-mesh strainer — for straining out any solids from the drippings
- Fat separator — I use a glass one from Oxo, but a large measuring cup works too
- Medium saucepan — 2-quart size is perfect
- Wooden spoon or silicone whisk — I prefer a flat-bottomed wooden spoon for scraping up those browned bits
- Measuring cups and spoons
- Sharp knife — for mincing herbs if you’re using them
If you don’t have a fat separator, no worries. You can use a large liquid measuring cup and a spoon to skim off the fat, or even a few ice cubes wrapped in cheesecloth to solidify the fat. I’ve used all these methods over the years, and they all work. Just don’t skip the straining step—those little burnt bits can ruin a perfectly good gravy.
Preparation Method
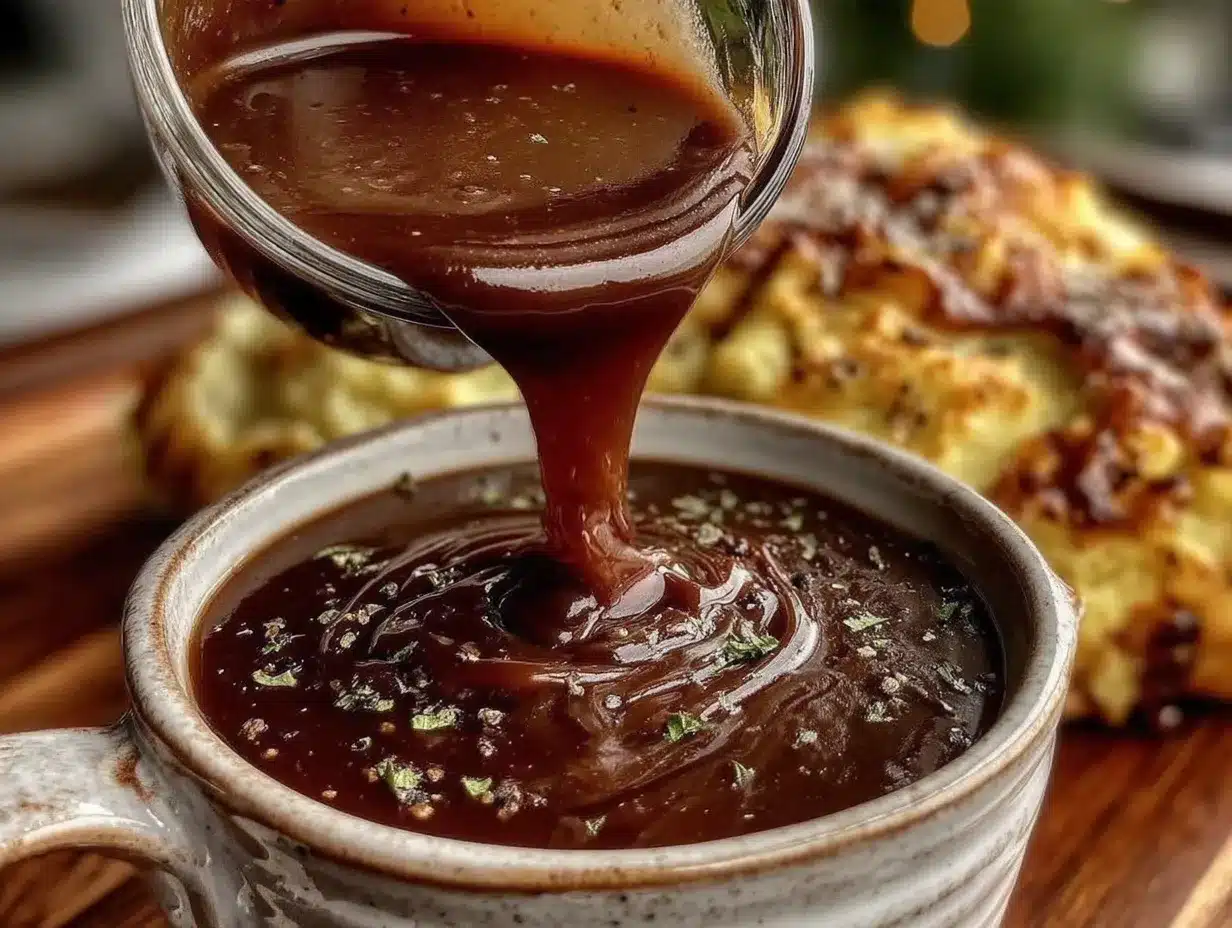
Let me walk you through this step by step. I’ve made this gravy dozens of times, and these are the exact steps that never fail.
- Prepare your drippings. Once your turkey is resting on a carving board, pour all the pan drippings through a fine-mesh strainer into a fat separator or large measuring cup. Let it sit for 5 minutes so the fat rises to the top. You should have about 1/2 cup total liquid—half fat, half flavorful juices. If you’re short on drippings, supplement with extra broth.
- Measure your fat. Pour off 1/4 cup of the separated fat into a small bowl. If you don’t have enough, melt additional butter to make up the difference. Set aside the remaining defatted juices—you’ll add them later.
- Make the roux. In a medium saucepan over medium heat, melt the butter with the 1/4 cup of reserved turkey fat. Once it’s bubbling, whisk in the flour. Cook this mixture, whisking constantly, for 2 to 3 minutes. You’re looking for a light golden color and a smell like toasted nuts. Don’t rush this step—raw flour taste is not what we’re after.
- Deglaze the roasting pan. While the roux is cooking, pour about 1/2 cup of your broth into the still-warm roasting pan. Use a wooden spoon to scrape up all those browned bits from the bottom. This is pure gold—don’t leave any behind. Pour this liquid through your strainer into the remaining broth.
- Add the liquid. Slowly pour the broth mixture (including your reserved defatted juices) into the roux, whisking constantly. Start with a thin stream, then increase as the mixture comes together. Keep whisking until everything is smooth and begins to thicken, about 3 to 4 minutes.
- Season and simmer. Add the salt, pepper, and fresh thyme sprigs if using. Let the gravy simmer gently for 2 to 3 minutes, stirring occasionally. It should coat the back of a spoon. If it’s too thick, add a splash more broth. Too thin? Let it simmer a minute longer.
- Finish and serve. Remove the thyme sprigs, taste, and adjust seasoning. Pour into a warm gravy boat and serve immediately.
A few things I’ve learned the hard way: Your gravy will thicken more as it cools, so aim for a consistency slightly thinner than what you want at the table. And when I say whisk constantly, I mean constantly. I once answered the phone mid-whisk and ended up with lumpy gravy. Never again.
Cooking Tips & Techniques
Here are the things I wish someone had told me years ago. First, temperature matters more than you think. Your roux should bubble gently, not aggressively. If it’s too hot, the flour will brown too quickly and you’ll lose that thickening power. Medium heat is your friend here.
The biggest mistake I see people make is adding cold liquid to a hot roux. It seizes up and forms lumps that are nearly impossible to smooth out. Always use warm or room-temperature broth. I microwave mine for about 30 seconds before adding it.
Another lesson from my gravy failures: don’t skip the deglazing step. Those browned bits stuck to your roasting pan are concentrated flavor bombs. I once tried to save time by just pouring broth straight into the saucepan, and the gravy was noticeably less flavorful. Take the extra two minutes—it makes a huge difference.
For the smoothest gravy, whisk in one direction only. I know it sounds weird, but whisking back and forth can break the starch molecules and make your gravy thin. Pick a direction—clockwise, counterclockwise—and stick with it.
Timing strategy: Start your gravy about 20 minutes before you plan to carve the turkey. This gives you enough time to make it, let it rest for a minute, and still have everything hot when you serve. I usually start the roux while the turkey is resting, then finish the gravy just as I’m ready to carve.
Variations & Adaptations
This classic recipe is wonderful as-is, but here are some ways to make it your own.
Herb-infused gravy: Add a sprig of rosemary and a couple of sage leaves along with the thyme. I tried this last Christmas after seeing it in an old cookbook, and it was incredible with the roasted turkey. Just remember to remove the woody stems before serving.
Make-ahead version: You can prepare this gravy up to 3 days in advance. Store it in an airtight container in the refrigerator. To reheat, warm it gently in a saucepan over low heat, whisking in a splash of broth to loosen it up. The flavor actually deepens overnight, which is a beautiful thing.
Dairy-free adaptation: Substitute the butter with olive oil or a high-quality vegan butter. I’ve used both, and while the flavor profile shifts slightly, the texture remains silky and luxurious. Just be sure to cook the flour long enough to eliminate that raw taste.
Gluten-free option: Use a gluten-free all-purpose flour blend in place of regular flour. Cup4Cup works particularly well here. Whisk a little longer than usual, as gluten-free flours take a moment longer to thicken. Cornstarch also works—use 2 tablespoons mixed with 1/4 cup cold broth, then whisk it in at the end.
Extra-rich version: Stir in 1/4 cup of heavy cream or a splash of sherry at the very end. My aunt taught me this trick, and it takes the gravy to another level. Perfect for special occasions when you want that extra bit of indulgence.
Serving & Storage Suggestions
Serve this gravy hot, poured generously over sliced turkey, mashed potatoes, stuffing, or biscuits. I like to put it in a warm gravy boat with a small ladle so everyone can help themselves. The temperature matters—cold gravy just isn’t the same experience.
For presentation, a sprinkle of fresh parsley or a few cracked black peppercorns on top adds a nice touch. And here’s a little secret: this gravy is amazing on leftover turkey sandwiches the next day. I always make extra just for that purpose.
Storage: Keep leftover gravy in an airtight container in the refrigerator for up to 4 days. The fat might separate as it sits, but don’t worry. Just warm it gently and whisk it back together. For longer storage, freeze the gravy in a freezer-safe container for up to 3 months. Thaw overnight in the refrigerator before reheating.
Reheating instructions: Warm the gravy in a small saucepan over low heat, whisking occasionally. If it’s too thick, add a splash of broth or water. If it’s too thin, let it simmer for a minute or two longer. The flavor might deepen a bit after storage, which I personally love.
Nutritional Information & Benefits
Per serving (about 1/4 cup): Approximately 120 calories, 9g fat, 8g carbohydrates, 2g protein, 0g fiber, 380mg sodium. These values will vary based on your specific ingredients and the amount of fat in your drippings.
This gravy is moderate in calories and fat, but it’s meant to be used in small amounts as a flavor enhancer. The pan drippings contain some minerals from the roasted turkey, including iron and zinc. Using homemade broth can also add collagen and gelatin, which are beneficial for joint health.
Dietary considerations: This recipe contains gluten and dairy, but both can be substituted as noted above. It’s naturally low-carb and keto-friendly if you use the cornstarch or xanthan gum thickening method. Always check your broth labels for hidden gluten or additives if you have sensitivities.
From my perspective, this gravy is about enjoyment, not nutrition. It’s a special occasion food that brings people together. A little bit goes a long way, and the joy it brings to the table is worth every calorie.
Conclusion
This classic turkey gravy from pan drippings is more than just a recipe—it’s the culmination of years of trial and error, a dozen failed attempts, and one unforgettable bistro that set the standard. I’ve made it for Thanksgivings, Christmas dinners, and random Sunday roasts, and it never disappoints.
The beauty of this gravy is how customizable it is. Add more herbs, swap in different broths, make it dairy-free—it’s forgiving and adaptable. I encourage you to play with it and make it your own. That’s what cooking is all about, honestly.
I’d love to hear how yours turns out. Drop a comment below and tell me about your gravy adventures—the triumphs, the disasters, the moments that made you laugh. Share this recipe with someone who needs a little gravy confidence in their life. And remember, the best gravy comes from a place of patience and a willingness to whisk until your arm gets tired. It’s worth it, I promise.
Frequently Asked Questions
Can I make this gravy without pan drippings?
Absolutely. If you don’t have drippings, use 1/4 cup of butter and 2 cups of good-quality turkey or chicken broth. Add a splash of Worcestershire sauce or a teaspoon of soy sauce for depth. It won’t be exactly the same, but it’ll still be delicious.
Why is my gravy lumpy?
Lumpy gravy usually happens when you add cold liquid to a hot roux, or when you don’t whisk constantly. If you end up with lumps, don’t panic. Pour the gravy through a fine-mesh strainer into a clean saucepan, pressing on the lumps to push through the smooth parts. It saves the day every time.
Can I use cornstarch instead of flour?
Yes, you can. Mix 2 tablespoons of cornstarch with 1/4 cup of cold broth until smooth, then whisk it into the simmering gravy at the end. Cook for 1 to 2 minutes until thickened. Cornstarch gives a glossier finish, which some people prefer.
How do I fix gravy that’s too salty?
If your gravy is too salty, add a splash of water or unsalted broth to dilute it. You can also add a peeled raw potato half and simmer it in the gravy for 10 minutes—the potato absorbs some of the salt. Remove the potato before serving.
Can I freeze turkey gravy?
Yes, this gravy freezes beautifully. Let it cool completely, then transfer to a freezer-safe container. It will keep for up to 3 months. Thaw overnight in the refrigerator and reheat gently on the stovetop, whisking in a little broth if needed to restore the consistency.
Pin This Recipe!
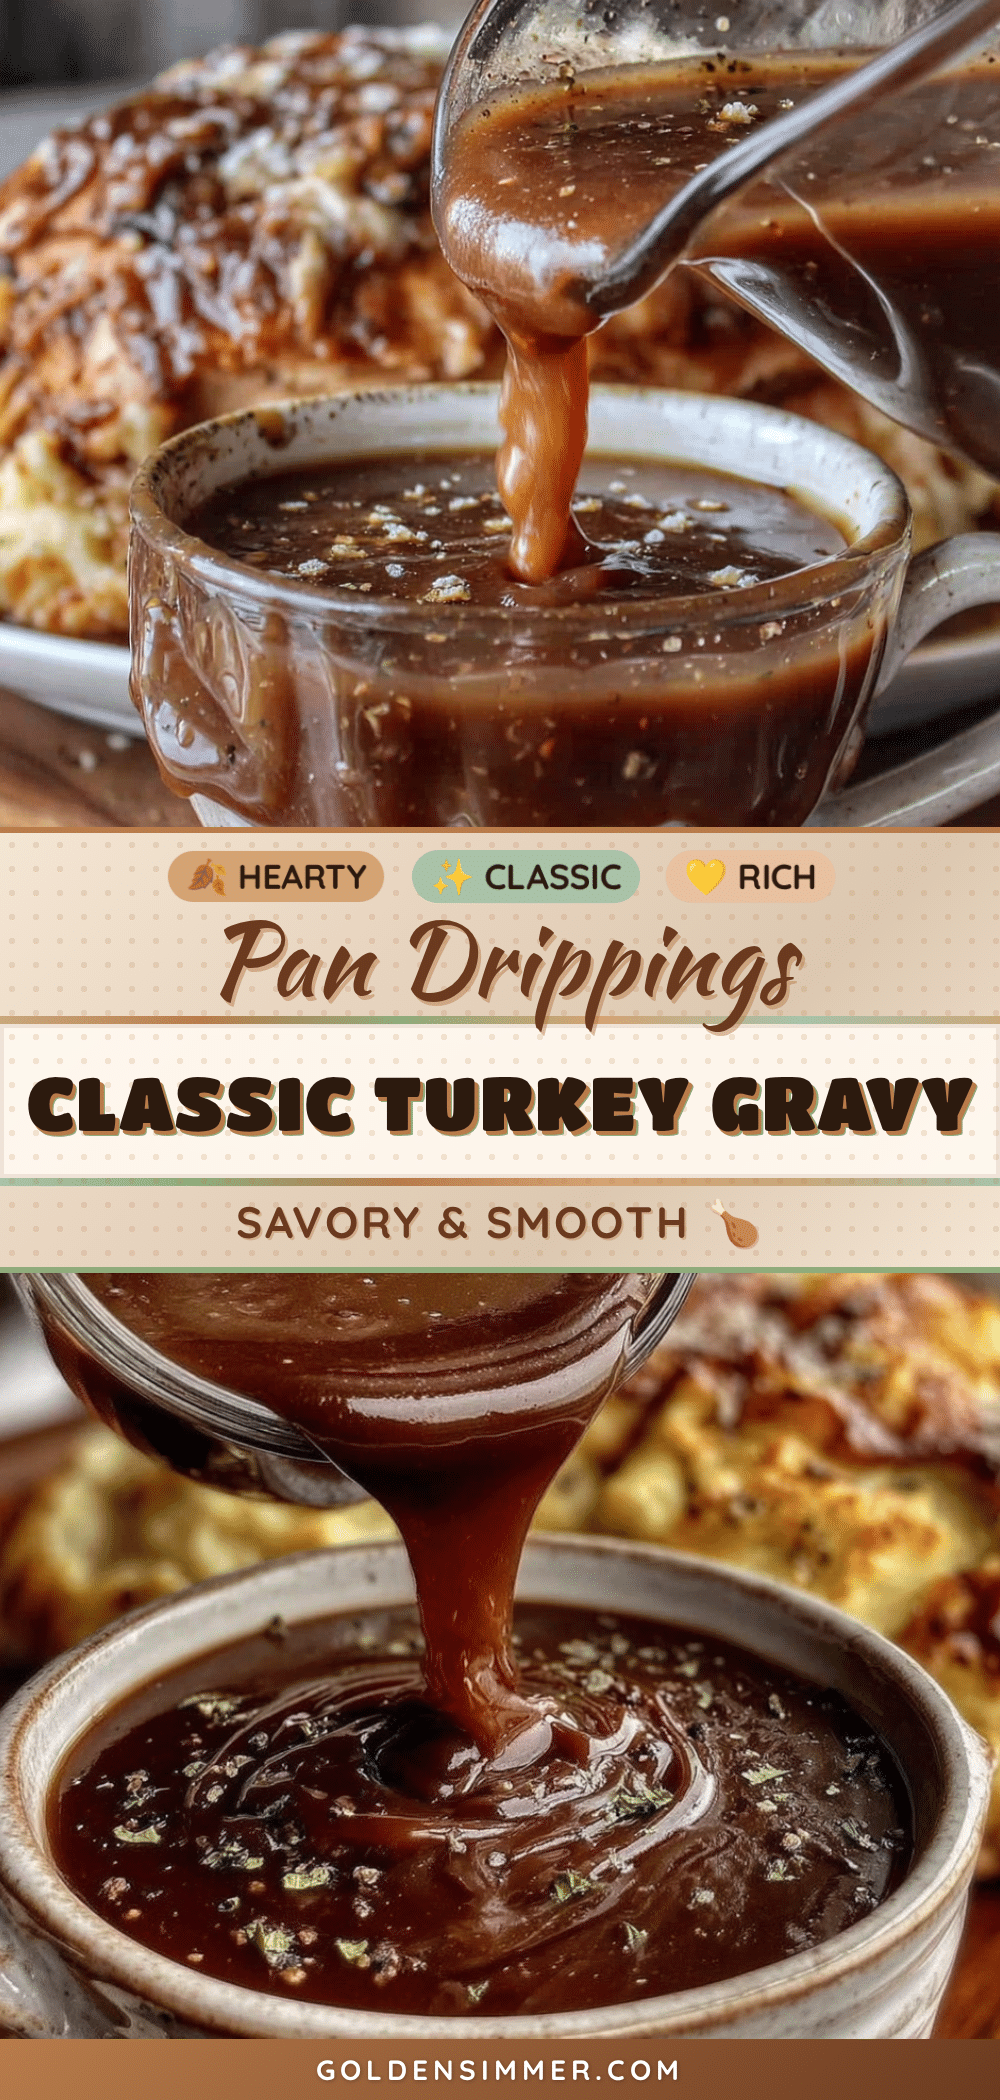
Classic Turkey Gravy from Pan Drippings: Quick & Easy

This classic turkey gravy from pan drippings is the recipe I’ve been making every Thanksgiving since, and honestly, it works for any roasted bird situation. It’s foolproof, and it tastes like the kind of gravy that makes people close their eyes at the dinner table.
- Prep Time: 5 minutes
- Cook Time: 10 minutes
- Total Time: 15 minutes
- Yield: 8 servings
- Category: Sauce
- Cuisine: American
Ingredients
- Pan drippings from roasted turkey (about 1/4 cup fat and 1/4 cup browned bits)
- Unsalted butter, 1/4 cup (4 tablespoons or 56 grams)
- All-purpose flour, 1/4 cup (30 grams)
- Turkey or chicken broth, 2 cups (480 ml)
- Salt, 1/2 teaspoon (3 grams)
- Black pepper, 1/4 teaspoon (1 gram)
- Fresh thyme sprigs, 2 to 3 (optional)
Instructions
- Prepare your drippings. Once your turkey is resting on a carving board, pour all the pan drippings through a fine-mesh strainer into a fat separator or large measuring cup. Let it sit for 5 minutes so the fat rises to the top. You should have about 1/2 cup total liquid—half fat, half flavorful juices. If you’re short on drippings, supplement with extra broth.
- Measure your fat. Pour off 1/4 cup of the separated fat into a small bowl. If you don’t have enough, melt additional butter to make up the difference. Set aside the remaining defatted juices—you’ll add them later.
- Make the roux. In a medium saucepan over medium heat, melt the butter with the 1/4 cup of reserved turkey fat. Once it’s bubbling, whisk in the flour. Cook this mixture, whisking constantly, for 2 to 3 minutes. You’re looking for a light golden color and a smell like toasted nuts. Don’t rush this step—raw flour taste is not what we’re after.
- Deglaze the roasting pan. While the roux is cooking, pour about 1/2 cup of your broth into the still-warm roasting pan. Use a wooden spoon to scrape up all those browned bits from the bottom. This is pure gold—don’t leave any behind. Pour this liquid through your strainer into the remaining broth.
- Add the liquid. Slowly pour the broth mixture (including your reserved defatted juices) into the roux, whisking constantly. Start with a thin stream, then increase as the mixture comes together. Keep whisking until everything is smooth and begins to thicken, about 3 to 4 minutes.
- Season and simmer. Add the salt, pepper, and fresh thyme sprigs if using. Let the gravy simmer gently for 2 to 3 minutes, stirring occasionally. It should coat the back of a spoon. If it’s too thick, add a splash more broth. Too thin? Let it simmer a minute longer.
- Finish and serve. Remove the thyme sprigs, taste, and adjust seasoning. Pour into a warm gravy boat and serve immediately.
Notes
Temperature matters: your roux should bubble gently, not aggressively. Always use warm or room-temperature broth to avoid lumps. Don’t skip the deglazing step—those browned bits are concentrated flavor. For the smoothest gravy, whisk in one direction only. Start your gravy about 20 minutes before you plan to carve the turkey. The gravy will thicken more as it cools, so aim for a consistency slightly thinner than what you want at the table.
Nutrition
- Serving Size: 1/4 cup
- Calories: 120
- Sodium: 380
- Fat: 9
- Saturated Fat: 5
- Carbohydrates: 8
- Protein: 2
Keywords: turkey gravy, pan drippings, Thanksgiving gravy, classic gravy, easy gravy, homemade gravy



