Love this? Save it for later!
Share the inspiration with your friends
I was supposed to be making a completely different dish that Tuesday night. The plan was a simple roasted chicken with a classic green bean side—nothing fancy, just a reliable weeknight meal. But somewhere between the grocery store and my kitchen, the universe decided to intervene. I grabbed the wrong bag of shallots—the ones that had been sitting in my pantry for weeks, looking a bit sad and forgotten. My oven was preheating for the chicken, and I was already running late because I’d spent too long staring at my phone.
So there I was, holding a bunch of green beans, a bag of overly soft shallots, and a stick of butter that was definitely not part of the original plan. The chicken went into the oven, and I started panicking. I mean, honestly, what was I going to do with these beans now? I couldn’t just steam them—that felt too boring for a Tuesday that was already going sideways. So I did something reckless. I threw the butter into a pan, watched it foam and turn that nutty, golden-brown color, and just started cooking. The shallots went in first, getting all crispy and caramelized, and then the green beans joined the party. I poured everything into a baking dish, topped it with more crispy shallots, and hoped for the best.
When I pulled that casserole out of the oven, I almost laughed. It looked nothing like the meal I’d planned—it looked better. The brown butter had transformed everything, giving the beans this deep, almost toasty flavor that I couldn’t stop sniffing. The crispy shallots on top? Pure accident. I’d burned the first batch, you know, and had to start over. That second batch came out perfectly, all golden and crunchy. My neighbor, Sarah, knocked on my door because she smelled something amazing, and I ended up sharing half the dish with her. She asked for the recipe, and I had to admit I didn’t really have one—it was just a happy disaster that worked. That’s why I keep making this casserole. It reminds me that sometimes the best meals come from the moments when everything goes wrong, and you just have to trust your instincts.
Why You’ll Love This Recipe
This isn’t your grandma’s green bean casserole—well, maybe it is if your grandma was a bit of a rebel in the kitchen. Let me tell you why this version has become my go-to for everything from Thanksgiving to random Tuesday dinners.
- Quick & Easy: Comes together in about 45 minutes, and most of that is hands-off oven time. Perfect for busy weeknights when you want something that feels special without the stress.
- Simple Ingredients: No canned soups or mystery ingredients here. Just fresh green beans, butter, shallots, and a few pantry staples. You probably have most of this stuff already.
- Perfect for Cozy Nights: This dish screams comfort. It’s warm, rich, and has that soul-soothing quality that makes you want to curl up on the couch with a blanket.
- Crowd-Pleaser: I’ve served this at potlucks, holiday dinners, and casual get-togethers. It disappears fast. Even people who claim they don’t like green beans go back for seconds.
- Unbelievably Delicious: The brown butter adds this nutty, almost caramel-like depth that you just don’t get from regular butter. Combined with the crispy shallots, it’s a textural and flavor experience that’s next-level comfort food.
What makes this recipe different from all the others? It’s the technique. Browning the butter might seem like a small step, but it changes everything. It adds this complexity that makes the dish feel elegant without being fussy. And those crispy shallots? They’re not just a garnish—they’re a revelation. This isn’t just another version of green bean casserole. It’s the version you’ll crave, the one that makes you close your eyes after the first bite. It’s comfort food reimagined—faster, richer, but with the same soul-soothing satisfaction that makes you feel like everything is going to be okay.
What Ingredients You Will Need
This recipe uses simple, wholesome ingredients to deliver bold flavor and satisfying texture without the fuss. Most of these are pantry staples, so you might not even need a grocery run.
For the Casserole
- Fresh green beans, 1 ½ pounds (trimmed and halved; look for bright, crisp beans for best texture)
- Unsalted butter, 4 tablespoons (I prefer Kerrygold for its rich flavor, but any good-quality butter works)
- Shallots, 4 large (thinly sliced; you’ll use these both in the casserole and for the topping)
- All-purpose flour, 2 tablespoons (for thickening the sauce)
- Whole milk, 1 ½ cups (adds richness; you can use 2% if that’s what you have)
- Chicken or vegetable broth, ½ cup (low-sodium preferred, so you can control the salt)
- Salt, 1 teaspoon (plus more to taste)
- Black pepper, ½ teaspoon (freshly ground is best)
- Garlic powder, ½ teaspoon (adds a subtle savory note)
- Fresh thyme, 1 teaspoon (chopped; or ½ teaspoon dried)
For the Crispy Shallot Topping
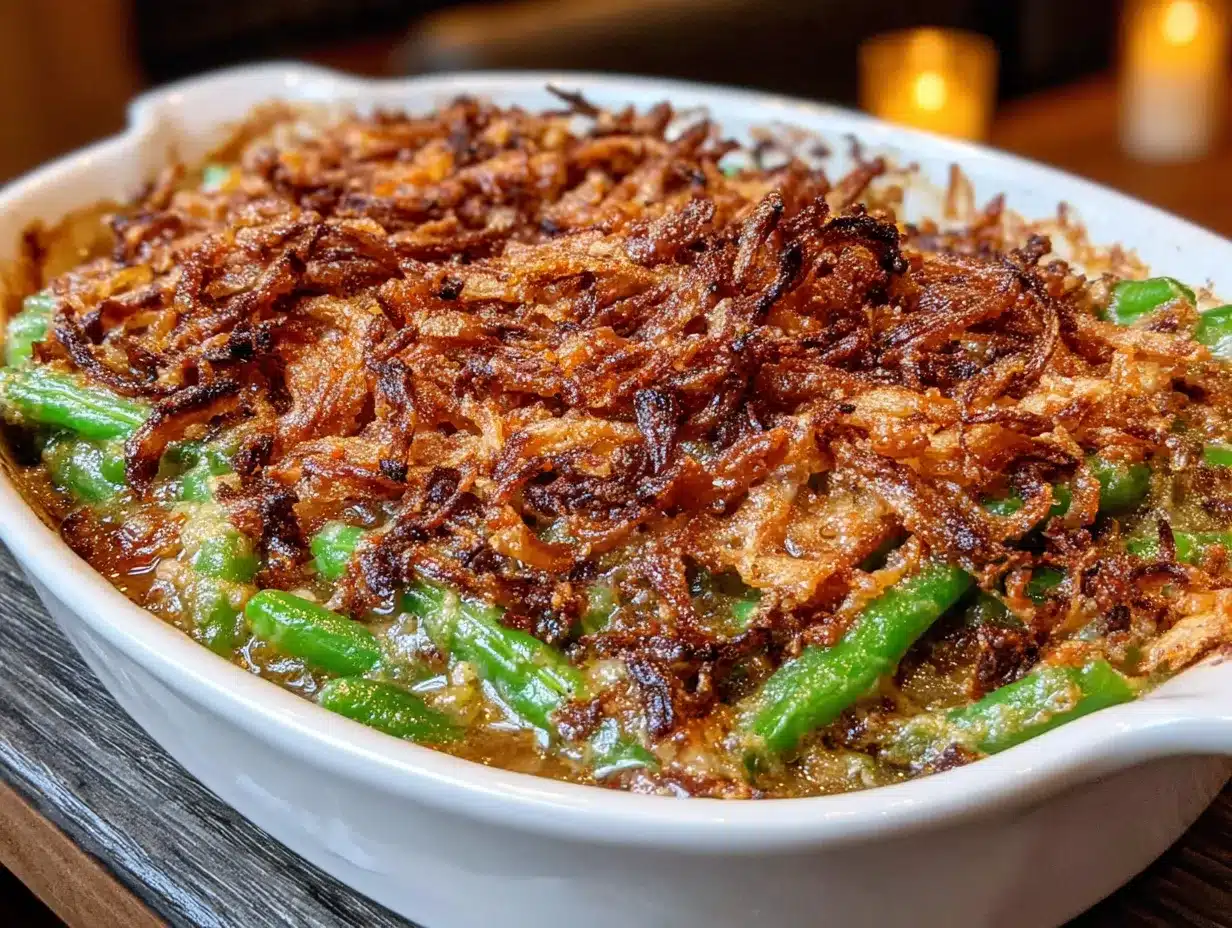
- Shallots, 3 large (thinly sliced into rings)
- Vegetable or canola oil, ½ cup (for frying; use a neutral oil with a high smoke point)
- All-purpose flour, ¼ cup (for coating the shallots)
- Salt, ¼ teaspoon (for seasoning the shallots)
I recommend using fresh green beans here—frozen ones tend to get mushy and release too much water, which messes up the sauce. For the shallots, look for firm ones without any soft spots. If you can’t find shallots, you can substitute with thinly sliced yellow onions, but the flavor won’t be quite as delicate. I’ve tried this recipe with gluten-free all-purpose flour, and it works fine for both the sauce and the shallots, though the texture of the topping is slightly less crispy.
Equipment Needed
You don’t need a fancy kitchen to pull this off. Here’s what you’ll need:
- Large skillet or sauté pan (for browning the butter and cooking the base)
- Medium saucepan (for blanching the green beans)
- Small saucepan or deep skillet (for frying the shallots; a small pot works too)
- 9×13-inch baking dish (or similar size; I use a ceramic dish for even heat distribution)
- Slotted spoon (for removing the crispy shallots from the oil)
- Paper towels (for draining the fried shallots)
- Sharp knife and cutting board (for trimming beans and slicing shallots)
- Measuring cups and spoons
- Wooden spoon or silicone spatula
If you don’t have a deep-fry thermometer, don’t worry—you can test the oil temperature by dropping a small piece of shallot in. If it sizzles immediately, you’re good. I’ve used a cast-iron skillet for the frying part, and it works beautifully because it holds heat well. Just be careful not to overcrowd the pan, or the shallots will steam instead of getting crispy.
Preparation Method
Step 1: Blanch the Green Beans
Bring a large pot of salted water to a boil. Add the trimmed green beans and cook for 2-3 minutes until they turn bright green and are just tender-crisp. Drain immediately and transfer to a bowl of ice water to stop the cooking process. This step is crucial—it keeps the beans vibrant and prevents them from turning into mush later. Drain again and set aside. You can do this a day ahead if you’re planning for a big meal.
Step 2: Make the Crispy Shallots
Heat ½ cup of vegetable oil in a small saucepan over medium heat. While the oil is heating, toss the thinly sliced shallots with ¼ cup of flour and ¼ teaspoon of salt in a bowl. Shake off any excess flour. Once the oil is hot (around 350°F), carefully add the shallots in small batches. Fry for 2-3 minutes, stirring occasionally, until they turn golden brown. Use a slotted spoon to transfer them to a paper towel-lined plate. They’ll crisp up as they cool. Be careful not to burn them—I’ve done that too many times, and it’s heartbreaking. The oil should be hot enough that the shallots sizzle immediately but not so hot that they brown in seconds.
Step 3: Brown the Butter
In a large skillet, melt 4 tablespoons of unsalted butter over medium heat. Swirl the pan occasionally as the butter melts. It will start to foam, then the milk solids will begin to turn golden brown at the bottom of the pan. This takes about 3-5 minutes. Watch closely—once it turns amber and smells nutty, it’s ready. Remove from heat immediately to prevent burning. The color should be a deep golden brown, like the color of a hazelnut. If it turns black, you’ve gone too far and need to start over.
Step 4: Build the Sauce
Add the thinly sliced shallots (the ones reserved for the casserole, not the crispy ones) to the brown butter and cook over medium heat for 2-3 minutes until softened. Sprinkle in 2 tablespoons of all-purpose flour and stir constantly for 1 minute to cook out the raw flour taste. Slowly whisk in 1 ½ cups of whole milk and ½ cup of broth, stirring continuously to prevent lumps. Bring the mixture to a gentle simmer—it should thicken enough to coat the back of a spoon. This takes about 3-4 minutes. Season with 1 teaspoon of salt, ½ teaspoon of black pepper, ½ teaspoon of garlic powder, and 1 teaspoon of fresh thyme. Taste and adjust seasoning if needed.
Step 5: Combine and Bake
Preheat your oven to 375°F. Add the blanched green beans to the sauce and stir until everything is well coated. Transfer the mixture to a greased 9×13-inch baking dish, spreading it into an even layer. Bake for 20-25 minutes until the sauce is bubbly and the edges are slightly golden. The casserole should be hot all the way through, with the sauce thickened and clinging to the beans.
Step 6: Top and Serve
Remove the casserole from the oven and immediately top with the crispy shallots. Let it rest for 5 minutes before serving—this allows the sauce to set slightly and makes it easier to serve. The shallots will stay crispy for about 30 minutes, so add them right before you’re ready to eat. If you’re making this ahead, store the crispy shallots separately and add them just before serving.
Cooking Tips & Techniques
Let me share some hard-learned lessons from my many batches of this casserole. First, don’t skip the blanching step. I once tried to save time by tossing raw beans into the sauce, and they ended up undercooked and chewy. The ice bath is non-negotiable—it stops the cooking process and locks in that beautiful green color.
Browning butter can be intimidating, but it’s actually forgiving if you pay attention. The key is to use a light-colored pan so you can see the color change. Swirl the pan constantly, and once you see those brown specks forming at the bottom, take it off the heat immediately. The residual heat will continue to cook the butter, so don’t wait until it’s perfect in the pan—it will darken a bit more after you remove it. I’ve definitely burned a few batches by walking away to answer my phone. Lesson learned: stand guard.
For the crispy shallots, the biggest mistake people make is overcrowding the pan. If you add too many at once, the temperature drops, and they steam instead of fry. Work in small batches, and let the oil come back up to temperature between batches. Also, make sure the shallots are dry before coating them with flour. Any moisture will cause the flour to clump and the shallots to stick together. I pat mine dry with a paper towel before tossing them in flour.
Timing is everything with this dish. You can blanch the beans and fry the shallots a day ahead. Store the beans in the fridge and the shallots in an airtight container at room temperature. Then, on serving day, you just make the sauce and assemble. This makes holiday cooking so much less stressful.
Variations & Adaptations
This recipe is surprisingly flexible. Here are some ways I’ve adapted it over the years:
Dietary Variations
- Gluten-Free: Use a gluten-free all-purpose flour blend for both the sauce and the shallot coating. I’ve tried this with Cup4Cup, and it works beautifully. The sauce might be slightly thinner, but the flavor is still amazing.
- Dairy-Free: Substitute the butter with a high-quality vegan butter (I like Miyoko’s) and use unsweetened oat milk or full-fat coconut milk for the sauce. The brown butter effect won’t be exactly the same, but you’ll still get a rich, creamy sauce.
- Low-Carb/Keto: Skip the flour in the sauce and use 2 tablespoons of cream cheese or a low-carb thickener like xanthan gum. Omit the flour coating on the shallots and just fry them plain—they’ll still get crispy.
Flavor Twists
- Mushroom Lover’s Version: Sauté 8 ounces of sliced cremini mushrooms with the shallots before adding the flour. This adds an earthy depth that pairs beautifully with the brown butter.
- Bacon Infusion: Cook 4 slices of bacon until crispy, crumble them, and stir into the sauce. Use the bacon fat to replace 1 tablespoon of the butter for extra smoky flavor.
- Herb Garden Variation: Add 2 tablespoons of fresh chopped parsley and 1 tablespoon of fresh rosemary along with the thyme. The herbs add brightness that cuts through the richness.
Seasonal Adaptations
In the summer, I swap the green beans for fresh asparagus or haricots verts. In the fall, I add a handful of roasted butternut squash cubes to the casserole for extra heartiness. I’ve even tried this with frozen peas and pearl onions in the spring—it’s a completely different dish but just as comforting.
Serving & Storage Suggestions
This casserole is best served hot, straight from the oven. The crispy shallots are at their peak within the first 30 minutes, so add them right before serving. I like to present it in the baking dish with a sprinkle of fresh thyme on top for a pop of color.
For a complete meal, serve this alongside a roast chicken, grilled steak, or even a simple roasted salmon. It also pairs beautifully with mashed potatoes and a crusty baguette to soak up any extra sauce. If you’re serving it for a holiday meal, it fits right in with turkey, ham, or prime rib.
To store leftovers, let the casserole cool completely, then transfer to an airtight container. It will keep in the refrigerator for up to 4 days. The crispy shallots will soften, but the flavor will still be delicious. To reheat, place individual portions in the microwave for 1-2 minutes, or reheat the entire dish in a 350°F oven for 15-20 minutes. If you want to restore some crunch, sprinkle fresh crispy shallots on top after reheating.
You can also freeze this casserole for up to 3 months. Assemble the casserole without the crispy shallots, cover tightly with foil, and freeze. To serve, thaw overnight in the refrigerator, then bake at 375°F for 25-30 minutes until hot and bubbly. Add fresh crispy shallots before serving. The texture of the beans will be slightly softer after freezing, but the flavor holds up remarkably well.
I’ve noticed that the flavors actually deepen and meld together after a day in the fridge. The brown butter sauce becomes even more aromatic, and the beans absorb all that goodness. So don’t be afraid to make this a day ahead—it might even be better the next day.
Nutritional Information & Benefits
Here’s an estimated nutritional breakdown per serving (based on 8 servings):
- Calories: 210
- Total Fat: 14g
- Saturated Fat: 6g
- Cholesterol: 25mg
- Sodium: 380mg
- Total Carbohydrates: 18g
- Dietary Fiber: 3g
- Sugars: 6g
- Protein: 4g
Green beans are a fantastic source of vitamins A, C, and K, as well as fiber and folate. They’re low in calories but high in nutrients, making them a great addition to any meal. The brown butter adds healthy fats that help your body absorb the fat-soluble vitamins from the beans. Shallots are rich in antioxidants and have anti-inflammatory properties, plus they add that amazing flavor without needing a lot of salt.
This recipe is naturally vegetarian and can be made gluten-free and dairy-free with simple substitutions. It’s not low-carb, but you can easily adapt it for a keto diet by skipping the flour. The main allergens are dairy (butter and milk) and gluten (flour), so be mindful if you’re cooking for someone with sensitivities.
I personally love that this dish feels indulgent but is actually pretty balanced. It’s comfort food that doesn’t leave you feeling heavy or guilty. You get all the satisfaction of a creamy, rich casserole with the benefit of a generous serving of vegetables.
Conclusion
This brown butter green bean casserole with crispy shallots has become my signature dish, and I think it deserves a spot in your recipe collection too. It’s the kind of recipe that proves you don’t need complicated techniques or fancy ingredients to create something truly special. Just a little patience, a watchful eye on that butter, and a willingness to embrace happy accidents.
I love this recipe because it feels like a warm hug on a plate. It’s the dish I turn to when I need comfort, when I want to impress without stress, and when I just want to enjoy the simple pleasure of good food. The nutty brown butter, the tender beans, the crunchy shallots—every bite is a reminder that sometimes the best things come from unexpected places.
Now it’s your turn. I’d love to hear how this recipe turns out for you! Did you try a variation? Did you discover a new technique? Drop a comment below and share your experience. And if you loved this casserole as much as I do, don’t forget to share it with a friend who needs a little comfort in their life. Happy cooking, friends!
Frequently Asked Questions
Can I use frozen green beans instead of fresh?
You can, but I don’t recommend it. Frozen green beans have a higher water content and tend to become mushy during baking. If you’re in a pinch, thaw them completely and pat them dry before using. Just know the texture won’t be as crisp.
How do I store leftover crispy shallots?
Store them in an airtight container at room temperature for up to 3 days. If they lose their crunch, you can re-crisp them in a 300°F oven for 5 minutes. Just keep an eye on them so they don’t burn.
Can I make this casserole ahead of time?
Absolutely! Assemble the casserole without the crispy shallots, cover it, and refrigerate for up to 24 hours. When you’re ready to serve, bake it as directed, adding 5-10 minutes to the baking time since it’s starting cold. Add the crispy shallots fresh.
Why did my brown butter turn bitter?
Brown butter can turn bitter if it’s overcooked. The milk solids burn quickly once they pass the golden-brown stage. Always remove the pan from heat as soon as you see amber color and smell that nutty aroma. The residual heat will continue cooking it slightly.
Can I use a different type of onion for the topping?
Yes, you can use yellow or sweet onions instead of shallots. Slice them thinly and follow the same frying process. The flavor will be slightly stronger and less delicate, but still delicious. Red onions also work, though they’ll have a milder flavor after frying.
Pin This Recipe!
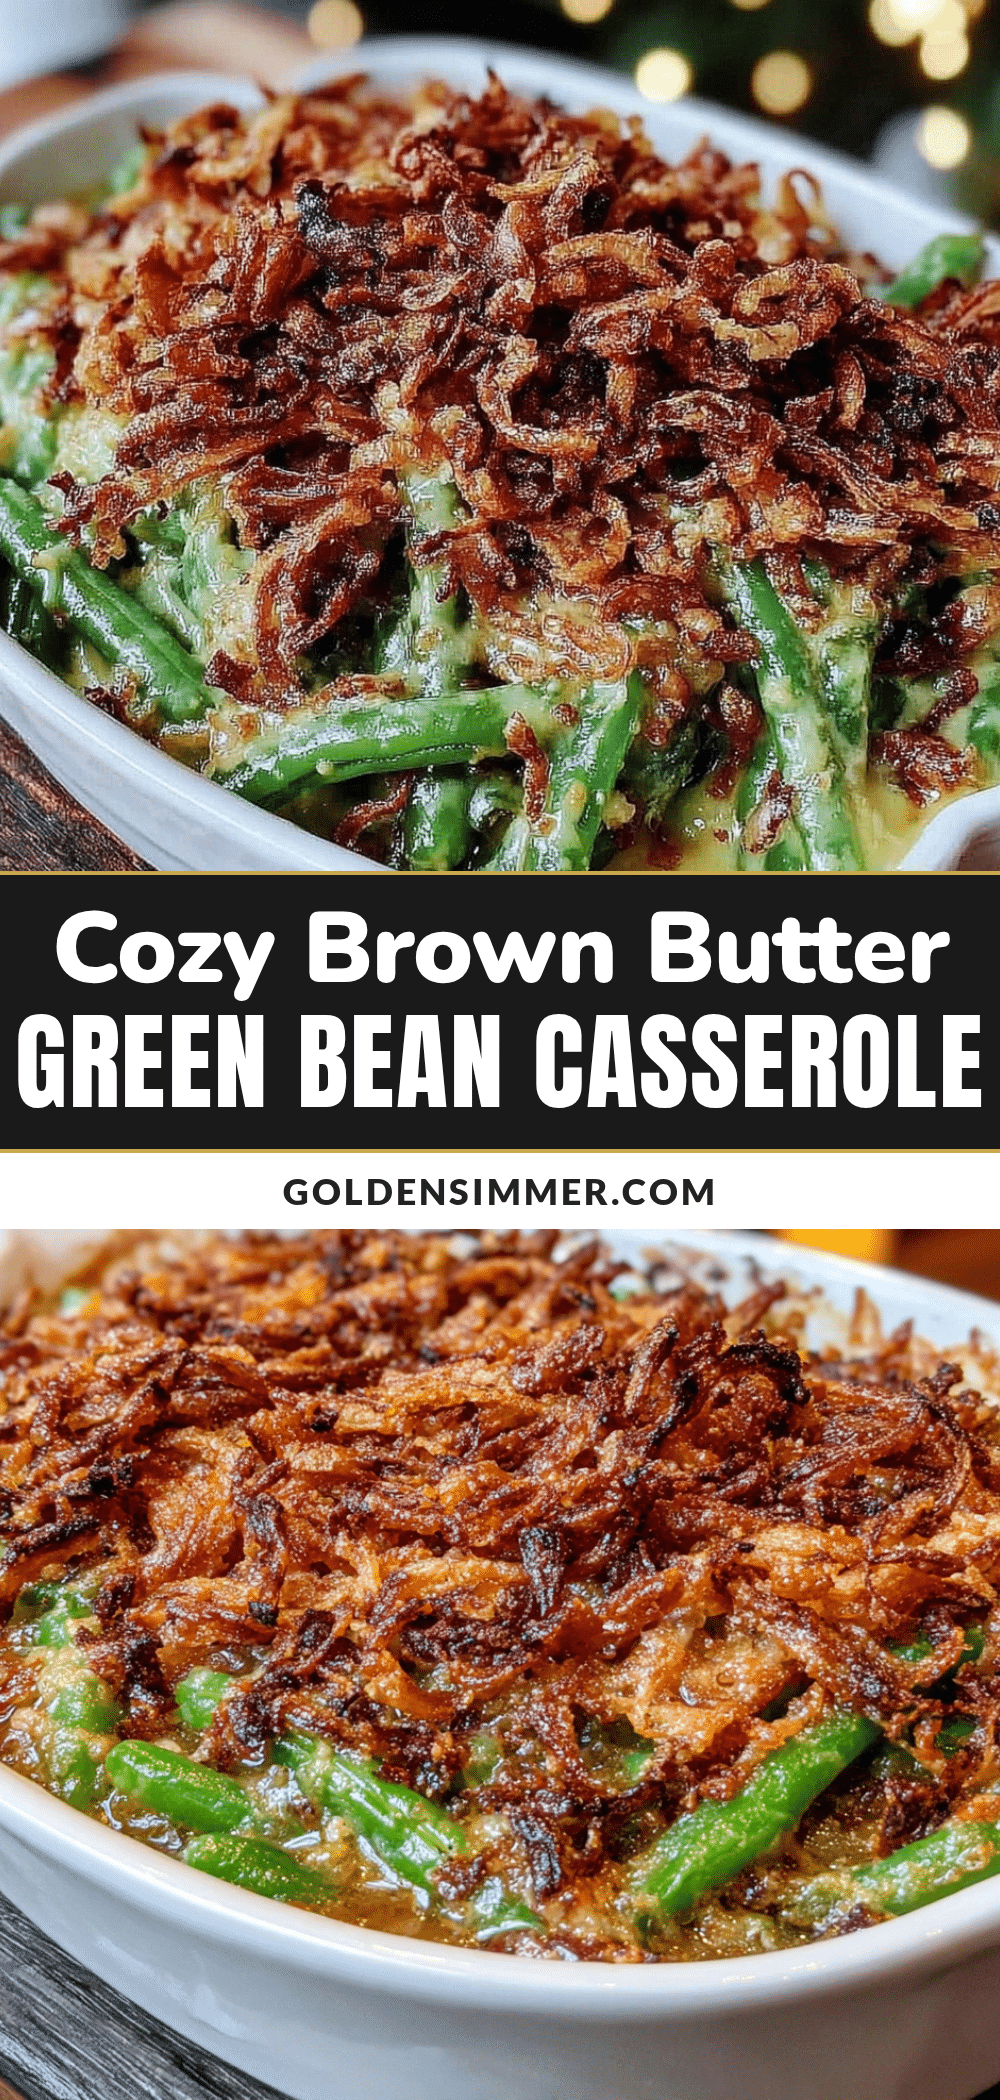
Cozy Brown Butter Green Bean Casserole with Crispy Shallots
This brown butter green bean casserole with crispy shallots is a comforting, elegant twist on the classic. It’s quick to make with simple ingredients, perfect for cozy nights or holiday feasts.
- Prep Time: 15 minutes
- Cook Time: 30 minutes
- Total Time: 45 minutes
- Yield: 8 servings 1x
- Category: Side Dish
- Cuisine: American
Ingredients
- 1 ½ pounds fresh green beans, trimmed and halved
- 4 tablespoons unsalted butter
- 4 large shallots, thinly sliced (for casserole)
- 2 tablespoons all-purpose flour
- 1 ½ cups whole milk
- ½ cup low-sodium chicken or vegetable broth
- 1 teaspoon salt
- ½ teaspoon black pepper, freshly ground
- ½ teaspoon garlic powder
- 1 teaspoon fresh thyme, chopped (or ½ teaspoon dried)
- 3 large shallots, thinly sliced into rings (for topping)
- ½ cup vegetable or canola oil (for frying)
- ¼ cup all-purpose flour (for coating shallots)
- ¼ teaspoon salt (for seasoning shallots)
Instructions
- Blanch the green beans: Bring a large pot of salted water to a boil. Add green beans and cook for 2-3 minutes until bright green and tender-crisp. Drain and transfer to a bowl of ice water to stop cooking. Drain again and set aside.
- Make the crispy shallots: Heat ½ cup vegetable oil in a small saucepan over medium heat. Toss sliced shallots with ¼ cup flour and ¼ teaspoon salt. Shake off excess flour. Fry in small batches for 2-3 minutes until golden brown. Transfer to a paper towel-lined plate to drain and crisp.
- Brown the butter: In a large skillet, melt 4 tablespoons unsalted butter over medium heat. Swirl occasionally until it foams and the milk solids turn golden brown and smell nutty, about 3-5 minutes. Remove from heat immediately.
- Build the sauce: Add the thinly sliced shallots (for casserole) to the brown butter and cook over medium heat for 2-3 minutes until softened. Sprinkle in 2 tablespoons flour and stir constantly for 1 minute. Slowly whisk in 1 ½ cups milk and ½ cup broth. Bring to a gentle simmer and cook until thickened, about 3-4 minutes. Season with 1 teaspoon salt, ½ teaspoon pepper, ½ teaspoon garlic powder, and 1 teaspoon thyme. Adjust seasoning to taste.
- Combine and bake: Preheat oven to 375°F. Add blanched green beans to the sauce and stir to coat. Transfer to a greased 9×13-inch baking dish. Bake for 20-25 minutes until bubbly and edges are golden.
- Top and serve: Remove from oven and immediately top with crispy shallots. Let rest for 5 minutes before serving.
Notes
Blanching the green beans is crucial for texture. Brown butter can burn quickly—remove from heat as soon as it turns amber. For crispy shallots, work in small batches and ensure oil is hot enough. The casserole can be assembled a day ahead (without crispy shallots) and baked just before serving. Store leftover crispy shallots in an airtight container at room temperature for up to 3 days.
Nutrition
- Serving Size: 1 serving
- Calories: 210
- Sugar: 6
- Sodium: 380
- Fat: 14
- Saturated Fat: 6
- Carbohydrates: 18
- Fiber: 3
- Protein: 4
Keywords: green bean casserole, brown butter, crispy shallots, Thanksgiving side dish, comfort food, vegetarian