Love this? Save it for later!
Share the inspiration with your friends
My sister asked why I couldn’t just throw everything in one pan and call it a day. I started to explain why that wouldn’t work — then stopped. She had a point. I was overcomplicating meal prep again, separating proteins and grains into different containers like some sort of kitchen scientist. The summer I turned thirty, I was determined to get my life together on Sunday afternoons. That usually meant spending three hours making individual components that I’d reheat and complain about by Wednesday. But my sister, who barely cooks, suggested the simplest thing: make it all together, let it get cozy, and stop treating meal prep like a chore. So I tried it. Honestly, I was sure the chicken would dry out or the rice would turn to mush. Let me tell you, I was wrong. The first bite of those bowls — warm, saucy, with the rice soaking up all that chicken goodness — made me close my eyes. Maybe you’ve been there, standing over the stove, eating straight from the container because it’s just that good. That’s how these Cozy Meal Prep Chicken and Rice Bowls for 5 Days were born. Not from a fancy recipe book, but from a moment of letting go and trusting the process. Now I make them every single week.
Why You’ll Love This Recipe
I’ve tested this recipe more times than I care to admit. Some batches were too dry, others too soupy. But this version? It’s the one I keep coming back to, and here’s why you will too:
- Quick & Easy: From start to finish, you’re looking at about 45 minutes. That’s dinner for five nights sorted in less than an hour.
- Simple Ingredients: No trips to specialty stores. Chicken, rice, broth, and a few pantry staples are all you need.
- Perfect for Busy Weeks: Whether you’re meal prepping for work lunches or quick dinners, these bowls save your sanity.
- Crowd-Pleaser: My picky nephew even asked for seconds. That’s a win in my book.
- Unbelievably Delicious: The rice absorbs all the chicken juices and seasonings, creating this cozy, one-bowl meal that tastes like it took hours.
What makes this different from other meal prep recipes? It’s the technique — cooking the chicken right on top of the rice so the flavors meld together. You’re not just reheating separate components. You’re getting a dish that feels fresh on day five. I mean, honestly, that’s the kind of comfort food magic we all need on a Tuesday night.
What Ingredients You Will Need
This recipe uses simple, wholesome ingredients to deliver bold flavor and satisfying texture without the fuss. Most of these are pantry staples you probably already have on hand.
- Chicken thighs: 2 pounds, boneless and skinless (chicken breasts work too, but thighs stay juicier over the week)
- Long-grain white rice: 2 cups, rinsed (basmati or jasmine are my go-to; they hold up well)
- Chicken broth: 4 cups, low-sodium (I prefer Swanson or Kitchen Basics for consistent flavor)
- Yellow onion: 1 medium, diced
- Garlic: 4 cloves, minced
- Olive oil: 2 tablespoons (adds richness and helps browning)
- Paprika: 1 teaspoon (smoked paprika adds a deeper flavor)
- Dried thyme: 1 teaspoon
- Salt: 1 teaspoon, or to taste
- Black pepper: ½ teaspoon, freshly ground
- Frozen peas and carrots: 1 cup (adds color and veggies without extra prep)
- Fresh parsley: For garnish, optional (but pretty)
You can swap the chicken broth for vegetable broth if that’s what you have. For a gluten-free option, use certified gluten-free broth. If you’re out of fresh garlic, 1 teaspoon of garlic powder works in a pinch. I’ve also used brown rice, but you’ll need to increase the broth to 5 cups and cook for about 15 minutes longer. Just keep an eye on it.
Equipment Needed
You don’t need a lot of fancy gear for this one. Here’s what I use every Sunday:
- Large skillet or Dutch oven: A 12-inch skillet with a lid works perfectly. I use my trusty Lodge cast iron Dutch oven — it holds heat beautifully.
- Cutting board: Any sturdy board will do. I prefer a wooden one for chicken.
- Chef’s knife: A sharp knife makes dicing the onion and mincing garlic so much easier.
- Measuring cups and spoons: For accuracy, especially with the broth and rice ratio.
- Wooden spoon or spatula: For stirring and scraping up browned bits.
- Meat thermometer: Optional but helpful if you’re new to cooking chicken. You’re looking for 165°F.
- Meal prep containers: Five airtight containers, about 2-cup capacity each. Glass containers reheat better than plastic.
If you don’t have a Dutch oven, any deep skillet with a lid will work. Just make sure it’s oven-safe if you plan to finish the dish in the oven. Budget-friendly tip: I got my cast iron skillet at a thrift store for $10. It works like a dream.
Preparation Method
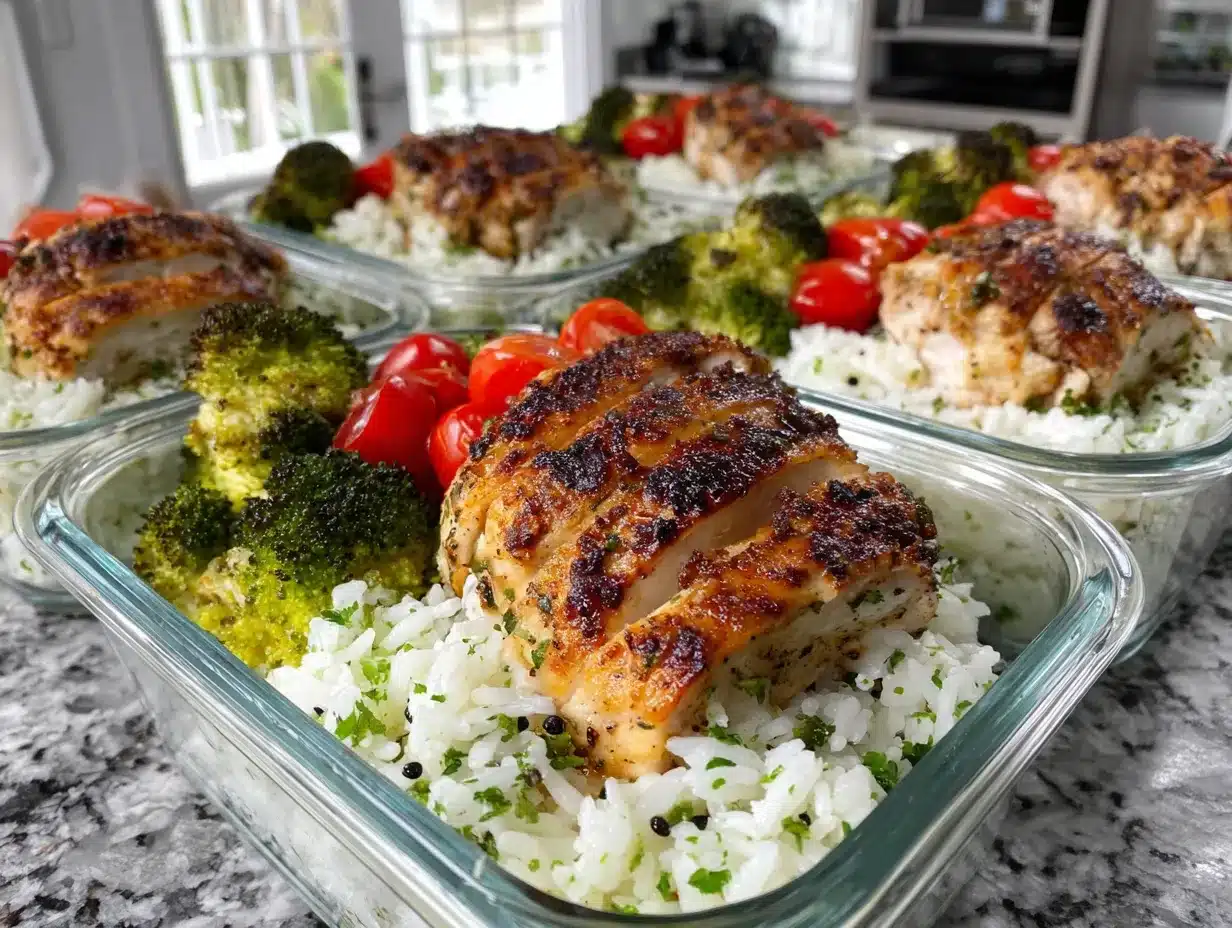
Let’s get cooking. This method is straightforward, but I’ve added some cues so you know exactly what to look for. Take your time — it’s worth it.
- Prep the chicken: Pat the chicken thighs dry with paper towels. This helps them brown better. Season both sides with ½ teaspoon salt, ¼ teaspoon pepper, and the paprika. Set aside while you prep the veggies.
- Sauté the aromatics: Heat the olive oil in your large skillet over medium heat. Add the diced onion and cook for 3-4 minutes, until it’s soft and translucent. You should smell that sweet onion aroma. Add the minced garlic and cook for another 30 seconds — don’t let it burn, or it’ll turn bitter.
- Brown the chicken: Push the onions and garlic to the side of the pan. Add the seasoned chicken thighs in a single layer. Cook for 4-5 minutes per side, until golden brown. The chicken doesn’t need to be cooked through yet — just nicely browned. Remove the chicken to a plate and set aside.
- Toast the rice: Add the rinsed rice to the same pan. Stir it around for 1-2 minutes, letting it soak up the remaining oil and browned bits. This step adds a nutty flavor that makes a difference. You’ll see the rice turn slightly opaque at the edges.
- Add the liquid: Pour in the chicken broth, scraping the bottom of the pan with your wooden spoon to release all those flavorful browned bits (that’s called deglazing, and it’s where the flavor lives). Add the dried thyme, remaining ½ teaspoon salt, and ¼ teaspoon pepper. Stir everything together.
- Return the chicken: Nestle the browned chicken thighs on top of the rice mixture. They should be partially submerged. Bring the liquid to a gentle boil, then reduce the heat to low. Cover the pan with a tight-fitting lid.
- Simmer: Cook covered for 20 minutes. Do not lift the lid during this time — I know it’s tempting, but the steam is what cooks the rice perfectly. After 20 minutes, turn off the heat but leave the lid on. Let it rest for another 5-10 minutes. This resting period allows the rice to absorb any remaining liquid.
- Add the veggies: After resting, remove the lid. Fluff the rice gently with a fork. Add the frozen peas and carrots on top. They’ll warm through from the residual heat. Stir them in gently.
- Shred or slice the chicken: Remove the chicken thighs to a cutting board. Shred them with two forks or slice into bite-sized pieces. Return the chicken to the pan and stir to combine everything.
- Portion and store: Divide the mixture evenly among your five meal prep containers. Let them cool completely — about 30 minutes — before sealing and refrigerating. This prevents condensation and soggy rice.
A quick note: if your rice seems a little wet after resting, don’t panic. Just fluff it with a fork and leave the lid off for a few minutes. It’ll absorb the extra moisture as it cools.
Cooking Tips & Techniques
I’ve made this recipe at least twenty times, and I’ve learned a few things the hard way. Here’s what I wish someone had told me:
Don’t skip browning the chicken. I know it’s an extra step, but that golden crust adds so much flavor. One time I was in a rush and just threw raw chicken on top of the rice. The result was bland and sad. Don’t be like me.
Use a heavy-bottomed pan. Thin pans can cause the rice to burn on the bottom before it’s cooked through. My first attempt was in a flimsy non-stick skillet, and I ended up with a layer of scorched rice that took forever to scrub off. A Dutch oven or heavy stainless steel pan distributes heat evenly.
Let it rest. That 5-10 minute rest after cooking is non-negotiable. The rice continues to absorb steam, and the flavors meld together. I once got impatient and lifted the lid after 15 minutes. The rice was crunchy. Patience pays off.
Season in layers. Adding salt at each stage — seasoning the chicken, sautéing the onions, and adding more to the broth — builds depth. If you just salt at the end, it tastes flat. Trust me on this one.
Multitask wisely. While the chicken is browning, you can rinse the rice and measure the broth. While the dish simmers, clean up your cutting board and knife. It makes the whole process feel less overwhelming.
Variations & Adaptations
This recipe is a great base, and I’ve tried a few twists over the months. Here are some of my favorites:
- Spicy Southwest: Add 1 teaspoon of cumin, ½ teaspoon of chili powder, and a can of drained black beans when you add the rice. Top with fresh cilantro and a squeeze of lime before serving. My husband requests this version every other week.
- Lemon Herb: Replace the paprika and thyme with 1 teaspoon of dried oregano and the zest of one lemon. Add a tablespoon of lemon juice with the broth. It’s bright and fresh — perfect for spring.
- Creamy Mushroom: Sauté 8 ounces of sliced mushrooms with the onions. Use cream of mushroom soup (one can) mixed with 2 cups of broth instead of all broth. It’s indulgent and so cozy on cold nights.
- Vegetarian Option: Swap the chicken for 2 cans of chickpeas (drained and rinsed) and use vegetable broth. Skip the browning step and just sauté the aromatics. Add the chickpeas with the rice. It’s still hearty and satisfying.
- Low-Carb Adaptation: Replace the rice with 4 cups of cauliflower rice. Reduce the broth to 1 cup and cook for only 10 minutes covered. The cauliflower will absorb the flavors without getting mushy.
I tried the creamy mushroom version last fall when I had a cold. It was exactly what I needed — warm, comforting, and easy to eat. Sometimes the best variations come from what’s already in your fridge.
Serving & Storage Suggestions
These bowls are designed to be grabbed and go. Here’s how to make the most of them:
Serving temperature: Reheat in the microwave for 2-3 minutes, stirring halfway through. Or warm in a skillet over medium heat with a splash of broth or water to loosen things up. I prefer the skillet method — it revives the texture of the rice better.
Presentation: If you’re serving these for guests (yes, I’ve done that), spoon the mixture into bowls and top with fresh parsley, a sprinkle of red pepper flakes, and a wedge of lemon. It looks intentional and pretty.
Storage: Store in airtight containers in the refrigerator for up to 5 days. These bowls actually taste better on day 2 and 3 as the flavors continue to meld. I’ve frozen them too — just portion into freezer-safe containers and freeze for up to 3 months. Thaw overnight in the fridge before reheating.
Reheating tips: If the rice seems dry after a few days, add a tablespoon of water or broth before reheating. Cover with a damp paper towel in the microwave to create steam. This keeps the rice from turning into little hard pellets.
Flavor development: Honest truth — the flavors get deeper and more cohesive by day three. The thyme and paprika mellow out, and the chicken becomes almost fall-apart tender. I sometimes make a double batch just so I have extra for day four and five.
Nutritional Information & Benefits
Here’s an approximate breakdown per serving (based on one bowl, using chicken thighs and white rice):
| Nutrient | Amount |
|---|---|
| Calories | 420 |
| Protein | 32g |
| Carbohydrates | 45g |
| Fat | 12g |
| Fiber | 3g |
| Sodium | 680mg |
This recipe is a good source of lean protein from the chicken, which helps keep you full and supports muscle health. The rice provides steady energy, and the peas and carrots add fiber and vitamins A and C. If you’re watching your sodium, use low-sodium broth and go easy on the added salt. For a lower-carb option, try the cauliflower rice variation. I personally love that this meal feels indulgent but is actually pretty balanced. It’s comfort food that doesn’t leave you feeling heavy.
Potential allergens: This recipe contains no major allergens, but check your broth label for gluten if that’s a concern. Dairy-free and nut-free as written.
Conclusion
These Cozy Meal Prep Chicken and Rice Bowls for 5 Days have honestly changed my Sunday routines. What started as a skeptical experiment turned into a weekly ritual that saves me time, money, and decision fatigue. The best part? It tastes like a warm hug every single time. I love that I can tweak the spices based on my mood, throw in whatever veggies are wilting in the fridge, and still end up with something delicious. Give it a try this week — maybe add a little extra garlic or a pinch of cayenne if you’re feeling bold. I’d love to hear how yours turn out. Drop a comment below with your favorite variation, or tag me in your photos. Let’s make meal prep something to look forward to, not dread. Happy cooking!
Frequently Asked Questions
Can I use chicken breasts instead of thighs?
Yes, you can. Chicken breasts will work, but they tend to dry out faster than thighs. To keep them moist, reduce the cooking time by about 5 minutes and check the internal temperature. It should reach 165°F. I prefer thighs for meal prep because they stay juicier over the week.
How do I prevent the rice from becoming mushy?
The key is not lifting the lid while the rice cooks and letting it rest after turning off the heat. Also, rinsing the rice before cooking removes excess starch, which helps keep the grains separate. If your rice is still mushy, you might have added too much broth. Stick to the 2 cups rice to 4 cups broth ratio.
Can I freeze these bowls?
Absolutely. Portion the cooled mixture into freezer-safe containers and freeze for up to 3 months. Thaw overnight in the refrigerator before reheating. The texture of the rice may soften slightly after freezing, but the flavor will still be great. I often double the batch and freeze half for busy weeks.
What can I add for more vegetables?
This recipe is flexible. Try adding diced bell peppers, zucchini, or spinach. For heartier veggies like broccoli or green beans, blanch them first or add them during the last 5 minutes of cooking so they don’t get too soft. I sometimes throw in a handful of fresh spinach right before serving — it wilts beautifully.
How do I reheat these without a microwave?
If you don’t have a microwave, reheat the bowls in a skillet over medium heat. Add a splash of chicken broth or water to loosen the rice, cover the skillet, and warm for 5-7 minutes, stirring occasionally. You can also reheat them in the oven at 350°F for about 15 minutes, covered with foil to prevent drying out.
Pin This Recipe!
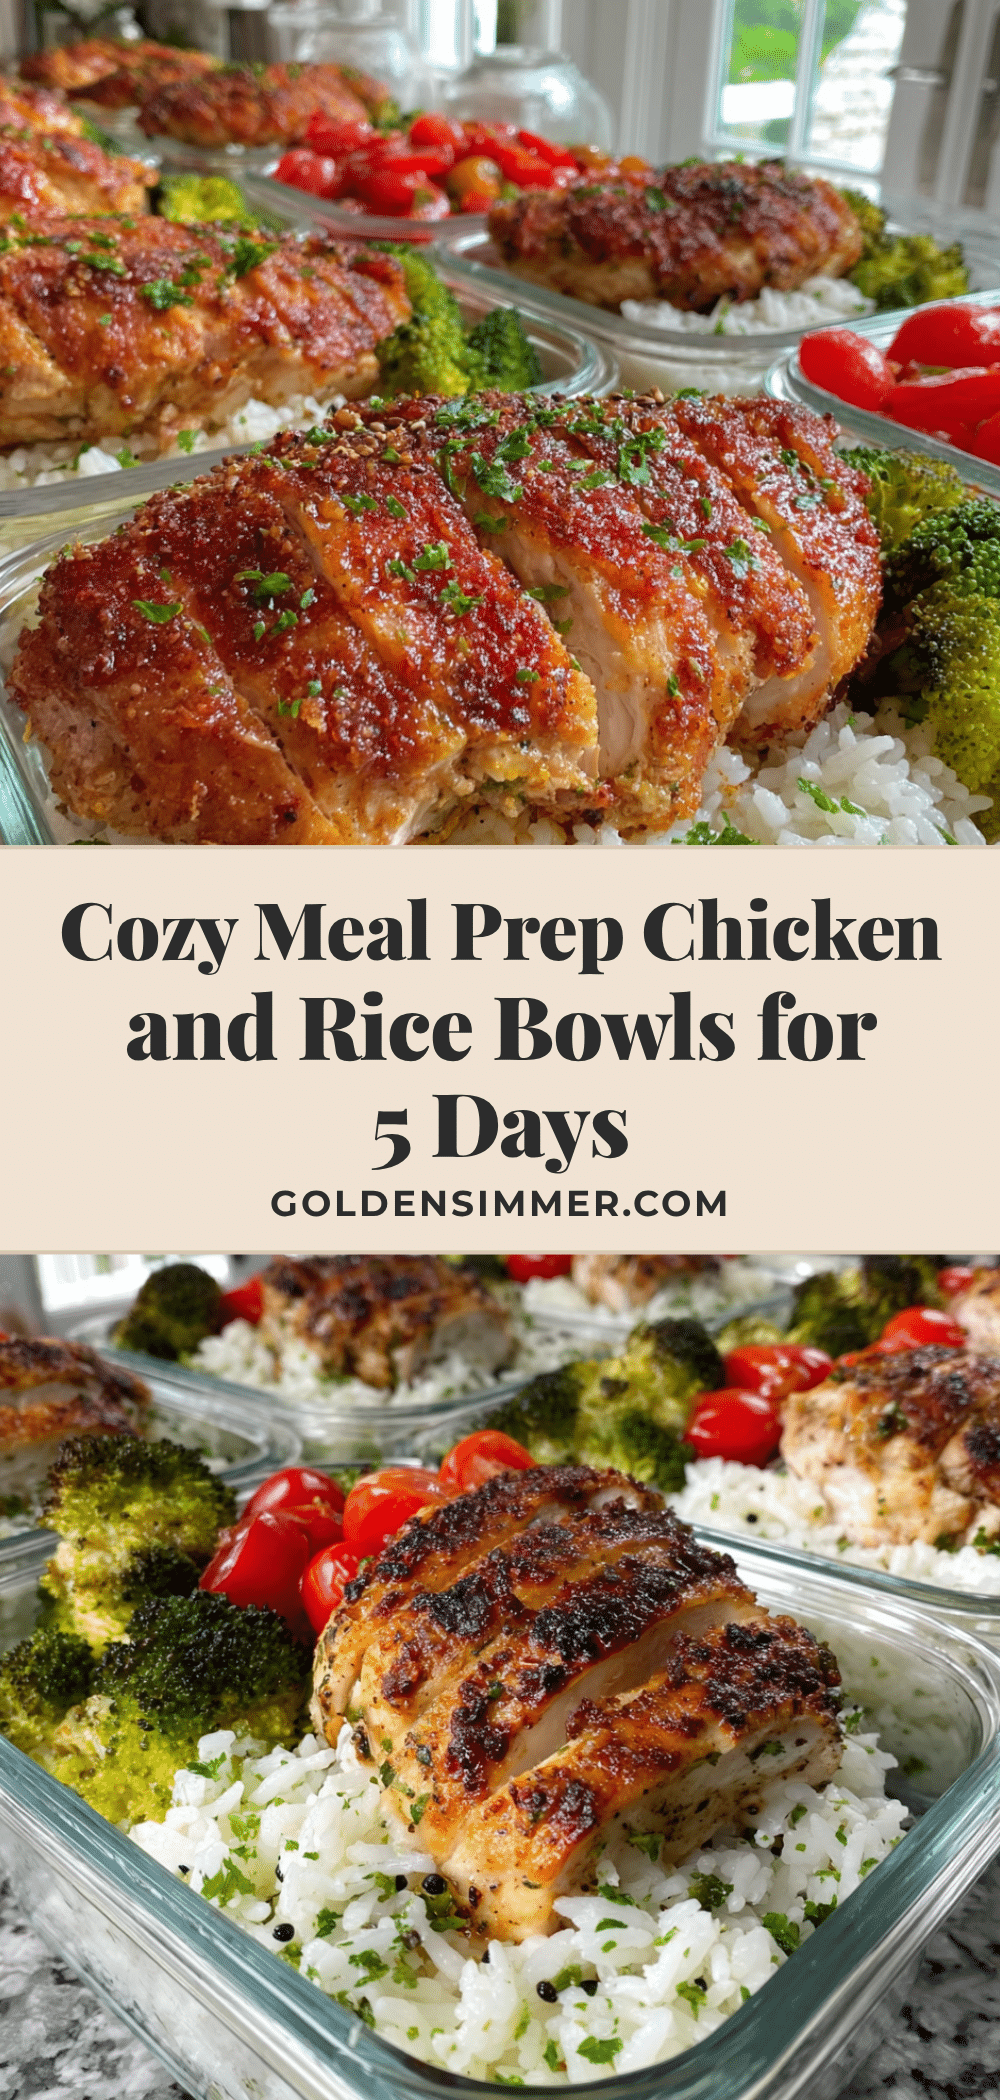
Cozy Meal Prep Chicken and Rice Bowls for 5 Days
These cozy meal prep chicken and rice bowls are a simple, one-pan wonder that saves time and delivers delicious, comforting meals all week long. Perfect for busy weeks, they’re quick to make, use simple ingredients, and taste even better on day two or three.
- Prep Time: 15 minutes
- Cook Time: 30 minutes
- Total Time: 45 minutes
- Yield: 5 servings 1x
- Category: Main Course
- Cuisine: American
Ingredients
- 2 pounds boneless, skinless chicken thighs (chicken breasts work too, but thighs stay juicier)
- 2 cups long-grain white rice, rinsed (basmati or jasmine recommended)
- 4 cups low-sodium chicken broth (Swanson or Kitchen Basics recommended)
- 1 medium yellow onion, diced
- 4 cloves garlic, minced
- 2 tablespoons olive oil
- 1 teaspoon paprika (smoked paprika for deeper flavor)
- 1 teaspoon dried thyme
- 1 teaspoon salt, or to taste
- ½ teaspoon freshly ground black pepper
- 1 cup frozen peas and carrots
- Fresh parsley for garnish (optional)
Instructions
- Pat the chicken thighs dry with paper towels. Season both sides with ½ teaspoon salt, ¼ teaspoon pepper, and the paprika. Set aside.
- Heat olive oil in a large skillet or Dutch oven over medium heat. Add diced onion and cook for 3-4 minutes until soft and translucent. Add minced garlic and cook for 30 seconds more, being careful not to burn it.
- Push onions and garlic to the side of the pan. Add seasoned chicken thighs in a single layer and cook for 4-5 minutes per side until golden brown. Remove chicken to a plate and set aside.
- Add rinsed rice to the same pan and stir for 1-2 minutes until slightly opaque at the edges, toasting lightly.
- Pour in chicken broth, scraping the bottom of the pan with a wooden spoon to release browned bits. Add dried thyme, remaining ½ teaspoon salt, and ¼ teaspoon pepper. Stir to combine.
- Nestle the browned chicken thighs on top of the rice mixture. Bring to a gentle boil, then reduce heat to low. Cover with a tight-fitting lid.
- Cook covered for 20 minutes. Do not lift the lid during this time. After 20 minutes, turn off the heat and let rest, covered, for 5-10 minutes.
- Remove lid and fluff rice gently with a fork. Add frozen peas and carrots on top and stir in gently to warm through.
- Remove chicken thighs to a cutting board. Shred with two forks or slice into bite-sized pieces. Return chicken to the pan and stir to combine.
- Divide mixture evenly among five meal prep containers. Let cool completely (about 30 minutes) before sealing and refrigerating.
Notes
Don’t skip browning the chicken—it adds essential flavor. Use a heavy-bottomed pan to prevent burning. Let the dish rest after cooking for perfect rice texture. Season in layers for depth. For best results, use low-sodium broth and adjust salt to taste. The bowls taste even better on day 2 and 3 as flavors meld.
Nutrition
- Serving Size: 1 bowl
- Calories: 420
- Sugar: 4
- Sodium: 680
- Fat: 12
- Saturated Fat: 3
- Carbohydrates: 45
- Fiber: 3
- Protein: 32
Keywords: meal prep, chicken and rice, one-pan meal, easy dinner, healthy meal prep, chicken thighs, rice bowls



