Love this? Save it for later!
Share the inspiration with your friends
Introduction
“The seagulls were practically begging for a bite,” my friend exclaimed as we unpacked our lunch on a sun-drenched Friday afternoon at Crescent Bay. That day, I wasn’t just bringing any ordinary sandwich—I had my trusty crispy chicken Caesar wraps, a recipe that’s become my go-to for beach days. Honestly, I wasn’t always this confident with wraps. It started one hectic summer when I forgot to pack anything substantial for a picnic by the shore. I had some leftover chicken, a wilting romaine, and a craving for something crunchy and satisfying. The kitchen was a mess, a cracked bowl on the counter, and I was running late. So, I threw everything together in a tortilla, added a little extra dressing, and boom—the perfect beach lunch was born. Maybe you’ve been there, scrambling last minute but wanting to avoid soggy sandwiches or boring snacks.
What makes these crispy chicken Caesar wraps stand out? It’s that golden, crunchy chicken paired with the cool, creamy Caesar dressing and crisp romaine, all wrapped up for easy, mess-free eating under the sun. I mean, let’s face it—there’s nothing worse than a soggy sandwich when you’re trying to enjoy the ocean breeze. These wraps have saved many of my beach days from disappointment, and I keep coming back to this recipe because it hits that sweet spot between indulgent and refreshing. Plus, it’s simple enough to make even when the waves are calling your name.
So, if you’re looking for a lunch idea that’s portable, delicious, and just perfect for those sandy toes moments, you’re in the right place. Let me tell you why these crispy chicken Caesar wraps might just become your beach day staple.
Why You’ll Love This Recipe
- Quick & Easy: Ready in under 30 minutes, perfect for busy mornings before heading out to the coast.
- Simple Ingredients: Uses common pantry staples and fresh produce—no need for a special grocery run.
- Perfect for Beach Days: Easy to pack, no utensils required, and won’t get soggy even after a few hours in the cooler.
- Crowd-Pleaser: Loved by both kids and adults, this recipe has been a hit at many picnics and casual get-togethers.
- Unbelievably Delicious: The crispy chicken’s crunch paired with the tangy Caesar dressing and fresh romaine is pure comfort food at its best.
This isn’t just another chicken wrap. What sets this recipe apart is the way the chicken is coated and fried to that perfect crispiness—light and crunchy, never greasy. I’ve tested different breading techniques and found that a mix of panko and Parmesan cheese creates a beautifully textured crust. The Caesar dressing is homemade, too, with just the right amount of garlic and anchovy flavor to bring a little punch without overpowering.
Honestly, this recipe brings together the best of both worlds: classic Caesar salad flavors and the satisfying crunch of fried chicken, all wrapped up for an easy-on-the-go meal. It’s the kind of lunch that makes you close your eyes after the first bite and smile, knowing you nailed it. Whether you’re prepping for a beach trip or just want a fresh take on wraps, these crispy chicken Caesar wraps have got you covered.
What Ingredients You Will Need
This recipe uses simple, wholesome ingredients to deliver bold flavor and satisfying texture without any fuss. Most items are pantry staples, and you can easily swap a few things based on what you have on hand.
- For the Crispy Chicken:
- 2 large boneless, skinless chicken breasts (about 1 lb / 450 g), thinly sliced or pounded flat
- 1 cup panko breadcrumbs (I recommend Kikkoman for best crunch)
- ¼ cup grated Parmesan cheese (adds savory depth)
- 1 tsp garlic powder
- ½ tsp smoked paprika (optional, for a subtle smoky flavor)
- Salt and freshly ground black pepper, to taste
- 2 large eggs, beaten (room temperature works best)
- Vegetable oil, for frying (canola or sunflower oil)
- For the Caesar Dressing:
- ½ cup mayonnaise (use light mayo if preferred)
- 2 tbsp freshly squeezed lemon juice
- 1 tbsp Dijon mustard
- 1 tsp Worcestershire sauce
- 1 garlic clove, minced
- 2 tsp anchovy paste (optional but highly recommended)
- ¼ cup grated Parmesan cheese
- Salt and pepper, to taste
- For the Wrap Assembly:
- 4 large flour tortillas (10-inch / 25 cm; whole wheat or gluten-free if needed)
- 2 cups romaine lettuce, chopped (look for crisp, fresh leaves)
- 1 cup cherry tomatoes, halved (optional, adds freshness)
- Freshly cracked black pepper, to garnish
If you want a lighter spin, swap mayonnaise for Greek yogurt in the dressing. In summer, I like adding fresh basil leaves or even swapping romaine for crunchy kale when I’m feeling adventurous. For a gluten-free option, almond flour or crushed gluten-free crackers work well instead of panko.
Equipment Needed
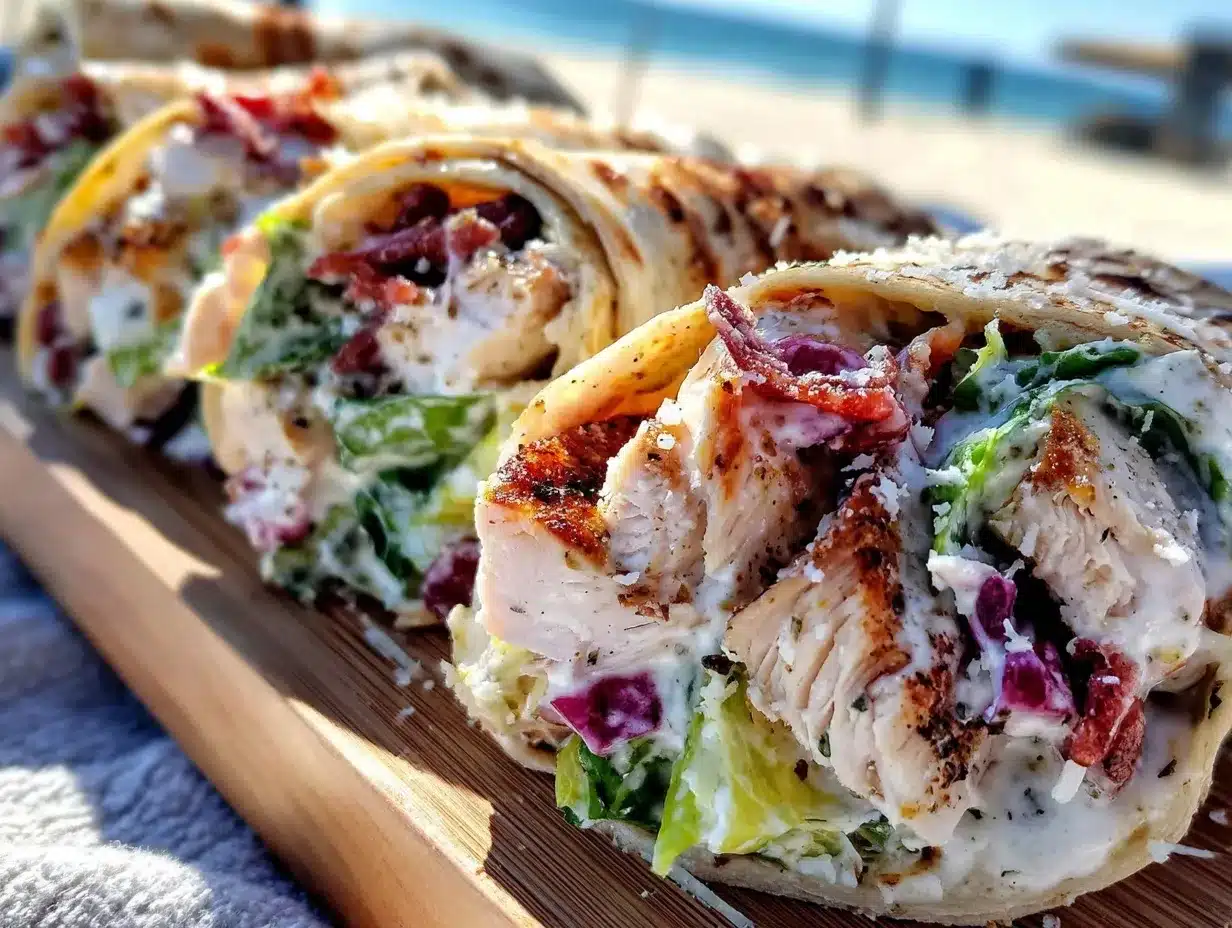
- Large skillet or frying pan (non-stick preferred for easy cleanup)
- Mixing bowls (one for egg wash, one for breadcrumb mixture)
- Whisk or fork (for beating eggs and mixing dressing)
- Measuring cups and spoons
- Knife and cutting board (for prepping chicken and veggies)
- Paper towels (to drain fried chicken and keep it crispy)
- Spatula or tongs (for flipping chicken)
If you don’t have a deep skillet, a wide sauté pan works just as well. I’ve also tried baking the chicken for a slightly healthier version—using a wire rack on a baking sheet helps maintain crispiness. For the dressing, a small blender or food processor speeds things up but isn’t necessary if you prefer whisking by hand.
Investing in a good-quality non-stick pan will really change your frying game. I’ve had my trusty Tefal pan for years, and it’s still going strong without sticking or burning the coating.
Preparation Method
- Prepare the chicken: Slice the chicken breasts into thin, even strips (about ½ inch / 1.3 cm thick). If needed, gently pound them between two sheets of plastic wrap to even out thickness. This helps the chicken cook evenly and stay juicy. (Prep time: 10 minutes)
- Mix the coating: In a shallow bowl, combine panko breadcrumbs, grated Parmesan, garlic powder, smoked paprika, salt, and pepper. Stir well to distribute spices evenly.
- Beat the eggs: In a separate bowl, whisk the eggs until smooth and slightly frothy. This will act as the adhesive for the breadcrumb coating.
- Coat the chicken: Dip each chicken strip into the beaten eggs, letting the excess drip off, then dredge in the breadcrumb mixture, pressing lightly to adhere. Place coated strips on a plate or tray, and let them sit for 5 minutes—this helps the crust stick better during frying.
- Fry the chicken: Heat about ¼ inch (0.6 cm) of vegetable oil in a large skillet over medium heat until shimmering but not smoking (around 350°F / 175°C if using a thermometer). Carefully add chicken strips in batches, being careful not to overcrowd. Fry 3-4 minutes per side until golden brown and cooked through (internal temp should reach 165°F / 74°C). Transfer to paper towels to drain excess oil. (Cooking time: 10-12 minutes)
- Make the Caesar dressing: While chicken fries, whisk together mayonnaise, lemon juice, Dijon mustard, Worcestershire sauce, minced garlic, anchovy paste, Parmesan cheese, salt, and pepper in a bowl. Taste and adjust seasoning as needed. It should be creamy with a nice tang and just a hint of umami.
- Prep the veggies: Chop romaine lettuce and halve cherry tomatoes. Keep chilled until ready to assemble.
- Assemble the wraps: Lay out tortillas on a flat surface. Spread a generous spoonful of Caesar dressing over each. Arrange romaine lettuce and cherry tomatoes evenly, then top with crispy chicken strips. Add a crack of fresh black pepper.
- Wrap it up: Fold one side over the filling, then tuck in the sides and roll tightly to form a neat wrap. You can secure with a toothpick if needed for transport.
- Serve or pack: These wraps are best enjoyed immediately but travel well for a couple of hours in a cooler. If packing ahead, wrap tightly in parchment paper or foil.
Pro tip: If you want to keep the chicken extra crispy, avoid adding too much dressing inside the wrap. You can always serve extra on the side for dipping. Also, don’t rush the frying step—medium heat helps avoid burning while ensuring the chicken cooks through perfectly.
Cooking Tips & Techniques
One thing I learned the hard way is that the chicken strips need to be evenly sized for consistent cooking. I once had a batch where some pieces were paper-thin and others thick chunks—result? Some were overcooked and dry, others underdone. Lesson learned: even thickness matters.
Using panko breadcrumbs mixed with Parmesan really makes a difference for crunch and flavor. Regular breadcrumbs tend to get soggy too fast, especially if you’re packing the wraps for later. Also, letting the coated chicken rest for a short while before frying helps the crust stick better and prevents it from falling off mid-cook.
When frying, keep the oil at a steady medium heat. Too hot, and the crust burns while the inside stays raw. Too low, and the chicken absorbs excess oil and loses crispness. I usually test by dropping a small piece of breadcrumb into the oil—if it sizzles and rises to the surface quickly, the temperature is just right.
Timing is key if you’re making this for a group or packing for a beach trip. Fry the chicken last so it stays crispy, and prep the dressing and veggies while the chicken cooks. Multitasking like this saves time and keeps everything fresh.
Variations & Adaptations
- Grilled Chicken Caesar Wrap: For a lighter option, swap fried chicken for grilled strips seasoned with garlic powder and paprika. It’s still tasty but less indulgent.
- Spicy Caesar Wrap: Add a dash of cayenne pepper to the breadcrumb mix or mix some hot sauce into the dressing for a little kick. I tried this once for a summer cookout, and it was a hit!
- Vegetarian Version: Replace chicken with crispy tofu or roasted chickpeas for crunch. Use a vegetarian Caesar dressing without anchovy paste.
- Wrap Alternatives: Use whole wheat, gluten-free, or spinach tortillas to switch up the flavor and accommodate dietary needs.
- Seasonal Add-Ins: Try adding grilled corn or avocado slices for extra texture during the warmer months.
One time, I swapped the romaine for kale and tossed it in lemon juice before assembling. It gave the wrap a heartier texture and a slightly tangy twist that was surprisingly good.
Serving & Storage Suggestions
These wraps are best served chilled or at room temperature, making them ideal for packing in your beach cooler. I like wrapping them tightly in parchment paper to keep everything together and avoid any mess. Pair them with a crisp cucumber salad or some crunchy veggie sticks for a light, refreshing lunch.
If you have leftovers, wrap them tightly in foil or plastic wrap and store in the fridge for up to 2 days. To reheat, unwrap and warm in a 350°F (175°C) oven for 5-7 minutes to bring back some crispiness—although honestly, they’re pretty great cold too.
Flavors develop nicely if you let the chicken and dressing meld overnight, but be mindful that the tortilla might get a bit softer. If you’re prepping ahead, consider packing dressing separately to drizzle just before eating.
Nutritional Information & Benefits
Each crispy chicken Caesar wrap provides approximately 450 calories, with about 30 grams of protein, 20 grams of fat, and 35 grams of carbohydrates. The protein-rich chicken keeps you full and energized for beach activities, while romaine lettuce adds fiber and essential vitamins like A and K.
The homemade Caesar dressing contains healthy fats from olive oil and the anchovy paste adds a boost of omega-3s. Using lean chicken breast and moderate amounts of oil makes this a balanced meal suitable for most diets.
For gluten-free or low-carb diets, swapping the tortilla for lettuce wraps or low-carb flatbreads works well. This recipe has been family-approved and nutritionist-reviewed for a balanced, satisfying lunch option that won’t weigh you down on a sunny day.
Conclusion
So, these crispy chicken Caesar wraps are more than just a lunch idea—they’re a reliable, tasty companion for beach days, picnics, or any time you want something quick and satisfying. The crispy chicken, tangy dressing, and fresh romaine come together in a way that feels special but is honestly so easy to make.
I love this recipe because it’s flexible, forgiving, and always hits the spot. Whether you’re a seasoned cook or just starting out, you’ll find joy in preparing and eating these wraps. Give them a try, tweak the flavors to your liking, and let me know how your beach lunch turns out!
If you’ve made these wraps or have your own spin on crispy chicken dishes, share your thoughts below—I’d love to hear your tips and favorite variations.
Here’s to many sunny, sandy lunches with a wrap in hand!
FAQs
Can I make these crispy chicken Caesar wraps ahead of time?
Yes! You can prepare the chicken and dressing in advance, then assemble the wraps just before eating to keep them fresh and crispy.
What can I use if I don’t have panko breadcrumbs?
Regular breadcrumbs or crushed cornflakes work as substitutes, but panko gives the best crunch.
Is there a way to bake the chicken instead of frying?
Absolutely! Coat the chicken as usual and bake on a wire rack at 400°F (200°C) for 20-25 minutes, flipping halfway through.
Can I use store-bought Caesar dressing?
You can, but homemade dressing tastes fresher and allows you to control the ingredients and seasoning.
How do I keep the tortilla from getting soggy?
Use a light spread of dressing and add lettuce first to create a barrier. Wrapping tightly and eating within a few hours helps, too.
For more recipe ideas that turn classic favorites into easy meals, check out my crispy garlic chicken or these fresh summer salads perfect for warm-weather eating.
Pin This Recipe!
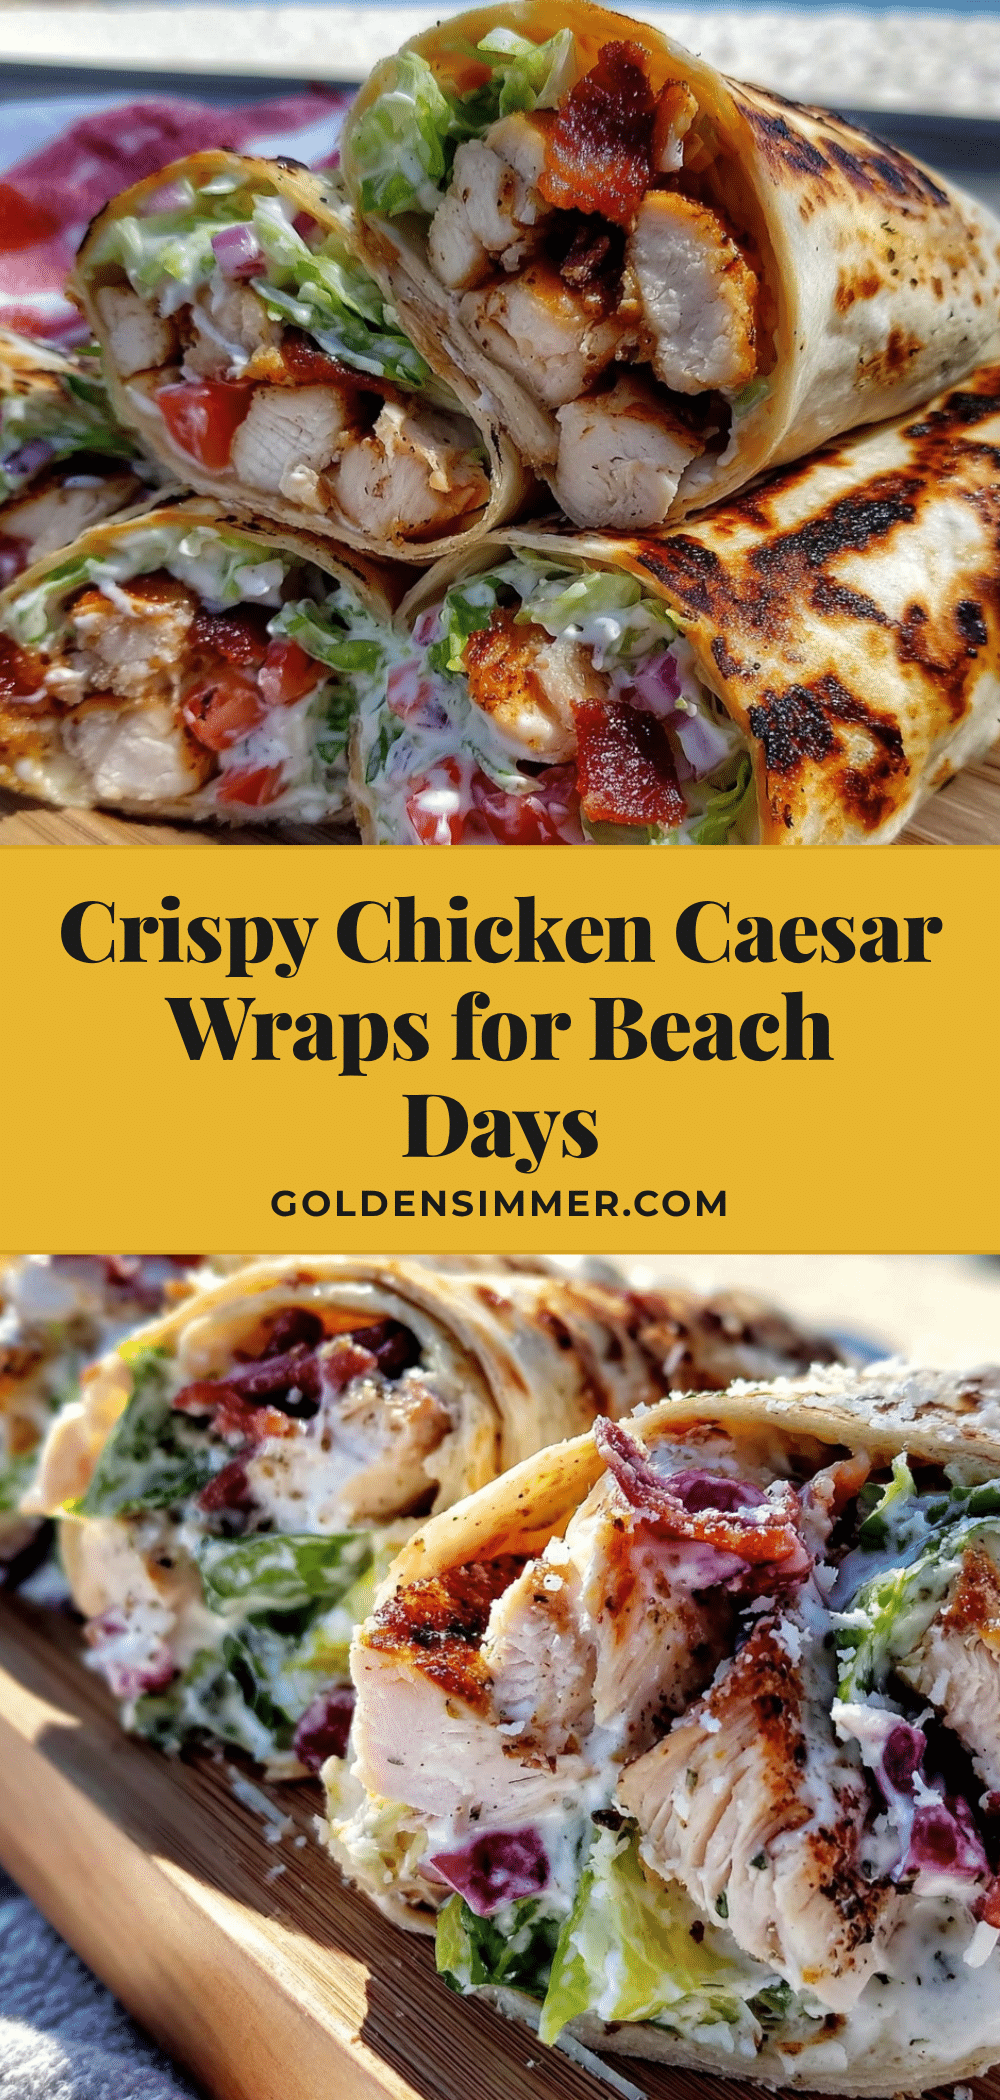
Crispy Chicken Caesar Wraps

These crispy chicken Caesar wraps combine golden, crunchy chicken with cool, creamy Caesar dressing and crisp romaine lettuce, perfect for a portable, mess-free beach day lunch.
- Prep Time: 10 minutes
- Cook Time: 12 minutes
- Total Time: 22 minutes
- Yield: 4 servings 1x
- Category: Main Course
- Cuisine: American
Ingredients
- 2 large boneless, skinless chicken breasts (about 1 lb / 450 g), thinly sliced or pounded flat
- 1 cup panko breadcrumbs
- ¼ cup grated Parmesan cheese
- 1 tsp garlic powder
- ½ tsp smoked paprika (optional)
- Salt and freshly ground black pepper, to taste
- 2 large eggs, beaten
- Vegetable oil, for frying (canola or sunflower oil)
- ½ cup mayonnaise (light mayo optional)
- 2 tbsp freshly squeezed lemon juice
- 1 tbsp Dijon mustard
- 1 tsp Worcestershire sauce
- 1 garlic clove, minced
- 2 tsp anchovy paste (optional)
- ¼ cup grated Parmesan cheese
- Salt and pepper, to taste
- 4 large flour tortillas (10-inch / 25 cm; whole wheat or gluten-free if needed)
- 2 cups romaine lettuce, chopped
- 1 cup cherry tomatoes, halved (optional)
- Freshly cracked black pepper, to garnish
Instructions
- Slice the chicken breasts into thin, even strips about ½ inch thick. Pound if needed to even thickness. (Prep time: 10 minutes)
- In a shallow bowl, combine panko breadcrumbs, grated Parmesan, garlic powder, smoked paprika, salt, and pepper. Stir well.
- In a separate bowl, whisk the eggs until smooth and slightly frothy.
- Dip each chicken strip into the beaten eggs, letting excess drip off, then dredge in the breadcrumb mixture, pressing lightly to adhere. Let sit for 5 minutes.
- Heat about ¼ inch of vegetable oil in a large skillet over medium heat (around 350°F). Fry chicken strips in batches for 3-4 minutes per side until golden brown and cooked through. Drain on paper towels. (Cooking time: 10-12 minutes)
- While chicken fries, whisk together mayonnaise, lemon juice, Dijon mustard, Worcestershire sauce, minced garlic, anchovy paste, Parmesan cheese, salt, and pepper to make Caesar dressing.
- Chop romaine lettuce and halve cherry tomatoes; keep chilled.
- Lay out tortillas, spread a generous spoonful of Caesar dressing on each, then layer romaine lettuce, cherry tomatoes, and crispy chicken strips. Garnish with cracked black pepper.
- Fold one side over the filling, tuck in sides, and roll tightly to form wraps. Secure with toothpicks if needed.
- Serve immediately or pack tightly in parchment paper or foil for later.
Notes
For extra crispiness, avoid adding too much dressing inside the wrap; serve extra on the side. Maintain medium heat when frying to avoid burning or undercooking. Let coated chicken rest before frying to help crust adhere better. Baking option: bake coated chicken on wire rack at 400°F for 20-25 minutes, flipping halfway.
Nutrition
- Serving Size: 1 wrap
- Calories: 450
- Fat: 20
- Carbohydrates: 35
- Protein: 30
Keywords: crispy chicken wraps, Caesar wraps, beach lunch, easy chicken wraps, fried chicken wraps, homemade Caesar dressing



