Love this? Save it for later!
Share the inspiration with your friends
My niece asked why I couldn’t just bake the cake in a sheet pan and crumble it up with frosting. I started to explain why that wouldn’t work—something about proper cake pop texture requiring a specific crumb-to-frosting ratio. Then I stopped. Honestly, I had never actually tried it her way. I was about thirty seconds into a lecture on baking science when I realized I was defending a method I’d learned from a blog, not from any actual kitchen wisdom. So I shut my mouth, grabbed a boxed cake mix from the pantry, and said, “Alright, show me.”
She was seven. She had zero interest in my carefully curated recipe binder. She wanted to make something she could hold in her hand and dip in sprinkles. And you know what? The cake pops we made that afternoon were the best I’d ever turned out. They were moist, they held together perfectly, and we didn’t use a single special tool. I spent the next week rethinking everything I thought I knew about cake pop technique. Sometimes the simplest approach really is the best one—especially when you’re trying to keep little hands busy and big appetites happy.
These kid-friendly pumpkin spice Thanksgiving cake pops have become our official holiday project. They are forgiving enough for a first-timer, festive enough for the dessert table, and cheap enough that you won’t wince when someone drops one on the floor. Maybe you’ve been there—standing in the baking aisle, wondering why a holiday treat has to be so complicated. It doesn’t. Let me show you how we do it.
Why You’ll Love This Recipe
I have tested this recipe exactly six times now, and I can tell you with total confidence: it works. The first batch was a little lopsided. The second one had too much frosting. But by the third try, I had a method that even my niece could follow without help. Here is why this version is worth your time:
- Quick & Easy: From start to finish, these cake pops come together in about an hour of active time. The rest is just chilling.
- Simple Ingredients: You need a box of spice cake mix, a can of pumpkin puree, cream cheese frosting, and melting wafers. That’s it.
- Perfect for Thanksgiving: These little pops are a hit on the dessert table, and they keep little kids occupied while the turkey rests.
- Crowd-Pleaser: I have brought these to two family gatherings and one school event. Every single pop disappeared.
- Unbelievably Delicious: The pumpkin and spice combo is warm and cozy, but the texture is what gets people. Creamy on the inside, snappy on the outside.
What makes this recipe different from every other cake pop tutorial out there? It is the method. Instead of baking a whole cake and waiting for it to cool, I bake a thin sheet of cake that cools in fifteen minutes. Instead of a fancy cake pop maker, I use my hands and a cookie scoop. This is not a precious, fussy recipe. It is a practical one that delivers real results.
This is the kind of recipe that makes you close your eyes after the first bite. It is comfort food reimagined—faster, simpler, but with the same soul-soothing satisfaction. Perfect for impressing guests without stress, or turning a simple Thanksgiving into something memorable.
What Ingredients You Will Need
This recipe uses simple, wholesome ingredients to deliver bold pumpkin spice flavor and a satisfying texture without the fuss. Most of these are pantry staples or easy to find at any grocery store.
- Spice cake mix (one 15.25-ounce box) – I prefer Betty Crocker for consistent results, but any brand works. You could also use a yellow cake mix and add 2 teaspoons of pumpkin pie spice.
- Pumpkin puree (one 15-ounce can) – Make sure it is 100% pumpkin, not pumpkin pie filling. Libby’s is my go-to. If you have leftover puree, freeze it in ice cube trays for later.
- Cream cheese frosting (one 16-ounce tub) – Store-bought is fine here. We are mixing it into the cake crumbs, so you do not need homemade. If you want a lighter option, use a reduced-fat version.
- Orange candy melts (12 ounces) – I like Wilton brand for smooth melting. You can also use white chocolate chips with orange food coloring.
- Green candy melts (4 ounces) – For the little stems on top. If you cannot find green, use melted chocolate chips instead.
- Thanksgiving sprinkles (about ¼ cup) – Look for fall leaves, pumpkins, or simple orange and brown jimmies. Any festive sprinkle mix works.
- Lollipop sticks (about 20-24 sticks) – You can find these at craft stores or online. If you are in a pinch, use pretzel sticks for a salty-sweet twist.
- Vegetable oil or coconut oil (1 teaspoon) – This helps thin the candy melts for a smoother dip. Coconut oil adds a subtle flavor that pairs nicely with pumpkin.
For substitutions: if you are gluten-free, use a gluten-free spice cake mix and check that your candy melts are certified gluten-free. If you are dairy-free, use a dairy-free cake mix and vegan cream cheese frosting. The pumpkin puree keeps everything moist regardless of the mix you choose.
Equipment Needed
You do not need a lot of fancy tools for these cake pops, which is part of why I love them. Here is what you will need:
- 13×9-inch baking pan – A metal pan works best for even baking. If you only have glass, reduce the oven temperature by 25 degrees.
- Large mixing bowl – For crumbling the cake and mixing in the frosting. I use a ceramic bowl because it does not slide around.
- Cookie scoop or melon baller – A 1.5-tablespoon scoop gives you perfectly uniform pops. If you do not have one, use your hands and aim for golf-ball-sized portions.
- Baking sheet lined with parchment paper – For holding the formed cake balls while they chill. Wax paper works too, but parchment is less likely to stick.
- Microwave-safe bowls – For melting the candy coatings. Glass or ceramic bowls work best. Avoid plastic unless it is labeled microwave-safe.
- Lollipop sticks – As mentioned above. I buy a pack of 50 for about four dollars and use them for multiple projects.
- Styrofoam block or cardboard box – To hold the cake pops upright while the coating sets. A shoebox with holes poked in the top works perfectly.
I used to own an actual cake pop maker, and honestly, I gave it away. The sheet pan method is faster and produces a more consistent crumb. Save your money for sprinkles instead.
Preparation Method
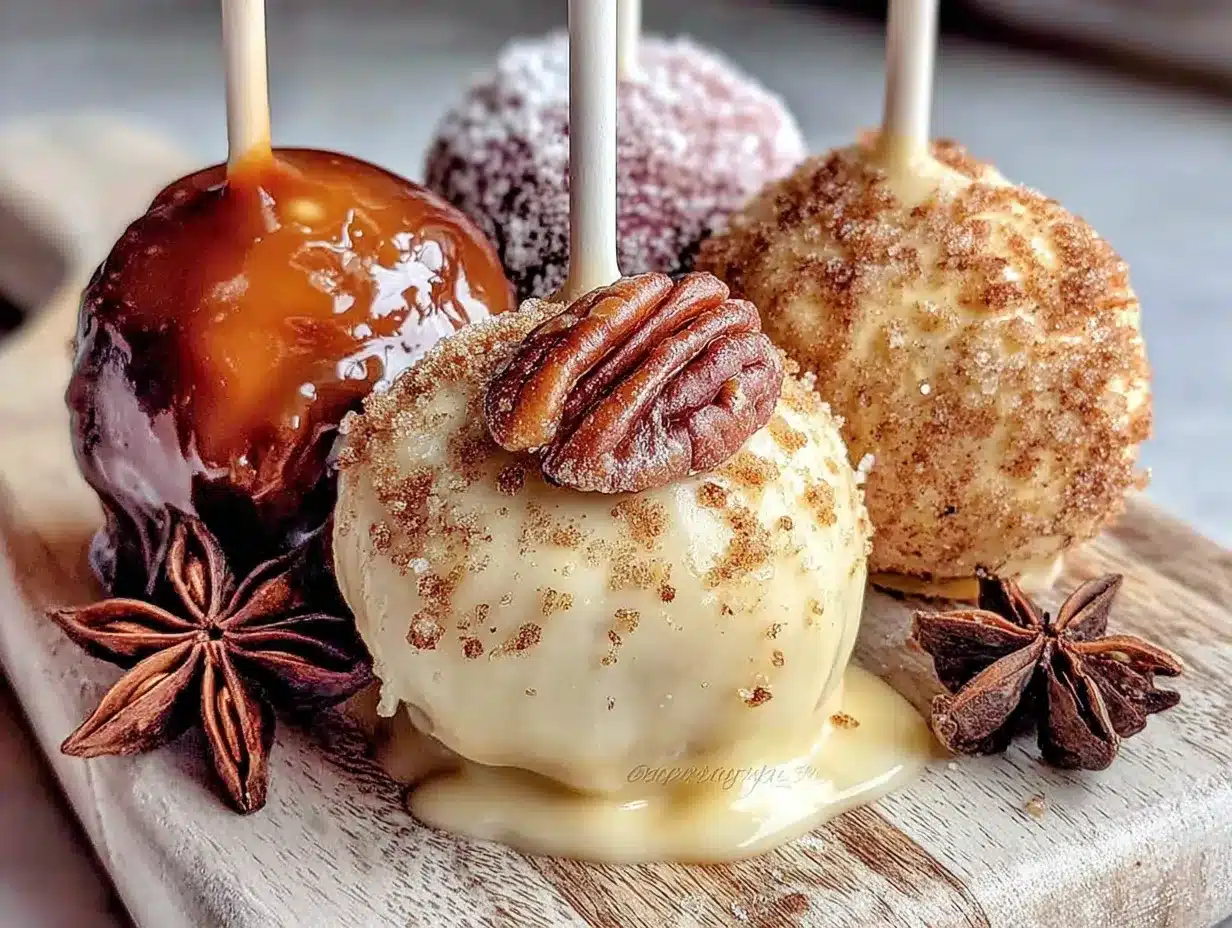
Let us walk through this step by step. I have included time estimates and sensory cues so you know exactly what to look for.
- Preheat your oven to 350°F (175°C). Grease your 13×9-inch pan with butter or nonstick spray. I use butter because it adds a little flavor to the edges.
- Prepare the cake batter. In a large bowl, combine the spice cake mix and the entire can of pumpkin puree. Do not add the eggs, oil, or water called for on the box. Just the mix and the pumpkin. Stir until smooth—it will be thick and smell amazing. This takes about 2 minutes.
- Bake the cake. Spread the batter evenly into the prepared pan. Bake for 15-18 minutes, until a toothpick inserted in the center comes out clean. The edges will be golden and the center will spring back when touched. Let the cake cool in the pan for 10 minutes, then transfer to a wire rack to cool completely. It should be cool to the touch—about 15 more minutes.
- Crumble the cake. Once the cake is cool, break it into large chunks and place them in your mixing bowl. Use your hands or a fork to crumble the cake into fine crumbs. There should be no large pieces left. This takes about 3 minutes. Let your kids help here—it is messy and fun.
- Add the frosting. Spoon about ¾ cup of cream cheese frosting into the bowl with the crumbs. Start with less—you can always add more. Mix with a spatula or your hands until the mixture holds together when pressed. It should feel like damp sand. If it is too dry, add another tablespoon of frosting. If it is too wet, add a few more cake crumbs.
- Form the cake balls. Scoop out portions of the mixture and roll them into smooth balls. Place them on the parchment-lined baking sheet. You should get about 20-24 pops. If the mixture sticks to your hands, lightly wet your fingers with water.
- Chill the cake balls. Place the baking sheet in the refrigerator for at least 30 minutes. This step is crucial—cold cake balls hold their shape when dipped. If you are in a hurry, pop them in the freezer for 15 minutes.
- Melt the orange candy melts. Place the orange melts in a microwave-safe bowl with ½ teaspoon of oil. Microwave in 30-second intervals, stirring each time, until smooth. Do not overheat or the chocolate will seize. It should be runny enough to coat a spoon.
- Dip the cake pops. Remove the cake balls from the fridge. Dip the tip of a lollipop stick into the melted candy, then insert it about halfway into a cake ball. This acts like glue. Then dip the entire cake ball into the melted candy, tapping off the excess. Hold it over the bowl for a few seconds to let the extra drip off.
- Add sprinkles and stems. While the coating is still wet, sprinkle on your Thanksgiving sprinkles. Then, using a toothpick, dab a tiny amount of melted green candy on top and press on a small green candy melt for the stem. Work quickly—the coating sets fast.
- Let them set. Stick the lollipop stick into your Styrofoam block or cardboard box. Let the cake pops sit at room temperature for about 20 minutes until the coating is firm and glossy.
Cooking Tips & Techniques
I have made plenty of mistakes with cake pops, so let me save you the trouble. Here are the things I wish someone had told me:
- Do not overmix the frosting into the crumbs. If you work it too much, the cake pops become dense and greasy. Mix just until it holds together.
- Chill the formed balls for the full 30 minutes. I once tried to rush this step and ended up with cake pops sliding off their sticks into the melted candy. It was a disaster. Cold balls are non-negotiable.
- Tap off excess coating gently. Hold the dipped pop over the bowl and give it a few light taps. If you shake it too hard, the cake ball might fall off the stick. I learned this the hard way—twice.
- Work in small batches. Only take 4-5 cake balls out of the fridge at a time. If they warm up, they will not hold the coating as well. Keep the rest chilled until you are ready.
- Use a deep bowl for melting. A wide, shallow bowl makes dipping difficult. Use a tall, narrow microwave-safe cup or a deep cereal bowl. This lets you submerge the whole pop without getting candy on your fingers.
One more thing: if your candy melts start to thicken while you are working, microwave them for 10 seconds and stir. Do not add more oil unless it is really thick—too much oil can make the coating seize.
Variations & Adaptations
This recipe is flexible, and I have tried a few different versions over the years. Here are some ideas to make it your own:
- Chocolate Pumpkin Spice Pops: Use a chocolate cake mix instead of spice cake. The chocolate and pumpkin combo is surprisingly good. Dip in dark chocolate melts for a richer flavor.
- Gluten-Free Version: Swap the spice cake mix for a gluten-free yellow cake mix and add 2 teaspoons of pumpkin pie spice. Everything else stays the same. I have tested this with King Arthur Flour gluten-free mix and it worked beautifully.
- Vegan Option: Use a vegan cake mix, vegan cream cheese frosting, and dairy-free candy melts. The pumpkin puree replaces the eggs naturally, so no additional substitutions are needed there.
- Mini Pumpkin Pie Pops: Skip the cake mix entirely. Use 1 cup of cooked, mashed pumpkin, 1 cup of crushed graham crackers, and ¼ cup of maple syrup. Mix, roll, and dip as directed. These taste like mini pumpkin pies on a stick.
- Apple Cider Variation: Replace the pumpkin puree with 1 cup of unsweetened applesauce and add 1 teaspoon of apple pie spice. Dip in white chocolate and sprinkle with cinnamon sugar.
My personal favorite variation is the chocolate pumpkin spice version. I made it for a Halloween party last year and people kept asking for the recipe. The chocolate coating adds a nice contrast to the warm spices.
Serving & Storage Suggestions
These cake pops are best served at room temperature. The coating is snappy and the inside is soft and creamy. If you make them ahead of time, here is how to store them:
- Refrigerator: Place the finished cake pops in an airtight container, layered between sheets of parchment paper. They will keep for up to 5 days. Let them sit at room temperature for 15 minutes before serving.
- Freezer: Cake pops freeze beautifully. Arrange them in a single layer on a baking sheet and freeze for 1 hour. Then transfer to a freezer-safe bag or container. They will keep for up to 3 months. Thaw in the refrigerator overnight, then bring to room temperature before serving.
- Reheating: You do not need to reheat these. Just let them come to room temperature. If the coating looks a little dull after refrigeration, a quick 10-second blast in the microwave can bring back the shine—but be careful not to melt the coating.
For a Thanksgiving dessert table, I like to arrange them on a platter with a few fresh cranberries and rosemary sprigs. They look festive and the colors pop against the orange coating. Pair them with warm apple cider or a cup of hot chocolate for the full fall experience.
The flavors actually deepen after a day or two in the fridge. The pumpkin and spice meld together, and the texture stays perfectly moist. So do not be afraid to make these a day ahead of your gathering.
Nutritional Information & Benefits
These cake pops are a treat, but they do have some redeeming qualities. Here is the estimated nutrition per pop (based on 24 pops):
- Calories: 180
- Total Fat: 8g
- Saturated Fat: 4g
- Carbohydrates: 26g
- Sugar: 18g
- Protein: 2g
- Fiber: 1g
The pumpkin puree adds a good dose of vitamin A and fiber, which is more than you can say for most cake pops. The spice cake mix provides warming spices like cinnamon, nutmeg, and ginger, which have anti-inflammatory properties. And because you are using a boxed mix, you have control over the sugar content—use a reduced-sugar frosting if you want to cut back.
These are not health food, but they are a balanced indulgence. One pop is satisfying without being overwhelming, which makes them perfect for a holiday dessert table where you want to sample a little bit of everything.
Conclusion
These kid-friendly pumpkin spice Thanksgiving cake pops are proof that the best recipes come from listening to the people you are cooking for. My niece taught me that a boxed mix and a can of pumpkin can create something just as good as any from-scratch version—and a whole lot faster. These pops are forgiving, fun to make, and absolutely delicious. They are the kind of treat that makes kids feel proud and adults feel grateful.
I hope you give them a try. Customize them however you like—swap the sprinkles, change the coating, or add a pinch of extra spice. The method is solid, and the possibilities are endless. When you make them, drop a comment below and tell me how they turned out. I love hearing about your kitchen victories (and your happy accidents too).
Happy Thanksgiving, and happy baking. You have got this.
Frequently Asked Questions
Can I use homemade pumpkin puree instead of canned?
Yes, you can. Just make sure to drain it well. Homemade puree tends to be more watery than canned, so spread it on a paper towel-lined plate for 10 minutes before using. This prevents the cake from becoming too wet.
Why did my cake pops fall off the sticks?
This usually happens when the cake balls are too warm or the stick is not dipped in enough melted candy before inserting. Make sure your cake balls are thoroughly chilled, and dip the tip of the stick into the melted candy before inserting it into the ball. That little bit of candy acts as glue.
Can I make these cake pops ahead of time?
Absolutely. You can make the cake balls up to 2 days in advance and keep them chilled in the refrigerator. Dip them the day you plan to serve them for the freshest look. Or you can fully assemble them and freeze for up to 3 months.
What if I cannot find orange candy melts?
No problem. Use white chocolate chips or vanilla candy melts and add a few drops of orange food coloring. Gel food coloring works best because it does not thin the chocolate. Stir until you reach your desired shade.
Can I use a different cake flavor?
Yes, this method works with any cake mix. Try carrot cake for a spring version, or chocolate for a birthday party. Just keep the pumpkin puree as the liquid ingredient—it keeps the cake moist without adding extra fat.
Pin This Recipe!
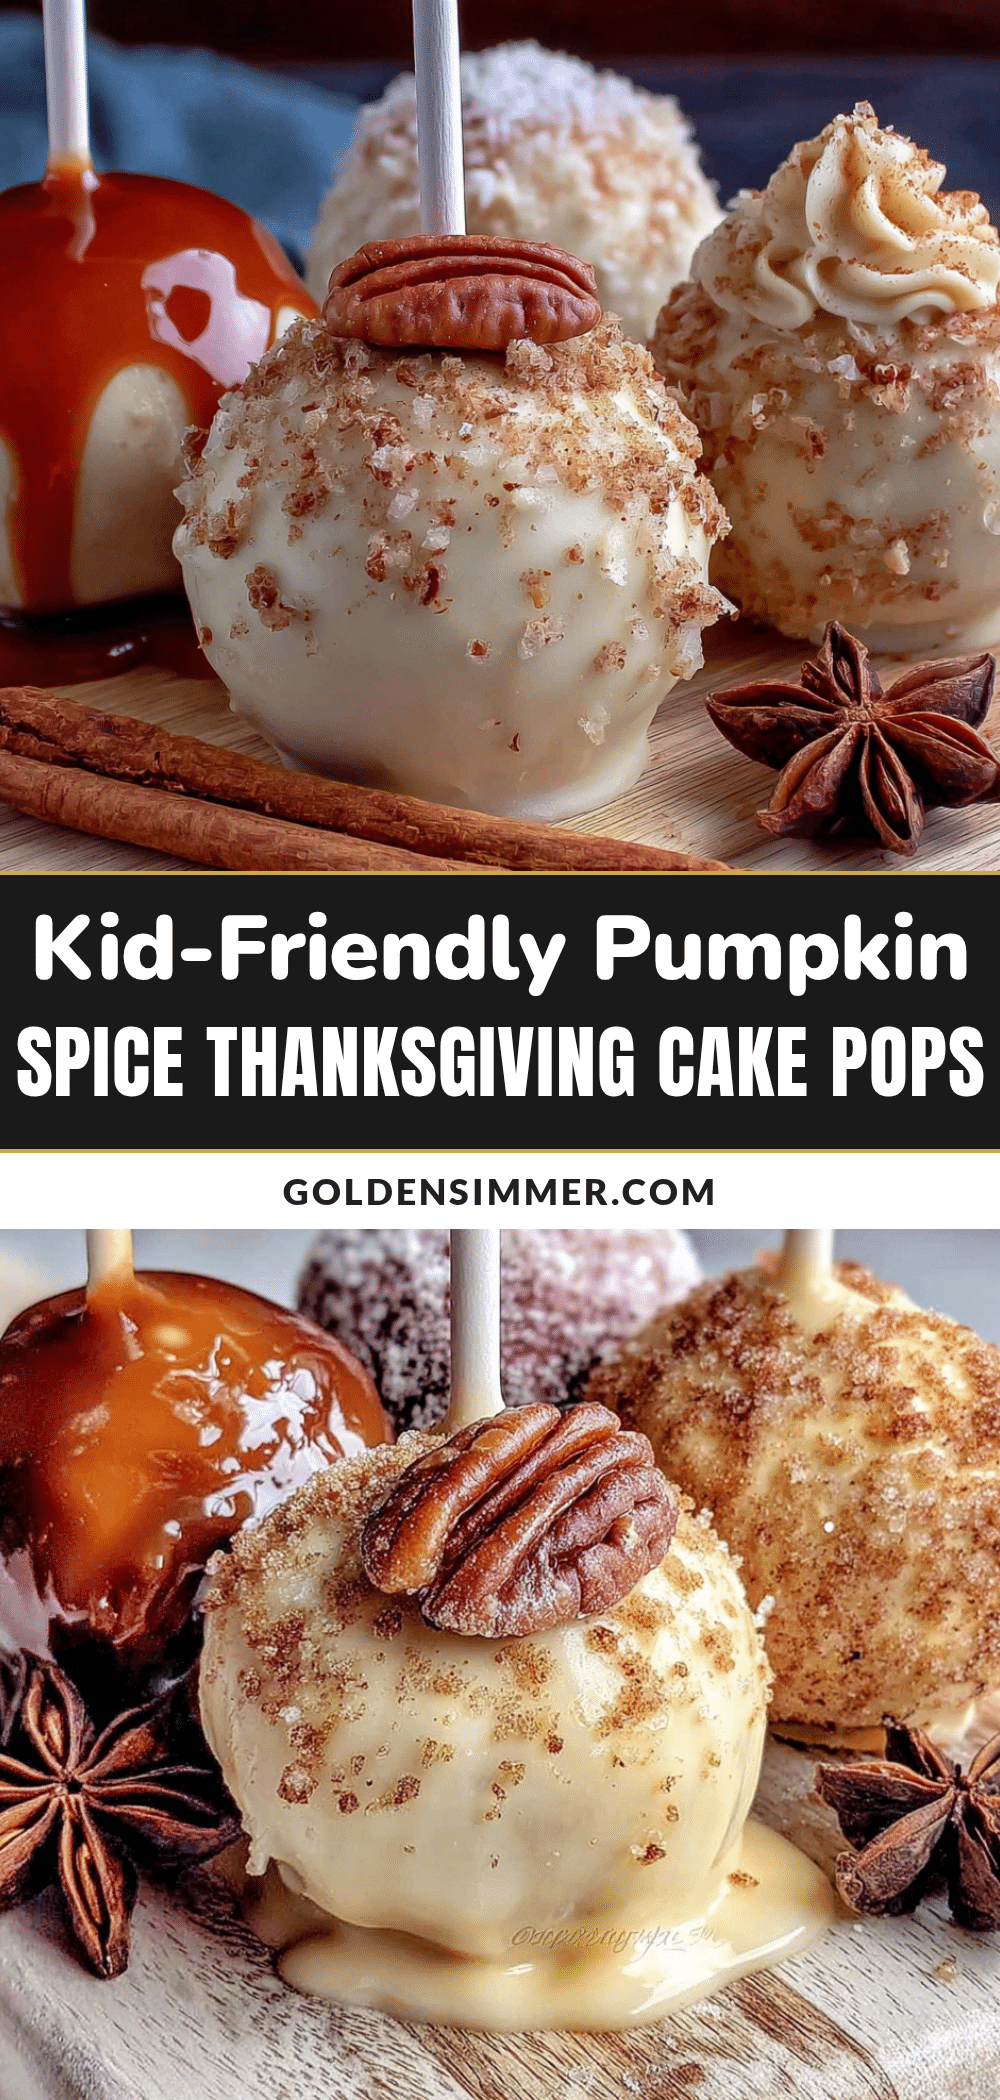
Easy Kid-Friendly Pumpkin Spice Thanksgiving Cake Pops

These kid-friendly pumpkin spice Thanksgiving cake pops are forgiving enough for a first-timer, festive enough for the dessert table, and cheap enough that you won’t wince when someone drops one on the floor. Made with a boxed cake mix and pumpkin puree, they come together in about an hour of active time.
- Prep Time: 30 minutes
- Cook Time: 18 minutes
- Total Time: 1 hour 8 minutes (plus 30 minutes chilling)
- Yield: 20-24 cake pops 1x
- Category: Dessert
- Cuisine: American
Ingredients
- 1 box (15.25 oz) spice cake mix
- 1 can (15 oz) pumpkin puree (100% pumpkin, not pie filling)
- 1 tub (16 oz) cream cheese frosting
- 12 oz orange candy melts
- 4 oz green candy melts
- 1/4 cup Thanksgiving sprinkles
- 20–24 lollipop sticks
- 1 teaspoon vegetable oil or coconut oil
Instructions
- Preheat oven to 350°F (175°C). Grease a 13×9-inch baking pan with butter or nonstick spray.
- In a large bowl, combine the spice cake mix and the entire can of pumpkin puree. Do not add eggs, oil, or water called for on the box. Stir until smooth (about 2 minutes).
- Spread batter evenly into prepared pan. Bake for 15-18 minutes, until a toothpick inserted in center comes out clean. Cool in pan for 10 minutes, then transfer to a wire rack to cool completely (about 15 more minutes).
- Once cake is cool, break into large chunks and crumble into fine crumbs in a large mixing bowl using hands or a fork (about 3 minutes).
- Add about 3/4 cup cream cheese frosting to the crumbs. Mix with a spatula or hands until mixture holds together when pressed (like damp sand). Add more frosting if too dry, or more crumbs if too wet.
- Scoop portions and roll into smooth balls. Place on a parchment-lined baking sheet. You should get 20-24 pops.
- Chill cake balls in refrigerator for at least 30 minutes (or freezer for 15 minutes if in a hurry).
- Melt orange candy melts with 1/2 teaspoon oil in a microwave-safe bowl in 30-second intervals, stirring each time, until smooth.
- Remove cake balls from fridge. Dip tip of a lollipop stick into melted candy, then insert about halfway into a cake ball. Dip entire cake ball into melted candy, tapping off excess.
- While coating is still wet, add sprinkles. Using a toothpick, dab a tiny amount of melted green candy on top and press on a small green candy melt for the stem.
- Insert lollipop stick into a Styrofoam block or cardboard box. Let set at room temperature for about 20 minutes until coating is firm and glossy.
Notes
Do not overmix frosting into crumbs to avoid dense pops. Chill cake balls for full 30 minutes to prevent them from falling off sticks. Work in small batches, keeping remaining cake balls chilled. Use a deep bowl for melting candy for easier dipping. If candy melts thicken, microwave for 10 seconds and stir; do not add too much oil.
Nutrition
- Serving Size: 1 cake pop
- Calories: 180
- Sugar: 18
- Fat: 8
- Saturated Fat: 4
- Carbohydrates: 26
- Fiber: 1
- Protein: 2
Keywords: pumpkin spice, cake pops, Thanksgiving, kid-friendly, easy dessert, fall recipe, holiday treats



