Love this? Save it for later!
Share the inspiration with your friends
I was digging through my purse for my keys last Tuesday when my fingers brushed against a loose Hershey’s Kiss at the bottom. The foil was slightly crumpled, the chocolate a little soft from the heat of the day. And just like that, I was eight years old again, standing on a step stool in Mrs. Gable’s kitchen, watching her unwrap kiss after kiss while her radio played old country songs. She lived three houses down from us, this sweet older woman who never had kids of her own but somehow always had a batch of cookies cooling on her counter. I’d knock on her door after school sometimes, and she’d just hand me one without saying a word. Let me tell you, I haven’t thought about her in years. But that single chocolate kiss in my purse brought it all back — the way her kitchen smelled like peanut butter and vanilla, the way she’d wink at me when I tried to sneak a second cookie before the chocolate had set. I sat in my car for a good five minutes before I even started the engine. Honestly, I think that’s the real reason I made these cookies that night. Not because I was craving something sweet, though I definitely was. But because I wanted to feel that moment again. Maybe you’ve been there — that random trigger that sends you straight back to a person or a place you thought you’d forgotten. So I grabbed a bag of kisses at the grocery store, pulled out my mixing bowl, and tried to recreate the exact feeling of those afternoons. And you know what? These easy peanut butter blossom cookies got me closer than I thought they would.
Why You’ll Love This Recipe
I’ve made a lot of cookie recipes over the years, and I mean a lot. Some turn out flat, some turn out dry, and some just don’t deliver that nostalgic punch you’re looking for. But these easy peanut butter blossom cookies? They’re the ones I keep coming back to. Here’s why they stand out:
- Quick & Easy: From start to finish, these come together in about 30 minutes. No chilling the dough, no complicated techniques. Perfect for those weeknights when you need something sweet and you need it now.
- Simple Ingredients: You probably have most of this stuff in your pantry already. Peanut butter, sugar, butter, flour — nothing fancy required.
- Perfect for Weeknights: These are my go-to when I want to make something special without spending hours in the kitchen. The kids can help unwrap the kisses while you mix the dough.
- Crowd-Pleaser: I’ve brought these to potlucks, bake sales, and family gatherings, and they disappear every single time. The combination of soft peanut butter cookie and that smooth chocolate center is basically irresistible.
- Unbelievably Delicious: There’s something about the way the peanut butter flavor pairs with the melted Hershey’s Kiss that just works. It’s comfort food at its finest.
What makes this recipe different from all the others? It’s the texture, honestly. I spent a good while testing ratios to get that perfect balance — soft and chewy on the inside, slightly crumbly on the edges, with a chocolate kiss that stays intact but softens just enough to melt in your mouth. This isn’t just another version of peanut butter blossom cookies. It’s the one that makes you close your eyes after that first bite and remember exactly why you love baking in the first place.
What Ingredients You Will Need
This recipe uses straightforward ingredients that come together to create something genuinely special. Most of these are pantry staples, which makes these easy peanut butter blossom cookies perfect for spontaneous baking sessions.
For the Cookie Dough
- 1/2 cup unsalted butter, softened — Make sure it’s at room temperature so it creams properly with the sugar. I use Land O’Lakes, but any good brand works.
- 1/2 cup creamy peanut butter — I recommend Skippy or Jif for the best texture. Natural peanut butter that separates can make the cookies too greasy and they’ll spread too much.
- 1/2 cup granulated sugar — Plus extra for rolling the dough balls. The sugar coating gives these cookies that lovely crackled appearance.
- 1/2 cup packed light brown sugar — Adds moisture and a deeper flavor. Dark brown sugar works too, but the cookies will be slightly darker.
- 1 large egg, room temperature — Cold eggs can seize the butter mixture, so let yours sit out for about 15 minutes first.
- 1 teaspoon vanilla extract — Pure vanilla extract makes a difference here, but imitation works in a pinch.
- 1 1/2 cups all-purpose flour — Spoon and level your flour for the most accurate measurement. Scooping directly from the bag packs in too much flour.
- 3/4 teaspoon baking soda — Helps the cookies rise and spread just the right amount.
- 1/2 teaspoon salt — Balances the sweetness and enhances the peanut butter flavor.
For the Topping
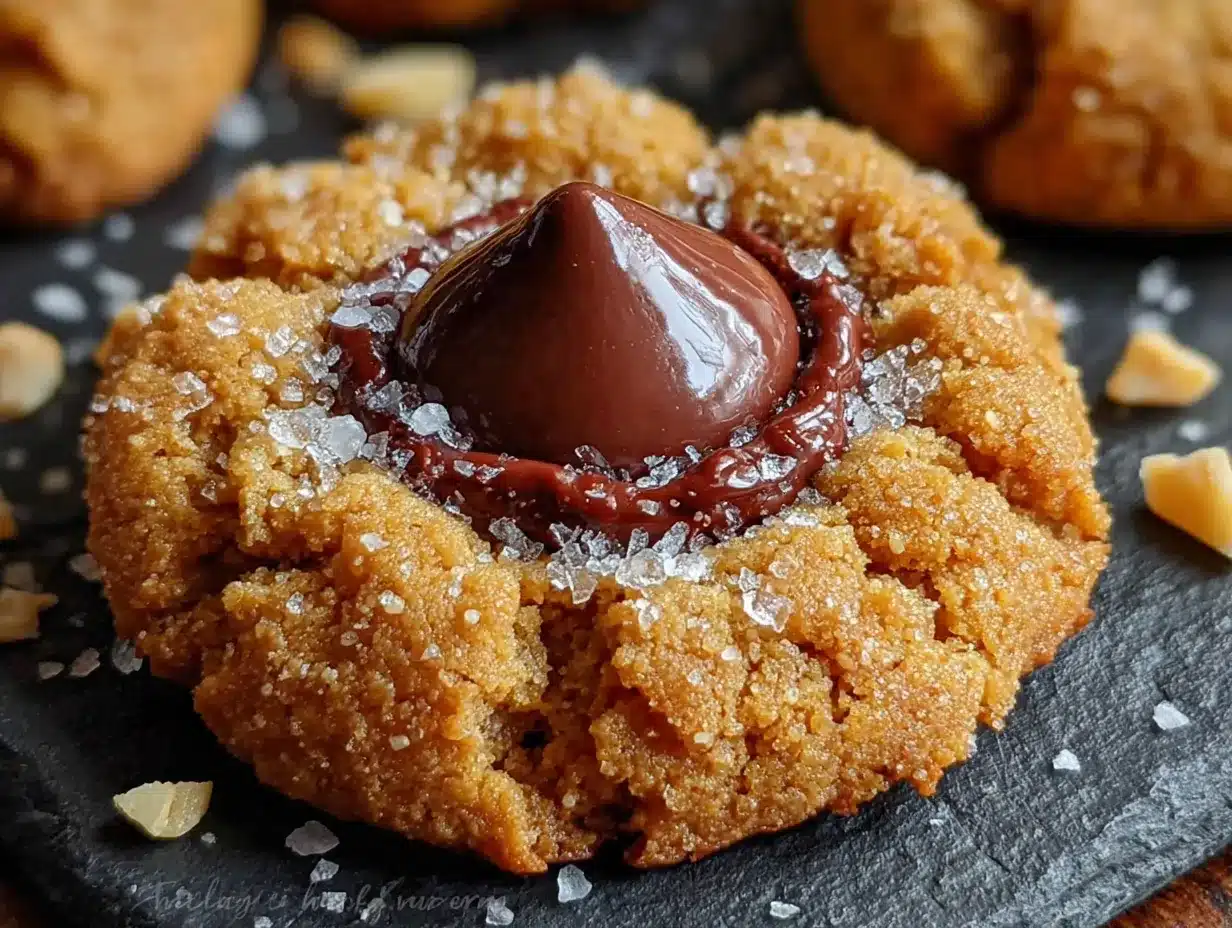
- About 36 Hershey’s Kisses, unwrapped — This is the fun part. You’ll need one kiss per cookie. I like using milk chocolate, but dark chocolate or caramel-filled kisses work beautifully too.
- Extra granulated sugar for rolling — About 1/4 cup should do it.
A quick note on ingredient selection: I’ve tested this recipe with both natural peanut butter and the processed kind, and honestly, the processed stuff works better here. Natural peanut butter tends to separate and can make the dough too oily. If you only have natural, stir it really well and expect the cookies to spread a bit more. Also, make sure your butter is truly softened — not melted, not rock hard. You should be able to press your finger into it and leave an indent without it feeling greasy.
Equipment Needed
You don’t need much to make these easy peanut butter blossom cookies, which is part of the appeal. Here’s what you’ll want to have on hand:
- Electric mixer — A stand mixer or hand mixer both work great. I’ve made these with a hand mixer for years and never had an issue. If you’re mixing by hand, expect a good arm workout.
- Large mixing bowl — For creaming the butter and sugars together.
- Medium mixing bowl — For whisking the dry ingredients.
- Baking sheets — Two standard half-sheet pans work perfectly. Line them with parchment paper for easy cleanup.
- Cooling rack — Essential for letting the chocolate set properly. A wire rack allows air to circulate around the cookies.
- Cookie scoop (1.5 tablespoon size) — This ensures uniform cookies that bake evenly. If you don’t have one, use a regular tablespoon and roll the dough into balls by hand.
- Small bowl for sugar — For rolling the dough balls before baking.
I picked up my cookie scoop at a kitchen supply store for about eight dollars, and it was one of the best investments I’ve made for baking. If you’re just starting out, a regular spoon works fine — just try to keep the portions consistent so your cookies finish baking at the same time.
Preparation Method
Let me walk you through how to make these easy peanut butter blossom cookies step by step. I’ve included all the little details that make the difference between good cookies and great ones.
- Preheat your oven to 375°F (190°C). Line two baking sheets with parchment paper. This temperature is important — too hot and the cookies will brown too fast before the centers are done. Too cool and they’ll spread into flat discs.
- Cream the butter and sugars together. In your large mixing bowl, beat the softened butter, granulated sugar, and brown sugar together on medium speed until light and fluffy. This should take about 2-3 minutes. You’ll notice the mixture getting lighter in color and texture. Scrape down the sides of the bowl halfway through. Don’t rush this step — proper creaming incorporates air that helps the cookies rise.
- Add the peanut butter, egg, and vanilla. Beat in the peanut butter until smooth, then add the egg and vanilla extract. Mix on low speed until everything is well combined. The dough will look a bit soft and glossy at this point, which is exactly what you want.
- Combine the dry ingredients. In your medium bowl, whisk together the flour, baking soda, and salt. Whisking ensures the baking soda is evenly distributed so your cookies rise uniformly.
- Mix the dry ingredients into the wet. Gradually add the flour mixture to the peanut butter mixture, mixing on low speed just until combined. Be careful not to overmix here — once you can’t see any more streaks of flour, stop. Overworking the dough can make the cookies tough.
- Shape the dough balls. Scoop out rounded tablespoons of dough (about 1.5 tablespoons each) and roll them into balls between your palms. The dough should be soft but not sticky. If it feels too sticky, refrigerate it for 15 minutes.
- Roll in sugar. Roll each dough ball in the extra granulated sugar until completely coated. This gives the cookies that beautiful sparkly exterior and a slight crunch. Place the sugar-coated balls about 2 inches apart on your prepared baking sheets. You should fit about 12 per sheet.
- Bake for 10-12 minutes. Bake one sheet at a time in the center of the oven. The cookies should look puffed and lightly golden around the edges when they’re done. The centers will still look slightly soft — that’s perfect. They’ll continue to set as they cool.
- Add the Hershey’s Kisses immediately. As soon as the cookies come out of the oven, gently press one unwrapped Kiss into the center of each cookie. Do this while the cookies are still hot — the warmth will soften the chocolate just enough. Don’t push too hard or the cookie will crack. I usually press until the bottom of the kiss is flush with the cookie surface.
- Cool completely on a wire rack. Let the cookies cool on the baking sheet for about 5 minutes, then transfer them to a wire rack to cool completely. The chocolate needs time to set properly, so resist the urge to eat one right away — though I won’t blame you if you do.
Cooking Tips & Techniques
I’ve made these easy peanut butter blossom cookies more times than I can count, and I’ve definitely learned a few things along the way. Here are the tips that make the biggest difference:
Don’t overbake. This is the number one mistake I see people make. These cookies might look underdone when you pull them out, but trust the process. They continue to cook on the hot baking sheet for those first few minutes out of the oven. Overbaked cookies will be dry and crumbly instead of soft and chewy.
Press the kisses in while the cookies are hot. I learned this the hard way after letting a batch cool too long and ending up with kisses that just sat on top of the cookies instead of sinking in. The heat from the cookie softens the chocolate just enough to create that perfect seal. If you wait too long, the cookies will be too firm and the kisses won’t stick.
Use room temperature ingredients. Cold eggs and cold butter don’t cream together well. You’ll end up with a lumpy dough that bakes unevenly. Set your butter and egg out about 20 minutes before you start mixing.
Chill the dough if needed. If your kitchen is warm or your dough feels sticky, pop it in the fridge for 15-20 minutes before rolling. This prevents the cookies from spreading too much in the oven. I’ve had to do this on humid summer days and it works like a charm.
Unwrap the kisses while the cookies bake. This is a great multitasking strategy. While your first sheet is in the oven, unwrap all the kisses for that batch. It saves time and keeps you from scrambling at the end.
Use a cookie scoop for consistency. Uniform dough balls mean uniform baking. Some cookies will be done before others if they’re different sizes, and nobody wants a mix of underdone and overdone cookies.
Variations & Adaptations
One of the best things about these easy peanut butter blossom cookies is how easily you can change them up. Here are some variations I’ve tried and loved:
Chocolate Peanut Butter Blossoms: Swap out 1/4 cup of the flour for unsweetened cocoa powder. You’ll get a chocolate-peanut butter cookie base that pairs beautifully with the milk chocolate Kiss. I made these for a friend’s birthday and they were gone in minutes.
Gluten-Free Version: Use a 1:1 gluten-free baking flour blend instead of all-purpose flour. I’ve tested this with Bob’s Red Mill 1:1 Baking Flour and the texture was surprisingly close to the original. Just make sure your blend contains xanthan gum for structure.
Different Kiss Flavors: The possibilities here are endless. Try dark chocolate kisses for a less sweet option, caramel-filled kisses for extra gooeyness, or white chocolate kisses for a different look. I did a batch with peppermint kisses during the holidays and they were fantastic.
Crunchy Peanut Butter Version: If you like a little texture, use crunchy peanut butter instead of creamy. The small peanut pieces add a nice crunch that contrasts with the soft cookie and smooth chocolate.
Vegan Adaptation: Use vegan butter, a flax egg (1 tablespoon ground flaxseed mixed with 3 tablespoons water), and dairy-free chocolate kisses. The texture will be slightly different, but the flavor is still spot on.
Serving & Storage Suggestions
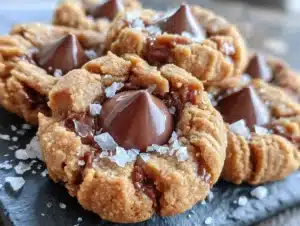
These easy peanut butter blossom cookies are best served at room temperature, when the chocolate has fully set but the cookie is still soft. I like to arrange them on a pretty plate with the chocolate kisses facing up — they look almost too perfect to eat, but trust me, they won’t last long.
Storage: Keep these cookies in an airtight container at room temperature for up to 5 days. I layer them between sheets of parchment paper to prevent the chocolate from sticking together. They actually taste even better on day two — the flavors have more time to meld.
Freezing: You can freeze the baked cookies for up to 3 months. Place them in a single layer on a baking sheet and freeze until solid, then transfer to a freezer-safe bag or container. To thaw, just let them sit at room temperature for about 30 minutes. The chocolate might get a little white bloom on it, but it’ll disappear as it warms up.
Freezing the Dough: This is my favorite trick for busy weeks. Roll the dough into balls, roll them in sugar, and place them on a baking sheet in the freezer. Once frozen, transfer the dough balls to a freezer bag. When you’re ready to bake, just pop them on a baking sheet and add a couple extra minutes to the bake time. Fresh cookies anytime you want them.
Reheating: If you want that just-baked experience, pop a cookie in the microwave for about 10 seconds. The chocolate gets slightly melty and the cookie softens up. It’s dangerous how good this is.
Nutritional Information & Benefits
Let’s be real — these are cookies, not health food. But that doesn’t mean they can’t be part of a balanced life. Here’s the approximate nutritional breakdown for one cookie:
- Calories: 145
- Fat: 8g
- Carbohydrates: 17g
- Protein: 3g
- Sugar: 11g
- Sodium: 95mg
On the plus side, peanut butter does provide some protein and healthy fats. It also contains vitamin E, magnesium, and potassium. The Hershey’s Kiss adds a small amount of antioxidants from the cocoa. These cookies are also free from artificial colors and preservatives when you make them from scratch.
If you’re watching your sugar intake, you can reduce the sugar by about a quarter cup without affecting the texture too much. Just know that the cookies won’t be quite as sweet and the texture might be slightly less tender. Everything in moderation, right?
Conclusion
These easy peanut butter blossom cookies are more than just a recipe — they’re a little piece of nostalgia you can make in your own kitchen anytime you need it. Whether you’re recreating a childhood memory like I was, or starting a new tradition with your own family, these cookies deliver every single time. They’re simple enough for a Tuesday night, special enough for a holiday cookie exchange, and forgiving enough for beginner bakers. I honestly don’t think I’ll ever stop making them.
So grab a bag of Hershey’s Kisses, preheat your oven, and give these a try. I’d love to hear how they turn out for you — did you use a different flavor of Kiss? Did your kids help with the unwrapping? Drop a comment below and let me know. And if you’re looking for more easy cookie recipes, you might want to check out these chewy chocolate chip cookies or these no-bake peanut butter bars for another quick treat. Happy baking!
Frequently Asked Questions
Can I use natural peanut butter for these cookies?
You can, but the texture will be different. Natural peanut butter tends to separate and can make the dough oilier, which causes the cookies to spread more. If you only have natural peanut butter, stir it very well before measuring and expect slightly flatter cookies.
Why did my cookies spread too much?
This usually happens for one of three reasons: your butter was too soft or melted, your dough wasn’t chilled, or you used natural peanut butter. Next time, make sure your butter is just softened (not melted) and chill the dough for 15 minutes if your kitchen is warm.
Can I freeze the dough for later?
Absolutely! Roll the dough into balls, coat them in sugar, and freeze them on a baking sheet. Once frozen, transfer to a freezer bag. Bake from frozen, adding 1-2 minutes to the baking time. Fresh cookies whenever you want them.
How do I keep the Hershey’s Kisses from falling off?
Press the Kiss into the cookie while it’s still hot from the oven. The warmth softens the chocolate just enough to create a bond. Let the cookies cool completely on a wire rack before moving them, and the chocolate will set firmly in place.
Can I make these cookies without an electric mixer?
Yes, but you’ll need some arm strength. Cream the butter and sugars together with a wooden spoon until light and fluffy, which takes about 5 minutes of vigorous stirring. The rest of the mixing can be done by hand without any trouble.
Pin This Recipe!
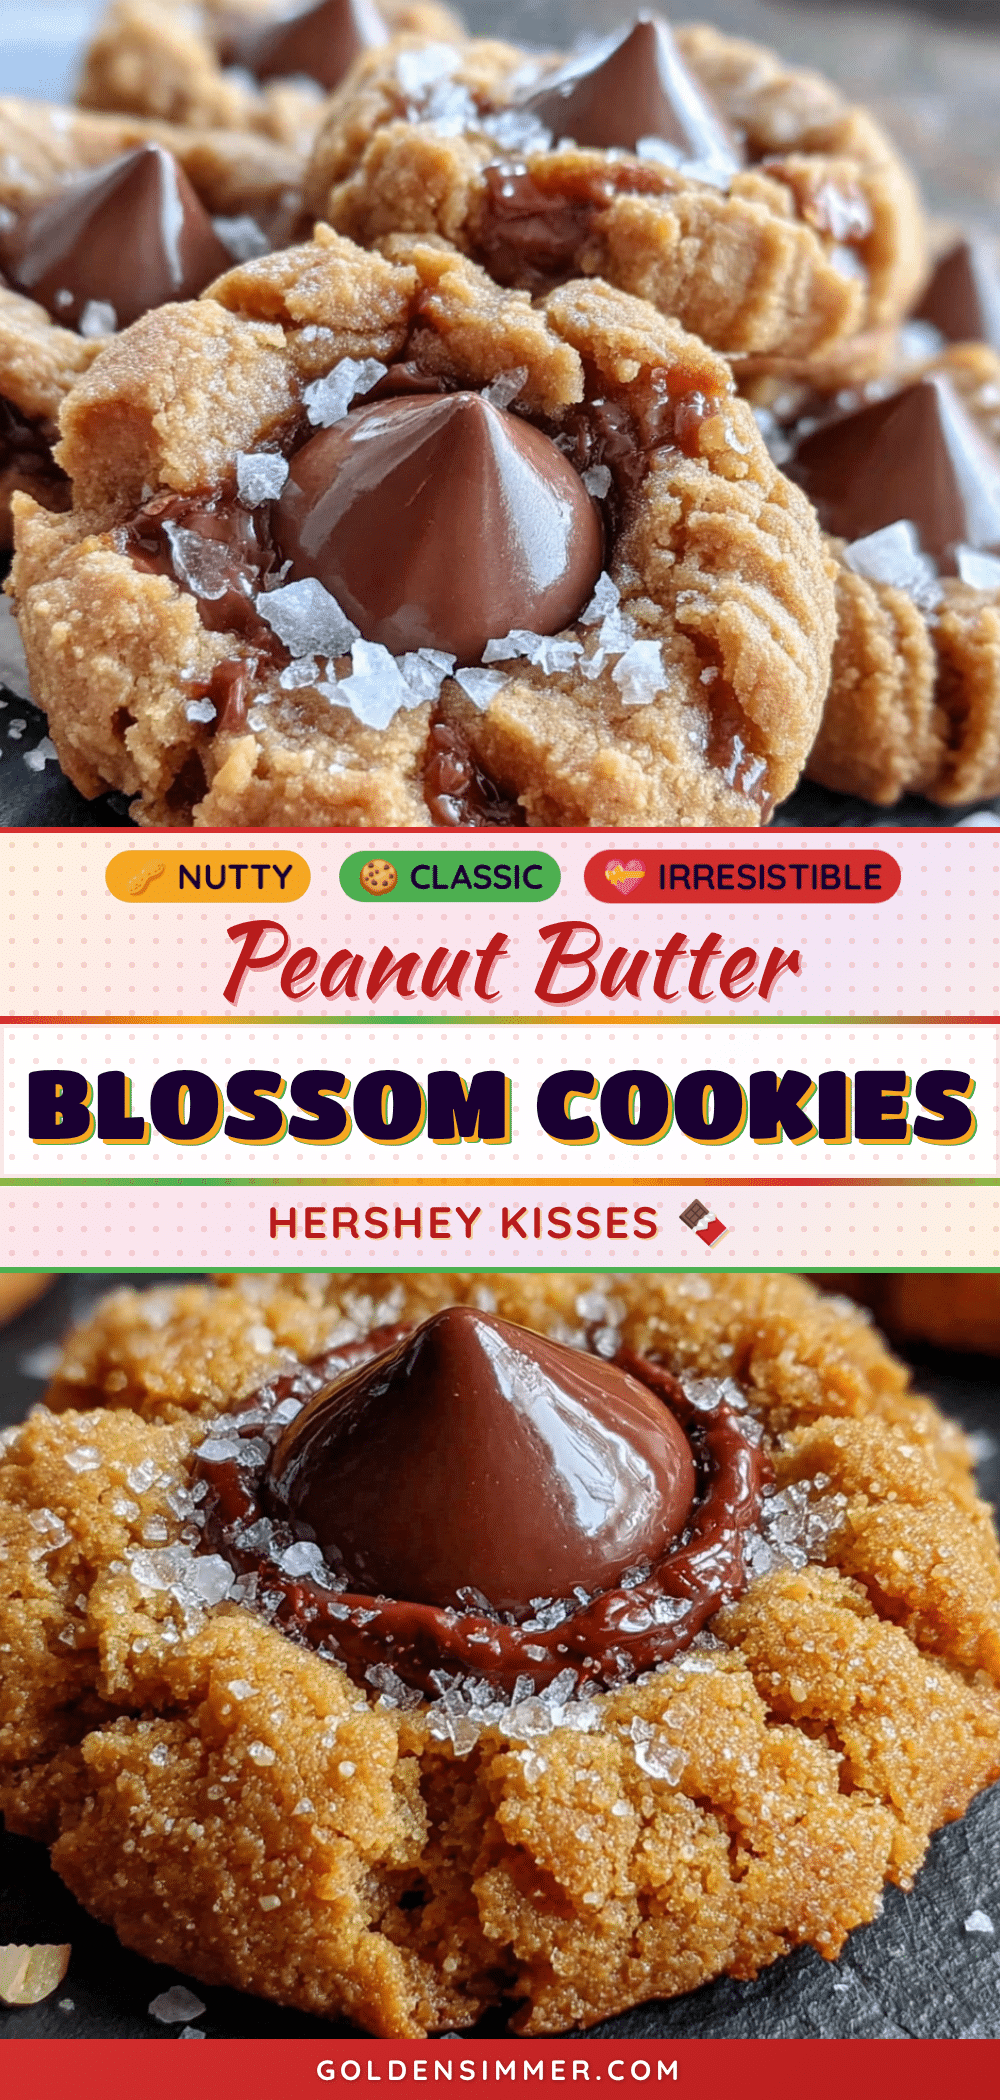
Easy Peanut Butter Blossom Cookies: Best Homemade Treat
These easy peanut butter blossom cookies are soft, chewy, and topped with a Hershey’s Kiss. They come together in about 30 minutes with simple pantry ingredients, making them the perfect nostalgic treat for any occasion.
- Prep Time: 15 minutes
- Cook Time: 12 minutes
- Total Time: 27 minutes
- Yield: 36 cookies 1x
- Category: Dessert
- Cuisine: American
Ingredients
- 1/2 cup unsalted butter, softened
- 1/2 cup creamy peanut butter (Skippy or Jif recommended)
- 1/2 cup granulated sugar
- 1/2 cup packed light brown sugar
- 1 large egg, room temperature
- 1 teaspoon vanilla extract
- 1 1/2 cups all-purpose flour
- 3/4 teaspoon baking soda
- 1/2 teaspoon salt
- About 36 Hershey’s Kisses, unwrapped
- 1/4 cup extra granulated sugar for rolling
Instructions
- Preheat your oven to 375°F (190°C). Line two baking sheets with parchment paper.
- In a large mixing bowl, cream the softened butter, granulated sugar, and brown sugar together on medium speed until light and fluffy, about 2-3 minutes. Scrape down the sides of the bowl halfway through.
- Beat in the peanut butter until smooth, then add the egg and vanilla extract. Mix on low speed until well combined.
- In a medium bowl, whisk together the flour, baking soda, and salt.
- Gradually add the flour mixture to the peanut butter mixture, mixing on low speed just until combined. Do not overmix.
- Scoop out rounded tablespoons of dough (about 1.5 tablespoons each) and roll them into balls between your palms.
- Roll each dough ball in the extra granulated sugar until completely coated. Place the sugar-coated balls about 2 inches apart on the prepared baking sheets (about 12 per sheet).
- Bake for 10-12 minutes, one sheet at a time, in the center of the oven. The cookies should look puffed and lightly golden around the edges with slightly soft centers.
- Immediately after removing from the oven, gently press one unwrapped Hershey’s Kiss into the center of each cookie until the bottom of the kiss is flush with the cookie surface.
- Let the cookies cool on the baking sheet for about 5 minutes, then transfer to a wire rack to cool completely.
Notes
For best results, use processed peanut butter (like Skippy or Jif) rather than natural peanut butter, which can make the dough too oily. Make sure butter is softened but not melted. If dough feels sticky, refrigerate for 15 minutes before rolling. Unwrap Hershey’s Kisses while cookies bake to save time. Cookies can be stored in an airtight container at room temperature for up to 5 days, or frozen for up to 3 months.
Nutrition
- Serving Size: 1 cookie
- Calories: 145
- Sugar: 11
- Sodium: 95
- Fat: 8
- Saturated Fat: 3.5
- Carbohydrates: 17
- Fiber: 1
- Protein: 3
Keywords: peanut butter blossom cookies, easy cookie recipe, Hershey's Kiss cookies, homemade cookies, peanut butter cookies, Christmas cookies, bake sale cookies