Love this? Save it for later!
Share the inspiration with your friends
Last October, I was elbow-deep in a pile of vintage linens at a church rummage sale when the woman behind the folding table—a retired schoolteacher named Eileen with glittery cat-eye glasses—started talking about pumpkin cheesecake. I wasn’t looking for a recipe. I was looking for a decent tablecloth. But Eileen, it turns out, had opinions. She told me most pumpkin cheesecake recipes are too big for real life. “Unless you’re feeding a church choir,” she said, “you end up with half a cake in the freezer for three months.” She was right, honestly. I’d been there. So when she scribbled her small-batch version on the back of a donation receipt, I tucked it into my pocket and forgot about it for a week. When I finally tried it, let me tell you—I nearly called her to apologize for waiting.
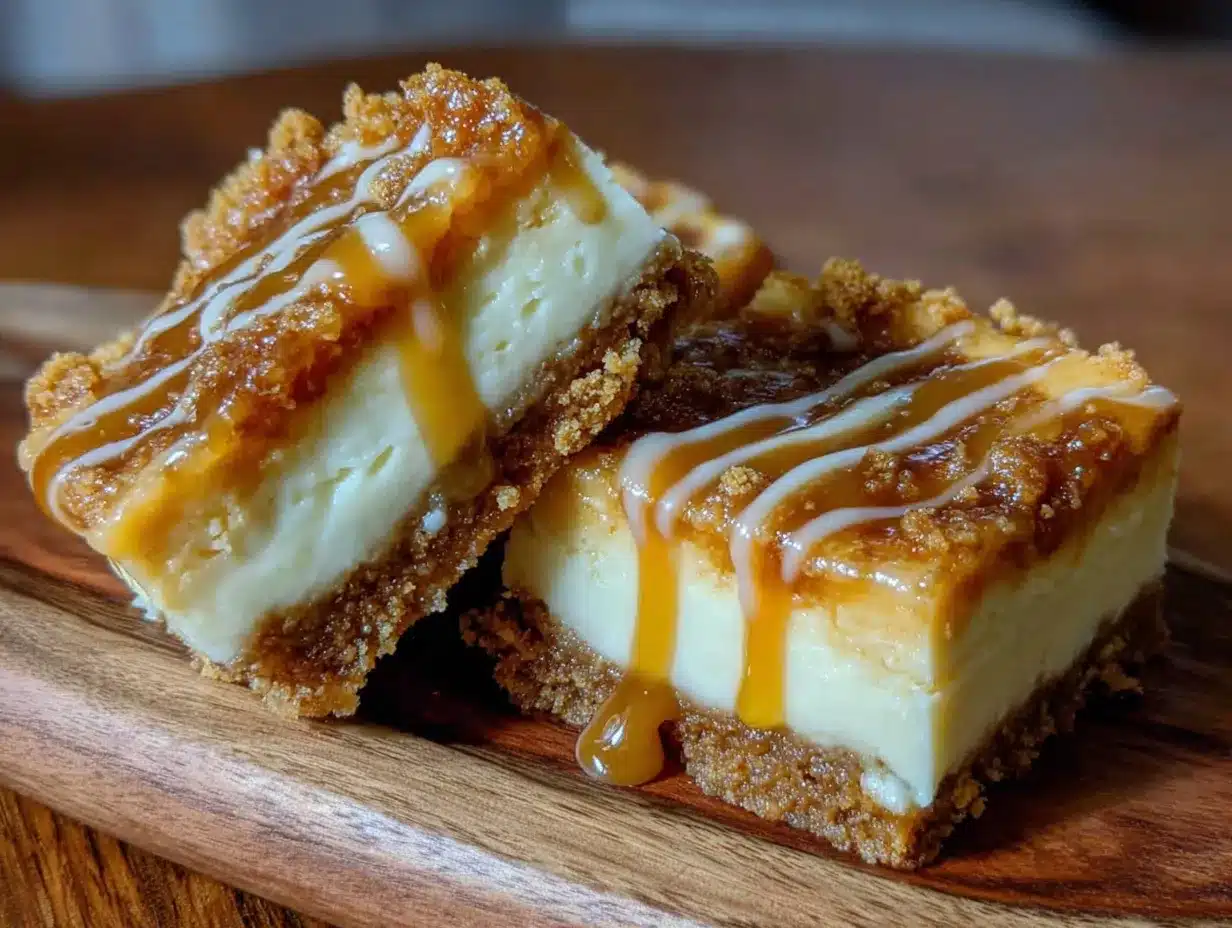
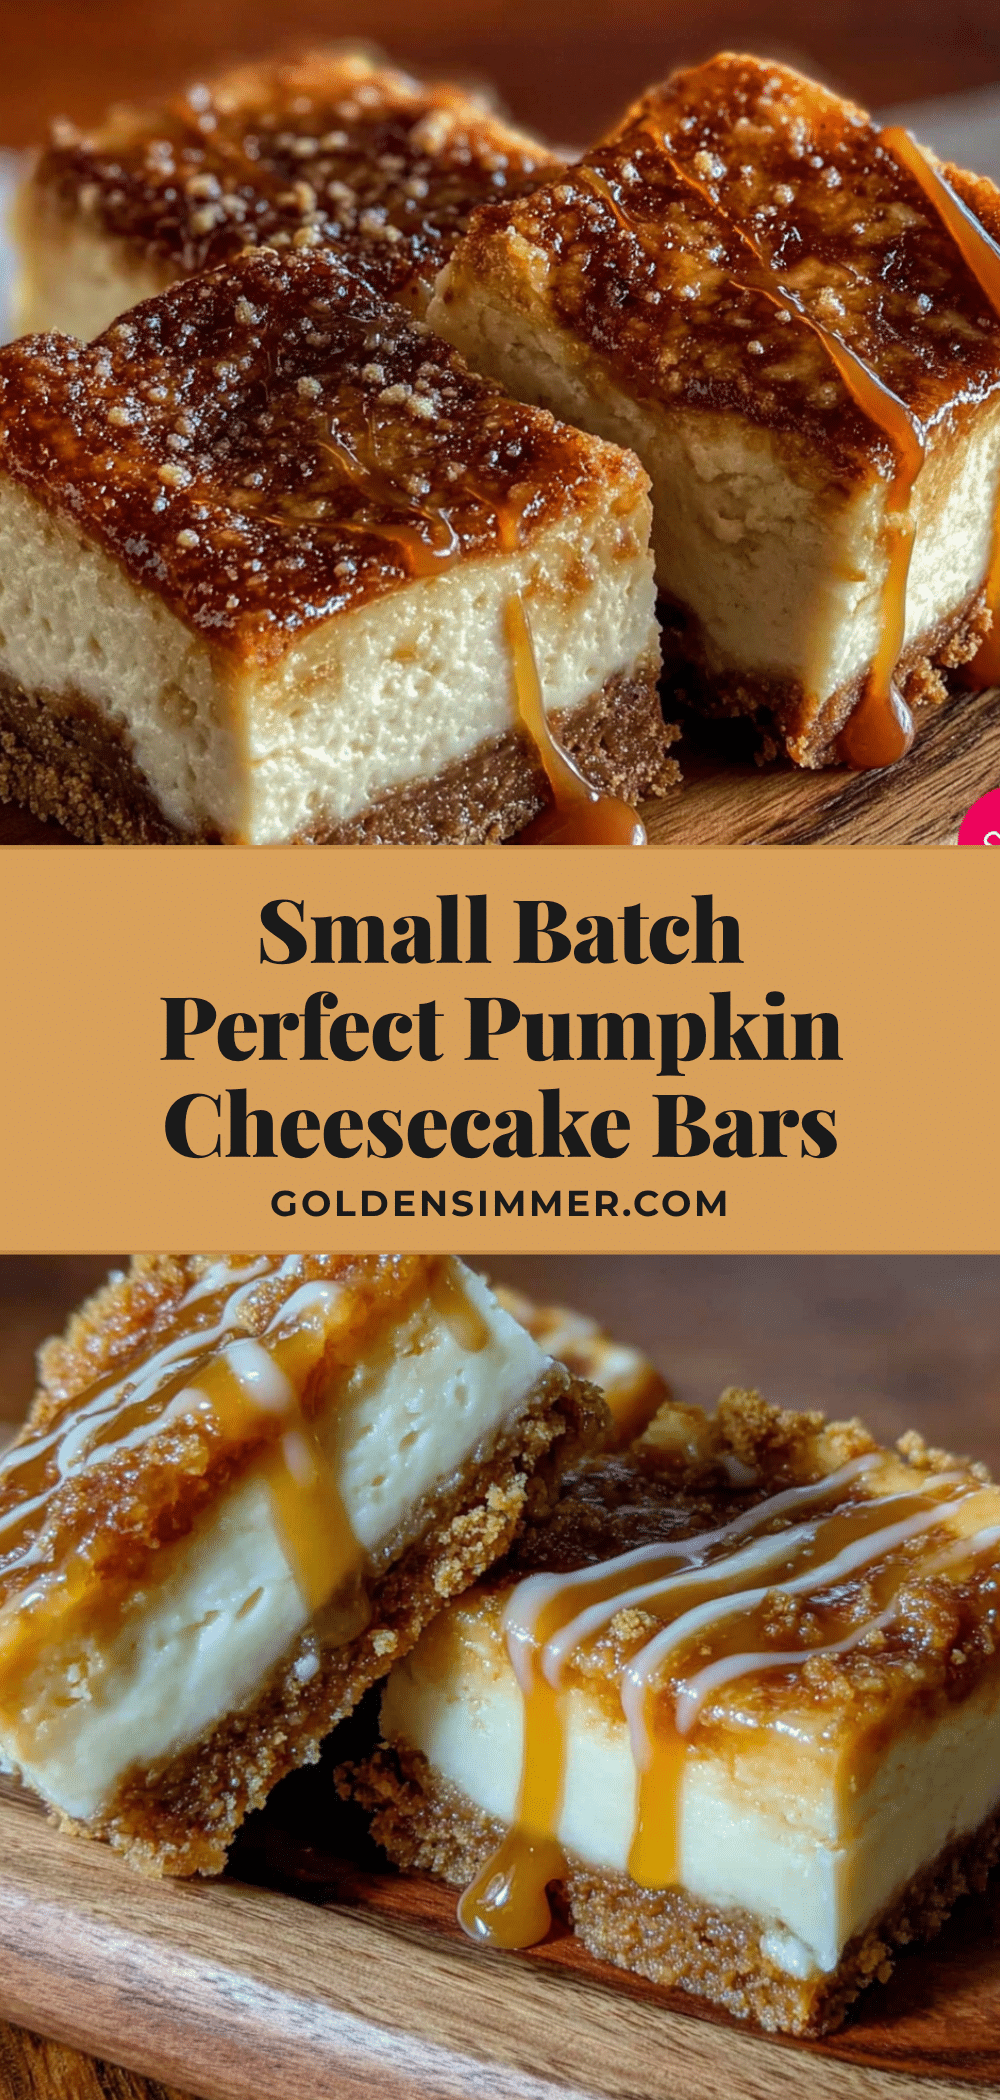
These perfect small-batch pumpkin cheesecake bars are exactly what you need when you want that creamy, spiced, autumnal dessert without committing to a full 9-inch cheesecake. They bake in a standard loaf pan, giving you eight generous bars that feel special but don’t leave you with a week’s worth of leftovers. The crust is buttery and slightly crunchy, the filling is velvety with just the right amount of pumpkin pie spice, and the whole thing comes together in about an hour. Maybe you’ve been there—standing in the grocery store aisle, tempted by a pumpkin cheesecake, but knowing you’d be eating it for breakfast by Thursday. This recipe solves that problem.
I’ve made these bars at least a dozen times since that rummage sale, tweaking the spice ratio and testing different crusts. Eileen’s original called for graham crackers, but I found that a mix of graham crackers and gingersnaps gives the crust a little warmth that pairs beautifully with the pumpkin. Every time I pull these out of the oven, I think about how the best recipes come from the most unexpected places. A rummage sale. A retired teacher. A receipt covered in handwriting. And now, your kitchen.
Why You’ll Love This Recipe
These small-batch pumpkin cheesecake bars aren’t just another fall dessert—they’re the fall dessert you’ll actually want to make on a Tuesday night. Here’s why they stand out from the crowd:
- Perfectly Portioned: This recipe makes exactly eight bars in a loaf pan. No more, no less. It’s ideal for couples, small families, or anyone who doesn’t need a 9-inch cheesecake staring at them from the fridge.
- Simple Ingredients: You probably have most of these in your pantry right now. Pumpkin puree, cream cheese, eggs, sugar, and spices. No weird extracts or hard-to-find items.
- Quick Assembly: From start to oven in about 20 minutes. The hardest part is waiting for them to cool. I mean it—the waiting is the real challenge.
- Crowd-Pleaser: I’ve brought these to two Friendsgivings and a book club meeting. They disappeared faster than the full-size pies. People love the bar format—it feels less formal, more snackable.
- Unbelievably Creamy: The texture is what gets everyone. It’s dense but silky, with that classic cheesecake mouthfeel but a lighter finish thanks to the pumpkin. The first time I made these, I ate two before they were fully chilled. No regrets.
What makes this recipe different is the crust. Most small-batch cheesecake bars use a standard graham cracker base, but I’ve blended in crushed gingersnaps for a subtle molasses kick. It’s a small tweak, but it makes the whole thing taste more like fall. Plus, the loaf pan method means the bars are thick enough to feel substantial but thin enough to be perfectly creamy in the center. This isn’t just another pumpkin cheesecake recipe—it’s the one you’ll bookmark and make every October.
What Ingredients You Will Need
This recipe uses simple, everyday ingredients to create something that tastes anything but ordinary. The magic is in the balance—pumpkin, spice, and cream cheese coming together in perfect harmony. Here’s everything you’ll need:
For the Crust
- Graham crackers (4 full sheets, crushed into fine crumbs) — I use Honey Maid, but any brand works. You can also substitute digestive biscuits.
- Gingersnaps (about 6 cookies, crushed) — This is my secret ingredient. The molasses notes in gingersnaps make the crust taste warmer and more complex. I recommend Anna’s or Mi-Del brands.
- Unsalted butter (3 tablespoons, melted) — Salted butter works too, just reduce the added salt slightly.
- Granulated sugar (1 tablespoon) — Just a touch to help the crust hold together and add sweetness.
- Pinch of salt (optional, but recommended if using unsalted butter)
For the Cheesecake Filling
- Cream cheese (8 ounces, softened to room temperature) — Full-fat is best for texture. I prefer Philadelphia brand. Let it sit out for at least 30 minutes before starting.
- Granulated sugar (1/3 cup) — Enough to sweeten without overwhelming the pumpkin flavor.
- Pumpkin puree (1/2 cup) — Not pumpkin pie filling! Make sure you’re getting 100% pure pumpkin. Libby’s is my go-to.
- Large egg (1, room temperature) — Room temperature eggs blend more smoothly into the batter, preventing lumps.
- Vanilla extract (1/2 teaspoon) — Pure vanilla extract makes a difference here. Imitation works, but the flavor won’t be as rich.
- Pumpkin pie spice (1 teaspoon) — Store-bought is fine, but if you want to make your own, mix 1/2 teaspoon cinnamon, 1/4 teaspoon ginger, 1/8 teaspoon nutmeg, and 1/8 teaspoon cloves.
- Cinnamon (1/2 teaspoon) — Extra warmth because you can never have too much cinnamon in a fall dessert.
- Salt (1/8 teaspoon) — Balances the sweetness and enhances the pumpkin flavor.
Optional Toppings
- Whipped cream (for serving) — Homemade is lovely, but store-bought works in a pinch.
- Caramel sauce (a drizzle adds a lovely salty-sweet contrast)
- Toasted pecans (chopped, for crunch)
Equipment Needed
You don’t need a fancy kitchen to make these bars, but having the right tools makes the process smoother. Here’s what I use:
- 8.5 x 4.5-inch loaf pan — This is the perfect size for small-batch cheesecake bars. If your pan is slightly larger or smaller, adjust the baking time by a few minutes. I use a metal pan; glass or ceramic works too but may need an extra 5 minutes in the oven.
- Parchment paper — Lining the pan with two long strips (one going each direction) creates “handles” that make lifting the bars out a breeze. Trust me on this—don’t skip it.
- Food processor or zip-top bag — For crushing the cookies. A food processor gives you even crumbs, but a rolling pin and a zip-top bag work perfectly fine. I’ve done both, and honestly, the bag method is oddly satisfying.
- Medium mixing bowls (2) — One for the crust, one for the filling.
- Electric hand mixer or stand mixer — You can mix the filling by hand if your cream cheese is very soft, but a hand mixer ensures a silky, lump-free texture. I’ve done it with a whisk before—it works, but your arm will feel it.
- Spatula — For scraping every last bit of filling into the pan. Waste not, want not.
- Measuring cups and spoons — Accurate measurements matter in cheesecake. I use dry measuring cups for the sugar and liquid measuring cups for the pumpkin.
If you don’t have a loaf pan, you can use an 8×8-inch square pan—just keep in mind the bars will be thinner and will bake faster, about 25-30 minutes. I’ve also made these in a 9-inch pie plate, which gives them a more rustic look. The texture is the same, but the baking time varies, so keep an eye on them.
Preparation Method
Making these small-batch pumpkin cheesecake bars is straightforward, but a few key steps make the difference between good and unforgettable. Follow these instructions carefully, and you’ll have a dessert that tastes like it took hours of effort—when really, it took about 20 minutes of active work.
Step 1: Prep Your Pan and Preheat
Preheat your oven to 350°F (175°C). While it’s heating, line your loaf pan with parchment paper. Cut two long strips of parchment—one about 8 inches wide and 14 inches long, and another about 4 inches wide and 14 inches long. Lay them in the pan perpendicular to each other, letting the excess hang over the edges. These are your “handles” for lifting the finished bars out. Lightly spray the parchment with nonstick cooking spray, just to be safe.
Step 2: Make the Crust
Place the graham crackers and gingersnaps in a food processor and pulse until you have fine crumbs. You should have about 1 cup total. If you’re using the bag method, put the cookies in a zip-top bag, seal it, and crush them with a rolling pin until no large pieces remain. Transfer the crumbs to a medium bowl. Add the melted butter, sugar, and salt, and stir with a fork until the mixture looks like wet sand. It should hold together when you squeeze a handful.
Press the crust mixture evenly into the bottom of your prepared loaf pan. Use the bottom of a measuring cup or a flat glass to press it down firmly. This is important—a loose crust will fall apart when you cut the bars. Bake the crust for 8 minutes, then remove it from the oven and set it aside to cool slightly. Leave the oven on.
Step 3: Make the Filling
In a medium mixing bowl, beat the softened cream cheese with an electric hand mixer on medium speed until smooth and creamy, about 1 minute. Scrape down the sides of the bowl with a spatula. Add the sugar and beat for another minute until light and fluffy. The mixture should be completely smooth with no lumps—if you see any, keep beating.
Add the pumpkin puree, egg, vanilla extract, pumpkin pie spice, cinnamon, and salt. Beat on low speed until just combined, then increase to medium and beat for 30 seconds until the filling is smooth and uniform in color. Don’t overmix once the egg is added—you don’t want to incorporate too much air, which can cause cracks during baking. The filling should be thick but pourable, with a beautiful orange-amber color.
Step 4: Assemble and Bake
Pour the cheesecake filling over the pre-baked crust. Use your spatula to spread it evenly to the edges. Tap the pan gently on the counter a few times to release any air bubbles. Place the pan in the preheated oven and bake at 350°F (175°C) for 28-32 minutes. The edges should look set and slightly puffed, but the center should still jiggle slightly when you gently shake the pan. This is normal—the bars will continue to set as they cool.
If you’re unsure, insert a toothpick about 1 inch from the center. It should come out mostly clean with just a few moist crumbs. If it’s wet with batter, bake for another 3-5 minutes. Every oven runs a little differently, so trust your eyes and the jiggle test more than the timer.
Step 5: Cool and Chill
Remove the pan from the oven and place it on a wire rack. Let the bars cool completely at room temperature, about 1 hour. Once cool, cover the pan with plastic wrap and refrigerate for at least 4 hours, but overnight is better. I know it’s hard to wait—I’ve definitely snuck a warm bite before—but the texture really improves after a full chill. The bars become firmer, creamier, and easier to slice cleanly.
Step 6: Slice and Serve
When you’re ready to serve, use the parchment handles to lift the entire block of cheesecake out of the pan. Place it on a cutting board. Use a sharp knife to cut it into 8 equal bars. For clean slices, wipe the knife with a damp paper towel between cuts. Serve cold or at room temperature, with whipped cream, a drizzle of caramel sauce, or just on their own. They’re perfect either way.
Cooking Tips & Techniques
After making these bars more times than I care to count, I’ve learned a few things the hard way. Here are my best tips to ensure your bars turn out perfect every time:
- Room temperature ingredients matter. Cold cream cheese creates lumps that are nearly impossible to beat out without overmixing. Set your cream cheese and egg on the counter 30-45 minutes before you start. If you’re in a hurry, you can microwave the cream cheese in 10-second bursts until it’s soft, but be careful not to melt it.
- Don’t overbake. This is the most common mistake with cheesecake bars. The center should still wobble when you take them out of the oven. They’ll continue cooking from residual heat as they cool. Overbaked cheesecake turns dry and crumbly—still tasty, but not the silky texture you’re after.
- Use a water bath? No need. Unlike full-size cheesecakes, these small-batch bars don’t require a water bath. The loaf pan is small enough that the heat distributes evenly, and the bars are thin enough to bake through without cracking. I’ve never had a crack issue with this recipe, and I’ve made it dozens of times.
- Chill thoroughly. I cannot stress this enough. Four hours is the minimum, but overnight gives you the best texture. The bars will be easier to cut, the flavors will meld, and the crust will hold together better. I once cut into them after only two hours, and while they tasted great, they were a bit messy. Patience pays off.
- Let the knife do the work. Use a sharp knife and wipe it clean between each cut. This gives you those beautiful, bakery-style edges. A dull knife will drag through the cheesecake and make a mess.
Variations & Adaptations
One of the best things about this recipe is how adaptable it is. Here are some of my favorite variations, all tested in my own kitchen:
- Gluten-Free Version: Swap the graham crackers and gingersnaps for gluten-free alternatives. I’ve used gluten-free graham crackers (Kinnikinnick brand works well) and crushed gluten-free vanilla cookies. The texture is slightly different—a bit more crumbly—but the flavor is still fantastic.
- Dairy-Free Version: Use dairy-free cream cheese (I like Kite Hill or Violife) and melted coconut oil instead of butter in the crust. The filling will be slightly less creamy, but still delicious. Let the dairy-free cream cheese soften thoroughly before mixing.
- Spice It Up: Add 1/4 teaspoon of cardamom or allspice to the filling for a more complex spice profile. I tried this last Thanksgiving and it was a hit. The cardamom adds an almost floral note that pairs beautifully with pumpkin.
- Chocolate Swirl: Melt 2 tablespoons of dark chocolate chips and swirl it into the filling before baking. Use a knife to create gentle figure-eight patterns. The chocolate adds a richness that complements the pumpkin perfectly.
- Nutty Crust: Replace half the graham crackers with finely chopped pecans or walnuts. Toast the nuts first for extra flavor. This adds a lovely crunch and a more rustic feel to the bars.
- Mini Version: Press the crust into a mini muffin tin (lined with mini parchment liners) and fill with the cheesecake mixture. Bake for 12-15 minutes. You’ll get about 24 mini bites—perfect for parties or portion control.
Serving & Storage Suggestions
These small-batch pumpkin cheesecake bars are versatile enough for any occasion. Here’s how to serve and store them:
- Serving Temperature: I prefer them cold, straight from the fridge, but they’re also lovely at room temperature. Let them sit out for 15-20 minutes if you want a softer, creamier texture. For a warm option, microwave a single bar for 10 seconds—the crust stays firm while the filling gets slightly gooey.
- Presentation Ideas: Arrange the bars on a platter and dust with a light sprinkle of cinnamon or nutmeg. A dollop of whipped cream and a drizzle of caramel sauce makes them look restaurant-worthy. For a fall-themed dessert board, pair them with apple slices, candied pecans, and a side of warm apple cider.
- What to Serve With: These bars pair beautifully with a cup of hot coffee, chai tea, or a glass of cold milk. For a dessert spread, serve them alongside my apple crisp recipe or a simple vanilla ice cream. The combination of warm apple crisp and cold cheesecake bars is honestly unbeatable.
- Storage: Store the bars in an airtight container in the refrigerator for up to 5 days. Layer them with parchment paper between each bar to prevent sticking. The flavors actually deepen after a day or two—I think they taste even better on day three.
- Freezing: These bars freeze beautifully. Wrap each bar individually in plastic wrap, then place them in a freezer-safe bag or container. They’ll keep for up to 3 months. To thaw, transfer a bar to the refrigerator overnight or let it sit at room temperature for about 30 minutes. I always keep a few in the freezer for unexpected cravings.
Nutritional Information & Benefits
While these are definitely a treat, they offer a few nutritional perks thanks to the pumpkin. Here’s a rough breakdown per bar (based on 8 servings):
| Nutrient | Amount Per Bar |
|---|---|
| Calories | 245 |
| Fat | 16g |
| Saturated Fat | 9g |
| Carbohydrates | 22g |
| Sugar | 14g |
| Fiber | 1g |
| Protein | 4g |
| Vitamin A | 45% DV |
Pin This Recipe!
Easy Small-Batch Pumpkin Cheesecake Bars Recipe
These perfect small-batch pumpkin cheesecake bars are exactly what you need when you want that creamy, spiced, autumnal dessert without committing to a full 9-inch cheesecake. They bake in a standard loaf pan, giving you eight generous bars that feel special but don’t leave you with a week’s worth of leftovers.
- Prep Time: 20 minutes
- Cook Time: 30 minutes
- Total Time: 5 hours (including chilling)
- Yield: 8 bars 1x
- Category: Dessert
- Cuisine: American
Ingredients
- 4 full sheets graham crackers, crushed into fine crumbs
- 6 gingersnaps, crushed
- 3 tablespoons unsalted butter, melted
- 1 tablespoon granulated sugar
- Pinch of salt (optional)
- 8 ounces cream cheese, softened to room temperature
- 1/3 cup granulated sugar
- 1/2 cup pumpkin puree (not pumpkin pie filling)
- 1 large egg, room temperature
- 1/2 teaspoon vanilla extract
- 1 teaspoon pumpkin pie spice
- 1/2 teaspoon cinnamon
- 1/8 teaspoon salt
Instructions
- Preheat oven to 350°F (175°C). Line an 8.5×4.5-inch loaf pan with parchment paper, leaving overhang for handles. Lightly spray with nonstick cooking spray.
- Make the crust: In a food processor or zip-top bag, crush graham crackers and gingersnaps into fine crumbs (about 1 cup total). Transfer to a medium bowl. Add melted butter, 1 tablespoon sugar, and a pinch of salt. Stir until mixture resembles wet sand. Press firmly into the bottom of the prepared loaf pan. Bake for 8 minutes. Remove and set aside to cool slightly. Keep oven on.
- Make the filling: In a medium bowl, beat softened cream cheese with an electric hand mixer on medium speed until smooth, about 1 minute. Add 1/3 cup sugar and beat until light and fluffy, about 1 minute. Add pumpkin puree, egg, vanilla extract, pumpkin pie spice, cinnamon, and 1/8 teaspoon salt. Beat on low until combined, then on medium for 30 seconds until smooth. Do not overmix.
- Pour filling over pre-baked crust. Spread evenly. Tap pan gently on counter to release air bubbles. Bake at 350°F (175°C) for 28-32 minutes, until edges are set and center jiggles slightly. A toothpick inserted 1 inch from center should come out mostly clean.
- Cool completely on a wire rack, about 1 hour. Cover with plastic wrap and refrigerate for at least 4 hours, preferably overnight.
- Use parchment handles to lift cheesecake out of pan. Place on cutting board. Cut into 8 equal bars with a sharp knife, wiping blade clean between cuts. Serve cold or at room temperature.
Notes
Room temperature ingredients are key for a smooth filling. Do not overbake; the center should still jiggle. Chill thoroughly for best texture. For clean slices, wipe knife between cuts. Bars can be frozen individually for up to 3 months.
Nutrition
- Serving Size: 1 bar
- Calories: 245
- Sugar: 14
- Sodium: 200
- Fat: 16
- Saturated Fat: 9
- Carbohydrates: 22
- Fiber: 1
- Protein: 4
Keywords: pumpkin cheesecake bars, small-batch cheesecake, fall dessert, pumpkin dessert, cheesecake bars, loaf pan cheesecake, easy pumpkin recipe