Love this? Save it for later!
Share the inspiration with your friends
Introduction
My friend Clara had insisted for years that pickles were just glorified cucumbers drowning in vinegar, a flavor she claimed to despise. Five long summers she held that position, refusing to touch any jar that crossed her path. Then one Sunday afternoon, I made these Easy Tangy Garlic Dill Refrigerator Pickles “just for myself,” and honestly, I caught her sneaking a slice when she thought no one was watching. She sat there, crunching thoughtfully, the skeptical frown slowly melting into surprise. Maybe you’ve been there—skeptical about a recipe, only to find it quietly winning you over with every bite.
What made these pickles different, you ask? The garlic and dill play off each other in a tangy dance that’s neither too sharp nor too sweet, and the refrigerator method means no waiting months to enjoy them. I forgot to label the jar that day, and it sat on the fridge shelf for a week, but Clara was already asking for “the pickle recipe” before I could even remember to write it down. That’s why this recipe stays with me—it’s proof that sometimes the best conversions happen quietly, without fanfare, just a crunchy bite at a time.
Why You’ll Love This Recipe
- Quick & Easy: Ready to eat in as little as 24 hours, perfect for last-minute snack cravings or when you want homemade pickles without the wait.
- Simple Ingredients: Uses pantry staples like fresh cucumbers, garlic, dill, and vinegar—no fancy or hard-to-find items needed.
- Perfect for Snacking & Sandwiches: Adds a bright, tangy crunch to burgers, sandwiches, or just as a satisfying snack on its own.
- Crowd-Pleaser: Always impresses guests with its fresh flavor and satisfying crunch, even pickles skeptics can’t resist.
- Unbelievably Delicious: The balance of garlic and dill with the tangy vinegar brine makes these pickles a standout—crispy, flavorful, and perfectly tangy.
- This recipe isn’t just another pickle jar on the shelf—it’s the one I keep making when friends stop by unannounced. The refrigerator method keeps them crisp and fresh, no canning experience required.
- Honestly, this is comfort food for the pickle-lover’s soul—quick, fuss-free, and totally satisfying.
What Ingredients You Will Need
This recipe uses simple, wholesome ingredients to deliver bold flavor and satisfying texture without fuss. Most are pantry staples, and you can easily swap or tweak a few to suit your taste or dietary needs.
- Fresh Cucumbers: About 4-5 medium cucumbers, preferably Kirby or pickling cucumbers for their crunch and size.
- Garlic Cloves: 4-5 cloves, peeled and lightly smashed to release flavor.
- Fresh Dill: 3-4 sprigs, or about 2 tablespoons of dill seeds if fresh dill isn’t available.
- White Vinegar: 1 cup (240 ml), the classic choice for that sharp tang. You can use apple cider vinegar for a slightly sweeter note.
- Water: 1 cup (240 ml), to balance the vinegar.
- Salt: 1 tablespoon of kosher salt or pickling salt (avoid iodized table salt to keep the brine clear).
- Sugar: 1 teaspoon, just enough to soften the edge of the vinegar without making it sweet.
- Black Peppercorns: 1 teaspoon, for a subtle spicy kick.
- Red Pepper Flakes (optional): A pinch, if you like a little heat in your pickles.
I usually grab the fresh dill from my local farmers’ market when it’s in season—it really amps up the flavor. If you’re short on fresh dill, dill seeds work just fine and keep well in the pantry. For the vinegar, Bragg apple cider vinegar has become my go-to when I want a touch of sweetness, but plain white vinegar works perfectly too.
Equipment Needed
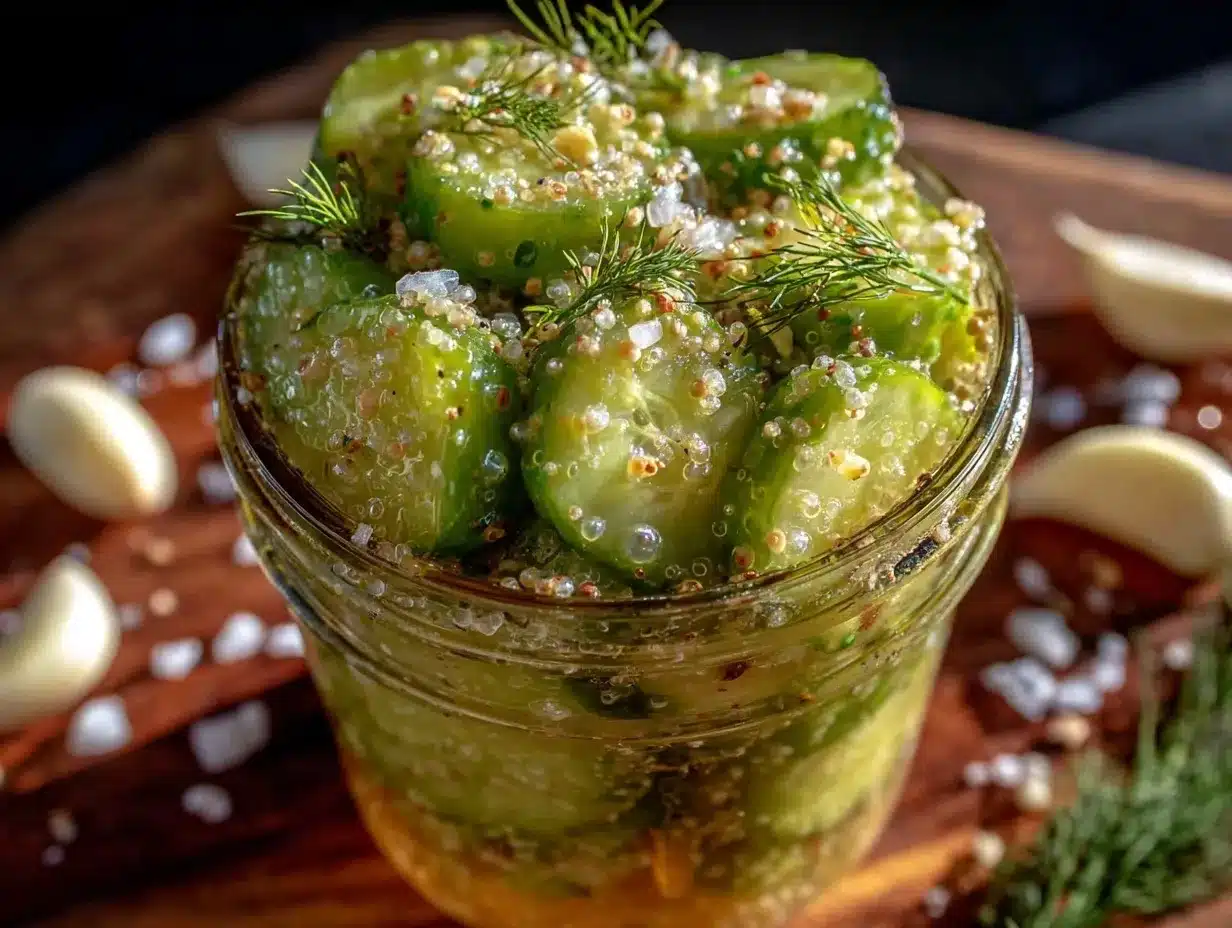
- Quart-sized Glass Jar: A clean mason jar or any glass container with a tight lid to hold the pickles in the fridge.
- Mixing Bowl: For combining the brine ingredients—something medium-sized and non-reactive like glass or stainless steel.
- Measuring Cups and Spoons: For precise vinegar, water, salt, and sugar measurements.
- Knife and Cutting Board: For slicing cucumbers and prepping garlic.
- Small Saucepan (optional): To warm the brine slightly if you prefer to dissolve salt and sugar faster, though cold brine works too.
If you don’t have a quart jar handy, two smaller jars work just as well. I once used a repurposed pasta sauce jar—cleaned thoroughly, of course—and it did the job just fine. Just make sure your container seals well to keep the pickles fresh and crunchy.
Preparation Method
- Wash and Slice Cucumbers: Rinse 4-5 medium cucumbers under cold water. Slice them into 1/4-inch thick rounds or lengthwise spears, depending on your preference. I like spears—they’re perfect for snacking and sandwiches. (About 10 minutes)
- Prepare the Brine: In a mixing bowl, combine 1 cup (240 ml) white vinegar, 1 cup (240 ml) water, 1 tablespoon kosher salt, and 1 teaspoon sugar. Stir gently until the salt and sugar dissolve. If you want, warm the mixture slightly on the stove to help dissolve ingredients faster, then cool it completely before pouring. (About 5 minutes)
- Pack the Jar: Add 4-5 smashed garlic cloves, 3-4 sprigs fresh dill, 1 teaspoon black peppercorns, and optional pinch of red pepper flakes to the bottom of your clean quart jar. Then tightly pack your cucumber slices or spears into the jar, leaving about 1/2 inch space at the top.
- Pour the Brine: Pour the cooled brine over the cucumbers until they’re fully submerged. You might have a bit of leftover brine—save it for topping off later if needed. Make sure no cucumber is floating above the liquid to avoid sogginess.
- Seal and Refrigerate: Screw on the lid tightly and place the jar in your refrigerator. Let the pickles sit for at least 24 hours before tasting. They’ll get tangier the longer they sit, up to about 2 weeks. (Plan ahead but enjoy early!)
- Check and Enjoy: After 24 hours, open the jar and try a pickle slice. The garlic and dill should be fragrant, and the cucumbers crisp yet tangy. If they’re not quite there, give them another day or two.
Pro tip: If you notice any cucumbers floating up, press them down with a clean utensil or add a small piece of parchment paper on top before sealing. This keeps them submerged and crisp. I once forgot this step, and the top slices were a bit soggy—lesson learned!
Cooking Tips & Techniques
Making refrigerator pickles is honestly one of the easiest ways to get your pickle fix without fuss. But a few tips can make all the difference:
- Choose the Right Cucumbers: Kirby or pickling cucumbers are small, firm, and crisp. Regular slicing cucumbers can work, but they tend to be watery and less crunchy.
- Don’t Skip the Salt: Use kosher or pickling salt—table salt contains additives that can cloud your brine or affect flavor.
- Smash Your Garlic: Crushing the cloves releases more flavor than just slicing, but avoid over-mashing to prevent bitterness.
- Keep Cucumbers Submerged: This prevents spoilage and helps maintain that firm snap that everyone loves.
- Cold Brine Works: You don’t have to heat the brine, but warming it slightly helps dissolve salt and sugar faster. Just cool it before adding to cucumbers to keep them crisp.
- Patience Pays Off: While you can eat these pickles after 24 hours, letting them sit 2-3 days in the fridge develops deeper flavor.
- My first batch came out a bit too salty because I eyeballed the salt—measuring accurately is key to avoid a briny pickle disaster.
Variations & Adaptations
There’s plenty of room to make this recipe your own, whether you want to suit dietary needs or switch up flavors.
- Low-Sodium Version: Cut the salt in half and add a teaspoon of celery seed for natural flavor boost without extra sodium.
- Spicy Pickles: Add sliced jalapeños or increase red pepper flakes for a fiery kick.
- Herb Variations: Swap dill for fresh tarragon or add fresh thyme for a different herbaceous note.
- Vinegar Swaps: Use apple cider vinegar for a sweeter tang or white wine vinegar for a mild, fruity edge.
- Quick Bread-and-Butter Style: Add a tablespoon sugar and a cinnamon stick for a sweeter, spiced pickle twist.
One time, I tried adding a splash of lemon juice and fresh mint—it was unexpectedly refreshing and perfect for summer barbecues.
Serving & Storage Suggestions
These pickles are best served chilled straight from the jar. They add a bright crunch to sandwiches, burgers, or just on their own as a snack. I love pairing them with a hearty grilled cheese or alongside a rich potato salad.
Store your pickles in the refrigerator, tightly sealed, for up to 2 weeks. The flavor deepens over time, but after about 10 days, the cucumbers might start to soften slightly. If you want crisper pickles, eat them sooner rather than later.
To re-crisp slightly softened pickles, drain the brine and soak the slices in ice water for 15-30 minutes before serving. It’s a little trick I learned that works wonders.
Nutritional Information & Benefits
This recipe is naturally low in calories and carbs, making it a guilt-free snack. Cucumbers provide hydration and small amounts of vitamins K and C. The garlic adds immune-boosting compounds, while dill offers antioxidants and aids digestion.
Because these are refrigerator pickles, they’re free from preservatives and additives found in many store-bought brands. This recipe is gluten-free and can easily be made vegan and paleo-friendly.
From a personal wellness point of view, I appreciate how these pickles satisfy salty cravings without processed ingredients, helping me avoid less healthy snack options.
Conclusion
Easy Tangy Garlic Dill Refrigerator Pickles are a no-fuss way to bring bright, crunchy, homemade flavor to your kitchen in less than a day. Whether you’re a longtime pickle fan or a skeptic like Clara, this recipe offers a fresh take that’s hard to resist. I love how simple ingredients combine to make something so satisfying, and I hope you’ll feel inspired to tweak it and make it your own.
Give these pickles a try, and let me know how you customize them! Your feedback and stories are what keep recipes like this alive and kicking in kitchens everywhere.
Happy pickling!
FAQs
How long do refrigerator pickles last?
They typically stay fresh and tasty for up to 2 weeks in the fridge. After that, they may soften but are still safe to eat.
Can I use regular cucumbers instead of pickling cucumbers?
You can, but regular cucumbers tend to be more watery and less crisp. For the best crunch, pickling cucumbers like Kirby are recommended.
Do I need to boil or sterilize the jars?
Since these are refrigerator pickles, sterilizing isn’t necessary. Just make sure your jar is clean and dry before packing.
Can I make these pickles without garlic?
Yes, but the garlic adds a key flavor. You can omit it or substitute with a teaspoon of garlic powder if preferred.
How can I make my pickles spicier?
Add sliced jalapeños, extra red pepper flakes, or a pinch of cayenne pepper to the brine for more heat.
Pin This Recipe!
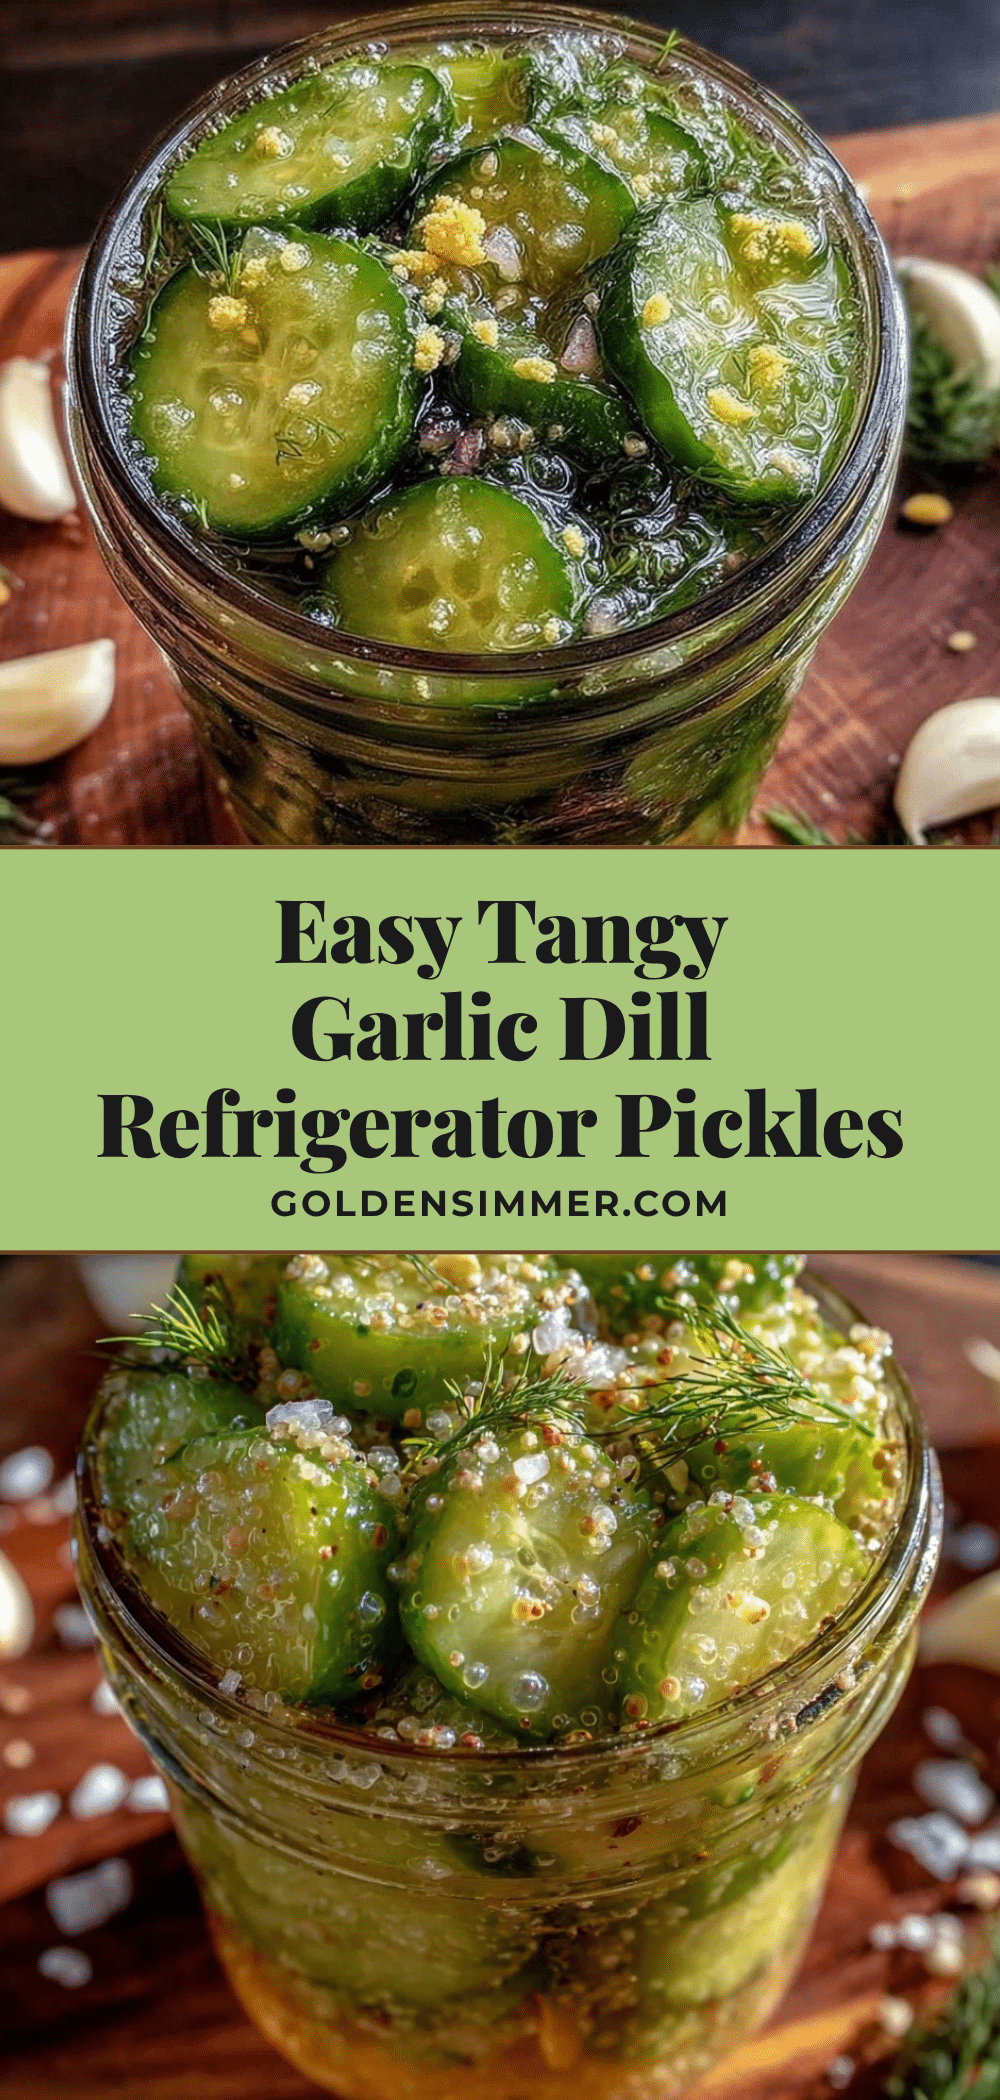
Easy Tangy Garlic Dill Refrigerator Pickles
Quick and easy refrigerator pickles with a tangy garlic and dill flavor, ready to eat in as little as 24 hours. Perfect for snacking or adding crunch to sandwiches.
- Prep Time: 15 minutes
- Cook Time: 0 minutes
- Total Time: 24 hours
- Yield: 4-5 servings 1x
- Category: Snack
- Cuisine: American
Ingredients
- 4–5 medium fresh cucumbers (Kirby or pickling cucumbers preferred)
- 4–5 garlic cloves, peeled and lightly smashed
- 3–4 sprigs fresh dill or about 2 tablespoons dill seeds
- 1 cup (240 ml) white vinegar (or apple cider vinegar for a sweeter note)
- 1 cup (240 ml) water
- 1 tablespoon kosher salt or pickling salt
- 1 teaspoon sugar
- 1 teaspoon black peppercorns
- Pinch of red pepper flakes (optional)
Instructions
- Wash and slice cucumbers into 1/4-inch thick rounds or lengthwise spears.
- In a mixing bowl, combine vinegar, water, kosher salt, and sugar. Stir until dissolved. Optionally warm slightly to dissolve faster, then cool completely.
- Add smashed garlic cloves, fresh dill sprigs, black peppercorns, and optional red pepper flakes to the bottom of a clean quart-sized glass jar.
- Pack cucumber slices or spears tightly into the jar, leaving about 1/2 inch space at the top.
- Pour the cooled brine over the cucumbers until fully submerged. Ensure no cucumbers float above the liquid.
- Seal the jar tightly and refrigerate for at least 24 hours before tasting. Flavor improves up to 2 weeks.
- If cucumbers float, press them down with a clean utensil or place a small piece of parchment paper on top before sealing.
Notes
Use Kirby or pickling cucumbers for best crunch. Keep cucumbers fully submerged to avoid sogginess. Warm brine slightly to dissolve salt and sugar faster but cool before pouring. Pickles are best after 24 hours but improve up to 2 weeks. To re-crisp softened pickles, soak in ice water for 15-30 minutes before serving.
Nutrition
- Serving Size: About 1/2 cup of pic
- Calories: 10
- Sugar: 1
- Sodium: 800
- Carbohydrates: 2
- Fiber: 0.5
Keywords: refrigerator pickles, garlic dill pickles, quick pickles, homemade pickles, easy pickles, tangy pickles, snack, pickle recipe



