Love this? Save it for later!
Share the inspiration with your friends
I swore I’d never be that person making homemade gummy vitamins. Three years ago, I said it out loud while standing in the health food store aisle, staring at a $28 jar of elderberry gummies for my kids. The price tag made me wince, but the ingredient list made me laugh—sugar, corn syrup, and a whisper of actual elderberry. That night, I found myself elbow-deep in a pot of simmering dried berries, convinced I was about to waste a perfectly good Saturday afternoon. Then the power went out halfway through straining the syrup.
Honestly, I almost gave up right there. I stood in the dark kitchen, straining elderberry liquid by candlelight, wondering if this was the moment my family finally staged an intervention about my kitchen experiments. But something about the deep purple color catching the candle flame kept me going. I finished the gummies by flashlight, poured them into silicone molds I’d bought on a whim, and left them to set in the refrigerator overnight. The next morning, my youngest found them before coffee—and that’s when I caught him sneaking a second one before breakfast.
Maybe you’ve been there, standing in a store aisle wondering if there’s a better way. This homemade elderberry gummy recipe is that better way. It’s the one that made my skeptical husband ask for “just one more” and turned my kids into willing participants in our family’s cold-season routine. I keep making it because it works, it tastes genuinely good, and honestly—there’s something satisfying about watching those deep purple gummies set in the fridge, knowing exactly what went into them.
Why You’ll Love This Recipe
These homemade elderberry gummies aren’t just another wellness trend—they’re the result of trial and error, burnt fingers, and one memorable incident involving a gelatin volcano. I’ve tested this recipe at least a dozen times to get the texture just right, and here’s what makes it worth your time:
- Quick & Easy: Comes together in under 30 minutes of active time, then just a few hours to set in the fridge. Perfect for a Sunday afternoon prep session.
- Simple Ingredients: No fancy grocery trips needed. You likely have most of these in your pantry already—dried elderberries, raw honey, and gelatin are the stars.
- Perfect for Cold Season: Great for back-to-school season, fall transitions, or anytime your family needs a little immune support.
- Crowd-Pleaser: Even the pickiest eaters love these. The honey balances the tart elderberry beautifully, and the texture is soft and bouncy—not at all like those rubbery store-bought versions.
- Unbelievably Delicious: The flavor combo is next-level comfort in gummy form. Tart berries, warm honey, and a hint of cinnamon make these feel more like a treat than a supplement.
What makes this recipe different from the rest? It’s the technique—simmering the elderberries just long enough to extract the goodness without destroying those delicate immune-supporting compounds. Plus, I’ve cracked the code on getting the perfect gummy texture without that weird separation that happens with homemade gummies sometimes. This isn’t just another version—it’s your best version.
This recipe is the kind that makes you feel like you’ve got your act together. It’s comfort food reimagined—healthier, faster, but with the same soul-soothing satisfaction. Perfect for impressing your mom friends without stress, or turning a simple wellness routine into something memorable.
What Ingredients You Will Need
This recipe uses simple, wholesome ingredients to deliver bold flavor and immune support without the fuss. Most of these are pantry staples once you start making homemade remedies, and they’re easy to find at any grocery store or online.
For the Elderberry Syrup Base
- ½ cup dried elderberries (look for organic, whole berries from a trusted brand like Starwest Botanicals or Frontier Co-op—they have the best potency)
- 3 cups filtered water (tap water can affect the flavor, so filtered is best)
- 1 cinnamon stick (adds warmth and helps with the flavor balance)
- 1-inch piece fresh ginger, sliced (optional but recommended—adds a gentle kick and extra immune support)
- 3 whole cloves (just a few for depth—don’t overdo it)
For the Gummy Mixture
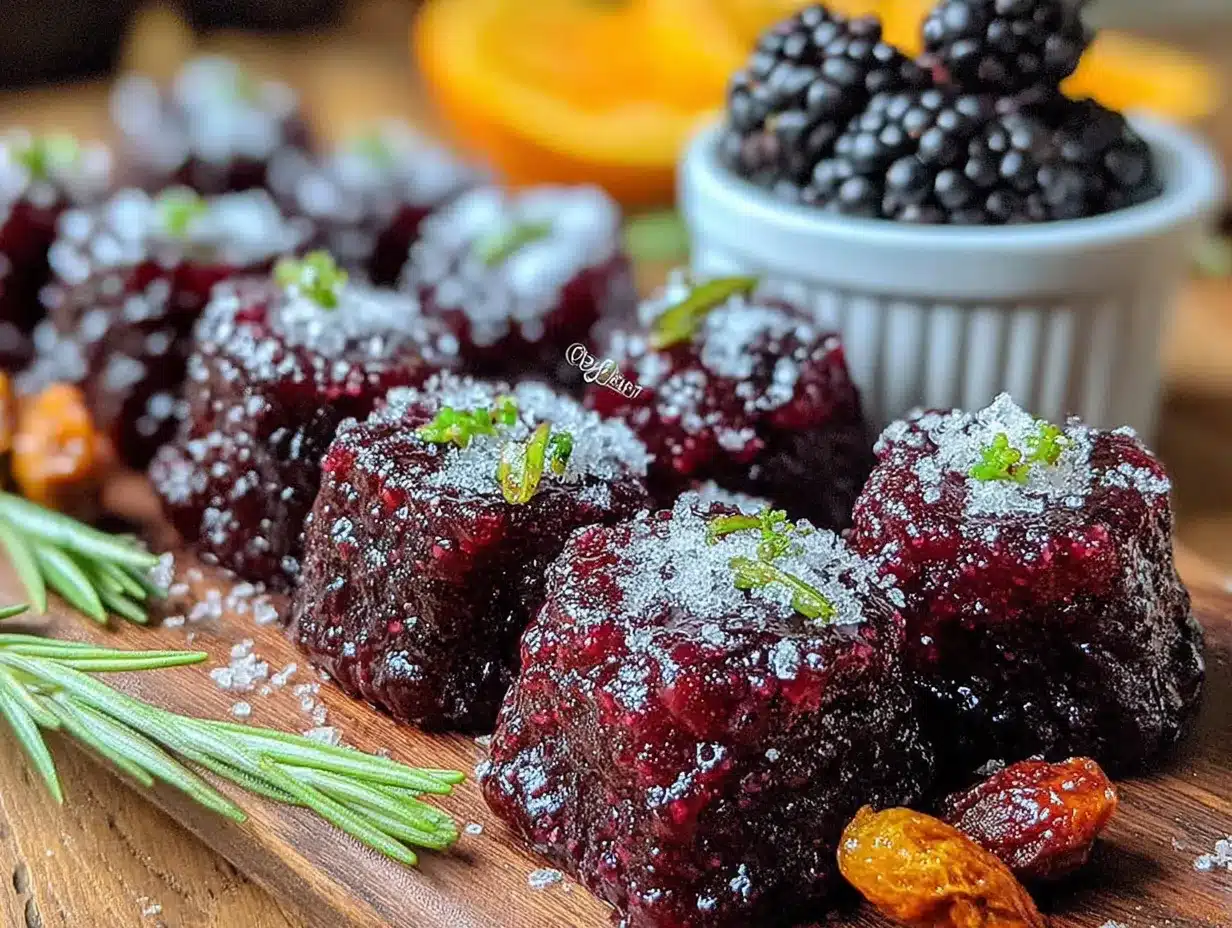
- ½ cup raw honey (use local honey for added seasonal allergy benefits, or substitute with maple syrup for a vegan option)
- ¼ cup fresh lemon juice (about 2 lemons—this helps preserve the gummies and adds brightness)
- ½ cup cold water (for blooming the gelatin)
- 6 tablespoons grass-fed gelatin (I recommend Vital Proteins or Great Lakes—they bloom consistently and don’t clump)
Ingredient Selection Tips
For the best results, use dried elderberries rather than fresh—they’re more concentrated and easier to find. If you’re using frozen elderberries, reduce the water slightly and simmer a bit longer. For the honey, raw is ideal because it retains more beneficial enzymes, but any honey works in a pinch. If you’re making these for someone with a bee allergy, swap the honey for maple syrup or agave—just note the flavor will be slightly different.
I’ve tried this recipe with different gelatins, and grass-fed really does make a difference in both texture and nutritional profile. The gelatin gives these gummies their signature bounce and adds protein, which helps keep everyone full between meals. For a vegan version, you can use agar agar powder, but the texture will be firmer and more jelly-like—still delicious, just different.
Equipment Needed
You don’t need much for this recipe, which is part of the beauty. Here’s what you’ll want to have on hand:
- Medium saucepan (for simmering the elderberry base—stainless steel or enameled cast iron works best)
- Fine-mesh strainer or cheesecloth (for straining out the berries and spices)
- Small bowl (for blooming the gelatin)
- Silicone gummy molds (I use bear-shaped ones for the kids, but any shape works—these are cheap on Amazon and last forever)
- Whisk (for incorporating the gelatin smoothly)
- Liquid measuring cup with spout (makes pouring into molds much easier and less messy)
- Glass jar with lid (for storing the finished gummies in the fridge)
If you don’t have silicone molds, don’t worry—you can pour the mixture into a small glass dish (like an 8×8 pan) and cut it into squares once set. I’ve done this plenty of times when I couldn’t find my molds. Just grease the dish lightly with coconut oil first so the gummies release easily. For the straining step, a nut milk bag works even better than cheesecloth if you have one.
Preparation Method
Let’s make some gummies! This process is straightforward, but I’ll walk you through each step with the little tricks I’ve learned from making these dozens of times.
Step 1: Make the Elderberry Base
Combine the dried elderberries, cinnamon stick, ginger slices, and cloves in a medium saucepan. Pour in the 3 cups of filtered water and bring to a boil over medium-high heat. Once boiling, reduce the heat to low and let it simmer gently for 20-25 minutes. You’ll know it’s done when the liquid has reduced by about half and turned a deep, almost black-purple color. The berries will look plump and slightly shriveled. Don’t boil it too vigorously—gentle simmering preserves more of the beneficial compounds.
Step 2: Strain the Syrup
Place your fine-mesh strainer over a large bowl or liquid measuring cup. Carefully pour the elderberry mixture through the strainer, pressing gently on the berries with the back of a spoon to extract every drop of that precious liquid. Discard the solids (or compost them—your garden will thank you). Let the strained liquid cool for about 10 minutes until it’s warm but not hot—you should be able to touch it comfortably. If it’s too hot, it can kill the beneficial properties of the honey and gelatin.
Step 3: Bloom the Gelatin
While the elderberry liquid cools a bit, pour the ½ cup cold water into a small bowl. Sprinkle the gelatin powder evenly over the surface—don’t dump it all in at once or you’ll get clumps. Let it sit for 5 minutes without stirring. This is called blooming, and it’s the secret to smooth, lump-free gummies. The gelatin will absorb the water and turn into a firm, jiggly mass. Don’t skip this step—I learned the hard way that adding gelatin directly to warm liquid creates a grainy, unpleasant texture.
Step 4: Combine Everything
Once the elderberry liquid has cooled to warm (about 110°F or so), whisk in the honey until fully dissolved. Then add the lemon juice and stir. Now, take your bloomed gelatin and gently whisk it into the warm elderberry mixture. Whisk continuously for about 2 minutes until everything is completely smooth and the gelatin has fully dissolved. The mixture should look like a thin, glossy syrup with no visible lumps. If you see any gelatin bits, keep whisking—they’ll dissolve eventually.
Step 5: Fill the Molds
Carefully pour the mixture into your liquid measuring cup with a spout (this makes it so much easier). Then slowly pour the mixture into your silicone molds, filling each cavity almost to the top. Don’t overfill—they won’t overflow, but it makes them harder to pop out later. If you’re using a dish instead of molds, just pour the mixture in and smooth the top. Work quickly here because the gelatin starts setting as it cools. If the mixture gets too thick while you’re pouring, just warm it gently over low heat for a minute.
Step 6: Set and Store
Place the filled molds on a baking sheet (for easy transport) and transfer to the refrigerator. Let them set for at least 4 hours, but overnight is better. You’ll know they’re ready when they feel firm to the touch and pop out of the molds cleanly. Once set, pop them out of the molds and store in an airtight glass jar in the refrigerator. They’ll keep for up to 3 weeks—if they last that long!
Cooking Tips & Techniques
After making these gummies more times than I can count, I’ve picked up a few tricks that make the process smoother and the results more consistent. Here’s what I wish someone had told me:
Temperature is everything. If you add the gelatin to liquid that’s too hot (above 140°F), it will break down and your gummies won’t set properly. If it’s too cold, the gelatin will clump. Aim for that warm-but-not-hot sweet spot—about 110°F, or what feels like a comfortable bath temperature. I learned this after ruining two batches by being impatient.
Don’t skip the lemon juice. Beyond the flavor, the acidity helps preserve the gummies and keeps them from getting that weird, sticky surface that homemade gummies sometimes develop. Plus, it brightens the elderberry flavor beautifully.
Whisk like you mean it. When you add the bloomed gelatin, whisk vigorously for a full 2 minutes. I set a timer because I always think I’ve whisked enough when I haven’t. The gelatin needs to fully disperse, or you’ll end up with some gummies that are firmer than others.
For perfectly clear gummies, strain the final mixture through a fine-mesh strainer one more time before pouring into molds. This catches any undissolved gelatin bits or berry sediment. I only do this when I’m feeling fancy, but it does make a difference in appearance.
One time I forgot to let the elderberry liquid cool before adding the honey—the honey just melted into a weird layer at the bottom of the bowl. I had to start over. Now I always test the temperature with my clean finger first. Learn from my mistakes, friends.
Variations & Adaptations
One of the best things about this recipe is how flexible it is. Here are some variations I’ve tried and loved:
Herbal Boost Version
Add 1 tablespoon dried echinacea and 1 tablespoon dried rose hips to the simmering elderberries for an extra immune kick. The rose hips add a subtle floral note and more vitamin C. I make this version every October when the weather starts shifting.
Spiced Apple Cider Version
Replace 1 cup of the water with apple cider and add a star anise pod to the simmering mixture. This creates a fall-inspired flavor that tastes like autumn in a gummy. My kids go crazy for this version, and it makes the house smell incredible while cooking.
Tropical Immune Support
Swap the cinnamon and ginger for a ½ cup of pineapple juice (added after straining) and a tablespoon of turmeric powder. The pineapple adds enzymes that help with inflammation, and turmeric gives the gummies a beautiful golden hue. This version is less sweet, so I add an extra tablespoon of honey.
Low-Sugar Option
Use ¼ cup honey instead of ½ cup, and add ¼ cup monk fruit sweetener. The texture stays the same, but the sweetness is dialed back. This works well for adults who prefer less sugar in their wellness routine.
Vegan Agar Agar Version
Replace the gelatin with 4 tablespoons agar agar powder. Bloom it in the cold water the same way, but you’ll need to bring the mixture to a boil for 2 minutes after adding it (agar needs high heat to activate). The texture is firmer and more jelly-like, but still delicious. I’ve made this for vegan friends with great results.
Serving & Storage Suggestions
These gummies are best enjoyed straight from the fridge—the cool temperature gives them that perfect bouncy texture. I like to serve them as a daily immune boost, usually 2-3 gummies per person per day. For kids under 5, stick to 1-2 gummies daily, and always supervise young children with gummy textures to prevent choking.
Storage is simple: keep them in an airtight glass jar in the refrigerator. They’ll stay fresh for up to 3 weeks, though I’ve never had a batch last that long in my house. If you notice any condensation forming inside the jar, just pat the gummies dry with a paper towel and return them to the fridge. For longer storage, you can freeze them for up to 3 months—just lay them in a single layer on a baking sheet, freeze until solid, then transfer to a freezer bag. Thaw in the refrigerator overnight before eating.
These make wonderful gifts, too. I fill small mason jars with gummies, tie a ribbon around the lid, and add a tag with dosage instructions. They’re always a hit at holiday gatherings or teacher appreciation gifts. The flavors actually deepen after a day or two in the fridge, so they taste even better on day three than they do on day one.
Nutritional Information & Benefits
These gummies aren’t just delicious—they’re packed with immune-supporting goodness. Here’s the estimated nutritional breakdown per serving (2 gummies):
- Calories: 45
- Protein: 4g
- Carbohydrates: 8g
- Sugar: 6g (from honey and elderberries)
- Vitamin C: 4mg (from elderberries and lemon juice)
- Collagen: 3g (from grass-fed gelatin)
Elderberries are rich in antioxidants called anthocyanins, which give them that deep purple color and support healthy immune function. The honey adds natural antimicrobial properties, while ginger and cinnamon provide anti-inflammatory benefits. The grass-fed gelatin supports joint health, skin elasticity, and gut health—making these gummies a truly multi-tasking wellness treat.
If you’re watching your sugar intake, remember that most of the sweetness comes from honey, which has a lower glycemic impact than refined sugar. For those with specific dietary needs, these gummies are naturally gluten-free, dairy-free, and soy-free. The only potential allergen is the gelatin (derived from animal collagen), so the agar agar version is perfect for vegan or vegetarian diets.
Conclusion
These homemade elderberry gummies have become a staple in our home, and I think they’ll become one in yours too. They’re proof that taking care of your family doesn’t have to mean expensive store-bought products or complicated recipes. With just a handful of ingredients and about 30 minutes of your time, you can create something that’s both delicious and genuinely supportive of your family’s wellness.
I love this recipe because it makes me feel prepared—like I’ve got a secret weapon against cold season tucked away in my fridge. Every time I pop open that jar and see those deep purple gummies, I smile a little. And when my kids ask for their “berry treats” without any prompting, I know I’ve won the parenting lottery.
I’d love to hear how these turn out for you! Drop a comment below and let me know if you tried any variations, or share a photo of your gummy creations. Don’t forget to pin this recipe for later and share it with a friend who could use a little immune support this fall. Happy gummy-making, friends—you’ve got this!
Frequently Asked Questions
Can I use fresh elderberries instead of dried?
Yes, but you’ll need to adjust the water amount. Use 1 cup fresh elderberries and reduce the water to 2 cups, since fresh berries release more liquid during cooking. Also, never eat raw elderberries—they must be cooked to neutralize compounds that can cause stomach upset. Dried elderberries are already partially processed, making them safer and more convenient.
How many gummies should I take per day?
For adults, 3-4 gummies daily is a good maintenance dose during cold season. For children ages 4-12, stick to 1-2 gummies per day. Always consult with your healthcare provider before starting any new supplement routine, especially for children, pregnant women, or anyone with underlying health conditions. These gummies are a food-based supplement, not a medication.
Why did my gummies turn out too soft or too hard?
Texture issues usually come down to the gelatin-to-liquid ratio or temperature. If they’re too soft, you may have used too much liquid or not enough gelatin. If they’re too hard, you may have boiled the mixture after adding gelatin (which breaks down the structure) or used too much gelatin. Next time, measure carefully and keep the temperature below 140°F when adding gelatin. Also, make sure your gelatin is fresh—expired gelatin loses its setting power.
Can I make these without a stove?
Absolutely! You can make the elderberry syrup in a slow cooker on low for 4-6 hours, or even in an Instant Pot on sauté mode for 15 minutes. For the gelatin step, simply warm the strained syrup in the microwave in 30-second bursts until it’s warm but not hot. The rest of the process stays the same. This is my go-to method when I’m meal-prepping and the stove is already occupied.
How long do these gummies last at room temperature?
These gummies should always be stored in the refrigerator. They contain honey and fresh lemon juice, which can spoil if left at room temperature for more than a few hours. If you’re taking them on the go, pack them in a small cooler or insulated lunch bag with an ice pack. They’ll be fine for up to 4 hours at room temperature, but for best quality and safety, keep them chilled.
Pin This Recipe!
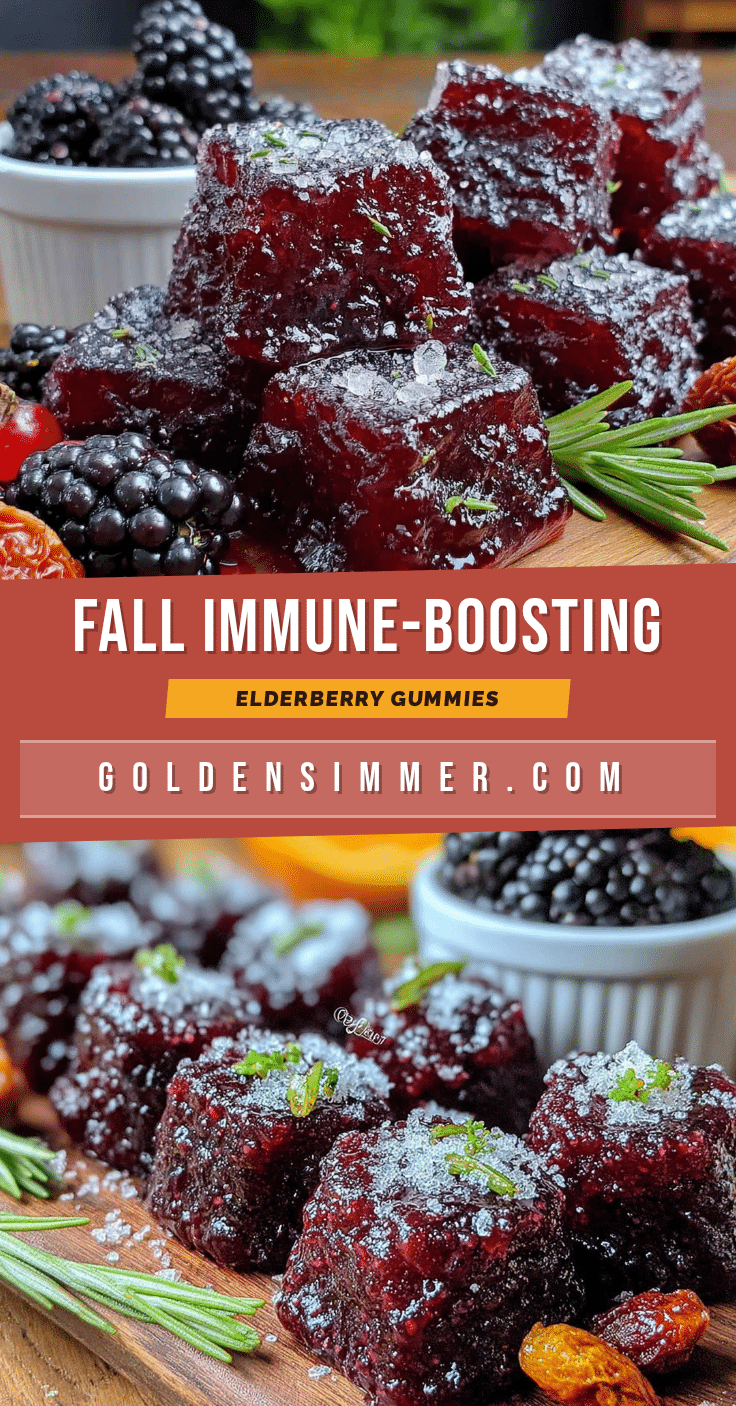
Homemade Elderberry Gummies: Best Immune-Boosting Fall Recipe
These homemade elderberry gummies are a delicious and immune-boosting treat made with simple ingredients like dried elderberries, raw honey, and grass-fed gelatin. Perfect for cold season, they come together in under 30 minutes of active time and are a crowd-pleaser for both kids and adults.
- Prep Time: 15 minutes
- Cook Time: 25 minutes
- Total Time: 4 hours 40 minutes (including setting time)
- Yield: 4 servings 1x
- Category: Snack
- Cuisine: American
Ingredients
- ½ cup dried elderberries
- 3 cups filtered water
- 1 cinnamon stick
- 1-inch piece fresh ginger, sliced
- 3 whole cloves
- ½ cup raw honey
- ¼ cup fresh lemon juice
- ½ cup cold water
- 6 tablespoons grass-fed gelatin
Instructions
- Combine the dried elderberries, cinnamon stick, ginger slices, and cloves in a medium saucepan. Pour in the 3 cups of filtered water and bring to a boil over medium-high heat. Once boiling, reduce the heat to low and let it simmer gently for 20-25 minutes until the liquid has reduced by about half and turned a deep, almost black-purple color.
- Place a fine-mesh strainer over a large bowl or liquid measuring cup. Carefully pour the elderberry mixture through the strainer, pressing gently on the berries with the back of a spoon to extract all the liquid. Discard the solids. Let the strained liquid cool for about 10 minutes until it is warm but not hot (about 110°F).
- While the elderberry liquid cools, pour the ½ cup cold water into a small bowl. Sprinkle the gelatin powder evenly over the surface and let it sit for 5 minutes without stirring to bloom.
- Once the elderberry liquid has cooled to warm, whisk in the honey until fully dissolved. Then add the lemon juice and stir. Gently whisk the bloomed gelatin into the warm elderberry mixture, whisking continuously for about 2 minutes until everything is completely smooth and the gelatin has fully dissolved.
- Carefully pour the mixture into a liquid measuring cup with a spout, then slowly pour into silicone gummy molds, filling each cavity almost to the top. If using a dish instead of molds, pour the mixture in and smooth the top.
- Place the filled molds on a baking sheet and transfer to the refrigerator. Let them set for at least 4 hours, but overnight is better. Once set, pop them out of the molds and store in an airtight glass jar in the refrigerator for up to 3 weeks.
Notes
Temperature is crucial: add gelatin to liquid that is warm but not hot (about 110°F). Don’t skip the lemon juice as it helps preserve the gummies. Whisk vigorously for 2 minutes after adding gelatin. For perfectly clear gummies, strain the final mixture one more time before pouring into molds. Store in the refrigerator and consume within 3 weeks.
Nutrition
- Serving Size: 2 gummies
- Calories: 45
- Sugar: 6
- Carbohydrates: 8
- Protein: 4
Keywords: elderberry gummies, homemade gummies, immune-boosting, fall recipe, elderberry, honey, gelatin, healthy snack



