Love this? Save it for later!
Share the inspiration with your friends
I was supposed to be making a simple cough syrup for my kid. The kind you boil up with honey and lemon, the one my grandmother swore by. But I grabbed the wrong bag from the freezer. Instead of ginger slices, I pulled out a bag of frozen elderberries I had stashed away last fall for a pie I never got around to baking. The water was already boiling, the honey was measured, and I was too tired to stop. I threw them in anyway, honestly figuring I’d just ruined a perfectly good batch of honey-lemon syrup. What came out was nothing like the plan — and better.
That first batch was a murky, deep purple mess. It didn’t look like anything special, let me tell you. I strained it, bottled it, and shoved it in the fridge, half-convinced I’d be pouring it down the drain the next morning. But the next day, my son woke up with that scratchy, pre-cold throat. You know the one. I gave him a spoonful out of desperation, not expectation. And he actually took it without a fight. More than that, he asked for more the next day. That’s when I knew I had stumbled onto something real.
I’ve been making this homemade elderberry syrup ever since. It’s become our go-to during cold and flu season, and honestly, I look forward to it. There’s something reassuring about having a jar of this deep, jewel-toned syrup in the fridge. It feels like a secret weapon, you know? Maybe you’ve been there, staring at the pharmacy aisle, wondering if there’s a simpler, more natural way to get through the winter months. This recipe is that answer. It’s not complicated, and it doesn’t require a pantry full of exotic ingredients. It’s just good, honest food that happens to help you feel better.
Why You’ll Love This Recipe
I’ve tested this recipe more times than I can count. I’ve tried different ratios of berries to water, different simmering times, and even different sweeteners. This version is the one that stuck. It’s the one my family actually asks for, and the one I’ve shared with friends who’ve come back for the recipe.
- Simple Ingredients: You only need a few things — dried or frozen elderberries, water, honey, and a couple of optional spices. No trip to a specialty store required.
- Quick & Easy: It comes together in under an hour. Most of that time is hands-off simmering, so you can get on with your day.
- Perfect for Cold and Flu Season: This isn’t just a tasty syrup. It’s a go-to immune booster that you can take daily or at the first sign of a sniffle.
- Crowd-Pleaser: Even the kids in my house take it without complaint. The honey and spices make it taste more like a treat than a remedy.
- Unbelievably Delicious: The flavor is deep, fruity, and slightly spiced. It’s nothing like the cloying, artificial syrups you find at the store.
What makes this recipe different from the rest? It’s the balance. I don’t overload it with ginger or cinnamon, letting the elderberries shine. The honey adds just enough sweetness without being overwhelming. It’s a recipe that feels both traditional and perfectly tailored to a modern kitchen. And honestly, it’s the kind of thing that makes you feel good just by having it around. It’s comfort in a jar.
What Ingredients You Will Need
This recipe uses simple, wholesome ingredients that work together to create a powerful, flavorful syrup. Most of these are pantry staples or easy to find at your local grocery store or online.
- Dried Elderberries: 1 cup (about 140g). These are the star of the show. I prefer dried elderberries over frozen for their concentrated flavor and longer shelf life. Look for them in bulk bins or online from reputable brands like Starwest Botanicals or Frontier Co-op.
- Water: 4 cups (950ml). Filtered water is best, as it doesn’t introduce any off-flavors.
- Honey: 1 cup (340g). Raw, unfiltered honey is ideal for its natural enzymes and immune-boosting properties. I use local honey when I can find it. If you’re vegan, you can substitute with maple syrup, but the flavor will be different.
- Fresh Ginger: 1-inch piece, sliced (about 15g). Adds a warm, slightly spicy kick. It’s optional, but I never skip it. It adds a nice depth of flavor and its own anti-inflammatory benefits.
- Cinnamon Stick: 1 whole stick (or 1 teaspoon ground). Adds a subtle sweetness and warmth. I prefer a stick because it’s easier to strain out.
- Whole Cloves: 3-4 whole cloves (or a pinch of ground). Just a touch for a little aromatic complexity. Be careful not to overdo it, as cloves can be very potent.
Ingredient Selection Tips: When buying dried elderberries, look for ones that are dark purple to black in color. They should smell slightly sweet and earthy. Avoid any that look shriveled or have a musty smell. For the honey, a good rule of thumb is to use one you enjoy eating on its own. The flavor will come through in the final syrup.
Substitution Guidance: If you don’t have dried elderberries, you can use 2 cups of frozen elderberries. Just reduce the water by 1/2 cup, as frozen berries release more liquid. You can also skip the spices altogether for a more straightforward elderberry flavor. I’ve done it before in a pinch, and it’s still delicious.
Equipment Needed
You don’t need a lot of fancy equipment for this recipe. Here’s what I use:
- Medium Saucepan: A 3-quart saucepan works perfectly. I use my old stainless steel one because it heats evenly. A non-reactive pot (stainless steel, enameled, or glass) is best, as it won’t react with the berries or honey.
- Fine-Mesh Strainer: Essential for straining out the berries and spices. I use a fine-mesh sieve lined with a couple of layers of cheesecloth for the clearest syrup. If you don’t have cheesecloth, a clean nut milk bag or even a clean dish towel works.
- Glass Jars or Bottles: Mason jars or swing-top bottles are perfect for storage. I prefer dark glass bottles to protect the syrup from light, but any clean glass container will do.
- Wooden Spoon: For stirring. It’s gentle on your pots and doesn’t scratch.
- Funnel: A small funnel makes pouring the syrup into jars much less messy. I have a wide-mouth funnel that I use for all my canning projects.
Budget-Friendly Options: You don’t need to buy a new set of jars. Reuse ones from pasta sauce or pickles, just make sure they are thoroughly washed and sterilized. A coffee filter can work in place of cheesecloth if you’re in a bind.
Preparation Method
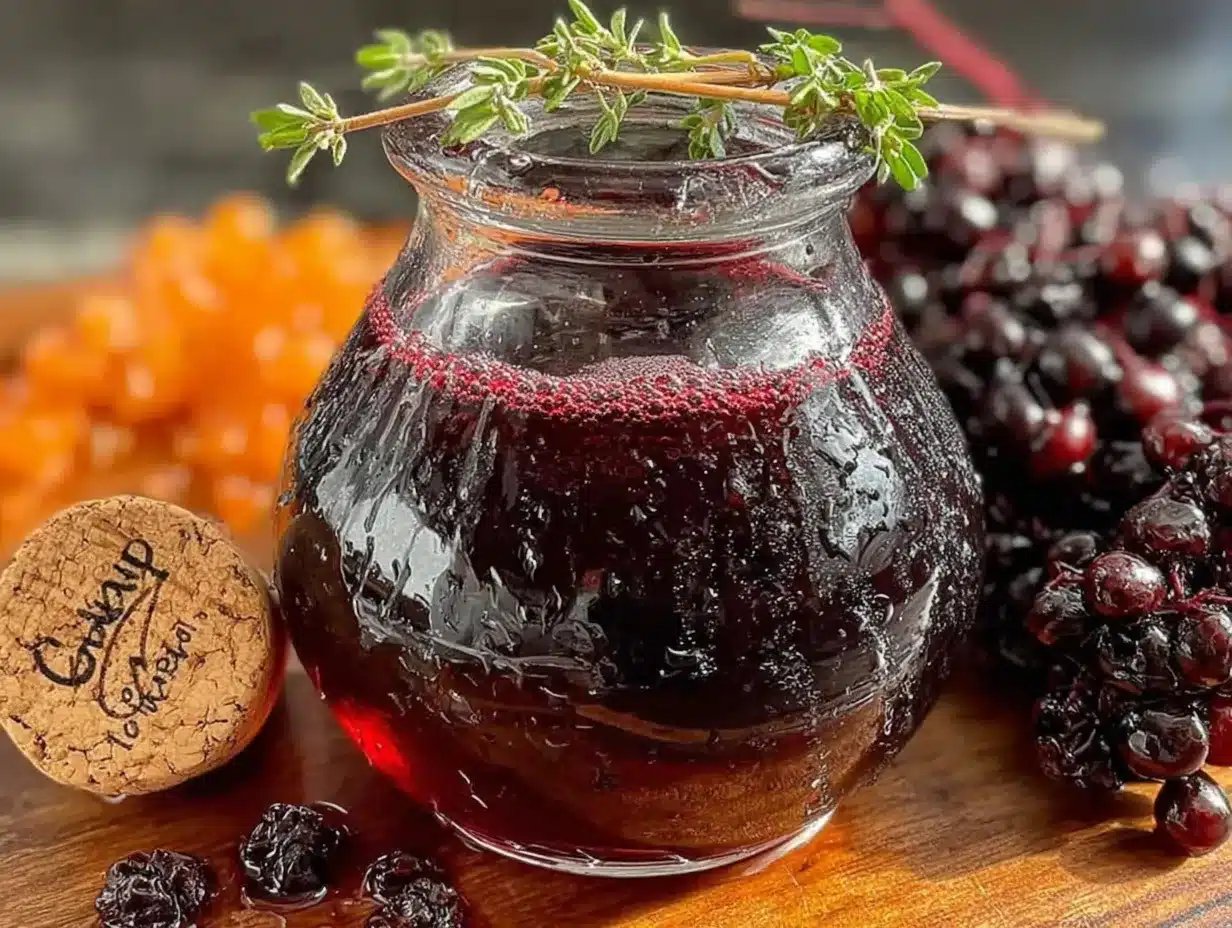
This is the easy part. The process is straightforward, but paying attention to a few details makes all the difference.
- Combine the Berries and Water: In your medium saucepan, add 1 cup of dried elderberries and 4 cups of filtered water. If you’re using fresh ginger, cinnamon stick, and cloves, add them now. Give everything a quick stir.
- Bring to a Boil, Then Simmer: Place the pot over medium-high heat and bring the mixture to a boil. Once it’s boiling, reduce the heat to low, cover the pot, and let it simmer. Set a timer for 30 minutes. The liquid will turn a deep, almost black-purple color. The berries will swell up and look plump. You’ll start to smell the warm, spicy aroma filling your kitchen.
- Mash the Berries (Optional but Recommended): After 30 minutes, use the back of your wooden spoon to gently mash the berries against the side of the pot. This helps release more of their beneficial compounds and flavor. Let it simmer for another 10 minutes, uncovered. The liquid will reduce slightly and thicken a bit.
- Strain the Mixture: Place your fine-mesh strainer over a large bowl or a large glass measuring cup. Line it with cheesecloth if you have it. Carefully pour the hot mixture through the strainer. Let it sit for a few minutes to drain completely. Do not press on the berries — that can make the syrup cloudy and bitter. Let gravity do the work.
- Cool Slightly: Let the strained liquid cool for about 15-20 minutes. It should be warm, but not hot to the touch. This is important because raw honey can lose its beneficial properties if added to boiling liquid.
- Add the Honey: Once the liquid has cooled slightly, stir in 1 cup of honey. Whisk gently until the honey is completely dissolved. You’ll see the syrup transform into a beautiful, glossy, deep purple color.
- Bottle and Store: Using your funnel, pour the syrup into clean glass jars or bottles. Leave about 1/2 inch of headspace at the top. Seal tightly and let the jars cool to room temperature before moving them to the refrigerator.
Troubleshooting Tip: If you find your syrup is too thin, you can simmer it a little longer after straining to reduce it further. If it’s too thick after adding the honey, you can stir in a tablespoon of warm water at a time until it reaches your desired consistency.
Cooking Tips & Techniques
Over the years, I’ve learned a few things the hard way. Here’s what I wish I knew from the start.
Don’t Over-Simmer: I once let my berries simmer for over an hour because I got distracted. The syrup turned out fine, but it had a slightly bitter, tannic aftertaste. Stick to the 30-40 minute range. The goal is to extract the goodness, not the bitterness.
Use a Timer: Honestly, I’ve ruined more than one batch by forgetting I had something on the stove. Set a timer on your phone or your oven. It’s a simple thing, but it saves you from a burnt pot and wasted ingredients.
Cool Before Adding Honey: I made this mistake early on. I poured the honey into a piping hot liquid, and I could see it immediately change texture. The honey became thin and lost its raw, floral notes. Let that liquid cool down. It’s worth the wait.
Sterilize Your Jars: This is a step I sometimes skip when I’m in a hurry, and I always regret it. Wash your jars and lids in hot, soapy water, then rinse them well. You can also run them through the dishwasher on a hot cycle. A clean jar means your syrup will last longer in the fridge.
Strain Carefully: I used to press on the berries to get every last drop of liquid out. Don’t do it. It forces tiny solids through the strainer and makes the syrup cloudy. Just let it drip. You’ll get a clearer, more beautiful syrup.
Variations & Adaptations
This recipe is a great base for experimentation. Here are a few ways I’ve changed it up.
- Spiced Apple Version: Replace 1 cup of water with unsweetened apple cider. Add a star anise pod along with the other spices. The apple adds a natural sweetness and a lovely fall flavor. I made this last November, and it was gone before December.
- Ginger-Lemon Kick: Double the amount of fresh ginger and add the zest of one lemon along with the berries. After straining, stir in the juice of half a lemon along with the honey. This version is especially good when you feel a cold coming on.
- No-Honey Version (Vegan): Use 3/4 cup of maple syrup instead of honey. The flavor is a bit more robust and less floral, but it’s still delicious. I’ve also used a combination of maple syrup and a few drops of stevia for a lower-sugar option.
- Dried Herb Addition: Add 1 tablespoon of dried echinacea root or 1 teaspoon of dried astragalus root along with the berries. These herbs are known for their immune-supporting properties. Just remember to strain them out well.
Dietary Adjustments: For a low-sugar version, you can use a sugar-free honey substitute like allulose syrup or monk fruit syrup. The texture will be slightly different, but it works. For a thicker syrup, you can stir in a teaspoon of arrowroot powder dissolved in a tablespoon of cold water after the syrup has cooled.
Serving & Storage Suggestions
This syrup is meant to be taken by the spoonful, but there are plenty of ways to enjoy it.
How to Take It: For adults, I take 1 tablespoon daily during cold and flu season. At the first sign of a scratchy throat or sniffle, I increase it to 1 tablespoon three times a day. For children over 1 year old, I give 1 teaspoon daily. Always consult with your pediatrician before giving any herbal remedy to a child.
Serving Ideas: Stir a tablespoon into a cup of hot tea or warm water for a soothing drink. Drizzle it over pancakes, oatmeal, or yogurt for a fruity, immune-boosting breakfast. You can even use it as a glaze for roasted chicken or pork — the sweet and savory combination is surprisingly good.
Storage: Store your homemade elderberry syrup in the refrigerator. It will last for 2-3 months. I usually date my jars with a piece of masking tape. If you want it to last longer, you can freeze it in ice cube trays and pop out a cube as needed. The flavor does mellow a bit after freezing, but it’s still effective.
Reheating: If the syrup gets too thick from the cold, just let the jar sit on the counter for 10-15 minutes before using. You can also run the jar under warm water for a minute. Never microwave the syrup in the jar, as it can create hot spots and damage the honey’s beneficial properties.
Flavor Development: I’ve noticed that the syrup tastes even better after a week in the fridge. The spices have more time to meld, and the honey’s flavor becomes more integrated. So don’t worry if it tastes a little sharp on day one — it will mellow out beautifully.
Nutritional Information & Benefits
This syrup is a powerhouse of nutrients. While I’m not a nutritionist, I’ve done my research, and the benefits are well-documented.
Estimated Nutritional Values (per 1 tablespoon serving):
Calories: 45 | Total Fat: 0g | Sodium: 1mg | Total Carbohydrates: 12g | Sugars: 11g | Protein: 0g
Health Benefits:
– Elderberries: Rich in antioxidants and vitamins A and C. They are traditionally used to support the immune system and may help reduce the duration of cold symptoms.
– Honey: A natural cough suppressant and antimicrobial. Raw honey contains enzymes and probiotics that support gut health.
– Ginger: Known for its anti-inflammatory properties and ability to soothe a sore throat.
– Cinnamon and Cloves: Both have antimicrobial and anti-inflammatory properties.
Dietary Considerations: This recipe is naturally gluten-free and dairy-free. It is not suitable for infants under 1 year old due to the honey content. If you have diabetes or are watching your sugar intake, be mindful of the honey content and consider using a sugar-free sweetener alternative.
Personal Wellness Perspective: I don’t see this syrup as a cure-all. It’s a tool in my wellness toolkit, something I use alongside good sleep, hydration, and a balanced diet. It makes me feel proactive, like I’m giving my body a little extra support during the tough months.
Conclusion
This homemade elderberry syrup is more than just a recipe. It’s a small act of care, a way to look after yourself and the people you love. It’s simple, honest, and it works. I’ve made it for friends who were feeling run down, for my own family during a rough flu season, and for myself on those gray, tired days. Every time I open that jar and smell the warm, spicy aroma, I’m reminded of that accidental batch I made years ago.
I hope you give it a try. Don’t be afraid to tweak the spices or the sweetness to make it your own. That’s the beauty of a recipe like this — it’s a starting point, not a rulebook. I’d love to hear how yours turns out. What spices did you add? Did you try a different sweetener? Drop a comment below and let me know. And if you found this helpful, share it with a friend who might need a little immune boost this season. Happy cooking, and stay well!
Frequently Asked Questions
Can I use fresh elderberries instead of dried?
Yes, you can use fresh elderberries. Use 2 cups of fresh berries in place of 1 cup of dried. Reduce the water by about 1/2 cup, and you may need to simmer for a slightly shorter time, around 20-25 minutes. Just remember that fresh elderberries must be cooked before eating, as raw ones can cause stomach upset.
How long does homemade elderberry syrup last?
Stored in a sealed glass jar in the refrigerator, this syrup will last for 2 to 3 months. If you freeze it in ice cube trays, it can last for up to 6 months. Always check for any signs of mold or off smells before using, just to be safe.
Can I give this syrup to my toddler?
This syrup is safe for children over 1 year old due to the honey content. For children aged 1 to 6, I recommend a daily dose of 1 teaspoon. For older children, you can give up to 1 tablespoon. Always consult your pediatrician before introducing any new herbal remedy to your child’s routine.
Why is my syrup cloudy?
A cloudy syrup is usually caused by pressing on the berries while straining. This forces tiny berry solids through the strainer. To get a clearer syrup, let the mixture drip through the strainer on its own without pressing. You can also strain it through a coffee filter for an extra-clear result.
Can I use a different sweetener?
Absolutely. Maple syrup is the most common substitute for honey. You can also use agave nectar, coconut sugar (dissolved in a little warm water), or a sugar-free sweetener like monk fruit syrup. Just note that the flavor and texture will change slightly with each option.
Pin This Recipe!
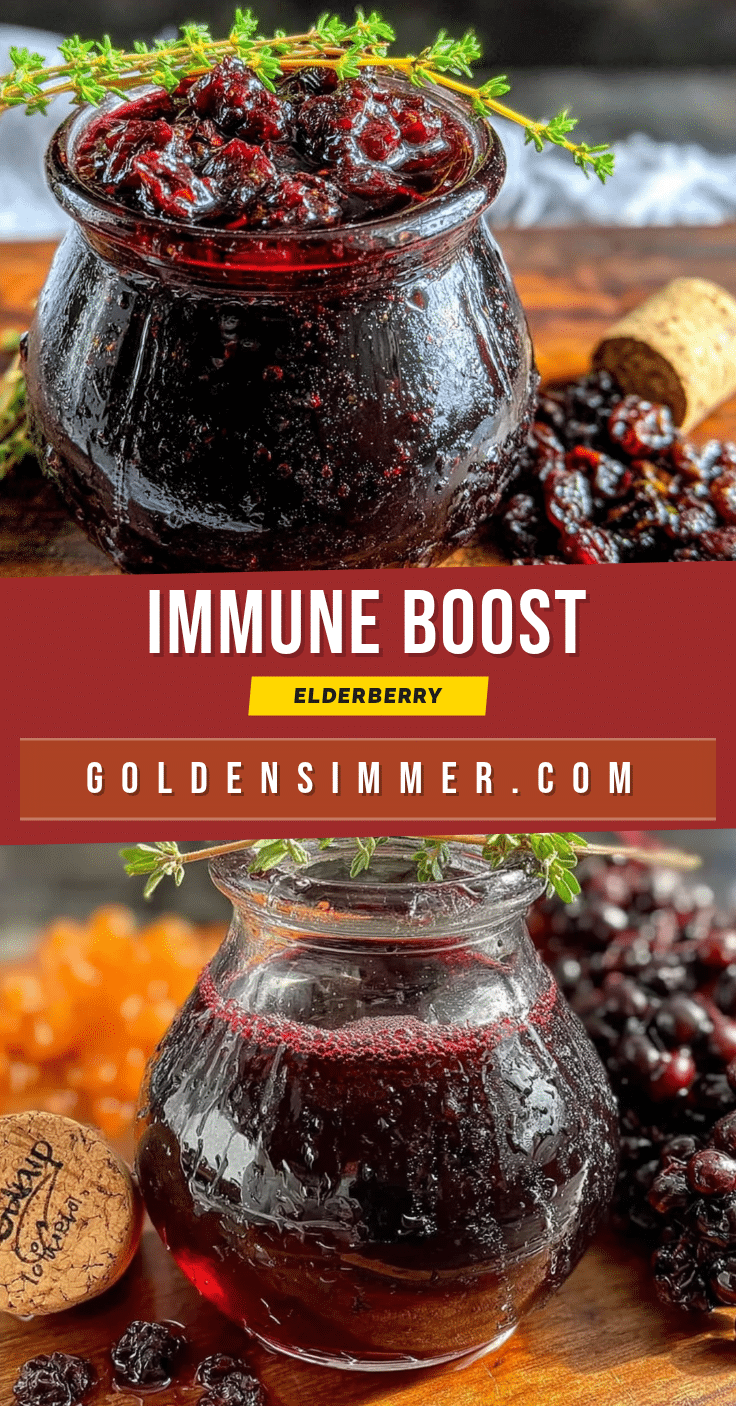
Homemade Elderberry Syrup: The Best Immune Booster
This homemade elderberry syrup is a simple, natural immune booster perfect for cold and flu season. Made with dried elderberries, honey, and warming spices, it’s a delicious and effective remedy that the whole family will love.
- Prep Time: 10 minutes
- Cook Time: 40 minutes
- Total Time: 50 minutes
- Yield: 4 servings 1x
- Category: Remedy
- Cuisine: American
Ingredients
- 1 cup (140g) dried elderberries
- 4 cups (950ml) filtered water
- 1 cup (340g) raw, unfiltered honey
- 1-inch piece fresh ginger, sliced (about 15g)
- 1 whole cinnamon stick (or 1 teaspoon ground cinnamon)
- 3–4 whole cloves (or a pinch of ground cloves)
Instructions
- Combine the dried elderberries, water, fresh ginger, cinnamon stick, and whole cloves in a medium saucepan. Stir briefly.
- Bring the mixture to a boil over medium-high heat, then reduce the heat to low, cover, and simmer for 30 minutes. The liquid will turn a deep purple color.
- After 30 minutes, gently mash the berries against the side of the pot with the back of a wooden spoon to release more flavor and beneficial compounds. Simmer uncovered for another 10 minutes.
- Place a fine-mesh strainer lined with cheesecloth over a large bowl or glass measuring cup. Carefully pour the hot mixture through the strainer. Let it drain completely without pressing on the berries to avoid cloudiness.
- Allow the strained liquid to cool for 15-20 minutes until it is warm but not hot to the touch.
- Stir in the honey until fully dissolved. The syrup will become glossy and deep purple.
- Using a funnel, pour the syrup into clean glass jars or bottles, leaving about 1/2 inch of headspace. Seal tightly and let cool to room temperature before refrigerating.
Notes
Do not press on the berries while straining to avoid a cloudy syrup. Let the liquid cool before adding honey to preserve its beneficial properties. The syrup tastes even better after a week in the fridge as the flavors meld. For children over 1 year old, give 1 teaspoon daily; for adults, 1 tablespoon daily during cold and flu season. Increase to 1 tablespoon three times a day at the first sign of illness.
Nutrition
- Serving Size: 1 tablespoon
- Calories: 45
- Sugar: 11
- Sodium: 1
- Carbohydrates: 12
Keywords: elderberry syrup, immune booster, homemade syrup, cold and flu remedy, natural cough syrup, elderberry recipe



