Love this? Save it for later!
Share the inspiration with your friends
I was standing in the grocery store parking lot last October, fumbling for my keys, when the scent hit me. Someone nearby was unloading pumpkins from a truck—that earthy, sweet, slightly green smell of a freshly cut stem—and suddenly I was eight years old, sitting on the cracked linoleum floor of my aunt Rita’s rental house, watching her pull a loaf pan out of the oven with a faded dish towel wrapped around her hands. She wasn’t a fancy cook. She used the same dented measuring cup for everything, even after the handle broke off. But she made this bread—this weird, hybrid thing that wasn’t quite pumpkin bread and wasn’t quite banana bread, but somehow better than either one alone. I haven’t thought about that kitchen in years. Honestly, I couldn’t even tell you what color the walls were. But I can still feel the warmth of that first slice, still taste the way the pumpkin and banana melted together like they were always meant to be friends. Maybe you’ve had that feeling—when a flavor pulls you back to a place you’d forgotten you loved. That’s what this Light & Cozy Pumpkin Banana Bread is for me. It’s my attempt to catch that moment again, to get it right in my own kitchen, with a few small tweaks that make it feel a little lighter and a lot more intentional. I’ve made this recipe maybe a dozen times now, tweaking the flour ratio, testing different sweeteners, and I think I’ve finally nailed it. It’s the kind of bread that doesn’t demand attention—it just sits there on the counter, waiting for you to notice it, and then suddenly half the loaf is gone and you’re already thinking about when you can make another one.
Why You’ll Love This Recipe
Let’s be real for a second—I’ve tested a lot of pumpkin bread recipes over the years. Some were too dense, like eating a brick of spices. Others were so sweet they made my teeth ache. This Light & Cozy Pumpkin Banana Bread is different. It’s the Goldilocks of quick breads—just right in every way. Here’s why I keep coming back to it, and why I think you will too:
- Small Batch, Big Flavor : This recipe makes just one loaf—perfect for when you want a treat without committing to a week’s worth of leftovers. No more staring at a half-eaten loaf wondering who’s going to finish it.
- Light Yet Satisfying : I swapped in whole wheat pastry flour and cut back on the oil, so this bread has a tender crumb without feeling heavy. It’s cozy enough for a lazy Sunday morning but light enough that you won’t regret that second slice.
- Pantry-Friendly Ingredients : You probably already have a can of pumpkin puree hiding in your cupboard and a couple of spotty bananas on your counter. No fancy grocery runs required.
- Perfect for Fall Mornings : This bread was made for crisp October days when you want something warm with your coffee but don’t feel like making a production out of breakfast. It’s also great for a quiet afternoon snack.
- Foolproof Texture : The combination of pumpkin and banana creates an incredibly moist crumb without turning gummy. I’ve had readers tell me this is the only quick bread they’ve ever made that didn’t dry out by day two.
What really sets this recipe apart is the balance. The pumpkin adds a subtle earthiness and a velvety texture, while the banana brings natural sweetness and that unmistakable fruity aroma. Together, they create something that tastes more complex than it has any right to be. I’ve tested this with different flour blends, different fat ratios, and different sweeteners, and this version is the one that makes me close my eyes after the first bite. It’s comfort food reimagined—healthier, faster, but with the same soul-soothing satisfaction. Whether you’re baking for a quiet morning or to impress a friend who stops by unannounced, this bread delivers.
What Ingredients You Will Need
This recipe uses simple, wholesome ingredients that work together to create a loaf that’s tender, flavorful, and just sweet enough. Most of these are pantry staples, but I’ve included a few notes to help you pick the best options.
- Pumpkin puree (1/2 cup) – Not pumpkin pie filling! Make sure you grab 100% pure pumpkin puree. I prefer Libby’s for its consistent thickness, but any brand works. If your puree seems watery, blot it with a paper towel before adding it to the batter.
- Ripe banana (1 medium, mashed) – The darker and spottier, the better. A ripe banana adds natural sweetness and moisture. If your banana is still a little green, you can microwave it for 15 seconds to soften it up—just don’t expect the same level of sweetness.
- Whole wheat pastry flour (1 cup) – This is my secret weapon for a lighter texture. Regular whole wheat flour can make bread dense, but pastry flour keeps it tender. You can substitute all-purpose flour if that’s what you have on hand.
- Brown sugar (1/3 cup, packed) – I use light brown sugar for a gentle molasses flavor that pairs beautifully with pumpkin. Dark brown sugar works too if you want a deeper, more caramel-like taste.
- Egg (1 large, room temperature) – Room temperature eggs incorporate more evenly into the batter. If you forgot to take yours out of the fridge, place it in a bowl of warm water for 5 minutes.
- Coconut oil (2 tablespoons, melted) – This adds a subtle richness without making the bread greasy. You can substitute melted butter or a neutral vegetable oil if you prefer.
- Greek yogurt (1/4 cup) – This is the secret to a moist crumb without extra fat. Plain Greek yogurt adds tanginess and keeps the bread tender. Use dairy-free coconut yogurt if you need a dairy-free option.
- Vanilla extract (1 teaspoon) – Pure vanilla extract adds warmth and depth. Imitation vanilla works in a pinch, but the flavor won’t be as rich.
- Pumpkin pie spice (1 teaspoon) – You can use store-bought or make your own by combining cinnamon, nutmeg, ginger, and a pinch of cloves.
- Cinnamon (1/2 teaspoon) – I like to add a little extra cinnamon beyond what’s in the pumpkin pie spice. It rounds out the flavor nicely.
- Baking soda (1/2 teaspoon) – This helps the bread rise and creates a tender crumb. Make sure it’s fresh—old baking soda won’t give you the lift you need.
- Salt (1/4 teaspoon) – A small amount of salt balances the sweetness and enhances the other flavors. Don’t skip it!
Optional add-ins: A handful of chopped walnuts or pecans adds a nice crunch. Chocolate chips are also a popular addition—about 1/4 cup folded in at the end works perfectly. If you’re feeling fancy, a sprinkle of turbinado sugar on top before baking gives the crust a lovely sparkle and crunch.
Equipment Needed
You don’t need a fully stocked kitchen to make this bread, which is one of the reasons I love it. Here’s what you’ll need:
- 8×4-inch loaf pan – This is the perfect size for a small batch. If you only have a 9×5-inch pan, your loaf will be shorter and bake a little faster—start checking at 35 minutes.
- Mixing bowls (one large, one medium) – I use a large bowl for the wet ingredients and a medium one for the dry ingredients. Nothing fancy needed.
- Whisk – For mixing the dry ingredients and smoothing out the wet ingredients.
- Rubber spatula – Essential for folding the batter together without overmixing. A wooden spoon works too, but a spatula gives you more control.
- Measuring cups and spoons – Accurate measurements matter in baking, so use proper measuring cups for dry and wet ingredients separately.
- Parchment paper – I highly recommend lining your loaf pan with parchment paper, leaving a little overhang on the sides. This makes lifting the bread out a breeze and makes cleanup almost effortless.
- Cooling rack – A wire rack allows air to circulate around the bread, preventing a soggy bottom. If you don’t have one, you can balance the loaf pan on two parallel chopsticks—it’s not pretty, but it works.
- Toothpick or cake tester – For checking doneness. A wooden skewer works too.
I bought my favorite 8×4-inch pan at a thrift store for two dollars, and it’s honestly my most-used baking pan. Don’t feel like you need expensive equipment—this recipe was developed using basic tools that anyone can find or improvise.
Preparation Method
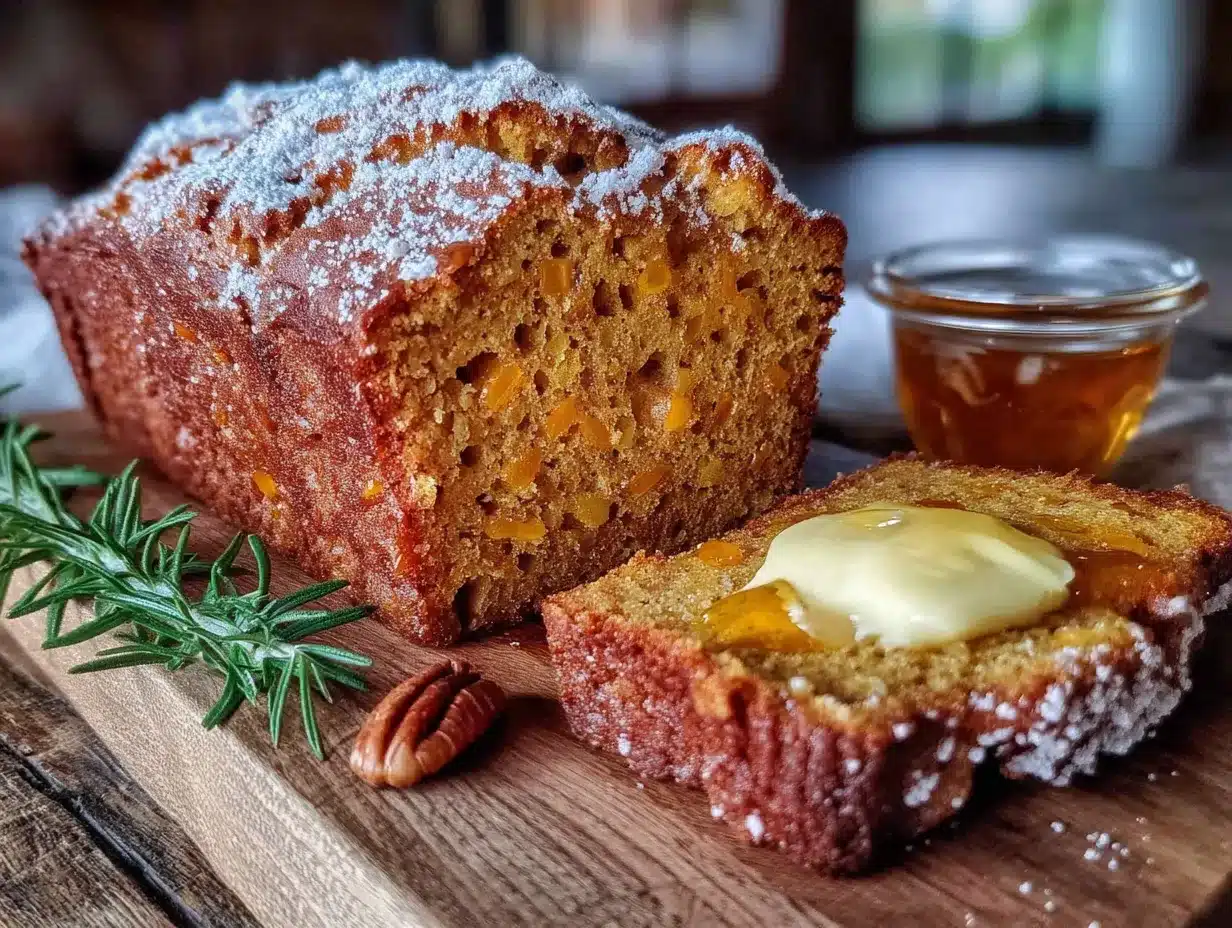
This bread comes together in about 15 minutes of active work. The rest is just waiting (and smelling, and trying not to cut into it while it’s still hot).
- Preheat your oven to 350°F (175°C). Position the rack in the center of the oven. Line your 8×4-inch loaf pan with parchment paper, leaving about an inch of overhang on the long sides. Lightly grease the exposed ends of the pan with a dab of coconut oil or butter.
- Mash the banana. In a large mixing bowl, mash your ripe banana with a fork until it’s smooth with just a few small lumps. You want it to be mostly liquid—no big chunks. This should take about 30 seconds.
- Add the wet ingredients. To the mashed banana, add the pumpkin puree, melted coconut oil, Greek yogurt, brown sugar, egg, and vanilla extract. Whisk everything together until it’s smooth and well combined. The mixture should look glossy and smell amazing already.
- Mix the dry ingredients. In a separate medium bowl, whisk together the whole wheat pastry flour, pumpkin pie spice, cinnamon, baking soda, and salt. Make sure there are no clumps—especially of baking soda, which can create bitter pockets if not properly distributed.
- Combine wet and dry. Pour the dry ingredients into the wet ingredients. Use your rubber spatula to fold everything together gently. I use a cutting motion—down through the center, then scraping along the bottom and up the sides. Stop as soon as you don’t see any more streaks of flour. A few small lumps are totally fine. Overmixing will make the bread tough, so err on the side of under-mixing.
- Fold in any add-ins. If you’re using nuts, chocolate chips, or both, gently fold them in at this point. Don’t overmix—just a few turns to distribute them evenly.
- Pour into the pan. Scrape the batter into your prepared loaf pan and spread it into an even layer. The batter will be thick—almost like a very soft dough. That’s normal. Smooth the top with your spatula.
- Bake for 40-45 minutes. Place the pan in the preheated oven and bake until the top is golden brown and a toothpick inserted into the center comes out clean or with just a few moist crumbs. My oven usually takes about 42 minutes, but ovens vary, so start checking at 38 minutes. If the top is browning too quickly but the center isn’t done yet, tent the pan loosely with aluminum foil for the last 10 minutes of baking.
- Cool in the pan. Let the bread cool in the pan on a wire rack for 10 minutes. This allows it to set so it doesn’t fall apart when you remove it.
- Remove and cool completely. Use the parchment overhang to lift the bread out of the pan and transfer it to the wire rack to cool completely. I know it’s tempting to slice into it right away, but if you cut it while it’s still warm, it will be gummy and fall apart. Patience, friend. Let it cool for at least an hour before slicing.
Pro tip: If you can resist eating it immediately, wrap the completely cooled loaf in plastic wrap and let it sit overnight. The flavors meld together beautifully, and the texture becomes even more moist and tender. I’ve tested this side by side, and day-old bread is noticeably better.
Cooking Tips & Techniques
I’ve made this bread more times than I care to count, and I’ve learned a few things the hard way. Here are the tips that make the biggest difference:
Don’t overmix the batter. This is the number one mistake I see in quick bread recipes. Once you add the dry ingredients to the wet, you want to mix just until the flour disappears. Overmixing develops gluten, which makes the bread tough and dense. I actually stop mixing when there are still a few tiny streaks of flour visible—they disappear during baking. Trust the process.
Check your pumpkin puree. Not all pumpkin purees are created equal. Some brands are much more watery than others, which can throw off the moisture balance. If your puree looks thin or has visible liquid pooling on top, spoon it onto a paper towel-lined plate and blot it gently before measuring. This simple step prevents a soggy loaf.
Use room temperature ingredients. Cold eggs and cold yogurt can cause your coconut oil to solidify into little lumps when you mix them together. Take everything out of the fridge about 30 minutes before you start baking. If you’re short on time, place the egg in a bowl of warm water for 5 minutes and microwave the yogurt for 10 seconds.
Rotate the pan halfway through. Most ovens have hot spots, and rotating the pan halfway through baking ensures even browning. I set a timer for 20 minutes, rotate the pan, and then let it finish baking. This small step makes a visible difference in the final loaf.
Test for doneness properly. A toothpick inserted into the center should come out clean or with just a few moist crumbs clinging to it. If it comes out with wet batter, the bread needs more time. If it comes out completely dry with no crumbs at all, you’ve overbaked it. I’ve definitely pulled a few dry loaves out of the oven in my early baking days—it’s heartbreaking, but it taught me to check early and often.
Variations & Adaptations
One of the best things about this recipe is how flexible it is. Here are some variations I’ve tried and loved:
Gluten-Free Version: Substitute the whole wheat pastry flour with a 1:1 gluten-free baking flour blend. I’ve had great results with Bob’s Red Mill 1-to-1 Baking Flour. The texture will be slightly more delicate, so be extra gentle when folding the batter. Add an extra tablespoon of yogurt to help with moisture.
Vegan Adaptation: Replace the egg with a flax egg (1 tablespoon ground flaxseed mixed with 3 tablespoons water, let sit for 5 minutes) and use dairy-free yogurt. The bread will be slightly denser but still delicious. I’ve made this version for a friend with egg allergies, and she couldn’t tell the difference.
Lower Sugar Option: Cut the brown sugar down to 1/4 cup and add an extra 1/2 mashed banana. The bread will be less sweet but still flavorful. If you’re watching your sugar intake, this version is perfect for breakfast with a drizzle of honey or peanut butter on top.
Chocolate Chip Version: Fold in 1/4 cup of dark chocolate chips along with the dry ingredients. The bitterness of dark chocolate pairs beautifully with the sweetness of the banana and the earthiness of the pumpkin. I’ve also tried white chocolate chips, which add a creamy sweetness—also excellent, but definitely more indulgent.
Spiced-Up Version: Add 1/4 teaspoon of ground ginger and a pinch of cardamom to the dry ingredients. This gives the bread a more complex, chai-like flavor profile. I made this version for a fall brunch and it was the first thing to disappear from the table.
Nutty Crunch Version: Fold in 1/4 cup of toasted chopped pecans or walnuts. Toasting the nuts first (just 5 minutes in a 350°F oven) brings out their flavor and keeps them crunchy in the finished bread. I always make this version when I have company coming—it looks and tastes more special.
Serving & Storage Suggestions
This bread is incredibly versatile when it comes to serving. Here’s how I like to enjoy it:
For breakfast: Slice the bread and toast it lightly, then spread with a little salted butter or cream cheese. The warmth brings out the pumpkin and banana flavors beautifully. A drizzle of honey or maple syrup takes it over the top—especially if you made the lower-sugar version.
For an afternoon snack: Enjoy a slice at room temperature with a cup of coffee or chai tea. The bread is moist enough to eat on its own, but a smear of almond butter adds protein and makes it more satisfying.
For dessert: Warm a slice in the microwave for 15 seconds and top with a scoop of vanilla ice cream or a dollop of whipped cream. It sounds indulgent, but the lightness of the bread means it doesn’t feel heavy—just perfectly cozy.
Storage: Store the completely cooled bread wrapped tightly in plastic wrap or in an airtight container at room temperature for up to 3 days. The bread actually improves after a day—the flavors meld and the texture becomes even more moist.
Freezing: This bread freezes beautifully. Wrap the completely cooled loaf (or individual slices) tightly in plastic wrap, then in aluminum foil, and freeze for up to 3 months. To thaw, leave it at room temperature for a few hours or pop a frozen slice in the toaster. I always keep a loaf in my freezer for unexpected guests or lazy mornings when I want something special without any effort.
Reheating: For the best texture, reheat slices in a toaster or toaster oven at 350°F for about 5 minutes. The microwave works in a pinch (15-20 seconds per slice), but the edges won’t be as crisp.
Nutritional Information & Benefits
This Light & Cozy Pumpkin Banana Bread isn’t health food, but it’s definitely a smarter choice than most quick breads. Here’s what you’re getting in each slice (based on 8 slices per loaf):
Per slice (approximate): 185 calories, 6g fat, 30g carbohydrates, 3g fiber, 14g sugar, 5g protein.
The pumpkin puree is packed with vitamin A and antioxidants, while the banana adds potassium and natural sweetness that allows us to use less refined sugar. Using whole wheat pastry flour instead of all-purpose flour adds fiber and nutrients without sacrificing tenderness. The Greek yogurt contributes protein and calcium while keeping the bread moist with less oil.
This bread is also naturally nut-free (unless you add nuts) and can easily be made dairy-free or vegan with the substitutions mentioned above. It’s a great option for anyone looking for a treat that feels indulgent but doesn’t leave you feeling weighed down.
I love that I can serve this to my family without any guilt. It’s the kind of recipe that makes healthy eating feel effortless—no sacrifice required, just genuine enjoyment.
Conclusion
This Light & Cozy Pumpkin Banana Bread is more than just a recipe—it’s a little moment of warmth in a busy day. It’s the smell that fills your kitchen on a crisp fall morning, the slice you sneak while your coffee is still brewing, the loaf you share with a friend who stops by unannounced. I’ve tested this recipe until it was just right, and I’m genuinely proud of how it turned out. It’s light without being dry, sweet without being cloying, and cozy without being heavy. If you’ve been searching for a pumpkin bread that actually delivers on flavor while keeping things simple, this is it. I’d love to hear how yours turns out—leave a comment below and let me know if you tried any variations, added any fun mix-ins, or if this bread became a new favorite in your kitchen. And if you share it on social media, tag me so I can see your beautiful loaf. Happy baking, friends—may your kitchen smell amazing and your first slice be perfectly warm.
Frequently Asked Questions
Can I use frozen bananas for this recipe?
Yes, absolutely! Thaw the banana completely and drain off any excess liquid before mashing. Frozen bananas are actually sweeter than fresh ones, which works beautifully in this recipe.
Why did my bread sink in the middle?
This usually happens when the batter is overmixed or the oven temperature is too low. Make sure your oven is fully preheated and mix just until the flour disappears. Also, check that your baking soda is fresh—old baking soda loses its leavening power.
Can I double this recipe?
Yes! Simply double all the ingredients and bake in a 9×5-inch loaf pan for about 50-55 minutes. You can also bake two 8×4-inch loaves at the same time, just rotate them halfway through baking.
How do I know when the bread is done without a toothpick?
If you don’t have a toothpick, you can use a thin knife or a wooden skewer. You can also gently press the top of the bread—if it springs back, it’s likely done. The internal temperature should read about 200°F on an instant-read thermometer.
Can I use canned pumpkin pie filling instead of pumpkin puree?
I wouldn’t recommend it. Pumpkin pie filling contains added sugar and spices, which will throw off the balance of this recipe. Stick with 100% pure pumpkin puree for the best results.
Pin This Recipe!
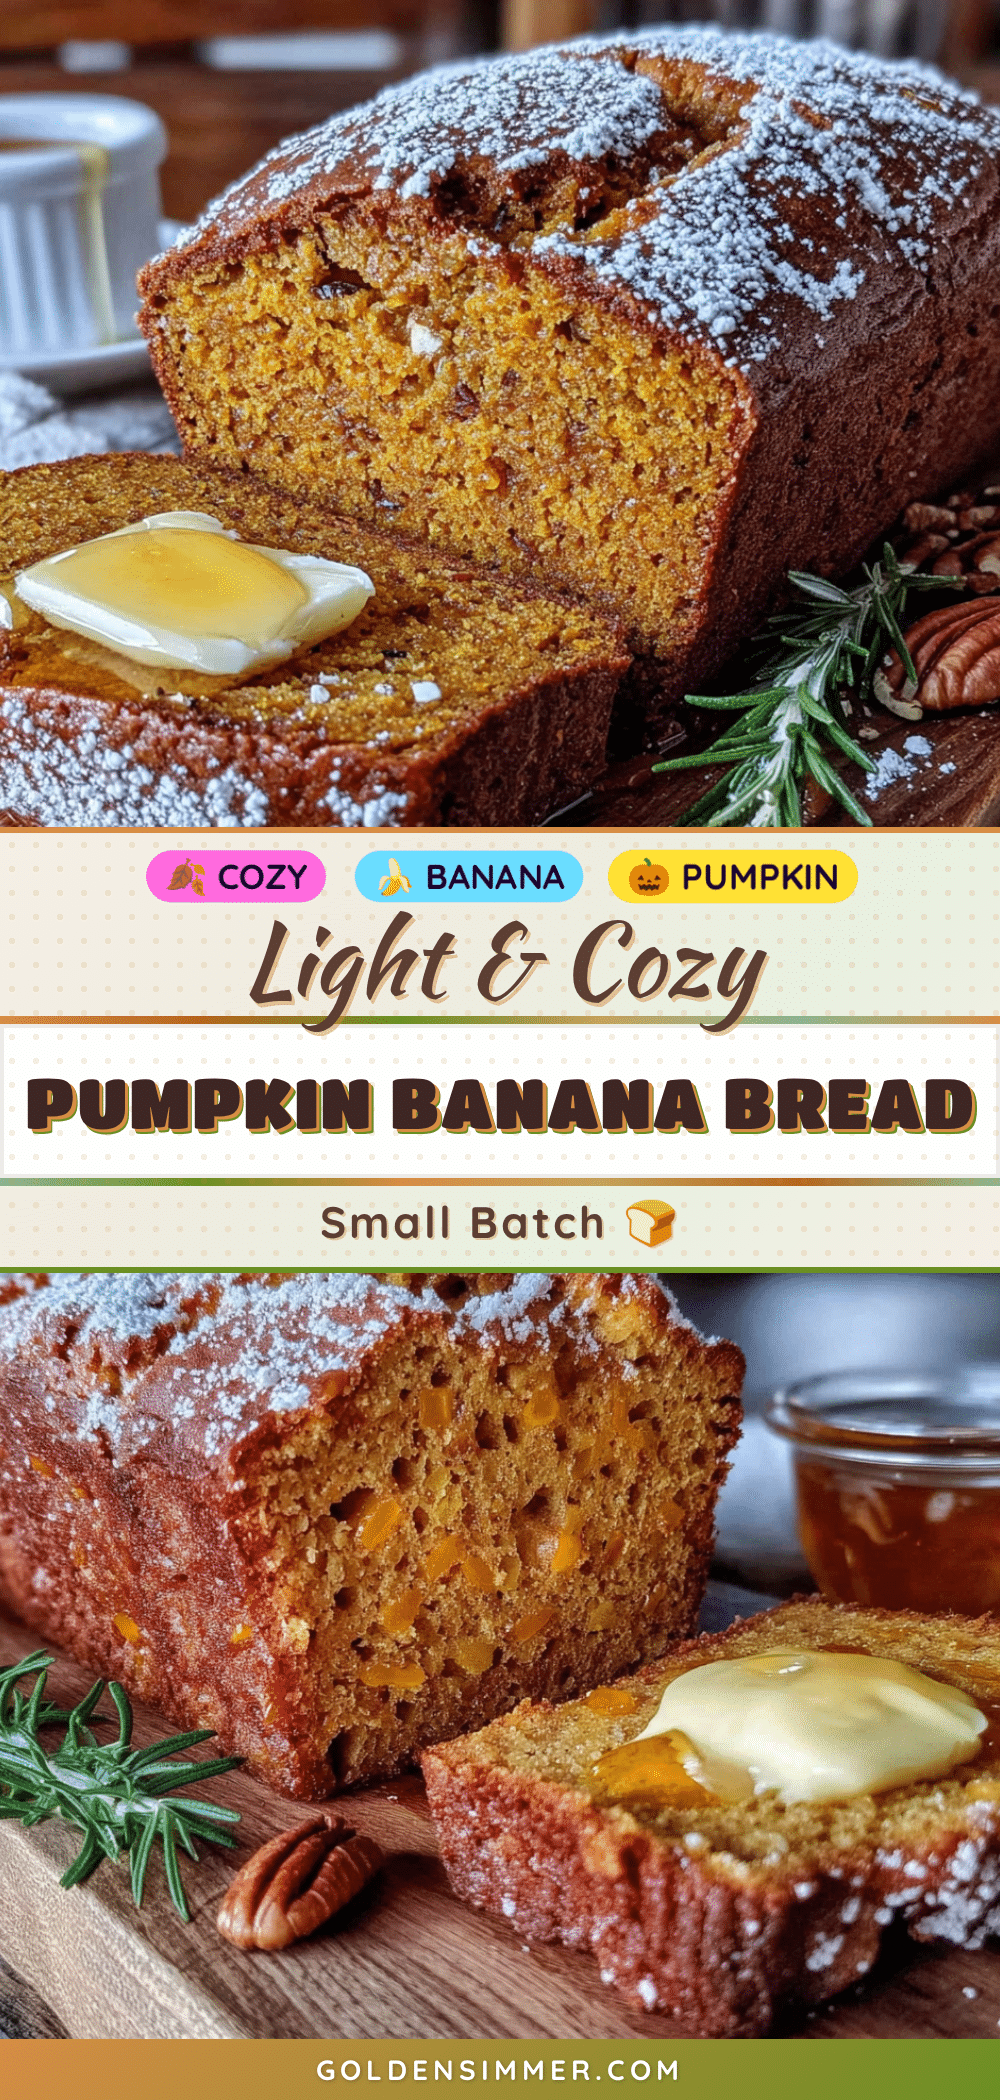
Light & Cozy Pumpkin Banana Bread – Best Small Batch Recipe
A tender, moist quick bread that combines pumpkin and banana for a perfectly balanced fall treat. This small batch recipe makes one loaf and uses wholesome ingredients for a lighter yet satisfying texture.
- Prep Time: 15 minutes
- Cook Time: 42 minutes
- Total Time: 1 hour 57 minutes
- Yield: 8 servings 1x
- Category: Quick Bread
- Cuisine: American
Ingredients
- 1/2 cup pumpkin puree (not pumpkin pie filling)
- 1 medium ripe banana, mashed
- 1 cup whole wheat pastry flour
- 1/3 cup brown sugar, packed
- 1 large egg, room temperature
- 2 tablespoons coconut oil, melted
- 1/4 cup Greek yogurt
- 1 teaspoon vanilla extract
- 1 teaspoon pumpkin pie spice
- 1/2 teaspoon cinnamon
- 1/2 teaspoon baking soda
- 1/4 teaspoon salt
- Optional: 1/4 cup chopped walnuts or pecans, or 1/4 cup chocolate chips
Instructions
- Preheat oven to 350°F (175°C). Line an 8×4-inch loaf pan with parchment paper, leaving overhang on the long sides. Lightly grease exposed ends.
- In a large bowl, mash the banana with a fork until smooth with a few small lumps.
- Add pumpkin puree, melted coconut oil, Greek yogurt, brown sugar, egg, and vanilla extract. Whisk until smooth and glossy.
- In a separate medium bowl, whisk together whole wheat pastry flour, pumpkin pie spice, cinnamon, baking soda, and salt.
- Pour dry ingredients into wet ingredients. Fold gently with a rubber spatula using a cutting motion until just combined (a few small lumps are fine). Do not overmix.
- If using, fold in nuts or chocolate chips gently.
- Pour batter into prepared pan and spread evenly. Batter will be thick.
- Bake for 40-45 minutes, until golden brown and a toothpick inserted in center comes out clean or with a few moist crumbs. Rotate pan halfway through if needed.
- Cool in pan on a wire rack for 10 minutes.
- Lift bread out using parchment overhang and transfer to wire rack to cool completely (at least 1 hour) before slicing.
Notes
For best flavor, wrap cooled loaf in plastic wrap and let sit overnight. If using frozen bananas, thaw completely and drain excess liquid. To test doneness without a toothpick, use a thin knife or check internal temperature (200°F).
Nutrition
- Serving Size: 1 slice
- Calories: 185
- Sugar: 14
- Sodium: 180
- Fat: 6
- Saturated Fat: 3
- Carbohydrates: 30
- Fiber: 3
- Protein: 5
Keywords: pumpkin banana bread, small batch, whole wheat, fall baking, healthy quick bread



