Love this? Save it for later!
Share the inspiration with your friends
I’d been telling myself for years that I wasn’t a pumpkin dessert person. Not in a dramatic, head-shaking way—just a quiet, settled conviction. Give me chocolate, give me caramel, give me anything but that overly sweet, vaguely squashy filling that seemed to take over every Thanksgiving table from September through December. My friend Jenna, who hosts our annual fall potluck, always made a pumpkin cheesecake that people raved about. I’d politely pass. “Not my thing,” I’d say, reaching for the apple crisp instead.
Then last October, I showed up early to help her set up. The kitchen smelled incredible—warm spices, butter, something faintly nutty. She had a pan of these pumpkin cheesecake bars cooling on the counter, still slightly warm, with this gorgeous golden top and a crumbly-looking graham crust. “Just try a corner piece,” she said, pushing the pan toward me. “I swear it’s different.” I took the smallest sliver, mostly to be polite. And honestly? I stood there at her counter and ate that piece, then another, while pretending to arrange napkins. It was creamy without being heavy, spiced in a way that felt cozy rather than cloying, and that crust had the perfect buttery crunch. I asked for the recipe before I left, and she laughed at me—the pumpkin skeptic, converted by a single bar.
I’ve made these Perfect Spiced Pumpkin Cheesecake Bars at least a dozen times since that night. They’ve become my go-to for every fall gathering, and I tweaked the spices just a little until they felt exactly right. Maybe you’ve been there—thinking you know what a dessert tastes like before you even try it. These bars might just surprise you too.
Why You’ll Love This Recipe
Let me tell you why these pumpkin cheesecake bars have earned a permanent spot in my fall baking rotation. I’ve tested this recipe more times than I care to admit, tweaking the spice blend, adjusting the bake time, and even sneaking a version into a friend’s kitchen to get honest feedback. It’s been family-approved, neighbor-approved, and co-worker-approved—which, in my book, is the highest honor.
- Quick & Easy : Comes together in under an hour, with just 15 minutes of hands-on prep. Perfect for those busy weeknights when you still want something special.
- Simple Ingredients : No fancy grocery trips needed. You likely have most of these in your pantry already—canned pumpkin, cream cheese, graham crackers, and basic baking staples.
- Perfect for Fall Gatherings : Great for Thanksgiving, Friendsgiving, potlucks, or just a cozy Sunday afternoon treat. They travel well and slice cleanly, which is more than I can say for some pies I’ve attempted.
- Crowd-Pleaser : I’ve watched pumpkin skeptics (like my former self) go back for seconds. Kids love them, adults love them, and they disappear fast from any dessert table.
- Unbelievably Delicious : The texture is what gets me every time—that silky cream cheese layer against the spiced pumpkin, all sitting on a buttery, crunchy graham crust. It’s comfort food in bar form.
What makes these bars different from every other pumpkin cheesecake recipe out there? It’s the way the spices are balanced. Most recipes go heavy on the pumpkin pie spice blend, which can taste muddled. I use individual spices—cinnamon, ginger, nutmeg, and just a whisper of cloves—so each one gets to shine. The cream cheese layer is also slightly thicker than usual, which gives you that perfect tangy-to-sweet ratio in every bite. This isn’t just another pumpkin dessert. It’s the one that made me change my mind about an entire category of food.
What Ingredients You Will Need
This recipe uses simple, wholesome ingredients that come together to create something truly special. Most of these are pantry staples, especially if you do any fall baking. Here’s what you’ll need, grouped by component to keep things organized.
For the Graham Cracker Crust
- Graham cracker crumbs – 1 ½ cups (about 12 full sheets, crushed). I prefer using a food processor for even crumbs, but a rolling pin and a zip-top bag work fine too.
- Granulated sugar – ¼ cup (adds just enough sweetness to balance the salty butter)
- Unsalted butter – 6 tablespoons, melted (I use Kerrygold for its rich flavor, but any good unsalted butter works)
- Pinch of salt – ¼ teaspoon (don’t skip this—it makes the crust taste like a really good graham cracker)
For the Cream Cheese Layer
- Full-fat cream cheese – 16 ounces (two 8-ounce blocks), softened to room temperature. I recommend Philadelphia brand for the smoothest texture. Low-fat versions will work but won’t be as creamy.
- Granulated sugar – ½ cup
- Large eggs – 2, room temperature (cold eggs can make the filling lumpy)
- Vanilla extract – 1 teaspoon (pure, not imitation, if you have it)
- Sour cream – ¼ cup (adds tanginess and helps keep the cheesecake layer silky)
For the Pumpkin Layer
- Canned pumpkin puree – 1 cup (not pumpkin pie filling—make sure it’s 100% pure pumpkin. Libby’s is my go-to.)
- Granulated sugar – ¼ cup
- Light brown sugar – ¼ cup, packed (adds deeper flavor than white sugar alone)
- Large egg – 1, room temperature
- Vanilla extract – ½ teaspoon
- Ground cinnamon – 1 teaspoon
- Ground ginger – ½ teaspoon
- Ground nutmeg – ¼ teaspoon (freshly grated if you have it—it really does make a difference)
- Ground cloves – ⅛ teaspoon (a little goes a long way)
- Salt – ¼ teaspoon
Substitution notes : If you’re gluten-free, use gluten-free graham crackers or crushed gluten-free cookies for the crust. For a dairy-free option, use vegan cream cheese and a plant-based butter substitute—just know the texture will be slightly different. And if you only have pumpkin pie spice on hand, use 2 teaspoons in place of the individual spices.
Equipment Needed
You don’t need a professional bakery setup for these bars. Here’s what I use every time I make them.
- 9×9-inch baking pan – Glass or metal both work. I prefer metal for more even browning on the crust.
- Parchment paper – Cut two strips to create a sling for easy lifting. This is non-negotiable if you want clean slices.
- Food processor or rolling pin – For crushing graham crackers. I’ve used both; the food processor is faster, but the rolling pin method is oddly satisfying.
- Electric hand mixer or stand mixer – For the cream cheese filling. A hand mixer works perfectly and is easier to clean.
- Medium mixing bowls – You’ll need at least three: one for crust, one for cream cheese layer, one for pumpkin layer.
- Rubber spatula – For scraping every last bit of filling into the pan. Trust me, you don’t want to waste any.
- Measuring cups and spoons – Standard set.
If you don’t have a 9×9 pan, an 8×8 pan will work—your bars will just be slightly thicker and may need an extra 5-7 minutes of baking time. I’ve also made these in a 9×13 pan for thinner bars; just reduce the bake time by about 5 minutes.
Preparation Method
Let me walk you through this step by step. I’ve included all the little details I wish someone had told me the first time I made these.
- Preheat your oven to 350°F (175°C). Line your 9×9 pan with parchment paper, leaving a 2-inch overhang on two opposite sides. This creates handles so you can lift the whole slab out later. Lightly grease the parchment with butter or cooking spray.
- Make the crust. In a medium bowl, combine 1 ½ cups graham cracker crumbs, ¼ cup granulated sugar, and ¼ teaspoon salt. Pour in 6 tablespoons melted butter and stir with a fork until every crumb is moistened. It should look like wet sand and hold together when you squeeze it. Press this mixture firmly into the bottom of your prepared pan. I use the bottom of a flat measuring cup to really pack it down—this prevents the crust from crumbling when you cut the bars later. Bake for 10 minutes, then set aside to cool slightly while you make the fillings.
- Make the cream cheese layer. In a large bowl, beat 16 ounces of softened cream cheese with ½ cup granulated sugar until smooth. I use medium speed on my hand mixer for about 2 minutes. Scrape down the sides and bottom of the bowl with a rubber spatula. Add 2 room-temperature eggs, one at a time, beating on low after each addition until just combined. Mix in 1 teaspoon vanilla extract and ¼ cup sour cream. Stop mixing as soon as it’s smooth—overmixing can incorporate too much air, which causes cracks during baking. Set aside about ¾ cup of this mixture in a small bowl (you’ll use it for the swirl effect).
- Make the pumpkin layer. In a separate medium bowl, whisk together 1 cup pumpkin puree, ¼ cup granulated sugar, ¼ cup packed brown sugar, 1 egg, ½ teaspoon vanilla, 1 teaspoon cinnamon, ½ teaspoon ginger, ¼ teaspoon nutmeg, ⅛ teaspoon cloves, and ¼ teaspoon salt. Whisk until completely smooth. Pour this pumpkin mixture into the larger bowl of cream cheese mixture (the one with most of it). Fold together gently with a rubber spatula until no white streaks remain. Don’t overmix—a few gentle folds are all you need.
- Assemble the layers. Pour the pumpkin-cream cheese mixture over the pre-baked crust and spread it evenly with a spatula. Drop spoonfuls of the reserved plain cream cheese mixture on top—I do about 6 to 8 dollops scattered around. Use a butter knife or toothpick to gently swirl them together. Don’t over-swirl, or you’ll lose the distinct layers. Just 4 or 5 figure-eight motions is enough.
- Bake. Place the pan in the center of your preheated oven. Bake for 35 to 40 minutes, or until the edges look set and the center jiggles just slightly when you gently shake the pan. It will continue to set as it cools. If the top starts browning too quickly around the 25-minute mark, loosely tent with aluminum foil.
- Cool completely. This is the hardest part. Let the bars cool on a wire rack for 1 hour at room temperature, then transfer to the refrigerator (still in the pan) for at least 4 hours, preferably overnight. I know it’s tempting, but cutting into warm cheesecake bars will give you a messy, gooey disaster. Patience pays off here.
- Slice and serve. Once fully chilled, use the parchment sling to lift the entire slab out of the pan. Place on a cutting board and use a sharp knife to slice into 16 squares. Wipe the knife clean between cuts for the cleanest edges. I like to let them sit at room temperature for about 10 minutes before serving—the texture is creamier that way.
Cooking Tips & Techniques
I’ve made every mistake in the book with cheesecake bars, so you don’t have to. Here are the things I wish I’d known from the start.
Room temperature ingredients matter. I cannot stress this enough. Cold cream cheese creates lumps that no amount of mixing will fully smooth out. Cold eggs can seize the batter. Take everything out of the fridge at least 30 minutes before you start. If you forget (I do, constantly), cut the cream cheese into cubes and microwave it in 10-second bursts until it’s soft but not warm.
Don’t overmix the fillings. I learned this the hard way after making a batch with a cracked, puffy top. When you beat too much air into the batter, it rises in the oven and then collapses, creating those unsightly cracks. Mix on low speed and stop as soon as everything is combined. A few tiny lumps in the cream cheese are better than a cracked surface.
The water bath shortcut. Traditional cheesecake recipes call for a water bath to prevent cracking. For these bars, I skip it. The shallow pan and shorter bake time mean cracking is less of an issue. But if you want extra insurance, place a small pan of hot water on the oven rack below the cheesecake bars. The steam helps keep the top smooth.
Test for doneness correctly. The center should jiggle like Jell-O when you shake the pan, not ripple like liquid. If it looks wavy, give it 5 more minutes. If it’s completely firm, you’ve overbaked it. The residual heat will finish cooking the center as it cools.
Chill time is not optional. I once tried to rush the process and cut into bars after only 2 hours in the fridge. The layers slid apart, the crust crumbled, and I ended up with what looked like pumpkin soup on a plate. Give it the full 4 hours, or better yet, make them the day before. They actually taste better on day two anyway.
Variations & Adaptations
One of the things I love about this recipe is how flexible it is. Here are some variations I’ve tried and loved.
Ginger snap crust swap. Replace the graham crackers with crushed ginger snaps for a spicier, more flavorful base. I did this for a holiday party and got more compliments on the crust than the filling. Use the same proportions—1 ½ cups crumbs, ¼ cup sugar, 6 tablespoons butter.
Maple pecan twist. Add ¼ cup pure maple syrup to the pumpkin layer (reduce the granulated sugar by 2 tablespoons) and sprinkle ½ cup chopped pecans over the top before baking. The maple flavor pairs beautifully with the spices, and the pecans add a nice crunch.
Vegan version. Use dairy-free cream cheese (I like Violife or Kite Hill), vegan butter, and a flax egg (1 tablespoon ground flaxseed mixed with 3 tablespoons water, let sit for 5 minutes) in place of the regular eggs. The texture will be slightly less creamy but still delicious. I tested this for a friend with dairy allergies and she asked for the recipe.
Pumpkin chocolate chip. Fold ½ cup mini chocolate chips into the pumpkin layer before pouring it over the crust. The chocolate melts into little pockets of richness that contrast with the spiced pumpkin. My kids beg for this version every year.
Gluten-free adaptation. Use gluten-free graham crackers (Kinnikinnick makes a good one) or crushed gluten-free vanilla cookies. Everything else in the recipe is naturally gluten-free, so this is an easy swap.
Serving & Storage Suggestions
These bars are versatile enough for any occasion, from casual snacking to fancy dessert tables.
Serving temperature. I prefer them chilled straight from the fridge—the texture is firmer and the flavors are more pronounced. But letting them sit at room temperature for 10-15 minutes softens the cream cheese layer to a luscious, almost mousse-like consistency. Try both and see which you like better.
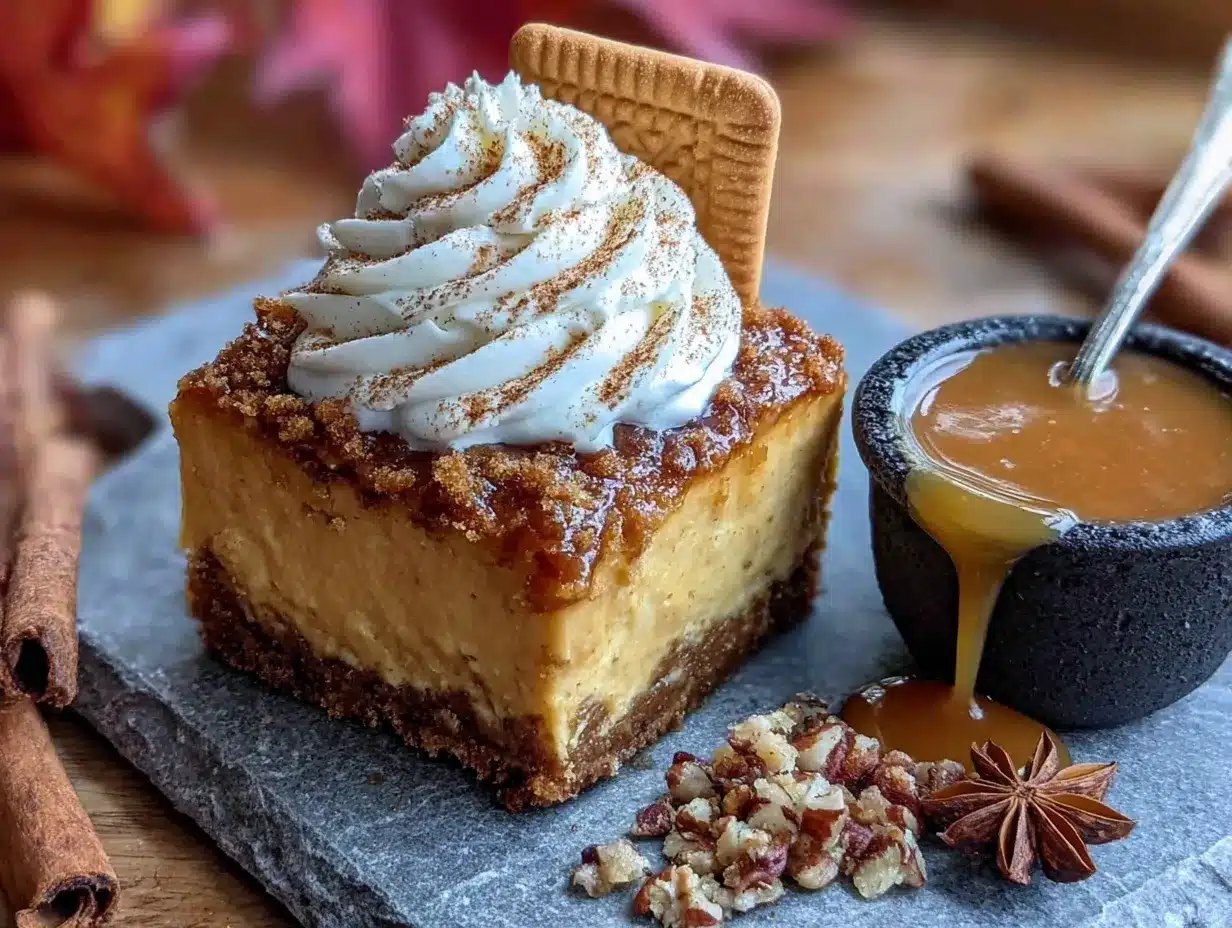
Presentation ideas. Dust the tops with a light sprinkle of cinnamon or nutmeg before serving. For a more decadent presentation, add a dollop of whipped cream and a drizzle of caramel sauce. I sometimes garnish with a few candied pecans or a tiny cinnamon stick for fall parties.
What to serve alongside. These bars pair beautifully with a hot cup of coffee, spiced chai, or a glass of cold milk. For a dessert spread, I serve them alongside my apple crisp and a simple vanilla ice cream. The contrast of warm and cold, creamy and crunchy is just perfect.
Storage instructions. Store leftover bars in an airtight container in the refrigerator for up to 5 days. Place a sheet of parchment paper between layers if stacking. I’ve never had them last that long, but theoretically they hold up well.
Freezing tips. These freeze beautifully. Once the bars are fully chilled and sliced, place them on a baking sheet in the freezer for 1 hour. Transfer the frozen bars to a freezer-safe container with parchment between layers. They’ll keep for up to 3 months. Thaw overnight in the refrigerator before serving. Don’t thaw at room temperature—they can get weepy.
Flavor development. Honestly, these bars taste even better on day two. The spices mellow and meld together, and the crust absorbs a little moisture from the filling, making it perfectly tender. If you can plan ahead, make them a day before you need them.
Nutritional Information & Benefits
Here’s the approximate nutritional breakdown for one bar (based on 16 servings). Keep in mind these are estimates and can vary based on specific ingredients used.
| Nutrient | Amount per bar |
|---|---|
| Calories | 245 |
| Total Fat | 15g |
| Saturated Fat | 9g |
| Cholesterol | 65mg |
| Sodium | 210mg |
| Total Carbohydrates | 25g |
| Dietary Fiber | 1g |
| Sugars | 18g |
| Protein | 4g |
Pumpkin is packed with vitamin A (over 200% of your daily needs per cup) and fiber, which supports digestive health. The cream cheese adds calcium and protein, making this a more balanced treat than your average dessert. If you’re watching your sugar intake, you can reduce the sugar in the pumpkin layer by 2 tablespoons without affecting the texture too much. For a lower-fat option, use Neufchâtel cream cheese instead of full-fat—it cuts the calories by about 30 per serving.
Conclusion
These Perfect Spiced Pumpkin Cheesecake Bars are the dessert that turned me from a pumpkin skeptic into someone who actually looks forward to fall baking. They’re creamy, spiced just right, and that buttery graham crust? It’s the perfect foundation for all that velvety goodness. Whether you’re making them for Thanksgiving, a cozy weekend treat, or just because the weather turned chilly, I think you’ll love how simple they are to put together and how impressive they look on the plate.
Don’t be afraid to make them your own. Add more spice, swap the crust, throw in some chocolate chips—this recipe is forgiving and adaptable. That’s the beauty of homemade baking. You get to decide what “perfect” means.
I’d love to hear how yours turn out. Drop a comment below and let me know if you tried any variations, or tag me in your photos if you share them online. Happy baking, friend. You’ve got this.
Frequently Asked Questions
Can I use fresh pumpkin instead of canned?
Yes, but you’ll need to roast and puree it first, then drain off any excess liquid. Fresh pumpkin has more water than canned, so spread the puree on a paper towel-lined plate for 10 minutes to absorb some moisture before using. Canned pumpkin is more consistent, which is why I recommend it for this recipe.
Why did my cheesecake bars crack on top?
This usually happens from overmixing the batter (too much air) or overbaking. Make sure your ingredients are at room temperature, mix on low speed, and pull the bars out when the center still jiggles slightly. A cracked top doesn’t affect the taste, but if it bothers you, you can cover it with whipped cream or a dusting of cinnamon.
Can I make these bars in a different size pan?
Absolutely. An 8×8 pan will give you thicker bars and needs about 5 extra minutes of baking time. A 9×13 pan makes thinner bars and needs about 5 minutes less. Keep an eye on them and use the jiggle test to determine doneness regardless of pan size.
How do I get clean, neat slices?
Chill the bars for at least 4 hours (overnight is better). Use a sharp knife and wipe it clean with a damp paper towel between each cut. For the cleanest slices, dip the knife in hot water, dry it, then cut. Repeat this for every slice.
Can I reduce the sugar in this recipe?
You can reduce the sugar in the pumpkin layer by up to 2 tablespoons without major texture changes. I wouldn’t reduce the sugar in the cream cheese layer, as it helps stabilize the structure. If you’re using a sugar substitute, choose one designed for baking and follow the package directions for conversion.
Pin This Recipe!
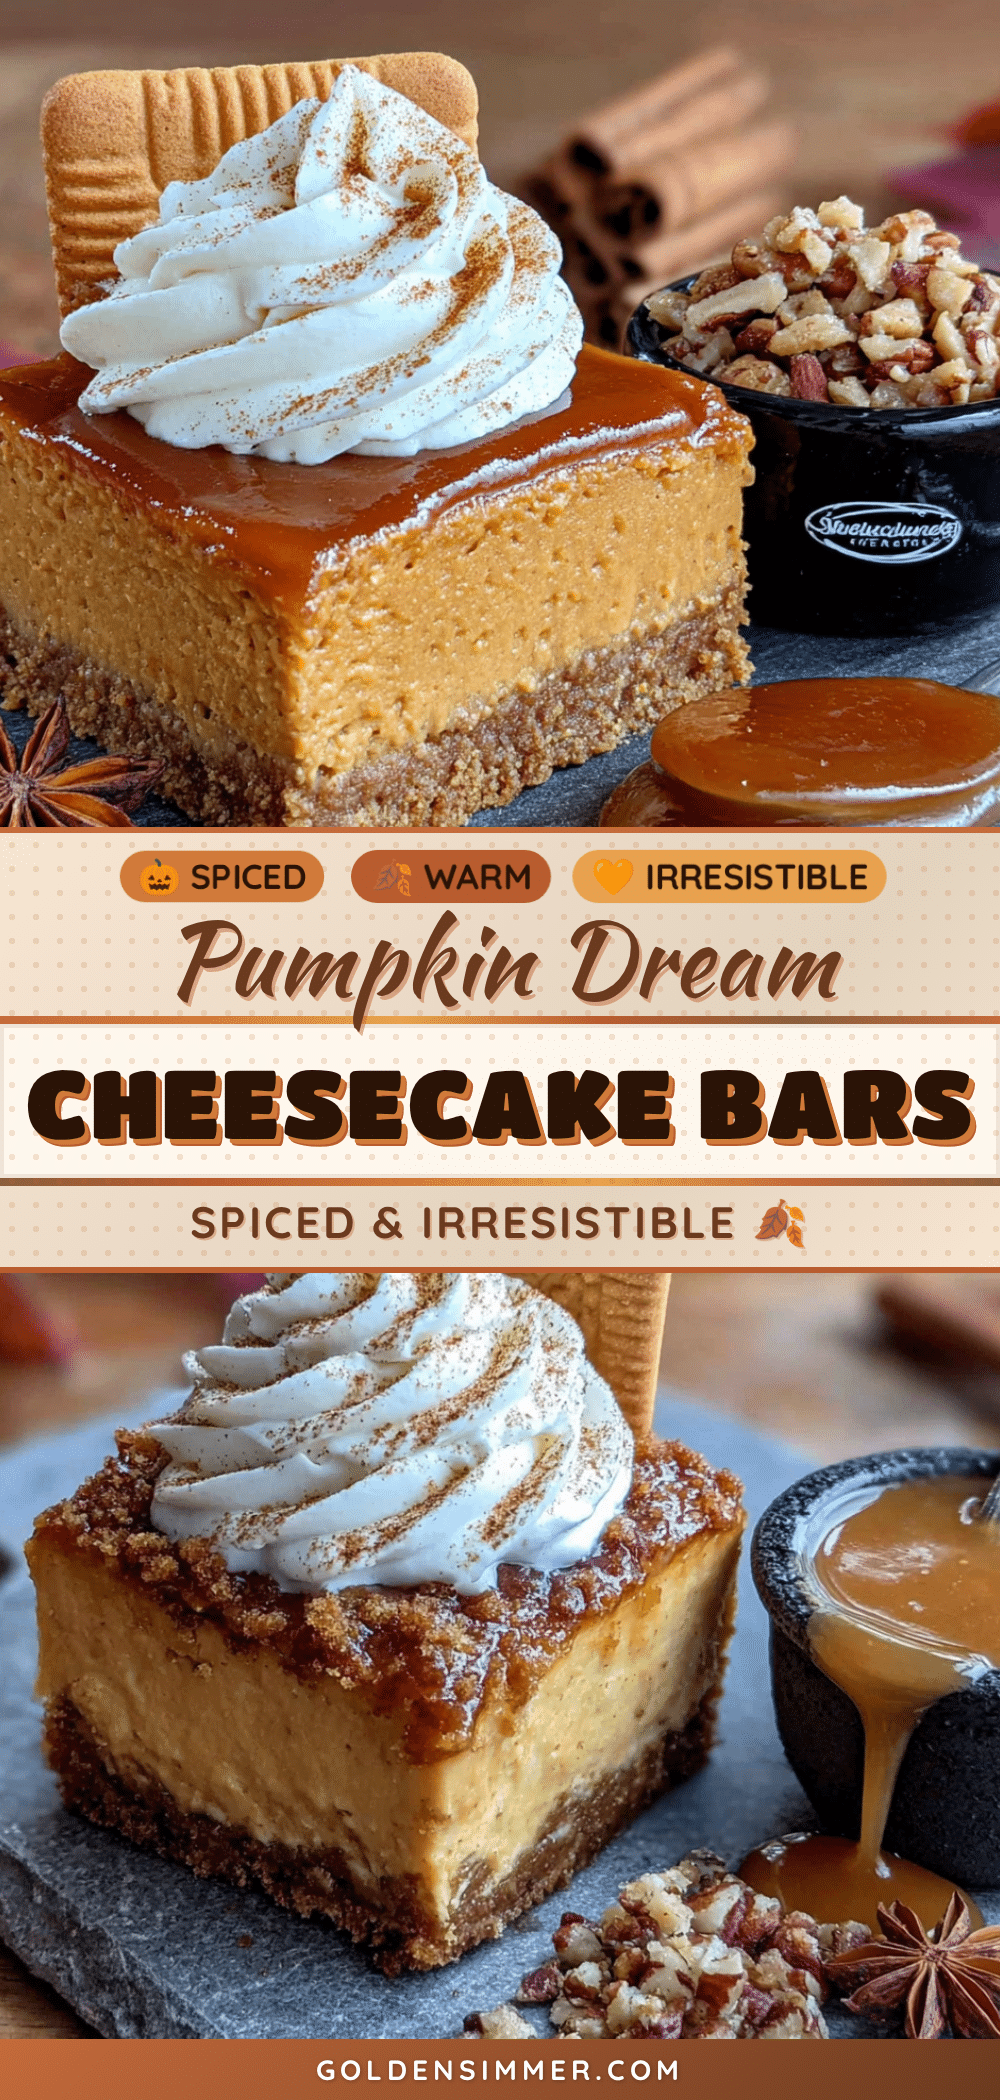
Perfect Spiced Pumpkin Cheesecake Bars: Easy Fall Dessert
These creamy, spiced pumpkin cheesecake bars feature a buttery graham cracker crust, a tangy cream cheese layer, and a perfectly balanced pumpkin layer. They’re easy to make, crowd-pleasing, and perfect for fall gatherings.
- Prep Time: 15 minutes
- Cook Time: 35 minutes
- Total Time: 4 hours 50 minutes (includes chilling)
- Yield: 16 servings 1x
- Category: Dessert
- Cuisine: American
Ingredients
- 1 ½ cups graham cracker crumbs (about 12 full sheets)
- ¼ cup granulated sugar (for crust)
- 6 tablespoons unsalted butter, melted
- ¼ teaspoon salt (for crust)
- 16 ounces full-fat cream cheese, softened
- ½ cup granulated sugar (for cream cheese layer)
- 2 large eggs, room temperature
- 1 teaspoon vanilla extract
- ¼ cup sour cream
- 1 cup canned pumpkin puree (not pumpkin pie filling)
- ¼ cup granulated sugar (for pumpkin layer)
- ¼ cup light brown sugar, packed
- 1 large egg, room temperature
- ½ teaspoon vanilla extract
- 1 teaspoon ground cinnamon
- ½ teaspoon ground ginger
- ¼ teaspoon ground nutmeg
- ⅛ teaspoon ground cloves
- ¼ teaspoon salt (for pumpkin layer)
Instructions
- Preheat oven to 350°F (175°C). Line a 9×9-inch baking pan with parchment paper, leaving a 2-inch overhang on two opposite sides. Lightly grease the parchment.
- Make the crust: In a medium bowl, combine graham cracker crumbs, ¼ cup granulated sugar, and ¼ teaspoon salt. Pour in melted butter and stir until every crumb is moistened. Press firmly into the bottom of the prepared pan. Bake for 10 minutes, then set aside to cool slightly.
- Make the cream cheese layer: In a large bowl, beat softened cream cheese with ½ cup granulated sugar until smooth. Add eggs one at a time, beating on low after each addition. Mix in vanilla extract and sour cream until just combined. Set aside about ¾ cup of this mixture for the swirl.
- Make the pumpkin layer: In a separate medium bowl, whisk together pumpkin puree, ¼ cup granulated sugar, brown sugar, 1 egg, ½ teaspoon vanilla, cinnamon, ginger, nutmeg, cloves, and ¼ teaspoon salt until smooth. Pour this mixture into the larger bowl of cream cheese mixture and fold gently until no white streaks remain.
- Assemble: Pour the pumpkin-cream cheese mixture over the pre-baked crust and spread evenly. Drop spoonfuls of the reserved plain cream cheese mixture on top, then gently swirl with a knife or toothpick.
- Bake for 35 to 40 minutes, until edges are set and center jiggles slightly. If top browns too quickly, tent with foil after 25 minutes.
- Cool on a wire rack for 1 hour at room temperature, then refrigerate for at least 4 hours (preferably overnight).
- Use parchment sling to lift the slab out of the pan. Slice into 16 squares with a sharp knife, wiping clean between cuts. Let sit at room temperature for 10 minutes before serving.
Notes
Room temperature ingredients are crucial for a smooth texture. Don’t overmix the fillings to avoid cracks. Chill time is essential for clean slices. Bars taste even better on day two.
Nutrition
- Serving Size: 1 bar
- Calories: 245
- Sugar: 18
- Sodium: 210
- Fat: 15
- Saturated Fat: 9
- Carbohydrates: 25
- Fiber: 1
- Protein: 4
Keywords: pumpkin cheesecake bars, fall dessert, pumpkin dessert, cheesecake bars, easy pumpkin recipe, Thanksgiving dessert



