Love this? Save it for later!
Share the inspiration with your friends
I wasn’t supposed to be in the kitchen that Tuesday night. I’d stopped by my neighbor Sarah’s house to borrow a ladder—ours had mysteriously vanished after the last garage sale—and the smell hit me before I even got past her screen door. It was warm, buttery, and undeniably sweet, like the world’s most comforting hug wrapped in a scent. Sarah was just standing there at the stove, spatula in hand, looking at this cast iron pan like it was no big deal.
“Oh, just a cookie I’m testing,” she said, shrugging. Testing. As if this golden, bubbling, ridiculously gooey creation was some casual science experiment. She pulled it out of the oven, and I swear the thing was still jiggling in the center. She didn’t even offer me a plate—just handed me a spoon and said, “Dig in.” I mean, honestly, I’ve been to fancy restaurants that couldn’t match the pure, unadulterated joy of that moment. The edges were crisp, the center was molten, and there were pools of melted chocolate everywhere.
That night, I went home without the ladder. But I had a new obsession. I spent the next week tweaking her method, trying to capture that perfect balance of a crunchy edge and a soft, almost underbaked middle. Maybe you’ve been there—chasing a recipe that felt like magic but seemed impossible to replicate? Well, let me tell you, after a few glorious failures (and one very sad, burnt-bottom disaster), I cracked it. This Ultimate Gooey Chocolate Chip Skillet Cookie is the one that stayed with me. It’s the one I keep making, every time I need a little bit of that Tuesday night magic.
Why You’ll Love This Recipe
This isn’t just another chocolate chip cookie. This is the skillet cookie that makes you look like a dessert genius with almost zero effort. I’ve tested this recipe more times than I care to admit, and I can confidently say it hits every single note you want in a dessert.
- Quick & Easy: From bowl to table in under 30 minutes. No chilling the dough, no rolling individual cookies—just mix, press, and bake. Perfect for those “I need dessert NOW” moments.
- Simple Ingredients: You probably have everything in your pantry right now. Butter, sugar, eggs, flour, and a good bag of chocolate chips. No weird extracts or hard-to-find flours.
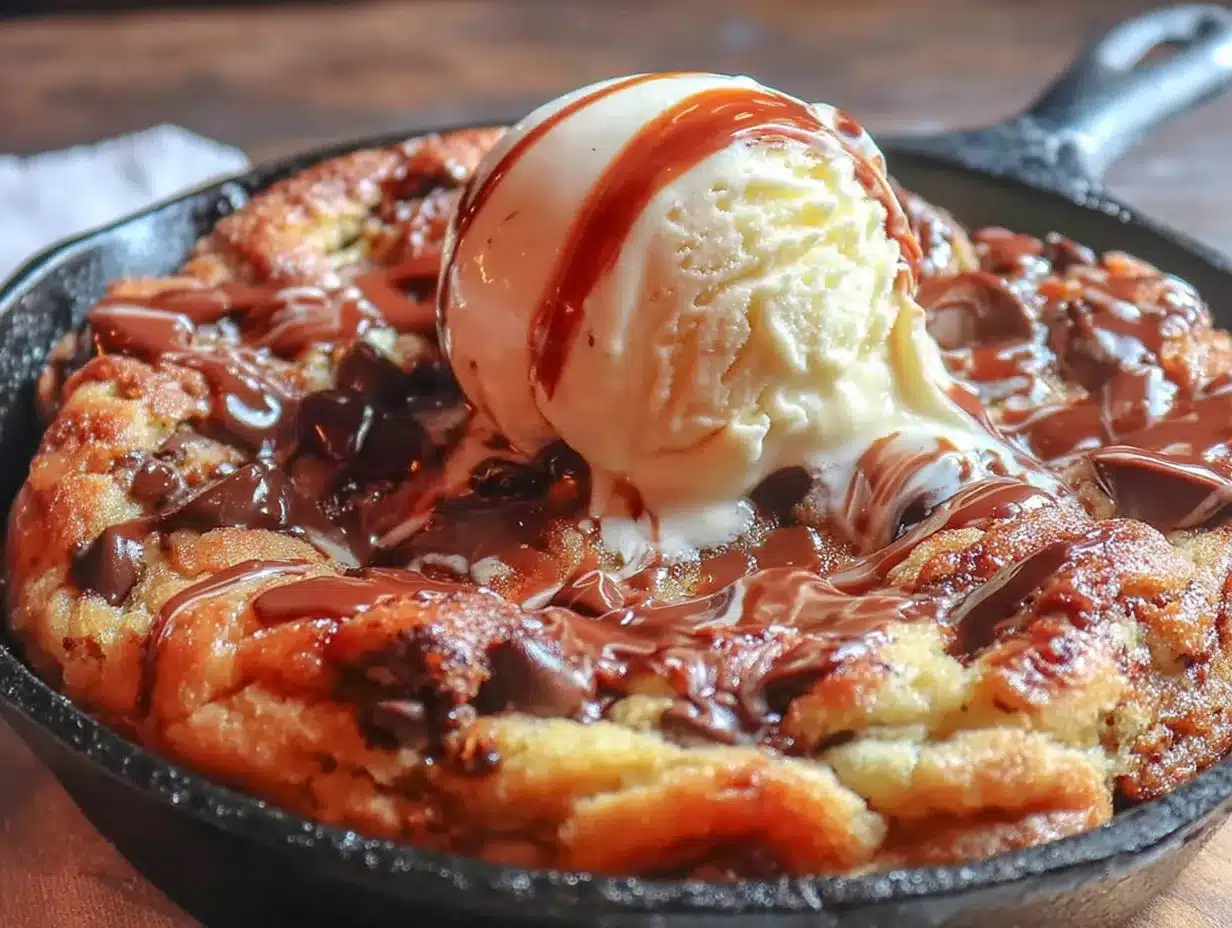
- Perfect for Sharing: This is the ultimate crowd-pleaser for movie nights, casual get-togethers, or when you just want to impress someone without breaking a sweat. Serve it straight from the pan with a scoop of vanilla ice cream, and watch it disappear.
- Unbelievably Gooey: The secret is in the bake time. We’re pulling this cookie out while the center still looks slightly underdone. That’s not a mistake—that’s the whole point. The residual heat finishes the cooking, leaving you with a texture that’s pure heaven.
- No Fancy Equipment: All you need is a 10-inch cast iron skillet. If you don’t have one, I’ll give you a workaround. But trust me, the cast iron is what gives you those perfectly crisp, golden edges.
What makes this different from every other skillet cookie out there? It’s the technique. Most recipes have you bake it until a toothpick comes out clean, which gives you a cakey, dry mess. Not here. We’re using a higher ratio of brown sugar to white sugar for extra moisture, and we’re adding an extra egg yolk for richness. The result is a cookie that’s crisp on the outside, soft and almost fudgy in the middle, and absolutely loaded with chocolate in every single bite. It’s comfort food at its finest—fast, forgiving, and guaranteed to make you close your eyes after that first spoonful.
What Ingredients You Will Need
This recipe uses simple, everyday ingredients to create something truly special. The magic happens in how they come together, not in how fancy they are. Here’s what you’ll need to grab from your pantry.
For the Cookie Dough
- 1/2 cup (1 stick) unsalted butter, melted and slightly cooled — Browning the butter is optional but adds a nutty, deep flavor that takes this cookie to another level. If you’re short on time, just melt it in the microwave.
- 1/2 cup (100g) granulated sugar — Adds sweetness and helps create those crispy edges.
- 3/4 cup (150g) packed light brown sugar — This is the key to the gooey texture. The molasses in brown sugar keeps the cookie soft and chewy. I recommend Domino or C&H for consistent results.
- 1 large egg + 1 large egg yolk, at room temperature — The extra yolk adds richness and tenderness. Cold eggs can seize the melted butter, so let them sit out for 15 minutes.
- 1 teaspoon vanilla extract — Pure vanilla, not imitation. It makes a difference.
- 1 1/2 cups (190g) all-purpose flour — Spoon and level your flour. Scooping directly from the bag packs in too much and makes the cookie dry.
- 1/2 teaspoon baking soda — Helps the cookie spread slightly and gives it a lift.
- 1/2 teaspoon salt — Don’t skip it. Salt balances the sweetness and enhances the chocolate.
- 1 1/2 cups (270g) semi-sweet chocolate chips — I prefer Ghirardelli or Guittard for their meltability. You can also chop up a good quality chocolate bar for those beautiful puddles of chocolate.
For Topping (Optional but Highly Recommended)
- Flaky sea salt, like Maldon — A pinch right before serving elevates the whole thing. Trust me on this.
- Vanilla ice cream — For serving. It’s practically mandatory.
Substitution Guidance: If you’re gluten-free, use a 1:1 gluten-free baking flour blend (like King Arthur Measure for Measure). The texture will be slightly more tender, but still delicious. For a dairy-free version, use vegan butter and dairy-free chocolate chips. Just note that the spread might be slightly different, so check at the 18-minute mark. And if you only have salted butter on hand, reduce the added salt to 1/4 teaspoon.
Equipment Needed
The beauty of this recipe is that it doesn’t require a lot of fancy gear. But having the right tools makes the process smoother and the results more consistent.
- 10-inch cast iron skillet: This is the star of the show. Cast iron heats evenly and retains heat beautifully, giving you that perfect crisp edge and soft center. If you don’t have one, Lodge makes an affordable, pre-seasoned option that lasts forever. You can also use a 10-inch oven-safe non-stick skillet, but the edges won’t be as crispy.
- Mixing bowls: One medium bowl for the wet ingredients, one large bowl for the dry. I use glass or stainless steel.
- Whisk: For combining the wet ingredients smoothly.
- Rubber spatula: For folding in the chocolate chips and scraping down the bowl. A silicone one is best—it won’t scratch your skillet.
- Measuring cups and spoons: For accuracy. Baking is a science, especially with the flour.
- Cooling rack: Optional, but if you want to serve the cookie on a plate instead of straight from the skillet, you’ll need this to let it cool slightly.
Budget-Friendly Tip: A cast iron skillet is an investment, but it’s a lifetime tool. Check thrift stores or garage sales—I found my favorite one for $8. If you’re not ready to buy one, you can use a 9-inch cake pan or pie dish. Just reduce the bake time by 2-3 minutes since the pan is thinner.
Preparation Method
Let’s get to the good part. Follow these steps carefully, and you’ll have a skillet cookie that rivals any bakery version.
- Preheat your oven to 350°F (175°C). Place your cast iron skillet in the oven while it preheats. This is a little trick I learned—heating the pan first gives you an immediate sizzle when the dough hits it, creating an even crispier edge. Just be careful when you pull it out; it’s hot.
- Melt the butter. In a microwave-safe bowl, melt the 1/2 cup of butter in 20-second intervals until just melted. Let it cool for 2-3 minutes. You want it warm, not hot—if it’s too hot, it will cook the eggs when you mix them in. If you want to brown the butter, melt it in a saucepan over medium heat, swirling constantly until it turns a golden amber color and smells nutty. Then pour it into a bowl to cool.
- Mix the wet ingredients. In a medium bowl, whisk together the melted butter, granulated sugar, and brown sugar until smooth and well combined. It should look like wet sand. Add the egg, egg yolk, and vanilla extract. Whisk vigorously for about 30 seconds until the mixture is pale, thick, and slightly lighter in color. This step incorporates air and gives the cookie a better texture.
- Combine the dry ingredients. In a large bowl, whisk together the flour, baking soda, and salt. Make sure there are no clumps. This ensures the leavening agent is evenly distributed.
- Bring it together. Pour the wet mixture into the dry mixture. Using a rubber spatula, fold the ingredients together until just combined. Do not overmix—stop as soon as you see no more streaks of flour. Overmixing develops gluten and makes the cookie tough.
- Fold in the chocolate chips. Add the 1 1/2 cups of chocolate chips to the dough. Fold gently until they are evenly distributed. Reserve about 1/4 cup of chips to press into the top of the dough later—this makes it look bakery-perfect.
- Prepare the skillet. Carefully remove the hot skillet from the oven using oven mitts. Spray it lightly with non-stick cooking spray or brush it with a little melted butter. This ensures the cookie won’t stick.
- Press the dough into the skillet. Transfer the dough to the hot skillet. Use your spatula or your fingers (lightly greased) to press it into an even layer. It will be thick—that’s normal. Press the reserved chocolate chips into the top of the dough. This step is purely aesthetic, but it makes a difference visually.
- Bake. Place the skillet in the preheated oven and bake for 18-22 minutes. The edges should be golden brown and set, but the center will still look soft, puffy, and slightly underdone. It might even jiggle a little when you gently shake the pan. That’s exactly what you want. If you insert a toothpick into the center, it should come out with moist crumbs, not clean batter.
- Cool and serve. Remove the skillet from the oven and place it on a cooling rack. Let it cool for 5-10 minutes in the pan. The residual heat will continue to cook the center, setting it to that perfect gooey texture. Sprinkle with flaky sea salt if you’re using it. Serve warm, directly from the skillet, with a generous scoop of vanilla ice cream.
Troubleshooting Tip: If your cookie is spreading too much and becoming thin, your butter was too warm, or your flour was under-measured. Next time, chill the dough for 15 minutes before pressing it into the pan. If the center is still raw after 22 minutes, your oven might run cool. Let it rest in the turned-off oven for 2-3 minutes before removing it.
Cooking Tips & Techniques
I’ve made this cookie more times than I can count, and I’ve learned a few things the hard way. Here are my best tips to ensure your skillet cookie is perfect every single time.
- Don’t skip the extra egg yolk. I once tried to streamline the recipe by using just one whole egg, and the result was a cookie that was dry and crumbly. The extra yolk is non-negotiable—it’s what gives you that fudgy, almost brownie-like center.
- Use a cookie scoop for even chocolate distribution. If you just dump all the chips in at once, they tend to sink to the bottom. I like to fold in half the chips, then sprinkle the rest over the top and gently press them in. This ensures every bite has chocolate.
- Let the skillet cool slightly before serving. I know it’s tempting to dig in right away, but if you do, the cookie will be too soft to hold its shape and you’ll end up with a soupy mess. Five minutes is the sweet spot—the edges are still warm, the center is molten, but it holds together on the spoon.
- Bake on the middle rack. If you bake it too close to the top, the edges will burn before the center sets. If you bake it too low, the bottom will get too dark. Middle rack, every time.
- Use a kitchen scale for best results. I know it’s another tool, but measuring flour by weight (190g) is the single best way to ensure consistent results. Volume measurements can vary wildly based on how you scoop.
My Biggest Failure: The first time I made this, I used a cold skillet straight from the cupboard. The dough spread unevenly, the edges were pale, and the center took forever to bake. That’s when I learned to preheat the pan. It’s a small step, but it makes a huge difference in the texture of the final cookie.
Variations & Adaptations
This recipe is incredibly versatile. Here are a few ways to make it your own, depending on what you’re craving or what you have on hand.
- Peanut Butter Swirl: Drop 3-4 tablespoons of creamy peanut butter over the dough before baking. Use a knife to gently swirl it into the top layer. The combination of chocolate and peanut butter is a classic for a reason.
- Double Chocolate: Replace 1/4 cup of the all-purpose flour with 1/4 cup of unsweetened cocoa powder. Use white chocolate chips or dark chocolate chunks instead of semi-sweet. It’s like a giant, gooey brownie cookie.
- S’mores Skillet Cookie: After pressing the dough into the skillet, top it with a layer of mini marshmallows and crushed graham crackers. Bake as directed. The marshmallows will get toasted and gooey—it’s a campfire treat without the fire.
- Gluten-Free Option: Use a 1:1 gluten-free baking flour blend. Add an extra tablespoon of milk (dairy or non-dairy) to help with moisture, as gluten-free flours tend to be more absorbent. The texture will be slightly more tender, but still delicious.
- Vegan Version: Use melted coconut oil or vegan butter instead of butter. Use a flax egg (1 tablespoon ground flaxseed + 3 tablespoons water, let sit for 5 minutes) in place of the egg and egg yolk. Use dairy-free chocolate chips. The cookie will be slightly less rich, but still very good.
Personal Variation: My favorite way to make this is with browned butter and a mix of semi-sweet and dark chocolate chunks. The nutty flavor from the browned butter pairs beautifully with the bitterness of the dark chocolate. I also add a teaspoon of instant espresso powder to the dry ingredients—it doesn’t make the cookie taste like coffee, but it deepens the chocolate flavor in a way that’s hard to describe.
Serving & Storage Suggestions
This cookie is best enjoyed warm, straight from the skillet. But here’s how to serve and store it for the best experience.
- Serving Temperature: Serve the cookie warm, about 5-10 minutes after it comes out of the oven. The center should be soft and gooey, but not runny. A scoop of vanilla ice cream is the classic pairing—the cold creaminess contrasts perfectly with the warm, rich cookie.
- Presentation: Place the hot skillet on a trivet or a wooden board in the center of the table. Give everyone a spoon and let them dig in family-style. It’s casual, fun, and encourages sharing. Top with a drizzle of caramel sauce or a dusting of powdered sugar for a slightly more polished look.
- Complementary Dishes: This cookie is rich, so pair it with something light. A fresh fruit salad or a simple berry compote cuts through the sweetness. For drinks, a cold glass of milk is the classic choice, but a hot cup of coffee or a strong espresso also works beautifully.
- Storage: If you have leftovers (unlikely, but possible), cover the skillet tightly with foil or plastic wrap and store at room temperature for up to 2 days. The texture will change—the edges will soften and the center will become more cake-like. It’s still delicious, just different.
- Reheating: To bring back that fresh-from-the-oven gooeyness, reheat the cookie in a 300°F (150°C) oven for 5-7 minutes. You can also microwave individual portions for 15-20 seconds, but the edges won’t be as crisp. Do not reheat in the microwave if you want the crispy edge texture.
Flavor Development: Honestly, the cookie is at its absolute best within the first hour of baking. The contrast between the crisp edges and the soft center is most pronounced when it’s fresh. If you’re planning to serve it later, I recommend baking it just before your guests arrive.
Nutritional Information & Benefits
Let’s be real—this is a decadent dessert, not a health food. But knowing what’s in it helps you enjoy it mindfully. Here’s the estimated nutritional breakdown for one serving (1/8 of the skillet cookie, without ice cream).
| Nutrient | Amount Per Serving |
|---|---|
| Calories | 410 |
| Total Fat | 22g |
| Saturated Fat | 13g |
| Cholesterol | 75mg |
| Sodium | 280mg |
| Total Carbohydrates | 52g |
| Dietary Fiber | 2g |
| Sugars | 38g |
| Protein | 5g |
Health Benefits: Dark chocolate (if you use semi-sweet or dark chips) contains antioxidants called flavonoids, which can support heart health. The eggs provide protein and essential vitamins like B12. And honestly, there’s a mental health benefit to treating yourself to something this good. Life is short—eat the cookie.
Dietary Considerations: This recipe contains gluten, dairy, and eggs. It is not suitable for a vegan or strict allergen-free diet without the substitutions mentioned in the variations section. For a lower-sugar option, you can reduce the granulated sugar to 1/4 cup, but the texture will be slightly less crisp.
Conclusion
This Ultimate Gooey Chocolate Chip Skillet Cookie is more than just a recipe—it’s an experience. It’s the dessert you make when you want to impress without the stress, when you need a little comfort on a tough day, or when you just want to smell something incredible baking in your kitchen. The edges are perfectly crisp, the center is gloriously gooey, and every bite is loaded with melted chocolate.
I love this recipe because it’s forgiving. It doesn’t require precision or fancy techniques. It just asks for a little patience (waiting those 5 minutes after baking is the hardest part) and a willingness to enjoy something indulgent. Whether you serve it with a scoop of vanilla ice cream for a party or eat it straight from the pan with a spoon on a quiet Wednesday night, it never disappoints.
Now I want to hear from you! Have you tried making a skillet cookie before? What’s your favorite variation? Drop a comment below and let me know how yours turned out. And if you loved this recipe, share it with a friend who needs a little dessert magic in their life. Happy baking!
Frequently Asked Questions
Can I make this cookie dough ahead of time?
Yes! You can prepare the dough, press it into the skillet, cover it tightly with plastic wrap, and refrigerate for up to 24 hours. When you’re ready to bake, let it sit at room temperature for 15 minutes while the oven preheats, then bake as directed. You may need to add 2-3 minutes to the bake time since the dough is cold.
Why is my skillet cookie raw in the middle after 22 minutes?
This usually happens for one of two reasons: your oven runs cool, or your skillet is thicker than average. If the edges are golden and set but the center is still liquid, place the skillet back in the oven, turn the oven off, and let it sit for 5 minutes with the door closed. The residual heat will finish cooking the center without burning the edges.
Can I use a different size skillet?
Absolutely. If you use a 12-inch skillet, the dough will spread thinner and bake faster—check at 14 minutes. If you use an 8-inch skillet, the cookie will be thicker and will need 24-26 minutes of bake time. Just keep an eye on the edges and the center jiggle test.
Can I freeze the baked skillet cookie?
Yes, but the texture will change slightly. Let the cookie cool completely in the skillet, then wrap it tightly in plastic wrap and foil. Freeze for up to 3 months. To reheat, thaw in the refrigerator overnight, then warm in a 300°F oven for 10 minutes. The edges won’t be as crisp as fresh, but it’s still a solid dessert option.
What if I don’t have a cast iron skillet?
No problem! Use a 10-inch oven-safe non-stick skillet, a 9-inch cake pan, or even a pie dish. Just note that the edges won’t get as crispy without the cast iron’s heat retention. Reduce the bake time by 2-3 minutes and check for doneness early.
Pin This Recipe!
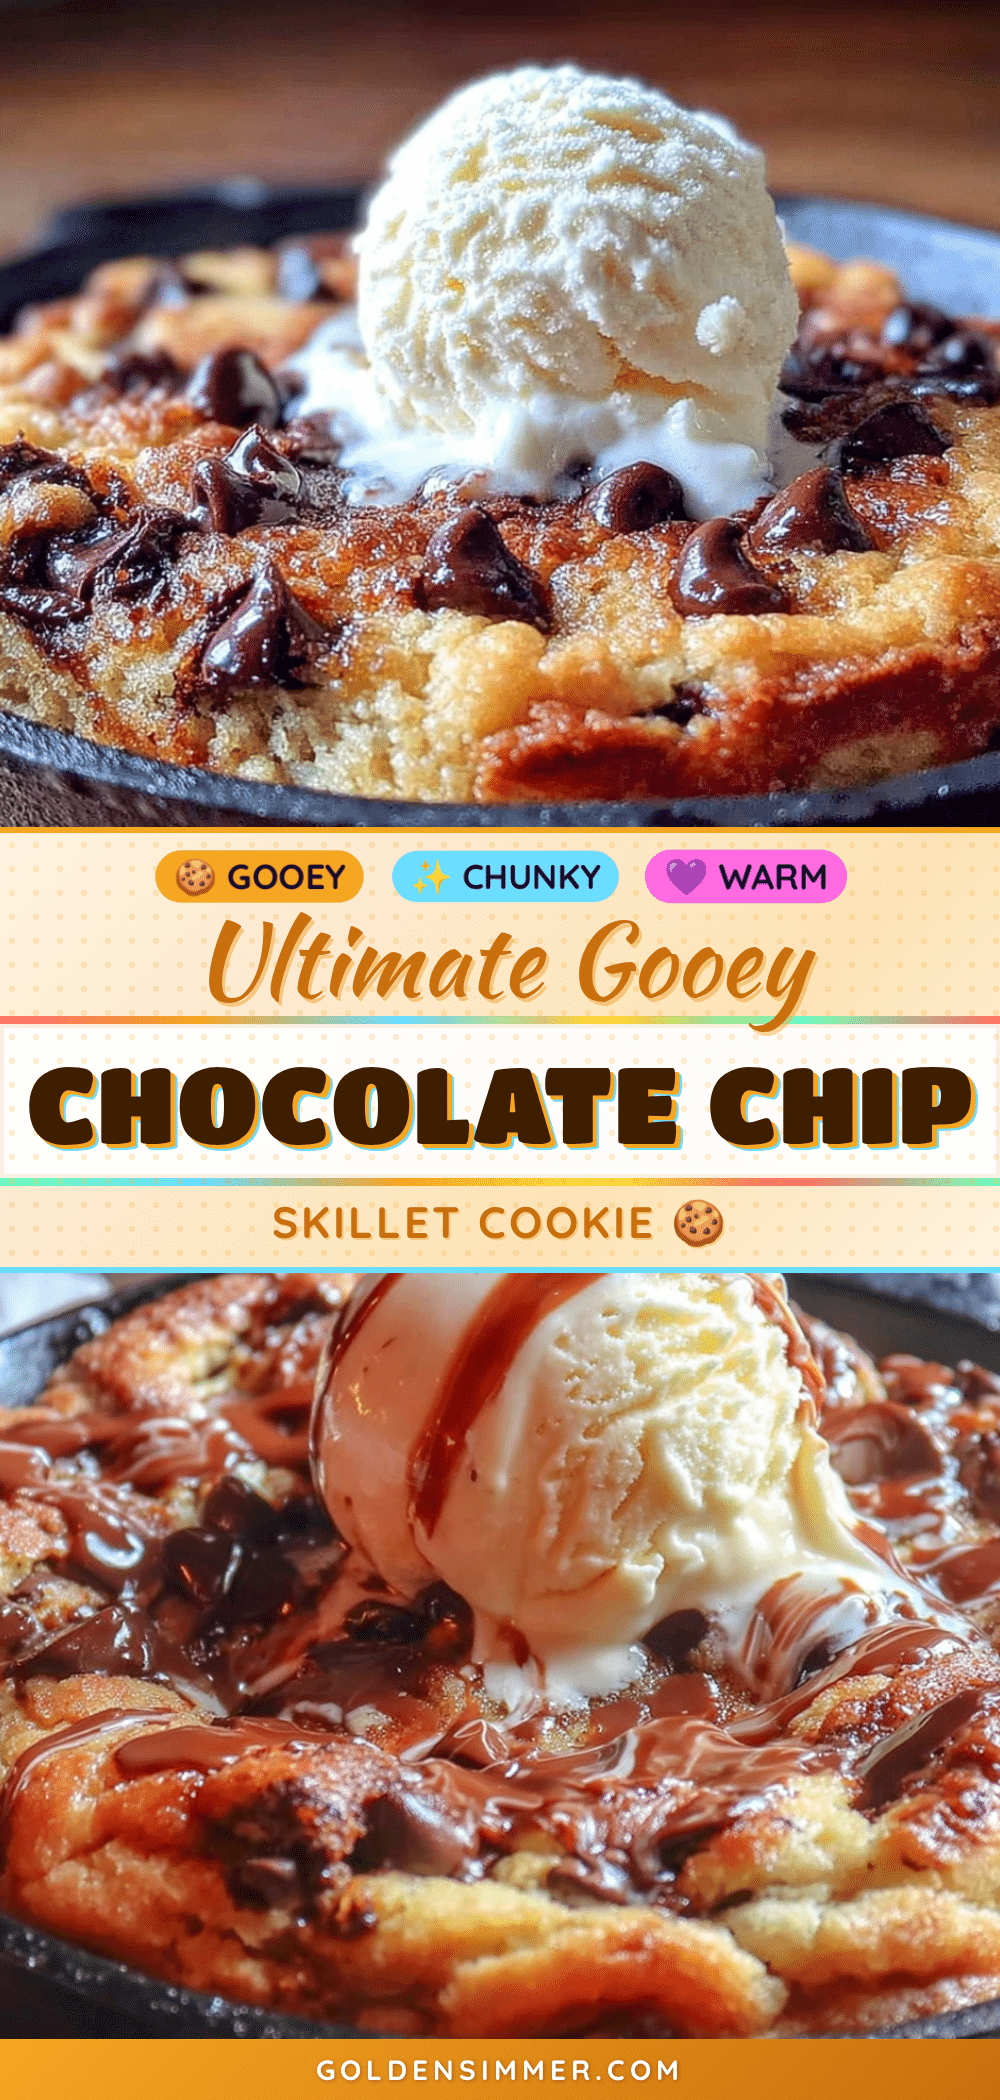
Ultimate Gooey Chocolate Chip Skillet Cookie
This Ultimate Gooey Chocolate Chip Skillet Cookie is the perfect easy dessert with a crisp edge, soft gooey center, and pools of melted chocolate. Ready in under 30 minutes, it’s a crowd-pleaser that requires no fancy equipment.
- Prep Time: 10 minutes
- Cook Time: 20 minutes
- Total Time: 30 minutes
- Yield: 8 servings 1x
- Category: Dessert
- Cuisine: American
Ingredients
- 1/2 cup (1 stick) unsalted butter, melted and slightly cooled
- 1/2 cup (100g) granulated sugar
- 3/4 cup (150g) packed light brown sugar
- 1 large egg + 1 large egg yolk, at room temperature
- 1 teaspoon vanilla extract
- 1 1/2 cups (190g) all-purpose flour
- 1/2 teaspoon baking soda
- 1/2 teaspoon salt
- 1 1/2 cups (270g) semi-sweet chocolate chips
- Flaky sea salt (optional, for topping)
- Vanilla ice cream (for serving)
Instructions
- Preheat your oven to 350°F (175°C). Place your cast iron skillet in the oven while it preheats.
- Melt the butter in a microwave-safe bowl in 20-second intervals until just melted. Let it cool for 2-3 minutes.
- In a medium bowl, whisk together the melted butter, granulated sugar, and brown sugar until smooth. Add the egg, egg yolk, and vanilla extract. Whisk vigorously for about 30 seconds until pale and thick.
- In a large bowl, whisk together the flour, baking soda, and salt.
- Pour the wet mixture into the dry mixture. Fold with a rubber spatula until just combined. Do not overmix.
- Fold in the chocolate chips, reserving about 1/4 cup to press into the top later.
- Carefully remove the hot skillet from the oven. Spray lightly with non-stick cooking spray or brush with melted butter.
- Transfer the dough to the hot skillet and press into an even layer. Press the reserved chocolate chips into the top.
- Bake for 18-22 minutes. The edges should be golden brown and set, but the center will still look soft and slightly underdone.
- Remove from the oven and let cool for 5-10 minutes in the pan. Sprinkle with flaky sea salt if desired. Serve warm with vanilla ice cream.
Notes
The secret to the gooey texture is pulling the cookie out while the center still looks slightly underdone. The residual heat finishes the cooking. For best results, preheat the skillet in the oven. If you don’t have a cast iron skillet, use a 10-inch oven-safe non-stick skillet or 9-inch cake pan, reducing bake time by 2-3 minutes.
Nutrition
- Serving Size: 1/8 of skillet cooki
- Calories: 410
- Sugar: 38
- Sodium: 280
- Fat: 22
- Saturated Fat: 13
- Carbohydrates: 52
- Fiber: 2
- Protein: 5
Keywords: skillet cookie, chocolate chip cookie, gooey cookie, easy dessert, cast iron cookie, chocolate chip skillet cookie