Love this? Save it for later!
Share the inspiration with your friends
My son had refused to eat anything remotely “festive” for Halloween for three solid years. Seven Halloweens. You know the drill—I’d spend an hour carving something cute out of pastry, and he’d push it around his plate like I’d served him a science experiment. Then last October, I made these mummy pigs in a blanket on a Tuesday night just because I had leftover crescent rolls and hot dogs in the fridge. I wasn’t even trying to impress anyone. I turned my back to wash a pan, and when I looked around, he was standing at the counter, already halfway through his third one, mustard on his chin, looking at me like I’d caught him doing something wrong. Honestly, it was the best Halloween win I’ve ever had, and it took about fifteen minutes of actual effort. These little guys are cute enough for a party but easy enough for a random weeknight when you just need something fun on the table. Maybe you’ve been there—wanting the festive vibe without the Pinterest-meltdown. This recipe is your answer.
Why You’ll Love This Recipe
Let me tell you why these mummy pigs in a blanket have become my most-requested Halloween recipe. I’ve tested them at three different parties now, and they disappear faster than anything else on the table.
- Quick & Easy: From fridge to plate in under 25 minutes. Perfect for last-minute Halloween gatherings or when the kids are already hangry.
- Simple Ingredients: You literally need three things—crescent rolls, hot dogs, and mustard or candy eyes. No specialty grocery runs required.
- Perfect for Halloween: These are the ultimate spooky snack for parties, school events, or just a fun dinner before trick-or-treating.
- Crowd-Pleaser: I’ve watched adults eat just as many as the kids. Something about the mummy wrapping just makes people happy.
- Unbelievably Cute: The little bandaged look is genuinely adorable, and you don’t need any artistic talent to pull it off.
What makes this version different from all the others? It’s the technique I figured out after my first batch came out looking like sad, unraveled bandages. You need to cut the dough properly and wrap at the right angle, and I’ll show you exactly how. This isn’t just another Pinterest recipe that looks good in photos but falls apart in real life. I’ve made the mistakes so you don’t have to.
This is the kind of recipe that makes you close your eyes after the first bite—not because it’s fancy, but because it’s so ridiculously satisfying. It’s comfort food with a costume on. Perfect for impressing the neighborhood kids without any stress, or turning a regular Tuesday into something memorable.
What Ingredients You Will Need
This recipe uses the simplest ingredients to deliver maximum cuteness and flavor. Everything is probably already in your kitchen, minus the hot dogs.
- 1 can (8 oz) refrigerated crescent roll dough (I prefer Pillsbury for consistent results—the triangles unroll perfectly for wrapping)
- 8 hot dogs (standard size works best; I use beef hot dogs for richer flavor, but any kind works)
- Mustard or candy eyes for decorating (yellow mustard gives that classic mummy look; candy eyes are extra fun for kids)
Optional but recommended:
- Cooking spray (for the baking sheet, unless you use parchment paper)
- Ketchup or ranch dressing for dipping (let’s face it, dipping is half the fun)
Ingredient notes from my kitchen: Don’t try using the reduced-fat crescent rolls—they’re harder to separate and don’t brown as nicely. Trust me on this one. For the hot dogs, I’ve tried turkey and chicken versions, and they work fine, but they shrink more during baking, so your mummies might end up with gaps. If you’re using cocktail sausages instead of full-size hot dogs, you’ll get about 16 mini mummies from one can of dough.
For a fun twist, try using cheese-filled hot dogs or smoked sausages. The cheese oozes out a little during baking and looks like mummy goo—totally intentional and delicious.
Equipment Needed
You don’t need anything fancy for these mummy pigs in a blanket. Here’s what you’ll want to have on hand:
- Baking sheet (standard half-sheet size works perfectly)
- Parchment paper or silicone baking mat (parchment makes cleanup a breeze; I’ve forgotten it before and regretted the scrubbing)
- Sharp knife or pizza cutter (a dull knife will squish the dough layers together)
- Small bowl for mustard (if you’re using a toothpick for the eyes)
- Toothpick or small brush (for dotting the eyes)
If you don’t have a pizza cutter, a sharp chef’s knife works just fine. I actually prefer using kitchen scissors for cutting the dough strips—it’s faster and less messy. Just make sure they’re clean and sharp. A basic baking sheet from the grocery store is totally fine; you don’t need expensive equipment for these to turn out perfectly.
Preparation Method
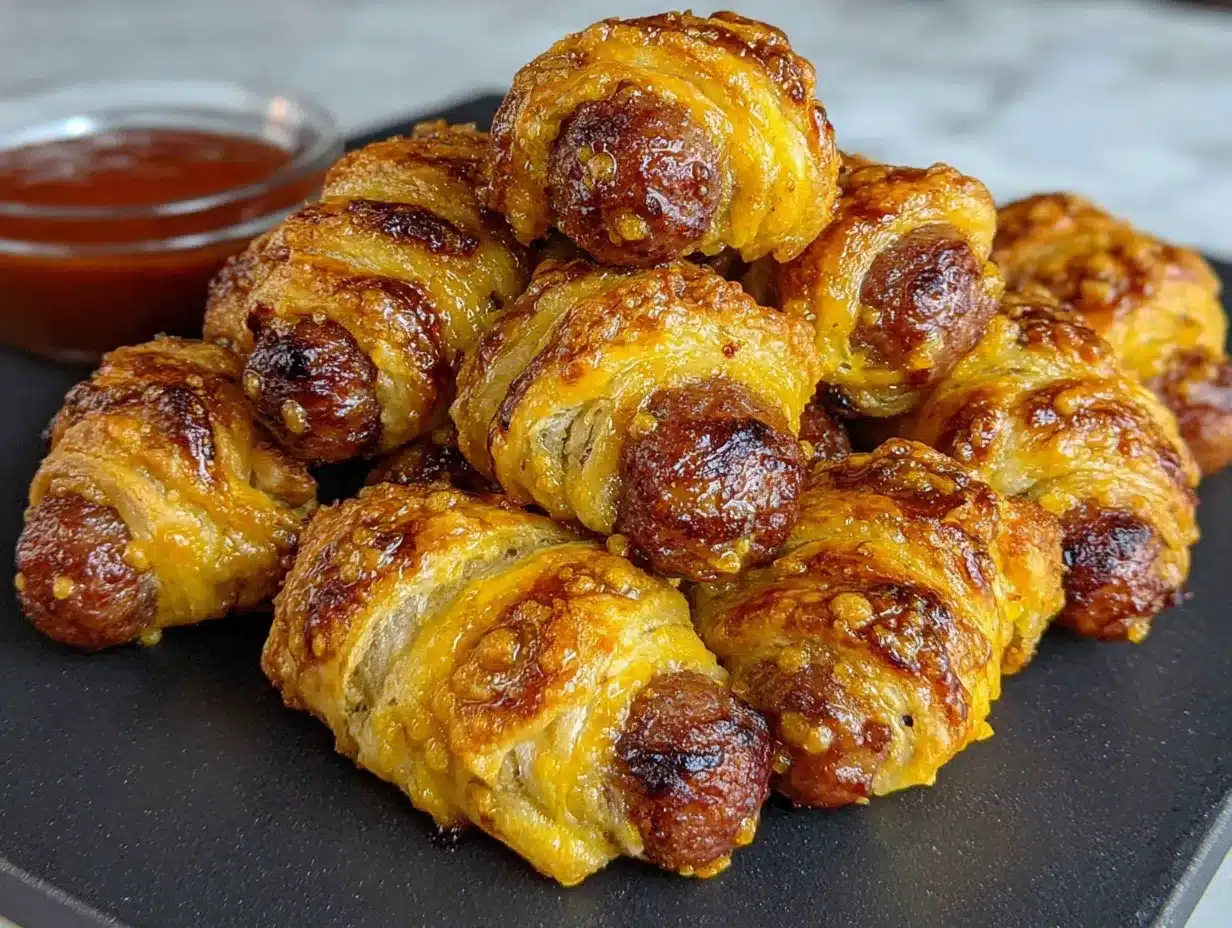
Let me walk you through this step by step. I’ve made these so many times I could do it in my sleep, but I’ll share all the little tricks I’ve learned along the way.
- Preheat your oven to 375°F (190°C). Line a baking sheet with parchment paper. This is non-negotiable for easy cleanup—trust me, the mustard dots get stuck to bare pans.
- Unroll the crescent roll dough and separate it into 8 triangles along the perforated lines. Lay them flat on a cutting board. Here’s the trick: keep the triangles in the shape they come out of the can. Don’t stretch or flatten them.
- Cut each triangle lengthwise into 3 long strips. Use a sharp knife or pizza cutter. You want thin strips—about 1/2 inch wide. If the strips are too thick, your mummies will look chunky instead of wrapped. I learned this the hard way after my first batch looked like they were wearing winter coats instead of bandages.
- Cut each hot dog in half crosswise. You’ll end up with 16 pieces total. If you’re using cocktail sausages, skip this step.
- Wrap the dough strips around each hot dog piece. Start at one end and wrap at a slight angle, overlapping the dough slightly as you go. Leave a small gap at the top for the “face” area—about 1/4 inch of exposed hot dog. Don’t wrap too tightly; the dough will expand as it bakes, and you want those little gaps to show through like authentic mummy bandages.
- Place the wrapped mummies on the prepared baking sheet, seam-side down. Leave about 1 inch of space between each one. They won’t spread much, but they need a little breathing room to brown evenly.
- Bake for 12-15 minutes, or until the dough is golden brown and the hot dogs are heated through. The exact time depends on your oven—start checking at 12 minutes. You want the dough to look crispy and slightly puffed, not doughy.
- Let them cool for 2-3 minutes on the baking sheet. This is important—if you try to add the eyes while they’re piping hot, the mustard will just slide off. Ask me how I know.
- Add the eyes. Use a toothpick to dab two small dots of mustard onto the exposed hot dog area. If you’re using candy eyes, press them gently into place while the hot dog is still warm but not hot. For extra spooky effect, you can dot the mustard eyes at slightly different heights to give your mummies personality.
Pro tip from my kitchen: If you want your mummies to look extra “wrapped,” use two strips of dough per hot dog and wrap them in opposite directions. It takes a little longer but looks amazing for parties.
Cooking Tips & Techniques
After making these mummy pigs in a blanket for three Halloweens straight, I’ve collected some wisdom I wish I’d had from the start.
The dough temperature matters. Cold dough is easier to cut and wrap. If your kitchen is warm and the dough starts getting sticky, pop it in the fridge for 5 minutes. I once tried to rush through this step on a hot August day, and the dough turned into a sticky mess that tore apart when I tried to wrap it.
Don’t overbake. The line between golden and burnt is thin with crescent rolls. They continue cooking for about a minute after you pull them out of the oven. When they look just barely golden, they’re done. I’ve definitely had a batch go from perfect to charcoal while I was answering a text message.
Make ahead tip: You can assemble these up to 4 hours ahead and keep them covered in the refrigerator. Just add 2-3 minutes to the baking time. I’ve done this for parties, and it’s a lifesaver. Don’t try freezing them assembled—the dough gets weird when it thaws.
The mustard eye trick: If you’re using mustard for the eyes, put a tiny drop on a plate first, then dip your toothpick into it. This gives you more control than trying to squeeze directly from the bottle. For candy eyes, press them in gently but firmly—they’ll fall off if you’re too delicate.
Batch baking: If you’re making a double batch, rotate your baking sheets halfway through. The top rack browns faster than the bottom rack. I learned this when one tray came out perfect and the other was pale and sad-looking.
Variations & Adaptations
These mummy pigs in a blanket are endlessly customizable. Here are some versions I’ve tried and loved:
Spicy Mummies: Brush the dough strips with a mixture of melted butter and hot sauce before wrapping. The slight kick is amazing with the salty hot dog. My neighbor tried this version and now makes it for every football party.
Cheesy Mummies: Cut a slit lengthwise in each hot dog half and stuff it with a thin strip of cheddar or pepper jack cheese before wrapping. The melted cheese that oozes out looks like mummy guts—perfectly gross and delicious.
Veggie Mummies: Use vegetarian hot dogs or smoked tofu sausages instead of meat. They work exactly the same way, just watch the baking time since they heat through faster. My sister-in-law made these for her kids, and they didn’t even notice the difference.
Breakfast Mummies: Swap the hot dogs for breakfast sausages and serve with maple syrup for dipping. This is my secret weapon for Halloween morning before school. The sweet and salty combo is unreal.
Gluten-Free Option: Use gluten-free crescent roll dough (I’ve found the brand at most grocery stores now) and check that your hot dogs are gluten-free. The texture is slightly different, but the cuteness factor remains the same.
Pizza Mummies: Brush the finished mummies with garlic butter and sprinkle with Italian seasoning before baking. Serve with marinara sauce for dipping. This might be my personal favorite variation.
Serving & Storage Suggestions
These mummy pigs in a blanket are best served warm, right after the eyes go on. The dough is crispy on the outside, soft on the inside, and the hot dog is perfectly juicy. Arrange them on a platter with a small bowl of ketchup, mustard, or ranch dressing for dipping. For Halloween parties, I like to scatter them on a black serving tray with some fake spider webs around the edges—it takes two seconds and looks so festive.
Storage: Leftover mummies keep in an airtight container in the refrigerator for up to 3 days. They won’t be as crispy as fresh, but they’re still delicious. The mustard eyes might smudge a little, so don’t worry if they look a bit messy the next day.
Reheating: The best way to reheat is in the oven or air fryer at 350°F for 3-5 minutes. The microwave works in a pinch (20 seconds), but the dough gets soft and loses that nice crispy texture. I’ve also reheated them in a toaster oven with great results.
Freezer instructions: Bake them first, let them cool completely, then freeze in a single layer on a baking sheet. Once frozen, transfer to a freezer bag. They’ll keep for up to 2 months. Reheat directly from frozen at 350°F for 8-10 minutes. Add fresh eyes after reheating for the best appearance.
One thing I’ve noticed—these actually taste even better the next day if you reheat them properly. The flavors meld together somehow, and the dough gets this extra toasty quality. Not that they usually last that long in my house.
Nutritional Information & Benefits
Per serving (2 mummy pigs in a blanket): approximately 290 calories, 18g fat, 24g carbohydrates, 9g protein. These numbers will vary based on the specific brands you use and whether you add cheese or other toppings.
While these aren’t exactly health food, they do offer some surprising benefits. Hot dogs provide protein and iron, and the crescent roll dough gives you quick energy for a night of trick-or-treating. Plus, the portion control is built in—two mummies make a satisfying snack without going overboard.
Dietary considerations: This recipe contains wheat and dairy (in the crescent rolls). For a dairy-free version, check that your crescent rolls are dairy-free—some brands are. For a lower-sodium option, use low-sodium hot dogs and reduced-fat crescent rolls. I’ve made these for kids with various allergies, and the gluten-free version works surprisingly well.
Honestly, these are a treat, and there’s nothing wrong with that. Halloween comes once a year, and these mummy pigs in a blanket are worth every bite.
Conclusion
These mummy pigs in a blanket have become my go-to Halloween recipe for a reason. They’re ridiculously easy, impossibly cute, and everyone—from picky toddlers to grown adults—loves them. The best part? You don’t need any special skills or fancy ingredients. If you can wrap a strip of dough around a hot dog, you can make these.
I’d love to hear how yours turn out. Did you add cheese? Use cocktail sausages? Did your kids help wrap them? Drop a comment below and let me know. And if you make these for a party, tag me in your photos—I genuinely get excited seeing other people’s versions of this recipe.
Go ahead, give these a try. Your Halloween just got a whole lot cuter, and you didn’t even have to break a sweat. Happy haunting, and happy eating!
Frequently Asked Questions
Can I make these mummy pigs in a blanket ahead of time?
Yes! You can assemble them up to 4 hours ahead and keep them covered in the refrigerator. Bake them just before serving for the best texture. If you need to make them further ahead, bake them first, then reheat in the oven at 350°F for 5 minutes.
What can I use instead of crescent roll dough?
Puff pastry works beautifully—just cut it into thin strips and wrap the same way. You can also use refrigerated pizza dough or even homemade pie crust. The baking time might vary slightly, so keep an eye on them.
How do I get the mustard eyes to stay on?
Make sure the hot dog surface is dry before adding the mustard. Use a toothpick to apply a tiny dot—too much mustard will slide off. Let the mummies cool for 2-3 minutes after baking so the mustard doesn’t melt and run.
Can I use cocktail sausages instead of hot dogs?
Absolutely! You’ll get about 16 mini mummies from one can of crescent rolls. Cut the dough into thinner strips (4 strips per triangle instead of 3) and reduce the baking time to 10-12 minutes. They’re perfect for appetizer platters.
How do I keep the dough from unraveling during baking?
Place the mummies seam-side down on the baking sheet, and make sure the last strip of dough is tucked under the hot dog. Don’t wrap too tightly—the dough needs room to expand. If you’re really worried, you can press the end of the dough gently to seal it.
Pin This Recipe!
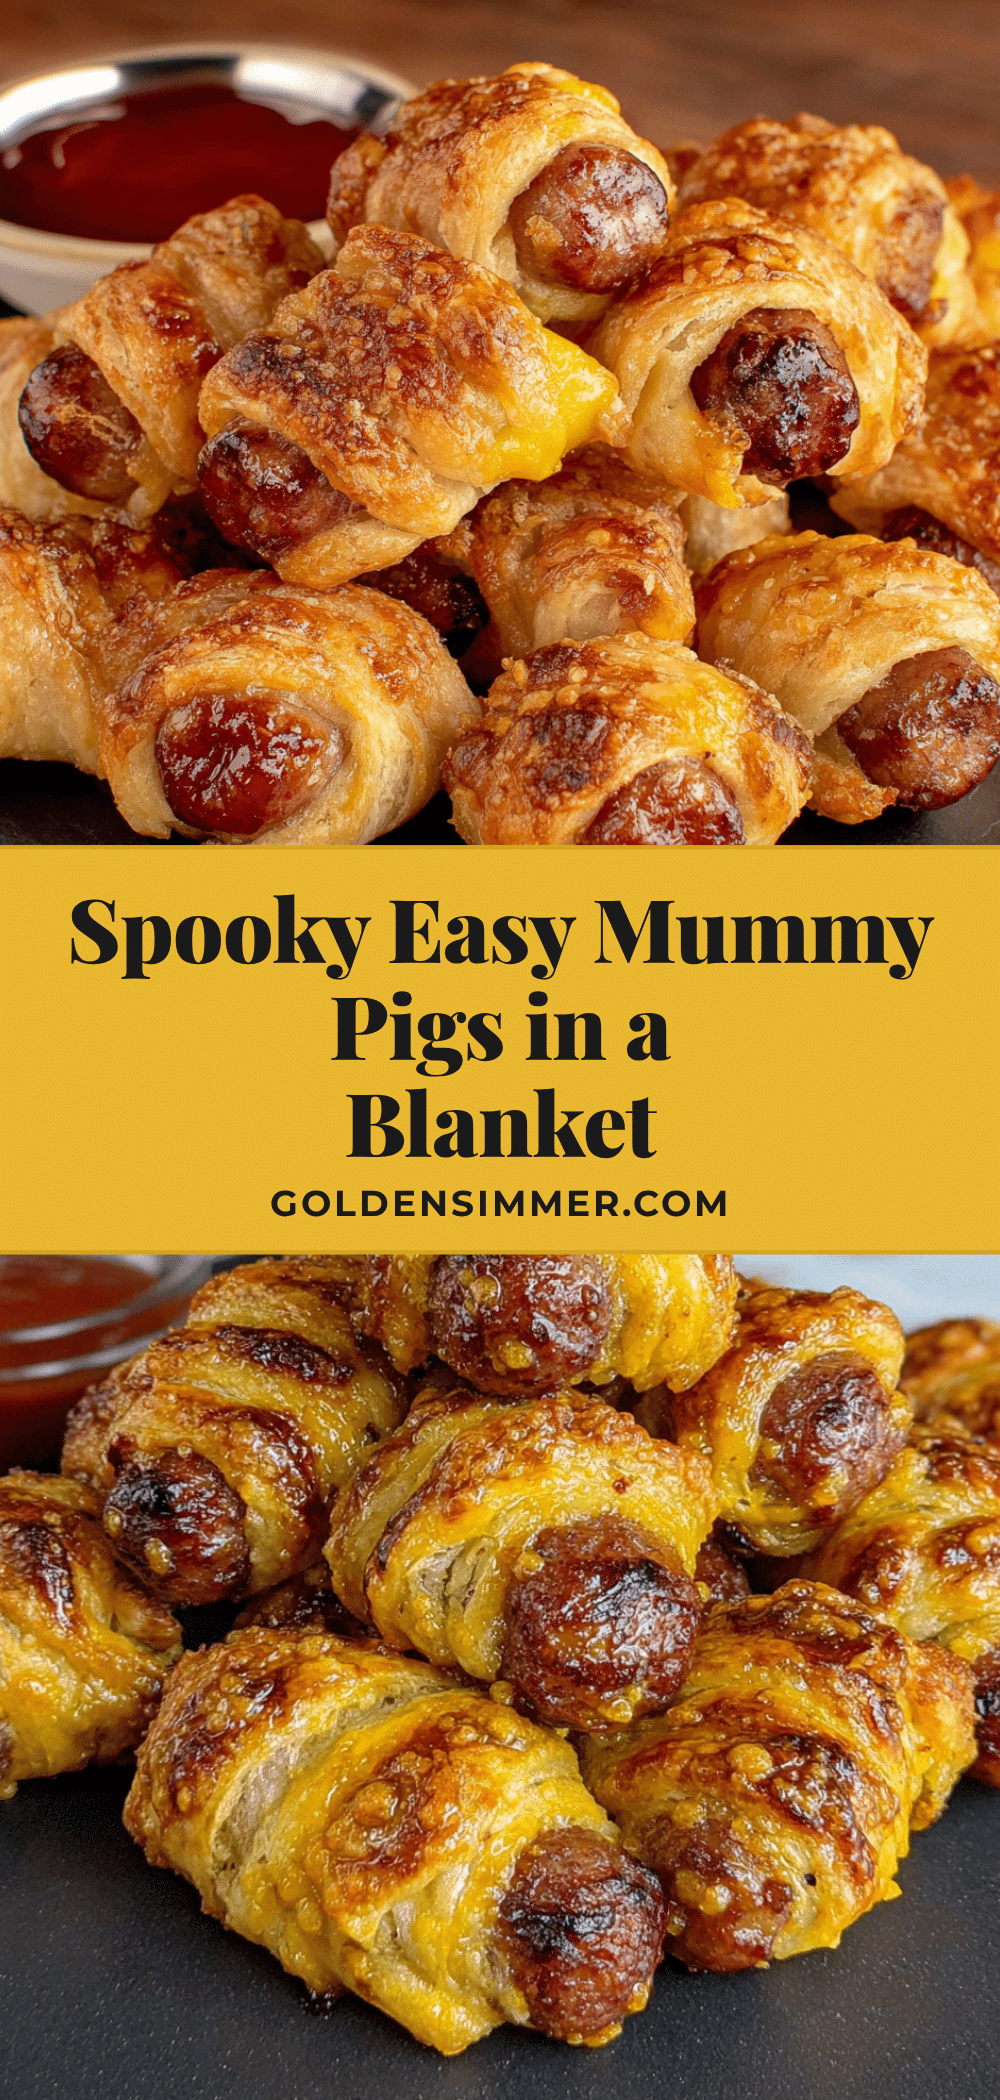
Best Easy Mummy Pigs in a Blanket Recipe

These mummy pigs in a blanket are ridiculously easy, impossibly cute, and perfect for Halloween parties or a fun weeknight dinner. Made with just three ingredients, they come together in under 25 minutes and are a guaranteed crowd-pleaser.
- Prep Time: 10 minutes
- Cook Time: 15 minutes
- Total Time: 25 minutes
- Yield: 8 servings 1x
- Category: Appetizer
- Cuisine: American
Ingredients
- 1 can (8 oz) refrigerated crescent roll dough (Pillsbury recommended)
- 8 hot dogs (standard size, beef preferred)
- Mustard or candy eyes for decorating
- Cooking spray (optional, for baking sheet)
- Ketchup or ranch dressing for dipping (optional)
Instructions
- Preheat oven to 375°F (190°C). Line a baking sheet with parchment paper.
- Unroll crescent roll dough and separate into 8 triangles along perforated lines. Keep triangles in their original shape; do not stretch or flatten.
- Cut each triangle lengthwise into 3 long strips, about 1/2 inch wide, using a sharp knife or pizza cutter.
- Cut each hot dog in half crosswise to make 16 pieces total.
- Wrap dough strips around each hot dog piece at a slight angle, overlapping slightly. Leave about 1/4 inch of hot dog exposed at the top for the face. Do not wrap too tightly.
- Place wrapped mummies seam-side down on prepared baking sheet, leaving about 1 inch of space between each.
- Bake for 12-15 minutes, until dough is golden brown and hot dogs are heated through. Start checking at 12 minutes.
- Let cool on baking sheet for 2-3 minutes before adding eyes.
- Add eyes: Use a toothpick to dab two small dots of mustard onto the exposed hot dog area, or press candy eyes gently into place while still warm.
Notes
For best results, use cold dough and avoid overbaking. Assemble up to 4 hours ahead and refrigerate; add 2-3 minutes to baking time. For extra wrapped look, use two strips of dough per hot dog wrapped in opposite directions. Mustard eyes: put a tiny drop on a plate first, then dip toothpick for better control.
Nutrition
- Serving Size: 2 mummy pigs in a bl
- Calories: 290
- Sugar: 4
- Sodium: 780
- Fat: 18
- Saturated Fat: 6
- Carbohydrates: 24
- Protein: 9
Keywords: mummy pigs in a blanket, Halloween appetizer, easy Halloween recipe, pigs in a blanket, crescent roll recipe, hot dog recipe, spooky snack, kid-friendly Halloween



