Love this? Save it for later!
Share the inspiration with your friends
This was supposed to be a layer cake. I mean, it was my niece’s fifth birthday, and in my head, I had this vision of a perfect two-tiered confection with buttercream rosettes. I had the pans greased, the butter softening on the counter, and my three-year-old son “helping” by dumping an entire container of rainbow sprinkles onto the kitchen floor. I grabbed what I thought was vanilla extract, but in my distracted state—honestly, I was already cleaning up sprinkles with one hand—I poured in a glug of almond extract instead. The kitchen smelled like a marzipan factory, the cake batter was now a disaster, and I was already running late for the party. I stood there, staring at the bowl, feeling that familiar knot of panic. Maybe you’ve been there—that moment when a recipe goes sideways and you just want to scrap the whole thing. But I didn’t have time to start over. So I did what any sane, slightly desperate person would do: I scooped the batter onto a baking sheet, threw in a handful of the salvaged sprinkles, and baked them as cookies. What came out of the oven was nothing like the plan—and honestly, it was so much better. They were soft, chewy, with that unexpected pop of almond flavor that made everyone ask for the recipe. That’s how these birthday cake cookies were born, and I’ve never looked back at a layer cake since.
Why You’ll Love This Recipe
Let me tell you, as a mom who has tested more birthday treats than I can count, these cookies are a total game-changer. They’ve been through the wringer in my kitchen—too flat, too cakey, not enough sprinkle—and this version is the one that finally stuck. They check every box for a busy family.
- Quick & Easy: From start to finish, you’re looking at about 25 minutes. No chilling, no rolling, no fuss. Perfect for those after-school birthday celebrations or when you forget it’s your turn to bring treats to the class party.
- Simple Ingredients: You probably have everything in your pantry right now. No fancy extracts or specialty flours. Just butter, sugar, eggs, and a box of cake mix—yes, cake mix. That’s the secret weapon.
- Perfect for Parties: Whether it’s a classroom celebration, a backyard barbecue, or a last-minute playdate, these cookies scream “party.” The sprinkles make them festive without any extra effort.
- Crowd-Pleaser: I’ve served these to picky toddlers, judgmental teenagers, and my mother-in-law who “doesn’t do sweets.” They disappear every single time.
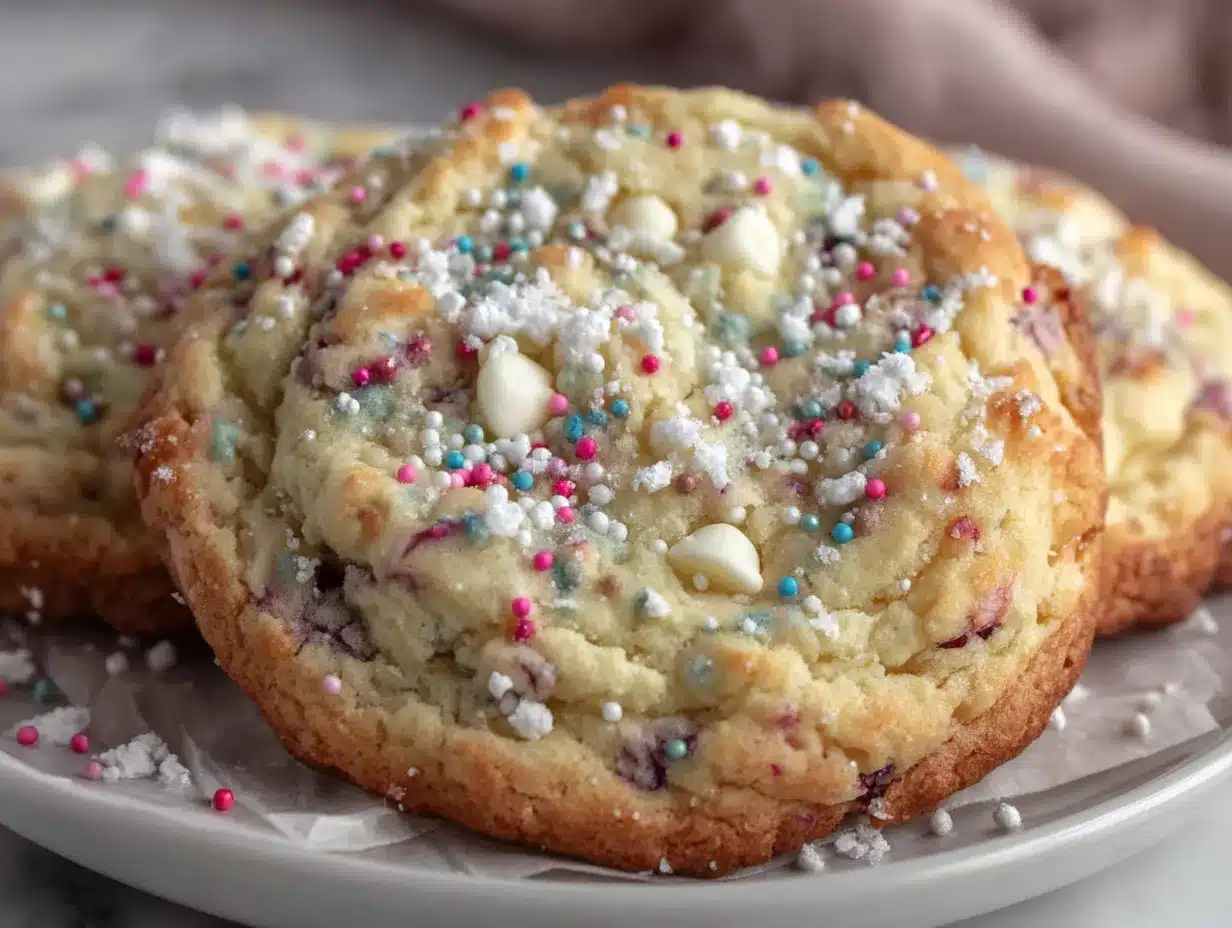
- Unbelievably Delicious: The texture is what gets me—soft and tender in the middle with slightly crisp edges. The almond flavor is subtle but unmistakable, like a really good birthday cake in cookie form.
What makes this recipe different from the dozens of other sprinkle cookie recipes out there? It’s the combination of cake mix and a touch of almond extract. The cake mix gives you that light, tender crumb without any extra work, and the almond extract adds that nostalgic birthday cake flavor that store-bought cookies just can’t match. I’ve tested this with vanilla extract too, and while it’s good, it’s not the same. Trust me on the almond.
This recipe isn’t just good—it’s the kind that makes you close your eyes after the first bite. It’s comfort food reimagined for busy families: faster than a cake, easier to serve, and with the same soul-soothing satisfaction. Plus, they reheat beautifully, so you can make them a day ahead without any guilt.
What Ingredients You Will Need
This recipe uses simple, mostly pantry-staple ingredients to deliver that classic birthday cake flavor without any complicated steps. The cake mix is the backbone here—it saves time and guarantees a soft texture every time.
- 1 box (15.25 oz) yellow cake mix — I prefer Betty Crocker or Duncan Hines for the best texture. Avoid the “pudding in the mix” varieties; they can make the cookies too dense.
- ½ cup unsalted butter, melted — Use real butter here, not margarine. It gives the cookies that rich flavor and soft center. Let it cool slightly after melting so it doesn’t cook the egg.
- 1 large egg, room temperature — Cold egg can seize the melted butter. Leave it on the counter for 15 minutes, or place it in a bowl of warm water for 5 minutes.
- 1 teaspoon almond extract — This is the magic ingredient. It gives the cookies that unmistakable birthday cake flavor. If you absolutely hate almond, you can use 1½ teaspoons of vanilla extract instead, but the flavor won’t be as nostalgic.
- ½ cup rainbow sprinkles (jimmies, not nonpareils) — This is important! Jimmies are the long, rod-shaped sprinkles. Nonpareils (the tiny round ones) tend to bleed their color into the dough and turn the cookies a muddy gray. I’ve learned this the hard way.
- Optional: ¼ cup powdered sugar for rolling — This gives the cookies a slightly crackly, bakery-style top. It’s not necessary, but it looks pretty and adds a tiny bit of sweetness.
Substitution Guidance: If you need a gluten-free option, use a gluten-free yellow cake mix—just make sure it’s the same weight (15.25 oz). For a dairy-free version, swap the butter with melted coconut oil or a plant-based butter stick. The texture will be slightly different, but still delicious. If you’re out of almond extract, vanilla extract works in a pinch, but add an extra ¼ cup of sprinkles to compensate for the missing flavor pop.
Equipment Needed
You don’t need fancy gadgets for these cookies. I’ve made them in a rented cabin with a rusty baking sheet, and they still turned out great.
- Large mixing bowl — Any bowl will do. I use my grandmother’s old ceramic one because it feels right, but a glass or stainless steel bowl works perfectly.
- Whisk or wooden spoon — A whisk works best to break up any lumps in the cake mix, but a sturdy spoon will get the job done.
- Baking sheet — A light-colored, rimmed baking sheet is ideal. Dark sheets can cause the bottoms to brown too quickly. If you only have dark sheets, reduce the oven temperature by 25°F.
- Parchment paper or silicone baking mat — This is non-negotiable for me. Without it, the cookies can stick, and you’ll lose the beautiful bottoms. Parchment paper is cheap and makes cleanup a breeze.
- Cookie scoop (1.5 tablespoon size) — This ensures even-sized cookies that bake uniformly. If you don’t have one, use two spoons to portion the dough. I’ve dropped many a lopsided cookie before I bought my scoop.
- Cooling rack — Letting the cookies cool on a rack prevents soggy bottoms. If you don’t have one, slide the parchment paper onto the counter after 5 minutes of cooling on the sheet.
Preparation Method
- Preheat your oven to 350°F (175°C). Line two baking sheets with parchment paper or silicone mats. This is a small step that makes a big difference—no scrubbing baked-on sugar later.
- In a large mixing bowl, combine the cake mix and melted butter. Stir with a whisk or wooden spoon until the mixture looks like wet sand. It will be crumbly at first, but keep stirring. The butter should be evenly distributed. If you see dry pockets, keep mixing.
- Add the egg and almond extract. Pour them directly into the bowl and stir until a soft, cohesive dough forms. It will be thick and slightly sticky—that’s exactly what you want. Don’t overmix, or the cookies will be tough. About 20 strokes after the egg is incorporated is perfect.
- Fold in the sprinkles. Gently stir them in with a spatula or spoon. Be careful not to overmix here, or the sprinkles will bleed their color. You want distinct pops of rainbow throughout the dough. If your toddler tries to “help” by dumping in extra sprinkles, just go with it—more is always better.
- Portion the dough. Using a 1.5-tablespoon cookie scoop or two spoons, scoop rounded balls of dough onto the prepared baking sheets. Space them about 2 inches apart—they will spread slightly. If you want that crackly top, roll each ball in powdered sugar before placing it on the sheet. This step is optional but highly recommended for a bakery look.
- Bake for 10-12 minutes. The cookies are done when the edges are set and just barely golden. The centers will look slightly underdone and puffy—that’s good. They will continue to set as they cool. If you overbake them, they’ll be dry and crumbly. I’ve ruined a batch by leaving them in for 14 minutes, and they were sad, crunchy disks.
- Cool on the baking sheet for 5 minutes. This is crucial. The cookies are very soft when they come out of the oven, and moving them too soon will cause them to fall apart. After 5 minutes, transfer them to a wire rack to cool completely. If you’re impatient like me, you can sneak one after 3 minutes—just be prepared for a warm, melty bite.
- Repeat with remaining dough. If you only have one baking sheet, let it cool completely between batches. Placing dough on a hot sheet will cause the butter to melt too quickly, resulting in flat cookies.
Cooking Tips & Techniques
I’ve made these cookies more times than I can count, and I’ve learned a few things the hard way. Let me save you some trouble.
Don’t skip the parchment paper. I once thought I could get away with a greased baking sheet. The cookies spread too much, stuck to the pan, and I spent 20 minutes scraping off burnt sprinkles. Parchment paper is your friend.
Watch your oven temperature. Ovens run hot or cold—mine runs about 25°F hot, so I always set it to 325°F. If your cookies are browning too quickly on the bottom but are still soft in the middle, your oven is too hot. Invest in an oven thermometer; they’re cheap and save batches.
Use room temperature ingredients. Cold egg can cause the melted butter to seize up, creating a lumpy dough. I learned this when I was rushing and pulled an egg straight from the fridge. The dough was a mess, and the cookies turned out uneven. Let your egg sit out for 15 minutes, or place it in a bowl of warm water for 5 minutes.
Measure your sprinkles carefully. I know it’s tempting to dump the whole bottle in, but too many sprinkles can make the cookies dry and crumbly. Stick to ½ cup. And please, use jimmies, not nonpareils. I once used nonpareils for a “fancier” look, and the cookies turned into a grayish, streaky mess. Not cute.
Multitasking tip: While the first batch bakes, scoop the second batch onto a piece of parchment paper. That way, when the first sheet comes out, you can slide the second batch right on. This cuts your total baking time in half.
Variations & Adaptations
These cookies are incredibly forgiving, and I’ve experimented with quite a few variations over the years. Here are some of my favorites.
- Chocolate Birthday Cake Cookies: Swap the yellow cake mix for a chocolate cake mix. Use vanilla extract instead of almond, and add ½ cup of mini chocolate chips along with the sprinkles. These are dangerously good and disappear even faster than the original.
- Confetti Funfetti Version: Use a white cake mix instead of yellow, and increase the sprinkles to ¾ cup. The white base makes the sprinkles pop even more. Add ¼ teaspoon of vanilla extract along with the almond for a more complex flavor.
- Gluten-Free Adaptation: Use a gluten-free yellow cake mix. I’ve tried this with King Arthur’s gluten-free mix, and it works beautifully. Add 1 tablespoon of milk to the dough if it seems too dry—gluten-free mixes often need a little extra liquid.
- Lemon Birthday Cookies: Replace the almond extract with lemon extract, and add 1 teaspoon of lemon zest. Use white cake mix and yellow sprinkles for a sunny, citrusy twist. These are perfect for spring parties.
- Stuffed Cookies: For an extra-special treat, flatten a scoop of dough, place a small piece of cream cheese or a chocolate truffle in the center, and wrap the dough around it. Bake as directed. The gooey center is a total surprise and always gets oohs and ahhs.
Serving & Storage Suggestions
These cookies are best served at room temperature, but I won’t judge you if you eat one warm from the sheet. They’re soft, chewy, and the sprinkles add a lovely little crunch.
For parties: Arrange them on a platter with a few extra sprinkles scattered around for visual appeal. They pair beautifully with a glass of cold milk or a scoop of vanilla ice cream for an over-the-top dessert. If you’re serving them at a birthday party, add a few candles to the platter—it’s a fun way to keep the birthday theme going.
Storage: Store the cookies in an airtight container at room temperature for up to 5 days. Place a slice of bread in the container to keep them soft—the cookies will absorb the moisture from the bread. Replace the bread slice every other day. I learned this trick from my grandmother, and it works like a charm.
Freezing: These cookies freeze beautifully. Let them cool completely, then place them in a single layer in a freezer-safe bag or container. They’ll keep for up to 3 months. To thaw, let them sit at room temperature for 15 minutes. You can also freeze the unbaked dough—scoop it into balls, freeze on a sheet tray, then transfer to a bag. Bake from frozen, adding 2-3 minutes to the baking time.
Flavor development: Honestly, these cookies taste even better the next day. The flavors meld together, and the texture becomes even softer. If you can resist eating them all on day one, you’re in for a treat on day two.
Nutritional Information & Benefits
Let’s be real—these are birthday cookies, not health food. But I’ve done the math so you know what you’re working with. Per cookie (based on 24 cookies):
| Nutrient | Amount |
|---|---|
| Calories | 145 |
| Total Fat | 7g |
| Saturated Fat | 4g |
| Carbohydrates | 20g |
| Sugar | 12g |
| Protein | 2g |
While these aren’t exactly a health food, they do use real butter and eggs, which provide some protein and healthy fats. The sprinkles, well, they’re pure joy. If you’re looking to cut back on sugar, you can reduce the sprinkles to ⅓ cup, but honestly, it’s a birthday cookie—live a little.
Dietary Considerations: These cookies contain wheat, dairy, and eggs. For a gluten-free version, use a gluten-free cake mix. For a dairy-free version, use melted coconut oil or plant-based butter. They are not suitable for vegan diets unless you use an egg replacer and vegan butter.
I personally believe that food is about balance. These cookies are for celebrations, for making memories with your kids, for those moments when you just need something sweet and nostalgic. Enjoy them without guilt.
Conclusion
These birthday cake cookies have saved me more times than I can count. They’ve been the hero of last-minute school parties, the surprise hit at family gatherings, and the treat I make when I need a little pick-me-up. They’re proof that some of the best things in life come from happy accidents—or in my case, a distracted moment with almond extract and a floor full of sprinkles.
I hope you give these a try and make them your own. Maybe you’ll add extra sprinkles, swap the extract, or stuff them with cream cheese. That’s the beauty of a simple recipe—it’s a starting point, not a rulebook. If you make them, I’d love to hear how they turned out. Drop a comment below, share a photo, or tell me about your own kitchen disaster that turned into a favorite recipe. Honestly, those are the best stories.
Happy baking, friend. May your cookies be soft, your sprinkles be bright, and your kitchen be full of joy.
Frequently Asked Questions
Can I use a different flavor of cake mix?
Absolutely! I’ve tried these with strawberry cake mix (add white chocolate chips for a real treat), lemon cake mix, and even red velvet. Just keep the other ingredients the same. The baking time might vary slightly, so keep an eye on them.
Why did my cookies turn out flat?
This usually happens for one of three reasons: your butter was too hot when you mixed it, your baking sheet was too warm when you added the dough, or your oven wasn’t hot enough. Make sure your butter is just melted, not bubbling hot, and let your baking sheet cool between batches. Also, check your oven temperature with a thermometer.
Can I make these cookies ahead of time?
Yes! You can bake them up to 3 days in advance and store them in an airtight container. They actually get softer and more flavorful after a day. You can also freeze the baked cookies for up to 3 months.
Can I use homemade cake mix instead of boxed?
You can, but the texture will be different. Boxed cake mix has special stabilizers and leavening agents that give these cookies their signature soft, tender crumb. If you want to try a homemade version, use a recipe that includes cake flour and extra leavening.
My cookies came out dry. What went wrong?
The most common culprit is overbaking. These cookies should look slightly underdone when you pull them out of the oven—the centers should be puffy and soft. They’ll continue to set as they cool. If you baked them until they were golden all over, they’ll be dry. Next time, pull them out at the 10-minute mark and let them rest on the sheet.
Pin This Recipe!
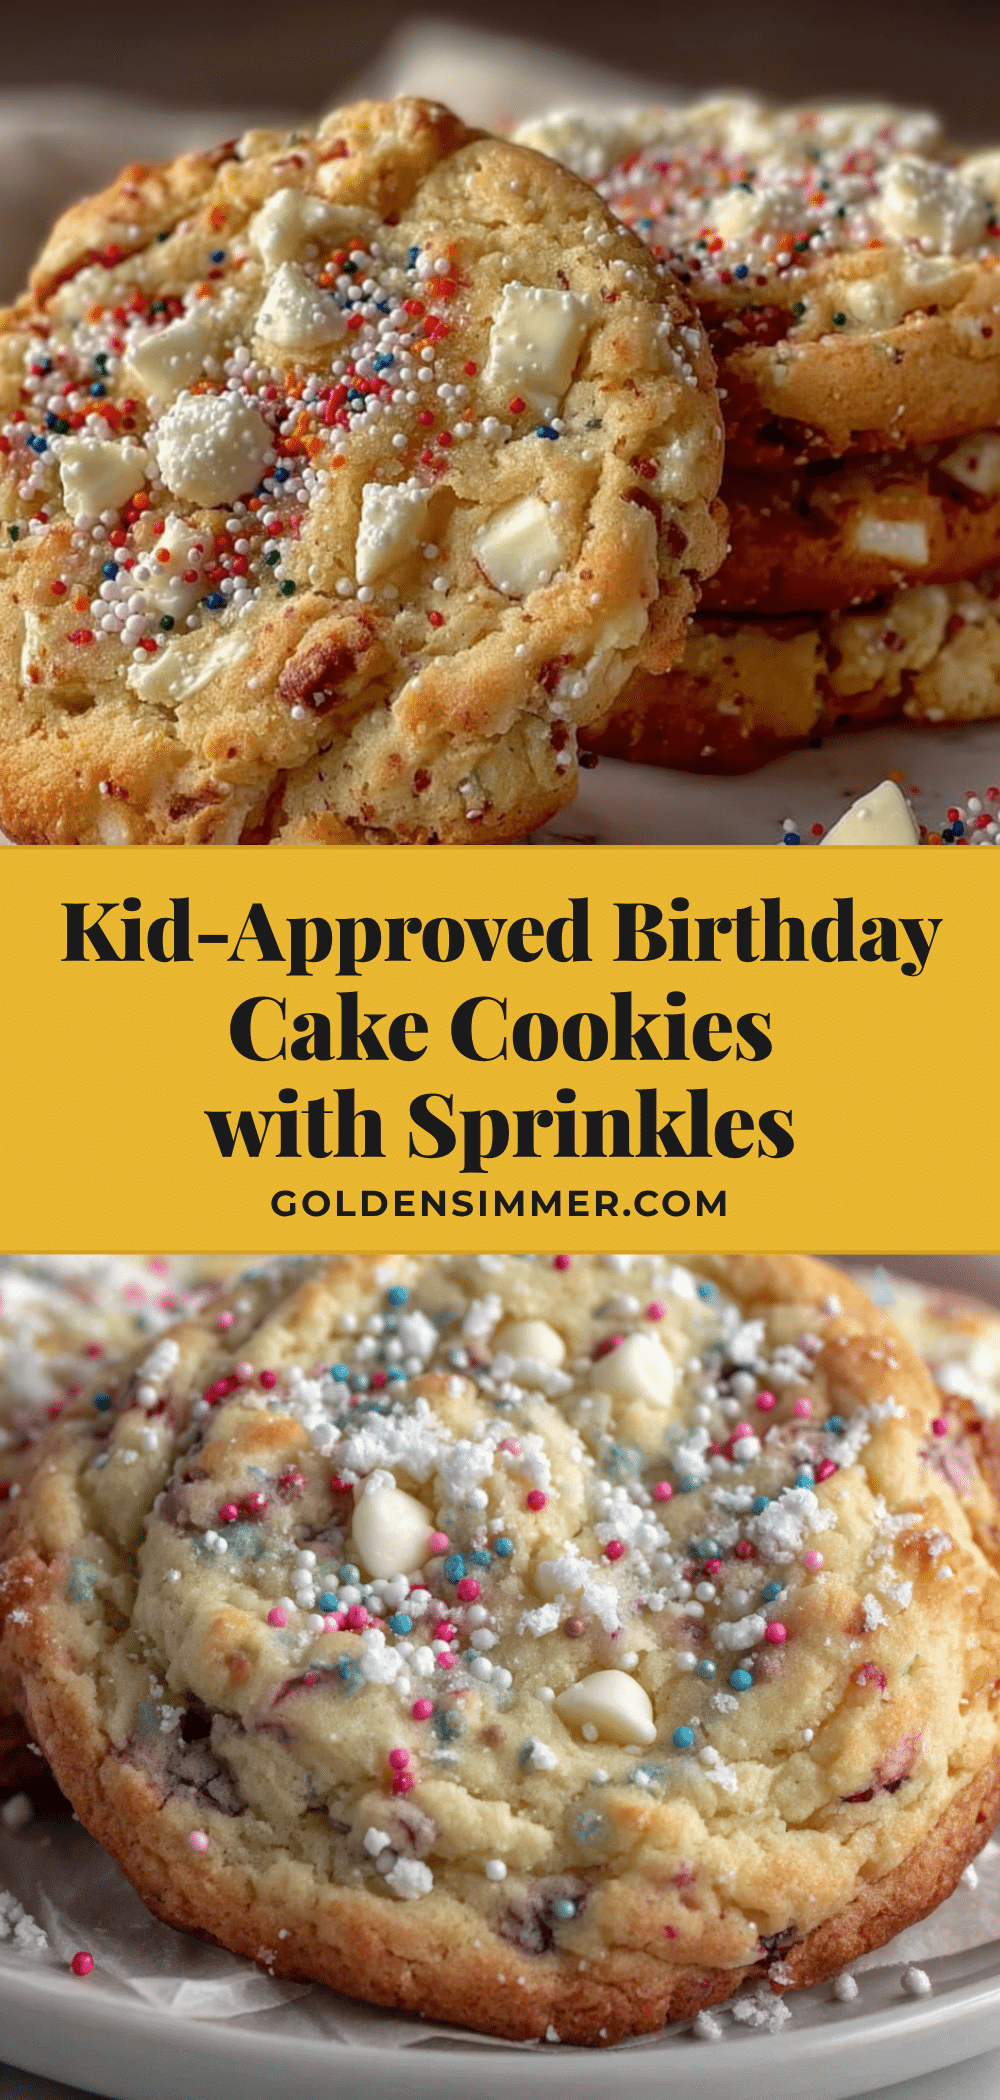
Best Kid-Approved Birthday Cake Cookies with Sprinkles

Soft, chewy birthday cake cookies made with a box of yellow cake mix and a touch of almond extract. These quick and easy cookies are perfect for parties, school celebrations, or any time you need a festive treat in under 30 minutes.
- Prep Time: 10 minutes
- Cook Time: 12 minutes
- Total Time: 25 minutes
- Yield: 24 cookies 1x
- Category: Dessert
- Cuisine: American
Ingredients
- 1 box (15.25 oz) yellow cake mix
- ½ cup unsalted butter, melted
- 1 large egg, room temperature
- 1 teaspoon almond extract
- ½ cup rainbow sprinkles (jimmies, not nonpareils)
- Optional: ¼ cup powdered sugar for rolling
Instructions
- Preheat your oven to 350°F (175°C). Line two baking sheets with parchment paper or silicone mats.
- In a large mixing bowl, combine the cake mix and melted butter. Stir with a whisk or wooden spoon until the mixture looks like wet sand.
- Add the egg and almond extract. Stir until a soft, cohesive dough forms. Do not overmix.
- Fold in the sprinkles gently with a spatula or spoon.
- Using a 1.5-tablespoon cookie scoop or two spoons, scoop rounded balls of dough onto the prepared baking sheets, spacing them about 2 inches apart. Optionally, roll each ball in powdered sugar before placing on the sheet.
- Bake for 10-12 minutes. The cookies are done when the edges are set and just barely golden. The centers will look slightly underdone and puffy.
- Cool on the baking sheet for 5 minutes, then transfer to a wire rack to cool completely.
- Repeat with remaining dough, letting the baking sheet cool completely between batches.
Notes
Use jimmies (rod-shaped sprinkles), not nonpareils, to prevent color bleeding. For a crackly top, roll dough balls in powdered sugar before baking. Cookies taste even better the next day. Store in an airtight container at room temperature for up to 5 days, or freeze for up to 3 months.
Nutrition
- Serving Size: 1 cookie
- Calories: 145
- Sugar: 12
- Sodium: 180
- Fat: 7
- Saturated Fat: 4
- Carbohydrates: 20
- Protein: 2
Keywords: birthday cake cookies, sprinkle cookies, cake mix cookies, easy cookie recipe, kid-friendly cookies, party cookies



