Love this? Save it for later!
Share the inspiration with your friends
A few autumns ago, I was at a tiny farm stand run by an older woman named Eileen. She watched me pick up and put down the same bunch of pears three times, clearly unsure what to do with them. She didn’t say anything at first, just wiped her hands on her apron and finally said, “You’re overthinking it. Roast them. They’ll tell you what to do next.” I laughed, bought the pears, and walked away with no real plan. Honestly, I almost let them sit on the counter until they went soft. But that night, I tossed a few sliced pears with a little maple syrup and a pinch of salt, threw them in the oven, and waited. The smell that filled my kitchen was ridiculous—sweet, warm, like something you’d want to bottle. I tossed those roasted pears over some greens with walnuts and a crumble of blue cheese, and let me tell you, I felt like I’d stumbled onto something secret. Maybe you’ve been there—when a simple idea turns into a recipe you can’t stop thinking about. That’s this salad. It’s the kind of dish that makes you wonder why you don’t roast everything. I’ve made it for dinner parties, for solo lunches, and for nights when I need something that feels special without much effort. Eileen was right. The pears really did tell me what to do next.
Why You’ll Love This Recipe
Let’s be real for a second—salads can be boring. But this Maple Roasted Pear and Walnut Salad with Blue Cheese is not that. It’s the salad that gets asked for by name. Here’s why it works so well:
- Quick & Easy: From start to finish, you’re looking at about 25 minutes. Most of that is hands-off roasting time.
- Simple Ingredients: No hunting down obscure items. Pears, maple syrup, walnuts, blue cheese, and a few pantry staples. That’s it.
- Perfect for Fall Gatherings: This salad screams autumn. It’s gorgeous on a Thanksgiving table or a casual Sunday dinner spread.
- Crowd-Pleaser: Even people who claim they don’t like blue cheese end up going back for seconds. Something about the sweet roasted pears balances it perfectly.
- Unbelievably Delicious: The warm, caramelized pears against the cool, creamy blue cheese and the crunch of toasted walnuts? It’s a texture party, and everyone’s invited.
What makes this version different from other pear salads? Most recipes just toss raw pears in and call it a day. Roasting changes everything. It concentrates the sweetness, softens the texture, and creates this almost jammy quality that pairs beautifully with the tangy cheese. I’ve tested this with different types of pears, different nuts, and different dressings. This combination? It’s the one. It’s not just another salad—it’s the one that makes you close your eyes after the first bite. It’s comfort food disguised as something healthy, and honestly, that’s my favorite kind of meal.
What Ingredients You Will Need
This recipe relies on simple, wholesome ingredients that work together to create something memorable. Most of these are probably already in your kitchen, or at least easy to find at any grocery store.
- Pears (2 large, firm but ripe): Bosc or Bartlett work best here. They hold their shape during roasting and have a lovely sweetness. Look for pears that yield slightly to pressure near the stem but aren’t mushy.
- Pure Maple Syrup (3 tablespoons): Please use the real stuff, not pancake syrup. Grade A dark amber adds a deeper flavor, but any pure maple syrup works. (I’ve used Maple Grove Farms and Coaticook with great results.)
- Walnuts (1/2 cup, roughly chopped): Toasting them brings out their natural oils and makes them crunchier. You can use pecans if that’s what you have, but walnuts have that slightly bitter edge that plays so well with the sweet pears.
- Blue Cheese (1/3 cup, crumbled): Gorgonzola or Roquefort are my go-to choices. They’re creamy, tangy, and salty all at once. If you’re nervous about blue cheese being too strong, start with a milder Gorgonzola dolce.
- Mixed Greens (5 cups): Arugula adds a peppery kick that cuts through the richness. A mix of baby spinach and arugula is my favorite combo. Spring mix works too.
- Olive Oil (3 tablespoons): Use a good quality extra virgin olive oil for the dressing. It makes a difference.
- Apple Cider Vinegar (2 tablespoons): This adds brightness and balances the sweetness of the maple syrup. White wine vinegar works in a pinch.
- Dijon Mustard (1 teaspoon): Helps emulsify the dressing and adds a subtle tang.
- Salt and Black Pepper (to taste): Flaky sea salt is nice for finishing the salad, but regular salt works fine.
- Optional: Dried Cranberries (1/4 cup): Adds another layer of sweetness and a chewy texture. I throw them in when I want the salad to feel extra festive.
Substitution note: For a dairy-free version, skip the blue cheese and add a handful of toasted pumpkin seeds for crunch. The salad still works beautifully.
Equipment Needed
You don’t need much fancy equipment for this one. Here’s what I use:
- Baking Sheet: A rimmed baking sheet is best to catch any maple syrup drips. Line it with parchment paper for easy cleanup—trust me on this one.
- Chef’s Knife: A sharp knife makes slicing pears clean and safe. Dull knives are more dangerous than sharp ones, honestly.
- Cutting Board: Any sturdy board works. I prefer wood, but plastic is fine.
- Small Bowl: For whisking the dressing together. A mason jar with a lid works even better—just shake it up.
- Whisk or Fork: For emulsifying the dressing. A fork does the job if your whisk is dirty.
- Large Salad Bowl: Something wide enough to toss everything without spilling greens everywhere.
- Small Skillet: For toasting the walnuts. You can use the oven, but a skillet is faster and gives you more control.
If you don’t have a baking sheet, a cast iron skillet works beautifully for roasting the pears. It actually gives them a slightly better caramelization. Just keep an eye on them so they don’t burn.
Preparation Method
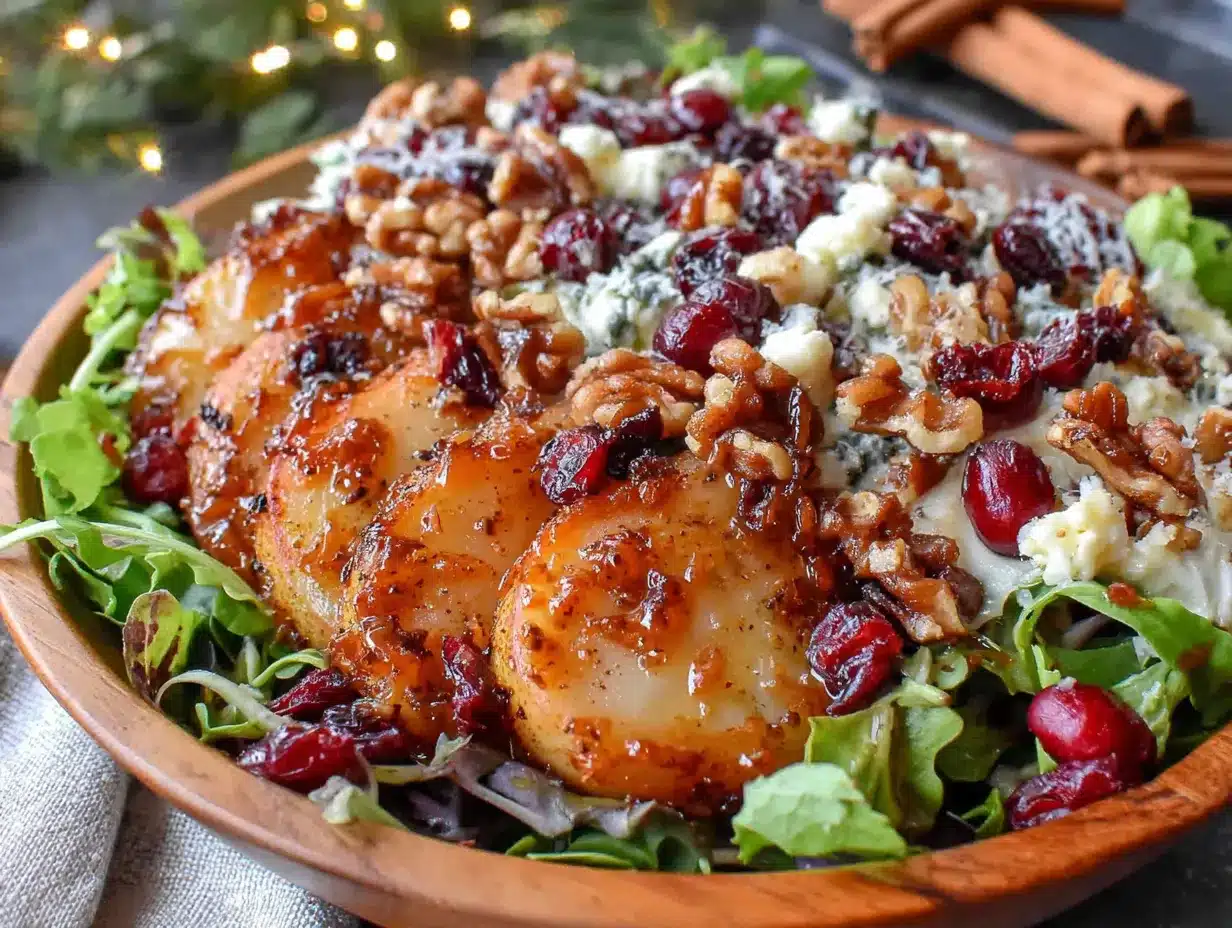
- Preheat your oven to 400°F (200°C). Line a baking sheet with parchment paper. This makes cleanup a breeze and prevents the pears from sticking.
- Prepare the pears: Wash and dry the pears. Cut them in half lengthwise, then remove the core with a melon baller or a small spoon. Slice each half into 4-5 wedges, about 1/2-inch thick. You want them uniform so they roast evenly. (I once cut them too thin, and they turned into mush. Learn from my mistake.)
- Coat the pears: In a medium bowl, toss the pear wedges with 2 tablespoons of maple syrup and a pinch of salt. Make sure each piece is lightly coated. Arrange them in a single layer on the prepared baking sheet, cut side up if possible.
- Roast the pears: Roast for 15-18 minutes, flipping halfway through. They should be tender when pierced with a fork and have golden, slightly caramelized edges. The kitchen will smell incredible at this point. Remove from the oven and let them cool for about 5 minutes—they’re too hot to handle right away.
- Toast the walnuts: While the pears roast, place the chopped walnuts in a small dry skillet over medium heat. Stir frequently for 3-4 minutes until they’re fragrant and lightly browned. Watch them carefully—they go from toasted to burnt in seconds. I’ve definitely ruined a batch by walking away to check my phone. Transfer to a plate to cool.
- Make the dressing: In a small bowl or mason jar, combine the remaining 1 tablespoon of maple syrup, olive oil, apple cider vinegar, Dijon mustard, and a pinch of salt and pepper. Whisk or shake until emulsified. Taste and adjust—maybe more vinegar if you like it tangier, more maple if you want it sweeter.
- Assemble the salad: In a large bowl, add the mixed greens. Pour about half the dressing over the greens and toss gently to coat. You want every leaf to have a little shine without being soggy.
- Top and serve: Arrange the roasted pear wedges over the dressed greens. Sprinkle the toasted walnuts and crumbled blue cheese on top. If using dried cranberries, scatter them over now. Drizzle the remaining dressing over everything, or serve it on the side for people to add themselves.
- Finish with a pinch of flaky sea salt: This tiny step makes a big difference. It brings out all the flavors and adds a little crunch.
Cooking Tips & Techniques
I’ve made this Maple Roasted Pear and Walnut Salad with Blue Cheese more times than I can count, and I’ve picked up a few tricks along the way. Here’s what I wish someone had told me:
Don’t skip the toasting step for the walnuts. Raw walnuts are fine, but toasted walnuts are a whole different experience. The heat releases their oils and makes them crunchier and more flavorful. It takes four minutes. Just do it.
Watch your pears like a hawk. The line between perfectly roasted and overly soft is thin. Start checking at the 12-minute mark. You want them tender but not falling apart. Different ovens run at different temperatures, so trust your eyes and a fork, not just the timer.
Make the dressing in advance. It actually gets better after sitting for an hour or two. The flavors meld together, and the maple syrup really shines. Just give it a good shake before using.
Warm pears on cold greens is a beautiful thing. The slight warmth from the roasted pears wilts the greens just a tiny bit, making the whole salad feel cozy. If your pears have cooled completely, pop them in the microwave for 10 seconds before adding them to the salad.
One mistake I made early on: I used a very strong blue cheese and overwhelmed the whole dish. If you’re new to blue cheese, start with a mild one. You can always add more, but you can’t take it out once it’s crumbled in.
Variations & Adaptations
This recipe is flexible, and I love playing around with it. Here are some variations I’ve tried and loved:
- Dairy-Free Version: Swap the blue cheese for crumbled vegan feta or just leave it out entirely. Add toasted pumpkin seeds for extra crunch. The salad still feels complete.
- Add Protein: Grilled chicken, sliced steak, or even roasted chickpeas turn this into a full meal. I’ve added leftover roasted chicken before, and it was perfect for lunch the next day.
- Switch the Nuts: Pecans, candied almonds, or even pine nuts work beautifully. Each brings a slightly different texture and flavor. Candied pecans make this feel extra indulgent.
- Change the Cheese: Goat cheese is a fantastic substitute. It’s creamy and tangy without being as pungent as blue cheese. Feta works too, especially if you want something saltier.
- Seasonal Swap: In summer, use fresh peaches or nectarines instead of pears. The roasting technique works exactly the same, and the result is just as stunning.
- Add Some Heat: A pinch of red pepper flakes in the dressing adds a subtle warmth that plays surprisingly well with the sweet maple and salty cheese. I tried this on a whim and now I do it half the time.
Serving & Storage Suggestions
This salad is best served immediately while the pears are still slightly warm and the greens are fresh. I like to serve it on a large platter rather than a bowl—it looks more impressive, and guests can see all the beautiful layers.
What to serve alongside it: This salad pairs beautifully with a bowl of roasted butternut squash soup for a cozy fall meal. It also works as a side for roast chicken, grilled pork chops, or even a simple quiche. For a drink, a crisp apple cider or a dry Riesling complements the flavors perfectly.
Storage: If you have leftovers (which is rare in my house), store the components separately. The dressed greens will get soggy quickly, so keep them in an airtight container without dressing. Roasted pears can be stored in the fridge for up to 3 days. Walnuts and blue cheese should be kept in separate containers. When you’re ready to eat, just reheat the pears briefly and assemble fresh greens.
Reheating: Pop the pears in a 350°F oven for 5 minutes or microwave for 15-20 seconds. They won’t be as perfect as fresh, but they’re still delicious.
Flavor development: The dressing actually gets better after a day in the fridge. The maple flavor deepens, and the vinegar mellows out. Make it a day ahead if you can.
Nutritional Information & Benefits
This salad is as nutritious as it is delicious. Here’s an approximate breakdown per serving (based on 4 servings):
Calories: 320 | Fat: 22g | Carbohydrates: 28g | Fiber: 5g | Protein: 8g | Sugar: 18g
Health highlights: Pears are packed with fiber and vitamin C. Walnuts are a great source of omega-3 fatty acids, which support heart health. Blue cheese provides calcium and protein, though it’s higher in sodium, so go easy if you’re watching your salt intake. The mixed greens add a boost of antioxidants and vitamins A and K.
Dietary considerations: This recipe is naturally vegetarian and can be made gluten-free easily (just check your vinegar and mustard labels). For a lower-calorie version, reduce the walnuts and cheese by half. For a lower-sugar option, use only 1 tablespoon of maple syrup in the dressing and skip the dried cranberries.
Honestly, I love that this salad feels indulgent but is actually pretty good for you. It’s the kind of meal that leaves you satisfied without feeling heavy.
Conclusion
This Maple Roasted Pear and Walnut Salad with Blue Cheese is more than just a recipe—it’s a reminder that sometimes the simplest ideas turn into the most memorable dishes. The roasted pears bring sweetness and warmth, the walnuts add crunch, and the blue cheese ties it all together with its creamy tang. It’s perfect for fall gatherings, quiet dinners, or any time you want to impress without stress.
I hope you make this salad your own. Add extra cheese if that’s your thing. Throw in some dried cherries. Skip the nuts if you’re out. The beauty of this recipe is that it works with what you have. And if you try it, I’d love to hear how it went. Drop a comment below or tag me in your photos—I genuinely get excited seeing your versions. Until next time, happy cooking, and remember: when in doubt, roast the pears.
Frequently Asked Questions
Can I make this salad ahead of time?
You can prep the components ahead, but I recommend assembling the salad just before serving. Roast the pears, toast the walnuts, and make the dressing up to a day in advance. Store everything separately in the fridge, then toss together when you’re ready to eat.
What type of pears work best for roasting?
Bosc and Bartlett pears are my top choices. They’re firm enough to hold their shape during roasting and have a natural sweetness that intensifies in the oven. Avoid very soft or overripe pears—they’ll turn mushy.
Can I use a different type of cheese?
Absolutely. Goat cheese, feta, or even a sharp cheddar work well here. Each brings a different flavor profile, so feel free to experiment based on what you have or prefer.
Is this salad gluten-free?
Yes, as written, this recipe is naturally gluten-free. Just double-check your Dijon mustard and apple cider vinegar labels to ensure no gluten-containing additives are present. Most brands are safe, but it’s always good to verify.
How do I keep the walnuts from burning when toasting?
Stay close to the stove and stir frequently. Walnuts toast quickly, usually within 3-4 minutes over medium heat. As soon as they smell nutty and look slightly darker, transfer them to a plate immediately. They’ll continue cooking from residual heat, so don’t wait until they look fully done in the pan.
Pin This Recipe!
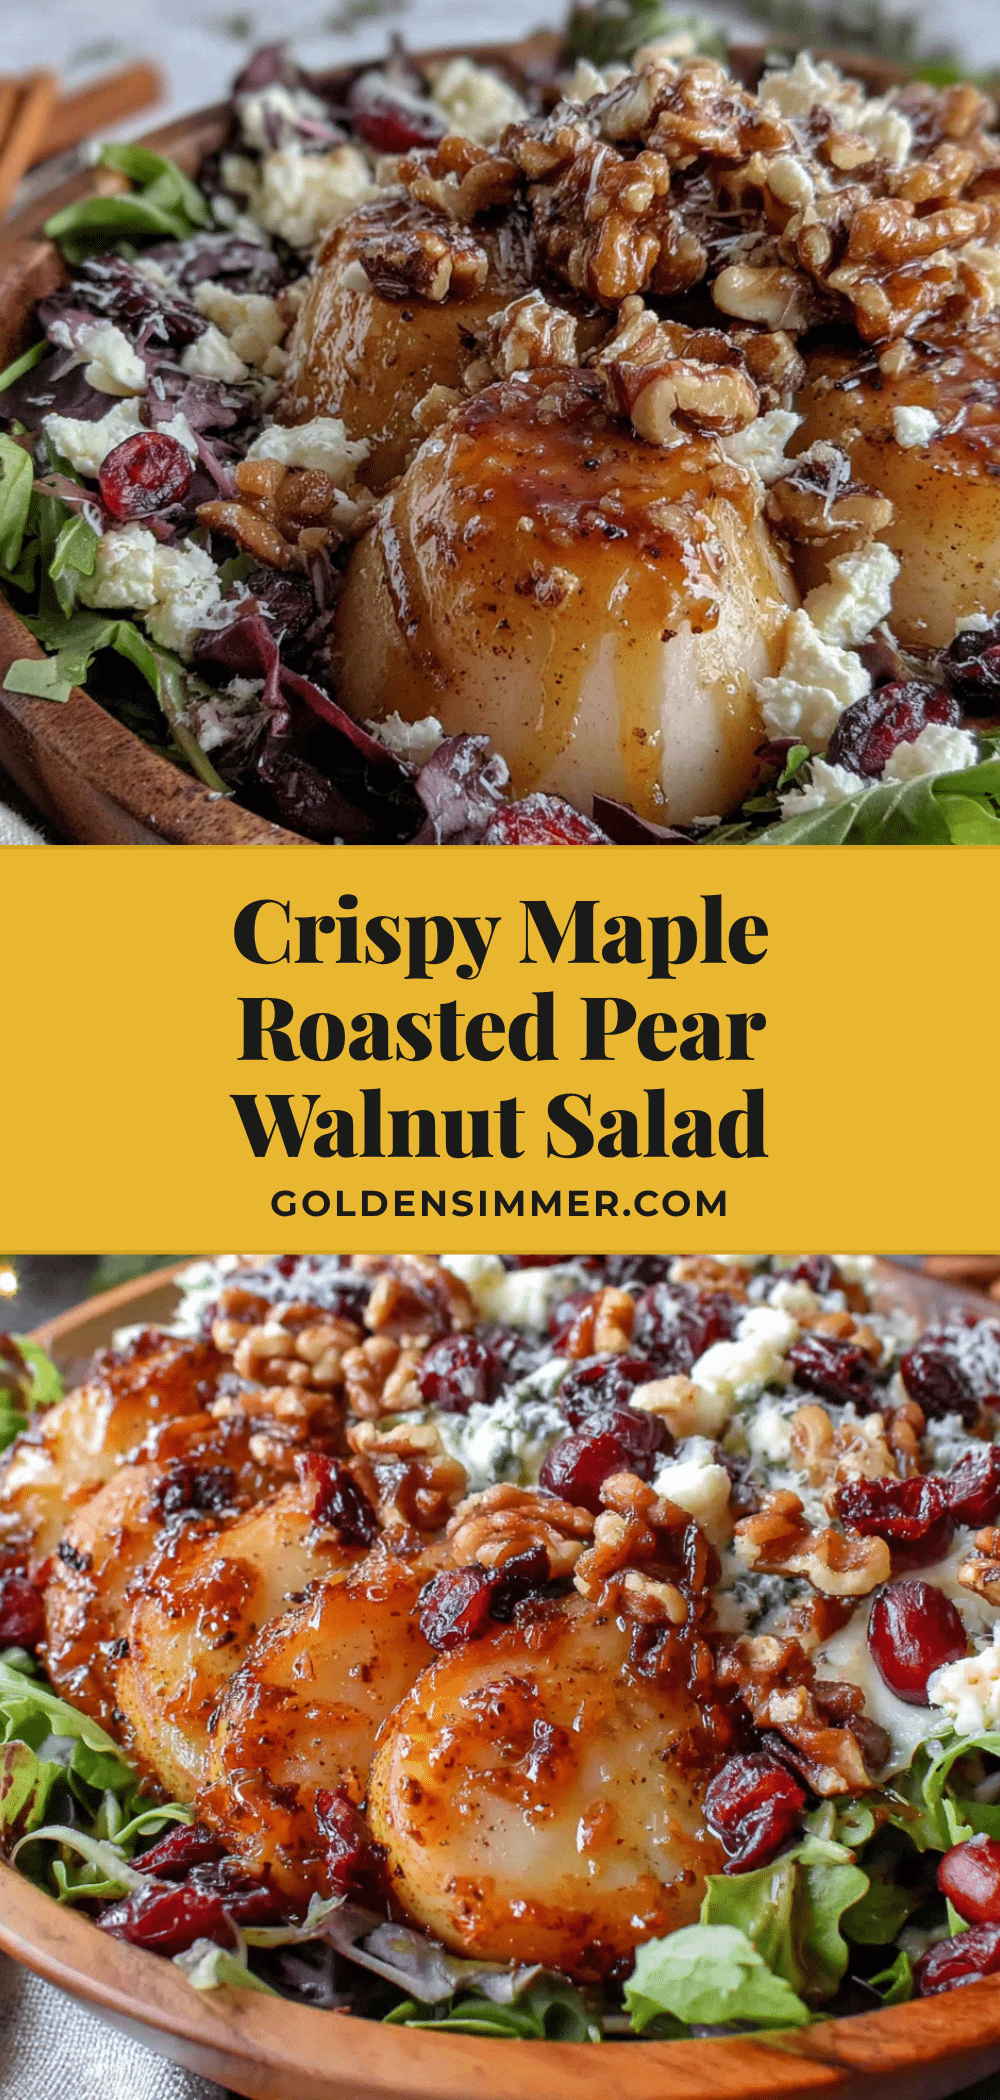
Best Maple Roasted Pear & Walnut Salad

A simple yet stunning fall salad featuring warm roasted pears, crunchy toasted walnuts, and creamy blue cheese over mixed greens with a maple-Dijon dressing. It’s the perfect balance of sweet, savory, and tangy.
- Prep Time: 10 minutes
- Cook Time: 18 minutes
- Total Time: 28 minutes
- Yield: 4 servings 1x
- Category: Salad
- Cuisine: American
Ingredients
- 2 large firm but ripe pears (Bosc or Bartlett)
- 3 tablespoons pure maple syrup, divided
- 1/2 cup walnuts, roughly chopped
- 1/3 cup blue cheese, crumbled (Gorgonzola or Roquefort)
- 5 cups mixed greens (arugula and baby spinach recommended)
- 3 tablespoons extra virgin olive oil
- 2 tablespoons apple cider vinegar
- 1 teaspoon Dijon mustard
- Salt and black pepper to taste
- Optional: 1/4 cup dried cranberries
- Flaky sea salt for finishing
Instructions
- Preheat oven to 400°F (200°C). Line a baking sheet with parchment paper.
- Wash and dry pears. Cut in half lengthwise, remove core, and slice each half into 4-5 wedges about 1/2-inch thick.
- In a medium bowl, toss pear wedges with 2 tablespoons maple syrup and a pinch of salt. Arrange in a single layer on prepared baking sheet, cut side up if possible.
- Roast for 15-18 minutes, flipping halfway, until tender and caramelized. Let cool for 5 minutes.
- While pears roast, toast walnuts in a dry skillet over medium heat, stirring frequently, for 3-4 minutes until fragrant. Transfer to a plate to cool.
- Make dressing: In a small bowl or jar, combine remaining 1 tablespoon maple syrup, olive oil, apple cider vinegar, Dijon mustard, and a pinch of salt and pepper. Whisk or shake until emulsified.
- In a large bowl, add mixed greens and toss with half the dressing.
- Top with roasted pears, toasted walnuts, crumbled blue cheese, and dried cranberries if using. Drizzle with remaining dressing.
- Finish with a pinch of flaky sea salt and serve immediately.
Notes
For dairy-free, omit blue cheese and add toasted pumpkin seeds. For extra protein, add grilled chicken or roasted chickpeas. The dressing can be made a day ahead and improves with time.
Nutrition
- Serving Size: 1 serving
- Calories: 320
- Sugar: 18
- Sodium: 350
- Fat: 22
- Saturated Fat: 5
- Carbohydrates: 28
- Fiber: 5
- Protein: 8
Keywords: maple roasted pear salad, pear walnut salad, fall salad, blue cheese salad, roasted pear salad, easy salad recipe



