Love this? Save it for later!
Share the inspiration with your friends
“Lunchboxes were due in less than an hour and I was staring at an empty pantry,” I remember thinking with a mild sense of panic. Honestly, everyone else seemed to have these elaborate homemade meals, while I had… well, a jar of peanut butter and a bag of oats. The school event was a last-minute thing, and I had absolutely no time to bake anything fancy or run to the store. But then, in a moment of desperate inspiration (and maybe a little caffeine-fueled determination), the idea for these easy no-bake peanut butter granola bars came to life.
I remember juggling a cracked mixing bowl and a phone call from a frazzled friend while stirring the ingredients together. The kitchen was a mess, and I was certain these bars would flop. But you know that feeling when a simple recipe surprises you? These bars not only held together perfectly but also vanished faster than I could pack the lunchboxes. I mean, who knew something so quick could become a staple?
Since that hectic afternoon, these no-bake peanut butter granola bars have been my go-to solution for lunchboxes, snacks, and even an emergency sweet fix. Maybe you’ve been there, too—scrambling last minute with nothing but pantry staples. This recipe stuck with me because it’s fuss-free, kid-approved, and honestly, pretty delicious with that comforting peanut butter flavor. Let me tell you, it’s a lifesaver when time is not on your side but you still want to pack something homemade and wholesome.
Why You’ll Love This Recipe
After multiple trials and a few kitchen mishaps, I can confidently say this easy no-bake peanut butter granola bars recipe is a winner for busy days and lunchbox packing chaos. Here’s why it’s so special:
- Quick & Easy: Ready in under 15 minutes, no oven required—perfect for those last-minute lunchbox moments or snack cravings.
- Simple Ingredients: Uses pantry staples like oats, peanut butter, and honey, so you probably already have everything on hand.
- Perfect for Lunchboxes: These bars hold together well, don’t get messy, and stay fresh for days—ideal for school or work meals.
- Crowd-Pleaser: Kids and adults alike love the chewy texture and that classic peanut butter taste.
- Unbelievably Delicious: The balance of sweet and nutty flavors, combined with a hint of vanilla and a touch of salt, makes these bars truly comforting.
This recipe isn’t just another granola bar. I’ve perfected the ratio of sticky peanut butter to oats to create bars that aren’t too crumbly or too dense. Plus, using natural peanut butter gives it a rich, authentic flavor without the artificial aftertaste. Honestly, it’s like the granola bar version of a peanut butter hug in every bite. Whether you’re packing lunchboxes or need a quick energy boost, this recipe has got your back.
What Ingredients You Will Need
This recipe uses simple, wholesome ingredients to deliver bold flavor and a satisfying texture without the fuss. All are pantry staples, and substitutions are easy if needed.
- Old-fashioned rolled oats (2 cups / 180g) – The hearty base providing chewiness and fiber.
- Natural creamy peanut butter (1 cup / 240g) – I recommend a brand like Smucker’s Natural for the best texture and flavor.
- Honey (¼ cup / 85g) – Acts as the natural sweetener and binder; maple syrup works well for a vegan option.
- Vanilla extract (1 teaspoon) – Adds a warm, sweet aroma that rounds out the flavors.
- Salt (½ teaspoon) – Just a pinch to balance the sweetness and enhance peanut butter’s flavor.
- Optional mix-ins:
- Mini chocolate chips (½ cup / 90g) – For a sweet, melty surprise.
- Chopped nuts (¼ cup / 30g) – Adds crunch and extra protein.
- Dried cranberries or raisins (¼ cup / 40g) – For a chewy fruity twist.
For gluten-free needs, swap the oats with certified gluten-free oats. If peanut allergies are a concern, sunflower seed butter makes a great substitute without sacrificing creaminess. These bars adapt well depending on what you have in the pantry.
Equipment Needed
Thankfully, this recipe requires minimal equipment, making it accessible for any kitchen setup. Here’s what you’ll need:
- A large mixing bowl – Preferably one with high sides to avoid spills while stirring.
- A sturdy spatula or wooden spoon – For mixing sticky ingredients thoroughly.
- 8×8 inch (20×20 cm) square baking pan – To shape the bars; a silicone or glass pan works best.
- Parchment paper – To line the pan for easy removal of bars.
- Measuring cups and spoons – Accuracy helps the bars hold together well.
If you don’t have a square baking pan, a loaf pan or even a rimmed baking sheet works fine—just adjust the thickness of the bars accordingly. I’ve found that lining the pan with parchment paper and leaving some overhang makes lifting the bars out a breeze, no crumbling mess!
Preparation Method
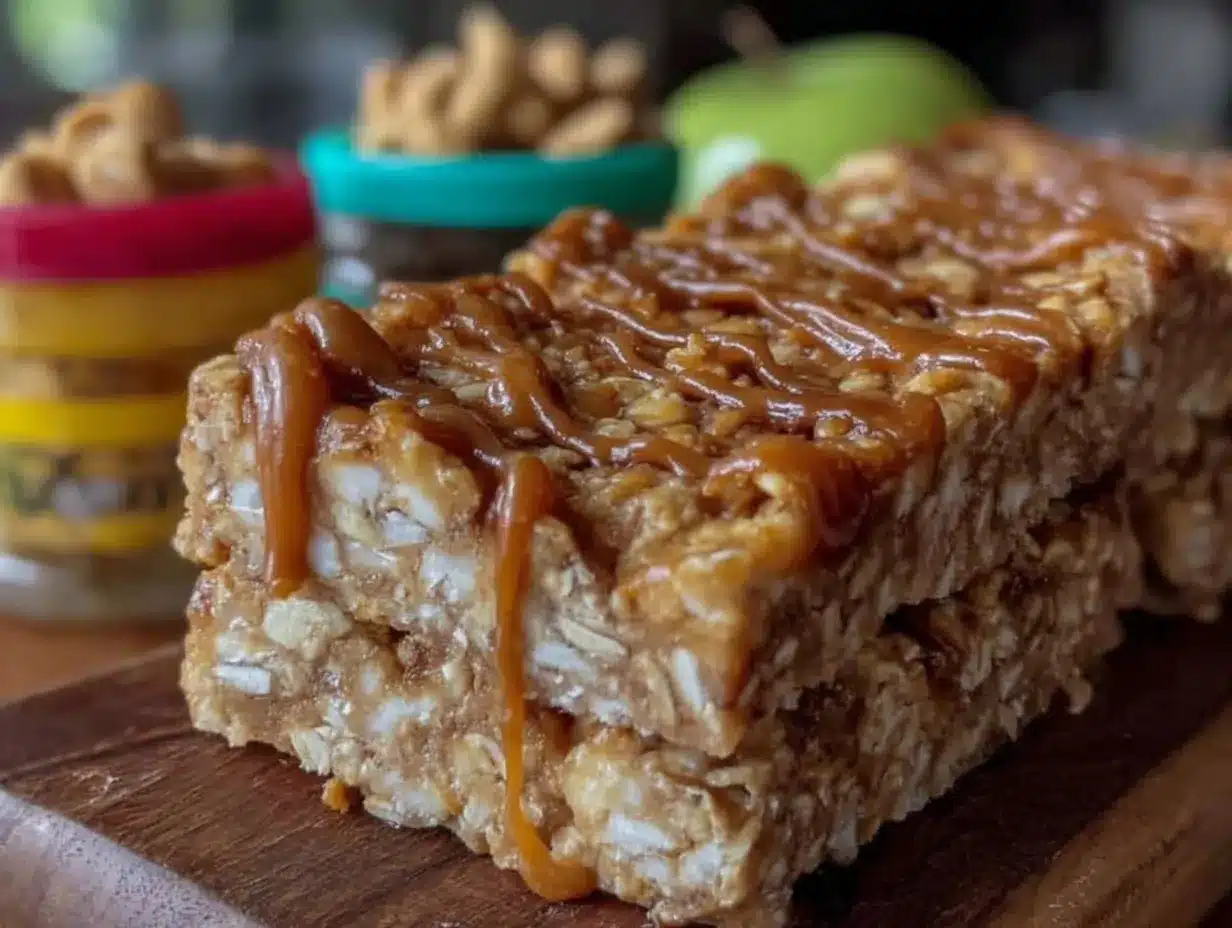
- Prepare your pan: Line an 8×8 inch (20×20 cm) baking pan with parchment paper, leaving enough overhang for easy removal. Set aside.
- Mix wet ingredients: In your large mixing bowl, combine 1 cup (240g) of natural creamy peanut butter with ¼ cup (85g) honey. Stir in 1 teaspoon vanilla extract and ½ teaspoon salt until smooth and well blended. (Tip: If peanut butter is too thick, microwave for 15-20 seconds to soften.)
- Add oats: Gradually fold in 2 cups (180g) rolled oats into the peanut butter mixture, stirring until every oat is coated and the mixture looks sticky but manageable.
- Incorporate optional add-ins: If using, fold in ½ cup (90g) mini chocolate chips, ¼ cup (30g) chopped nuts, or ¼ cup (40g) dried fruit. These add texture and flavor but aren’t necessary for success.
- Press into pan: Transfer the mixture into the prepared pan. Using the back of a spatula or your hands (lightly greased), firmly press the mixture down evenly to compact it. (Firm pressure helps the bars hold together.)
- Chill: Refrigerate for at least 1 hour to set. This step is crucial to let the bars firm up so they cut cleanly.
- Cut and serve: Once chilled, lift the bars out using the parchment overhang. Place on a cutting board and cut into 12 even bars. Store leftovers in an airtight container in the fridge.
Common hiccup: If bars are crumbly, next time add a bit more honey or peanut butter to improve binding. If too sticky, add a handful of extra oats. Trust me, this tweaking comes from experience!
Cooking Tips & Techniques
Here are some tips I’ve picked up from making these granola bars dozens of times:
- Choose the right peanut butter: Natural peanut butter without added sugar or oils keeps the flavor pure and texture just right. Avoid overly oily varieties or crunchy types unless you want extra texture.
- Don’t skip chilling: The refrigeration step solidifies the bars and makes them easier to cut. Patience here really pays off.
- Press firmly: Using firm pressure when pressing the mixture into the pan helps the bars stay together after cutting. I usually use the bottom of a measuring cup for an even, compact surface.
- Mix-ins are optional but fun: Adding mini chocolate chips or dried fruit can change the flavor profile. Just avoid overloading or the bars may fall apart.
- Store properly: Keep bars in an airtight container in the fridge to maintain freshness and prevent them from getting too sticky or dry.
- Multitasking tip: I often make these while prepping breakfast or packing other lunches. While the bars chill, I get other things done, so it feels efficient.
Honestly, at first I overthought the ratio of ingredients, but once I nailed it, these bars became a no-brainer for quick lunches. You’ll get the hang of it fast!
Variations & Adaptations
This easy no-bake peanut butter granola bars recipe is a great base to customize:
- Nut-free version: Swap peanut butter for sunflower seed butter or tahini to accommodate allergies without losing creaminess.
- Chocolate lover’s twist: Add cocoa powder (1-2 tablespoons) to the wet mix and increase honey slightly to balance bitterness.
- Seasonal fruit: In fall, mix in dried apple pieces and cinnamon; during summer, try chopped dried mango or freeze-dried berries for a fruity punch.
- Protein boost: Stir in a scoop of your favorite protein powder or sprinkle chia seeds for extra nutrition.
- Different sweeteners: Use maple syrup or agave instead of honey for vegan or flavor preferences.
Once, I added shredded coconut and a pinch of sea salt on top before chilling—made for a tropical-inspired bar that disappeared in seconds. Feel free to experiment with your favorite pantry finds!
Serving & Storage Suggestions
Serve these bars chilled or at room temperature—both ways work great. They’re perfect finger foods that travel well in lunchboxes or snack bags.
Pair them with a fresh fruit like apple slices or a small yogurt cup for a balanced lunch. For after-school snacks, a glass of cold milk or a smoothie complements the peanut butter flavor nicely.
To store, keep bars in an airtight container in the refrigerator for up to one week. If you want to keep them longer, wrap individually and freeze for up to 3 months. Just thaw at room temperature before eating.
Over time, the flavors meld and the texture softens slightly—some people prefer them fresh and firm, while others enjoy them a little chewy after a day or two. Either way, these bars hold up well and stay delicious.
Nutritional Information & Benefits
Each bar (1 of 12) roughly contains:
| Calories | 180-200 |
|---|---|
| Protein | 5-6 grams |
| Fat | 9-11 grams (mostly healthy fats) |
| Carbohydrates | 20-22 grams |
| Fiber | 3 grams |
| Sugar | 8-10 grams (from natural sweeteners) |
The oats provide heart-healthy fiber and steady energy, while peanut butter offers plant-based protein and healthy fats essential for satiety. Using natural sweeteners keeps refined sugar low, making these bars a better choice than many store-bought alternatives.
Gluten-free options are easy by swapping oats, and nut-free adaptations make this recipe inclusive for common allergies. From a wellness perspective, these bars strike a balance between taste and nourishment—a snack you can feel good about packing.
Conclusion
These easy no-bake peanut butter granola bars have quickly become my secret weapon for stress-free lunchboxes and on-the-go snacks. They take just minutes to make, use simple ingredients, and deliver that nostalgic, comforting peanut butter flavor everyone loves. Honestly, they’re one of those recipes I keep returning to because of how versatile and forgiving they are.
Feel free to tweak the mix-ins or sweeteners to suit your family’s tastes or dietary needs—there’s plenty of room for creativity here. If you try this recipe, I’d love to hear how you make it your own! Drop a comment or share your favorite twists.
Here’s to no-stress lunchboxes and snacks that actually taste great. You’ve got this!
FAQs
Can I make these granola bars vegan?
Yes! Simply replace honey with maple syrup or agave nectar, and use a plant-based peanut butter to keep it vegan-friendly.
How long do these granola bars last?
Stored in an airtight container in the fridge, they stay fresh for up to one week. You can also freeze them for up to 3 months.
Can I use crunchy peanut butter instead of smooth?
Absolutely! Crunchy peanut butter adds extra texture, but it may make the bars a bit more crumbly, so press firmly when shaping.
What if I don’t have parchment paper?
You can grease the pan well with butter or oil, but parchment paper makes removing bars much easier and cleaner.
Are these bars suitable for school lunchboxes?
Definitely! They’re mess-free, hold up well without refrigeration for a few hours, and kids generally love them.
Pin This Recipe!
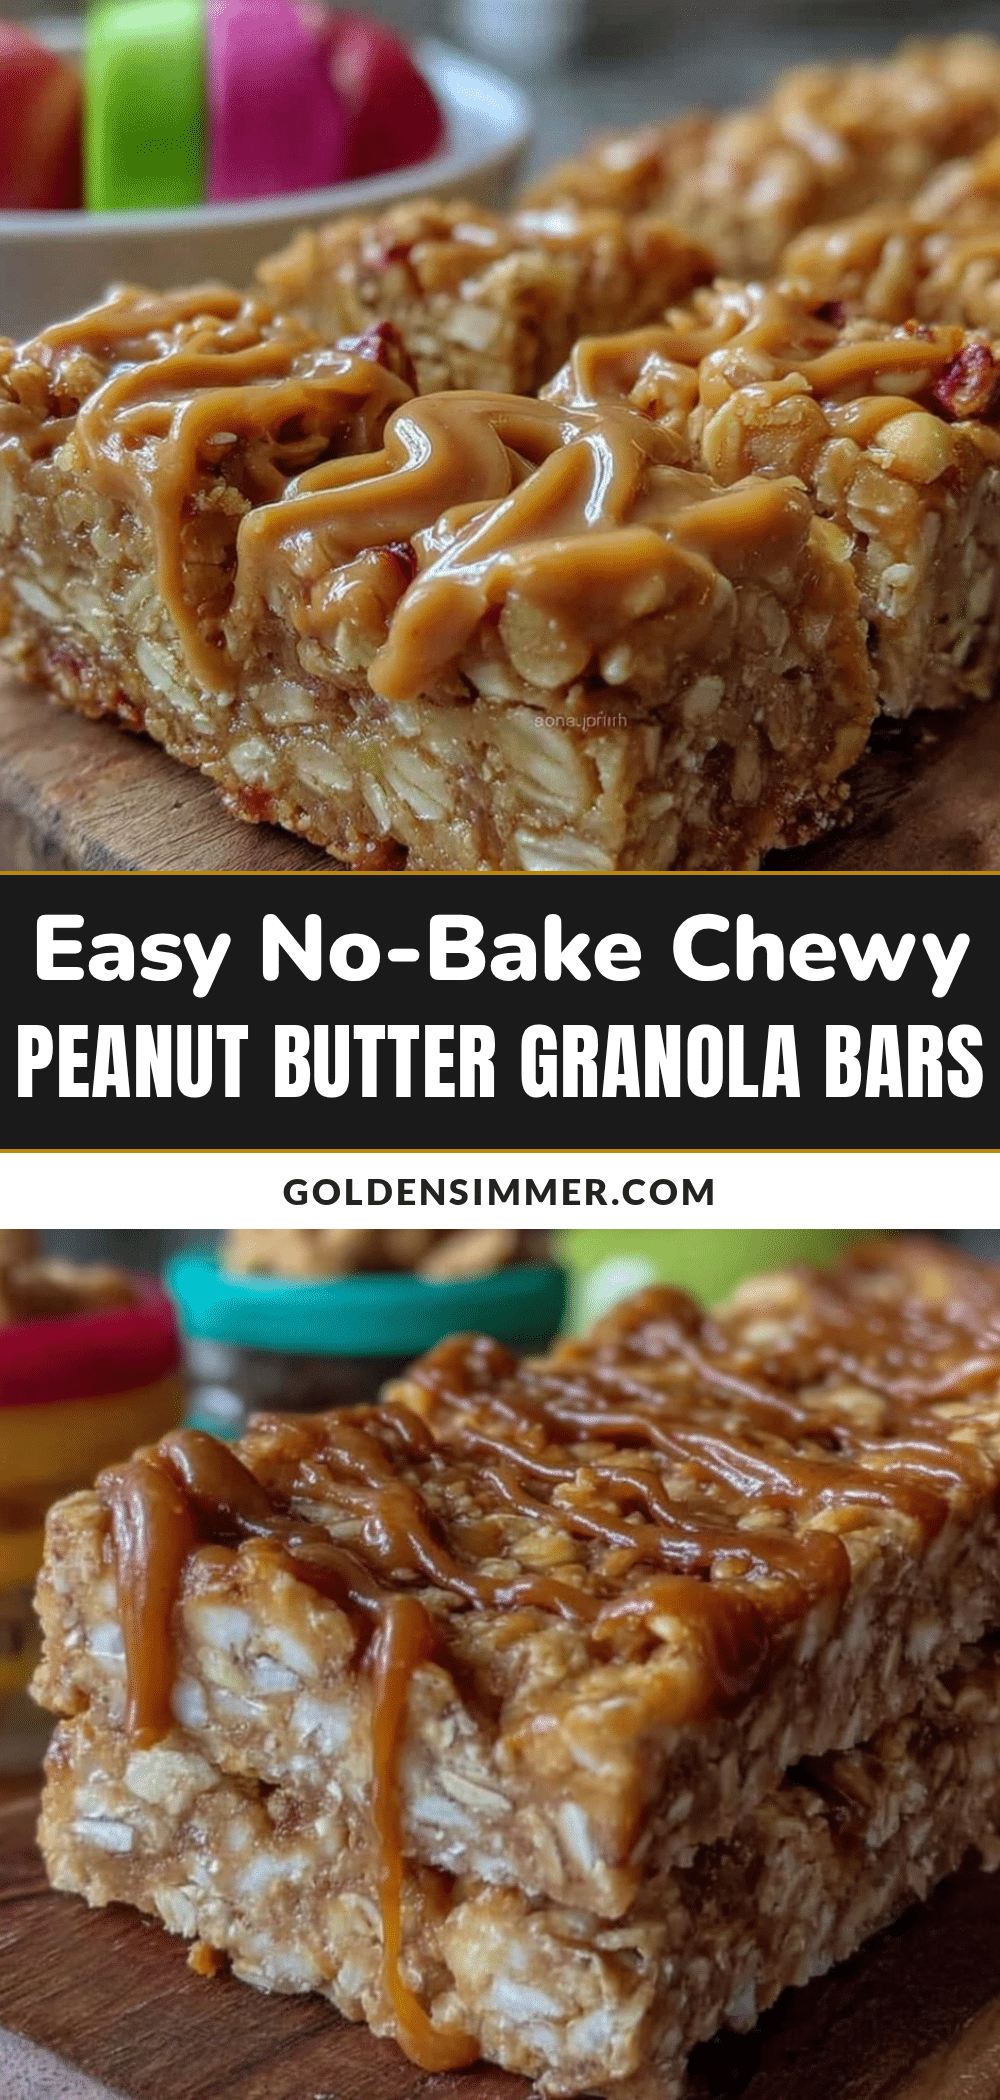
Easy No-Bake Peanut Butter Granola Bars
Quick and fuss-free no-bake granola bars made with peanut butter, oats, and honey, perfect for lunchboxes and snacks.
- Prep Time: 10 minutes
- Cook Time: 0 minutes
- Total Time: 1 hour 10 minutes
- Yield: 12 bars 1x
- Category: Snack
- Cuisine: American
Ingredients
- 2 cups (180g) old-fashioned rolled oats
- 1 cup (240g) natural creamy peanut butter
- 1/4 cup (85g) honey (maple syrup for vegan option)
- 1 teaspoon vanilla extract
- 1/2 teaspoon salt
- Optional mix-ins:
- 1/2 cup (90g) mini chocolate chips
- 1/4 cup (30g) chopped nuts
- 1/4 cup (40g) dried cranberries or raisins
Instructions
- Line an 8×8 inch (20×20 cm) baking pan with parchment paper, leaving overhang for easy removal.
- In a large mixing bowl, combine peanut butter and honey. Stir in vanilla extract and salt until smooth. If peanut butter is too thick, microwave for 15-20 seconds to soften.
- Gradually fold in rolled oats until mixture is sticky but manageable.
- Fold in optional mix-ins if using (mini chocolate chips, chopped nuts, dried fruit).
- Transfer mixture to prepared pan and press firmly and evenly using a spatula or lightly greased hands.
- Refrigerate for at least 1 hour to set.
- Lift bars out using parchment overhang and cut into 12 even bars. Store leftovers in an airtight container in the fridge.
Notes
If bars are crumbly, add more honey or peanut butter. If too sticky, add extra oats. Use natural peanut butter for best flavor and texture. Press firmly when shaping bars. Refrigeration is crucial for bars to set and cut cleanly. Store bars in airtight container in fridge up to 1 week or freeze up to 3 months.
Nutrition
- Serving Size: 1 bar (1 of 12)
- Calories: 190
- Sugar: 9
- Fat: 10
- Carbohydrates: 21
- Fiber: 3
- Protein: 6
Keywords: no-bake granola bars, peanut butter bars, easy snack, lunchbox recipe, healthy snack, kid-friendly, no oven



